Archive for March, 2012
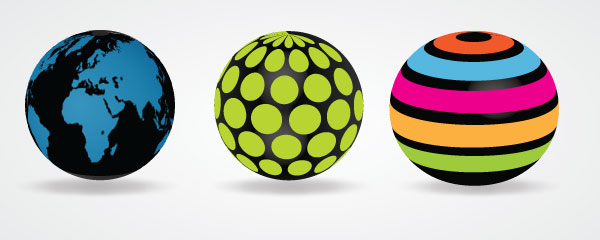
3D Art Map Using Illustrator
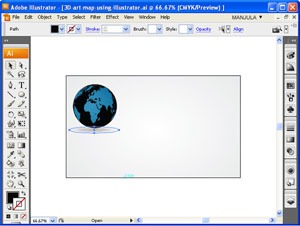
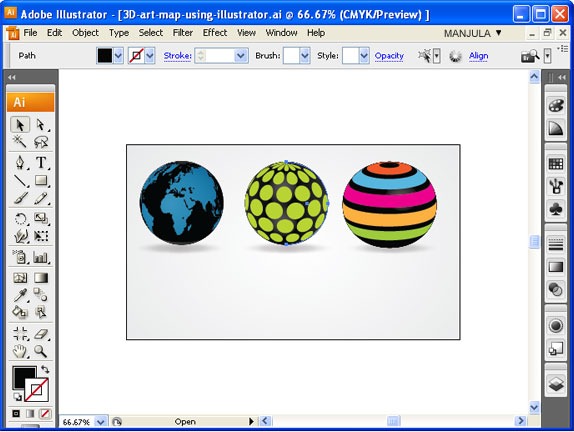
Final Preview:
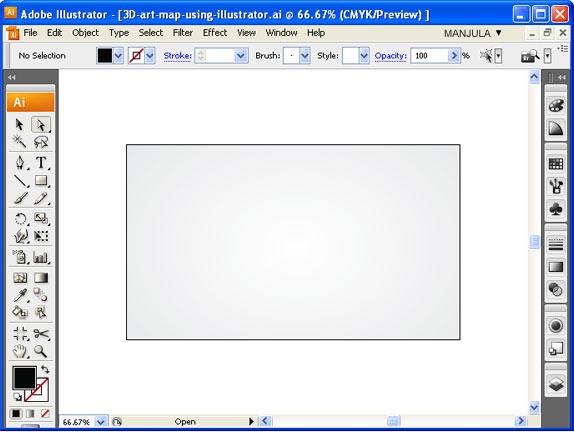
Step-1 Open a new document in Illustrator.
Step-2 Create a RECTANGLE BOX and fill gradient in the combination of Gray and White.
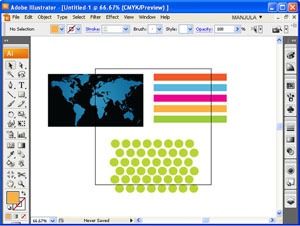
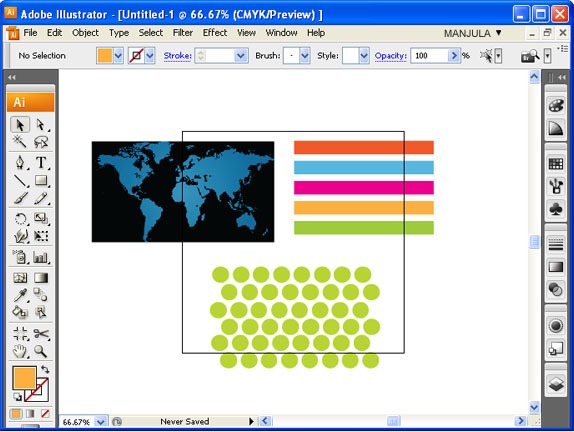
Step-3 Then imports designs which you required to wrap around the 3d globe.
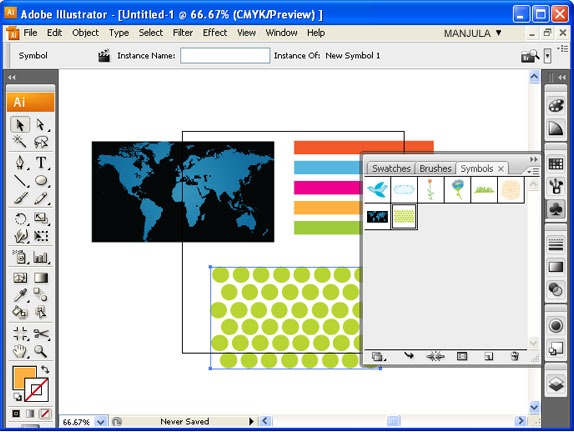
Step-4 Go to WINDOW –> SYMBOLS. Symbol panel will appear. Drag those designs into SYMBOL PANEL.
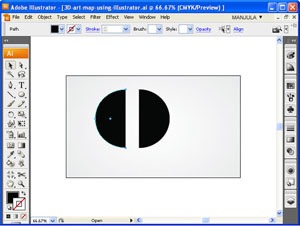
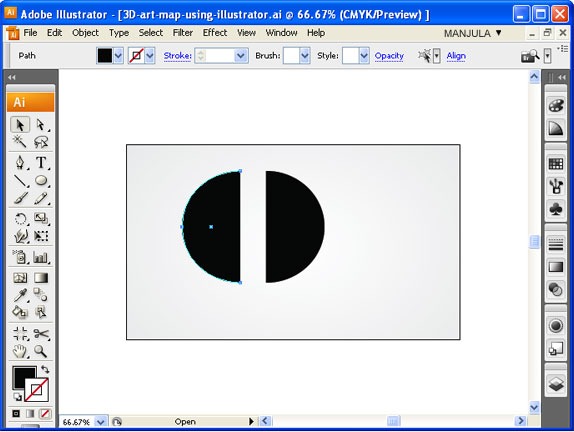
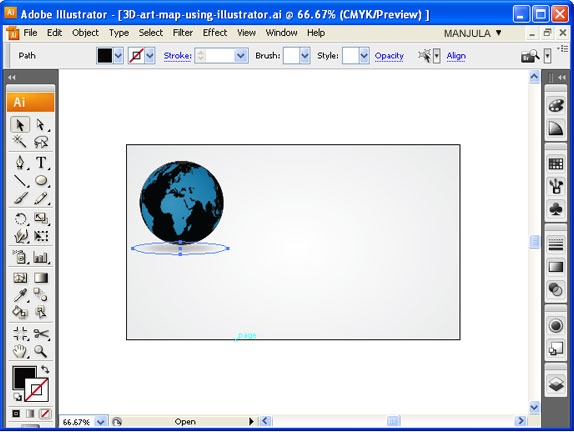
Step-5 Draw a CIRCLE and fill with black color. Cut that circle as semicircle using SCISSOR TOOL at the anchor point.
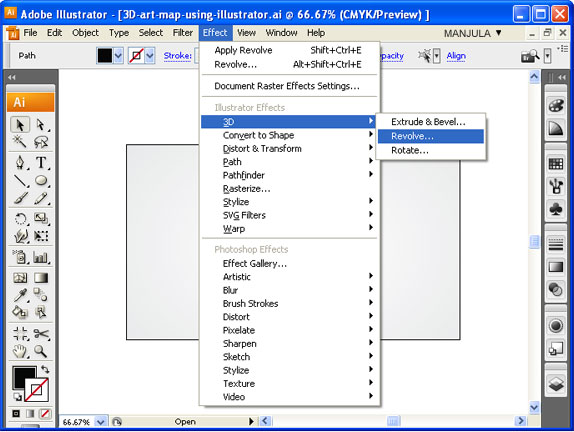
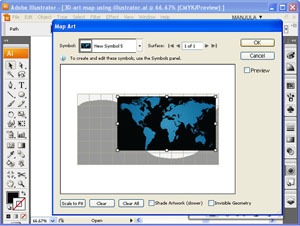
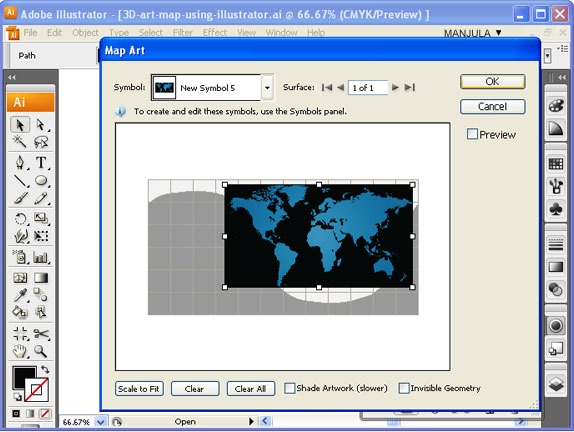
Step-6 Go to EFFECT –> 3D –> REVOLVE. Click MAP ART Option; select the symbol which you dragged into SYMBOL PANEL. Your design will wrap the 3d Sphere.
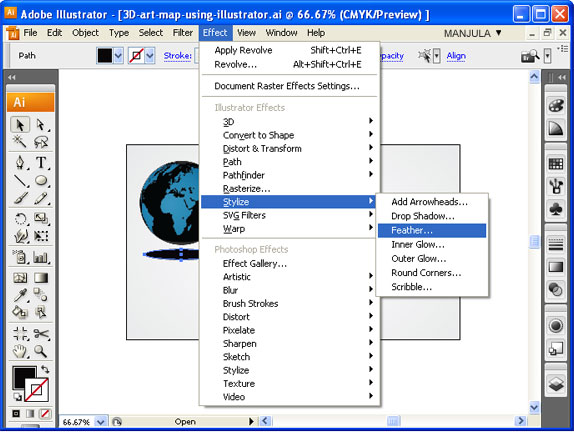
Step-7 Draw an ellipse and go to EFFECT–> STYLIZE –> FEATHER. Give feather radius as 35px.
Step-8 As like above create remaining spheres.
Create Brightness or contrast Using Flash AS3
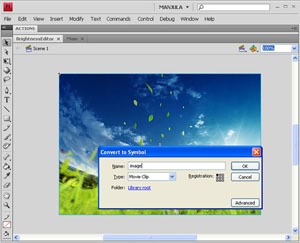
Step-1 Open a new document and import an image then convert it into movieclip and name it as “image”.
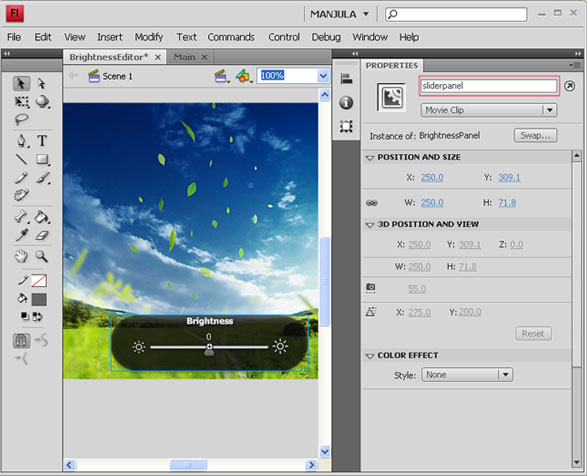
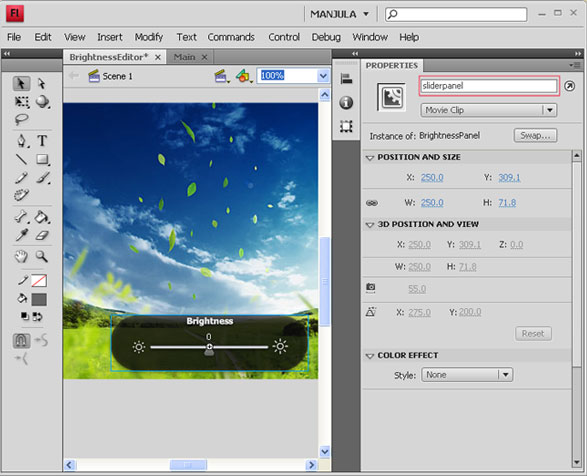
Step-2 Draw a rounded rectangle for slider panel.
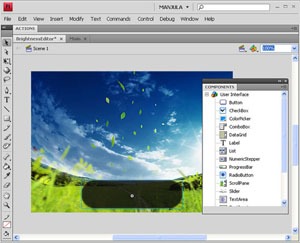
Step-3 Inside the rectangle, draw brightness and contrast symbols.
Step-4 Drag and drop a “Slider” from “Windows –> Components –> Slider” and name it as “slider”.
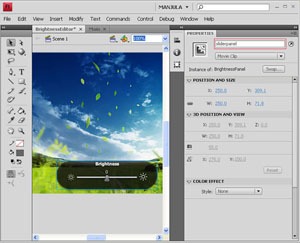
Step-5 Select the whole slider panel then, convert it into “movieclip” and name it as “sliderpanel”.
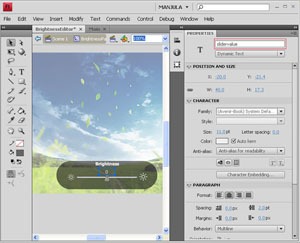
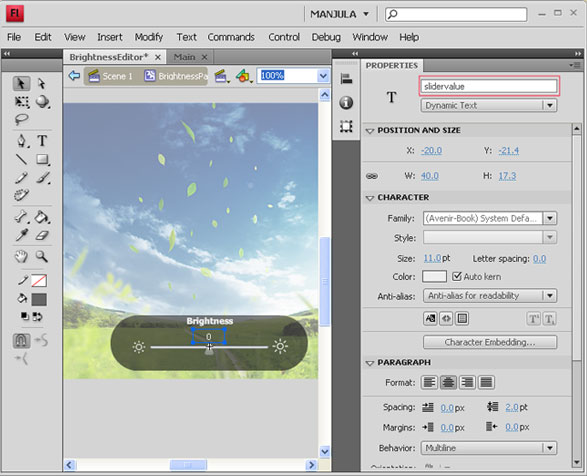
Step-6 Create “Dynamic Text” inside the “slider Panel” movieclip and name it as “slidervalue”. Type zero in the text box. Save this file as “Brightness-contrast”.
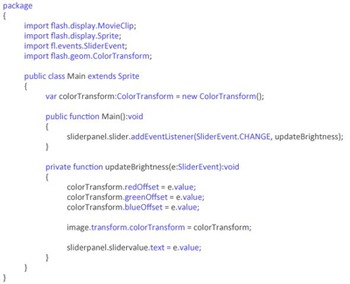
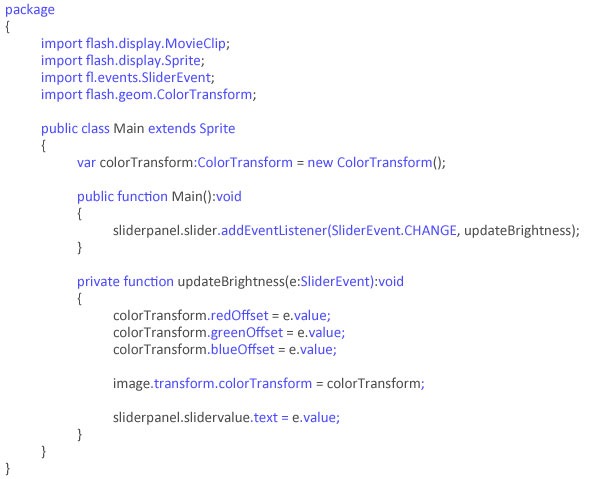
Step-7 Open a new Flash AS3 document and writes the following code. At last save it as “Main”. Set the target as “Brightness-contrast”.
Slider Menu bar Using Flash Action script 1.0
Final Preview:
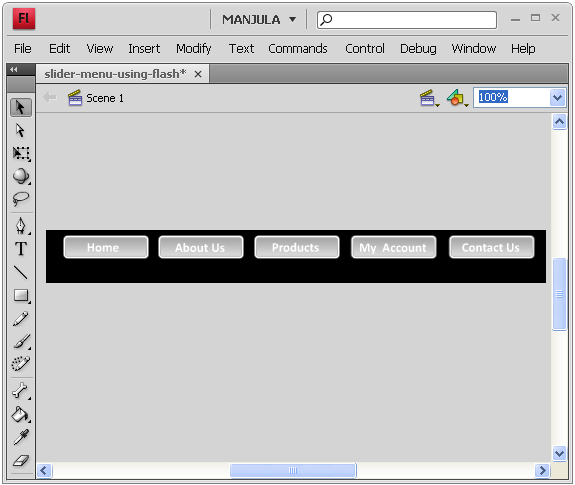
Step-1 Open a new document in the dimension of 500X53.
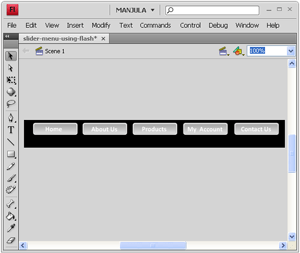
Step-2 creates a Menu buttons (I have created 5 buttons)in layer-1, change it into “button” and give instance name it as button1, button2, button3, button4 and button5 respectively.
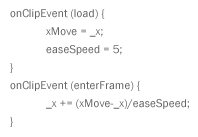
Step-3 Select “button1” and write the following code on the “action script Panel” (F9).
Step-4 Repeat the step-3 for remaining buttons. Only change the button names in the script.
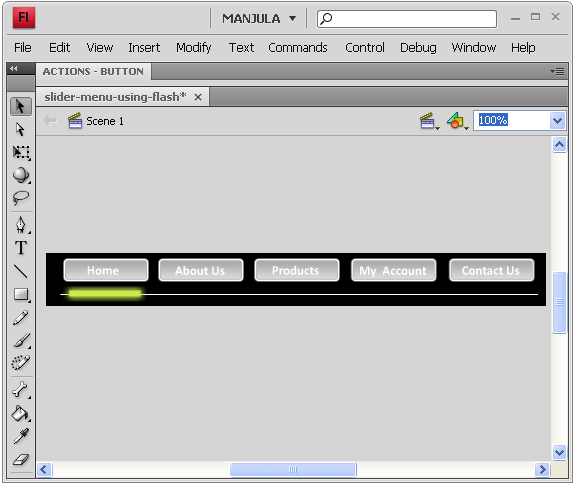
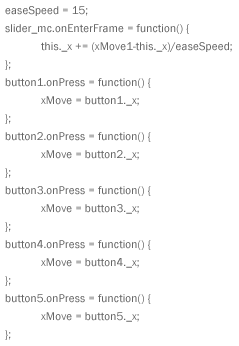
Step-5 In layer-2, draw a line and slider. Convert the slider into “movieclip” and give the instance name as “Slider”. Also write the following script in “action script panel”.
Step-6 Create a new layer and place the below code:
Sprite Control Using Keyboard in Flash Actionscript
Final Preview:
Use Keyboard Arrow Keys to move up, bottom, left, right.
Step-1 Open a new document in Flash.
Step-2 Create a boy head or whichever you like.
Step-3 Convert it into “movie clip” and name it as “sprite”.
Step-4 Write the following action script in a new layer, Key frame-1.
spriteDirection = 0;
setInterval(function () {
if (Key.isDown(Key.RIGHT)) {
setDirection(0);
_root.sprite._x += 3;
}
if (Key.isDown(Key.LEFT)) {
setDirection(1);
_root.sprite._x -= 3;
}
if (Key.isDown(Key.DOWN)) {
_root.sprite._y += 3;
}
if (Key.isDown(Key.UP)) {
_root.sprite._y -= 3;
}
updateAfterEvent(); }, 10);


