Archive for July, 2014
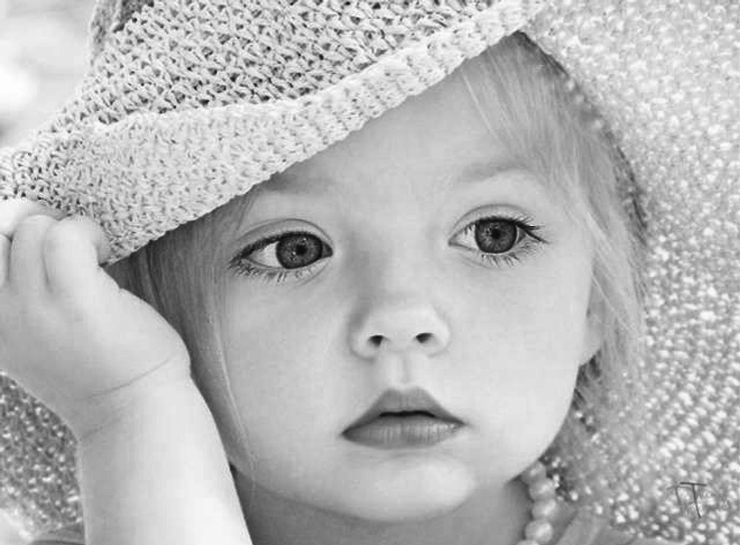
Black and white photo to color photo using photoshop
Black and white photo to color photo
using photoshop
Step 1:
Open your black and white image.
Step 2:
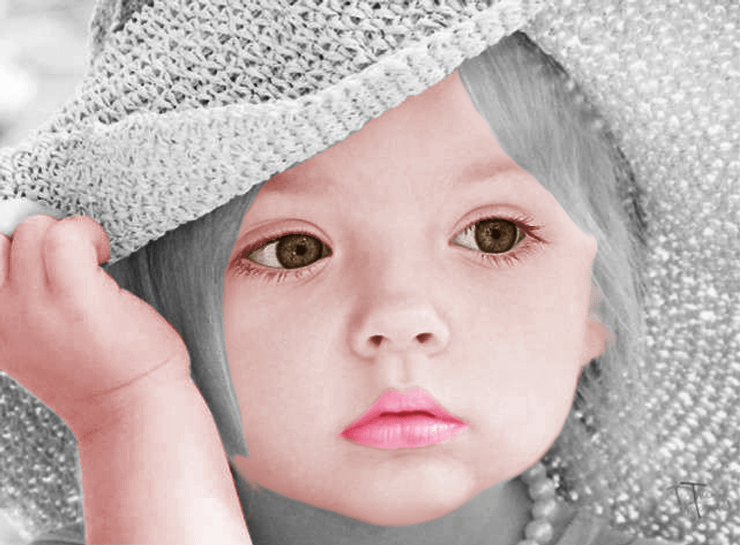
Using the pen tool cut the eye images after perss the (ctrl + D) selection area will be copy the new layer(ctrl + j).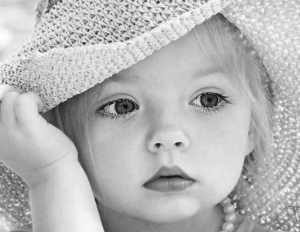

Step 3:
that the new eye layer color is will be change using the color balance tool.following given below the image.
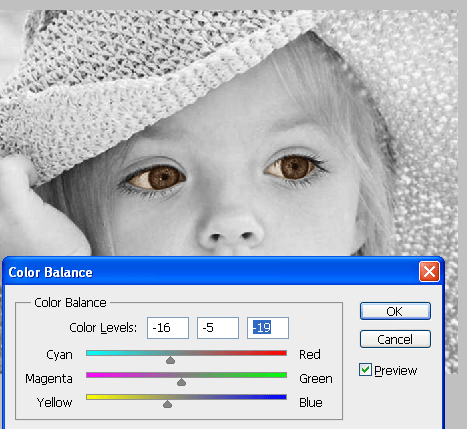
Step 4:same procedure to every part will be cut and create the new layer to paste after change the color using the color balance. Cut the hand and change the color will be given below the image.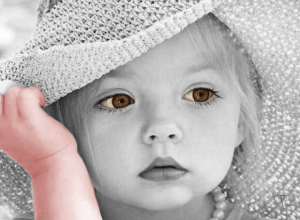

Next change the color for lips.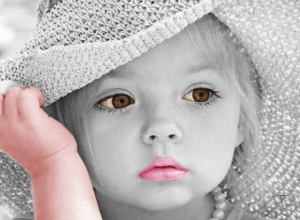
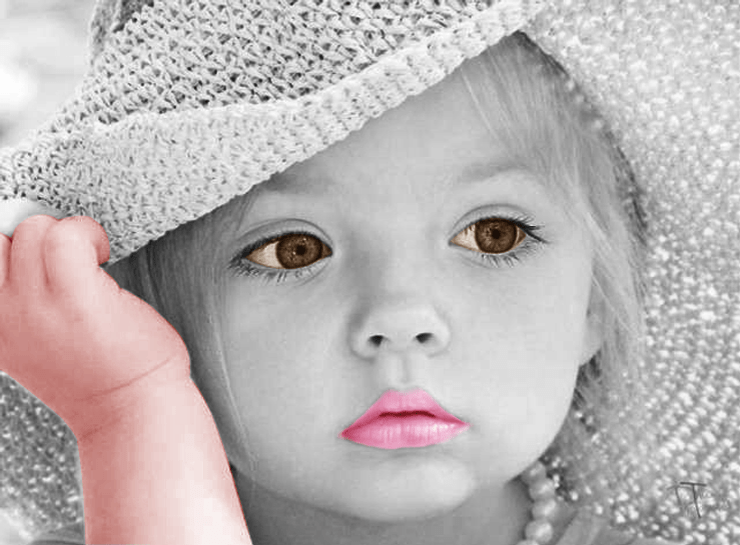
Step 5: next change the color is face you will get below the image.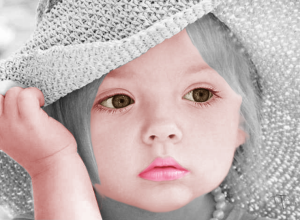
Step 6:
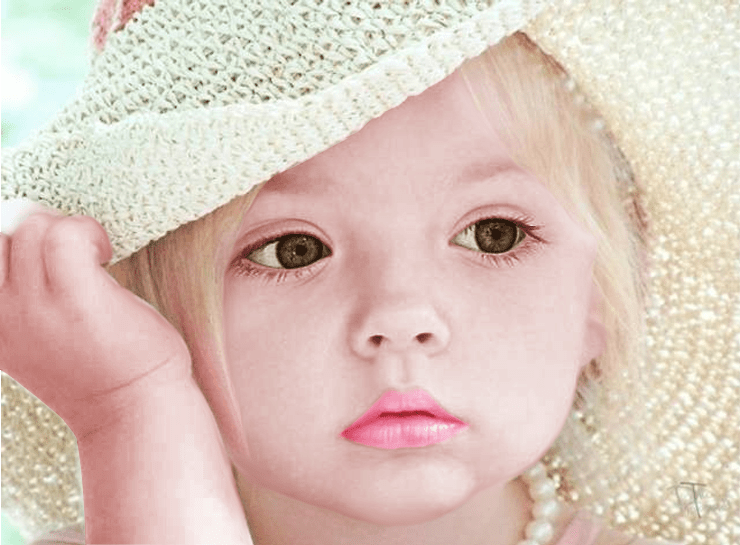
Next change the color remaining part after you will get the final image.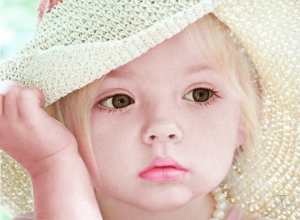
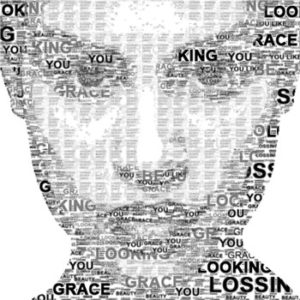
TYPOGRAPHIC PORTRAIT
Step 1 : Create a new document
Create a document with preferred size. Set the background color as white. Take any image to do typographic work.

Step 2 : Posterize the picture
Desaturate this image for doing this go to
Image -> Adjustments -> Desaturate
Then posterize the picture for doing this go to
Image -> Adjustments -> Posterize->set level 4

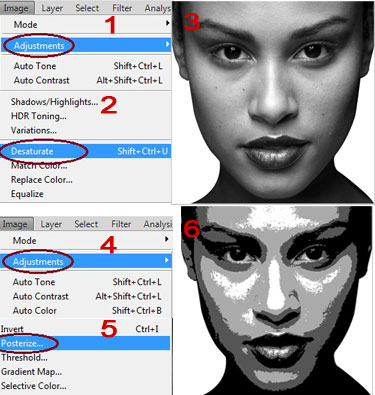
Step 3 : Create a new Brush
Hide the portrait picture for a while.
Using type tool type a few words what do you want to display on the image.
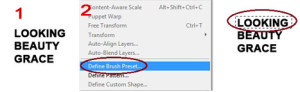
Now we are going to create Photoshop brush. For doing this simply make a selection around the first word and go to Edit-> Define Brush Preset.
Now a new brush will appear under the brush preset window.
Do the same process for the remaining words.

Step 4 : Customize a fill pattern
To create a pattern select free transform to text and minimize the size to very small.
Hide all layers except text layer and make a selection around the text.
Now we have to define pattern. For set this go
Edit -> Define pattern and set pattern name.


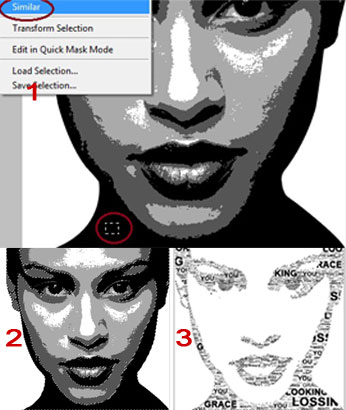
Step 5 : Select similar colors
This is the time to unhide the portrait layer and make a small selection on black color with that selection go to Select-> Similer this will select all areas with this particular color.
Now create new layer and hide portrait layer. With this selection select brush tool and right click to adjust brush size.
Start to Stamp using brush tool around this selection. Repeat to stamp for few times after the portrait will look like this

Step 6 : Fill Pattern
Some small part are really troublesome to fill so with that selection create a new layer below the stamp layer.
Select paint bucket tool and fill pattern we made earlier.
Then Ctrl + Click on stamp layer and inverse that go to Select -> Modify->Expand-> 1px select pattern layer and create layer mask.
Repeat these steps for other two tones of gray color in the portrait layer.
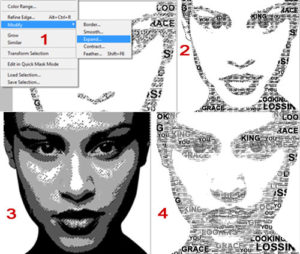

The Final image will be like this.

Text Effects using photoshop
Text Effects using photoshop
Step 1:
Open the new document after fill the background color is black.


Step 2:
Choose the text tool and font 16px,after type any word and type any words and copy the same words after rotate the text, following given below the image

Step 3:
After off the text eye icon next choose the text tool type the ant words but very big size can be type following given below the image.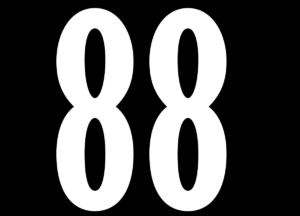

Step 4:Select the text layer(88 text layer)after (press) ctrl +(click) 88 text layer. Next hide the 88 text layer next you will get below the image.

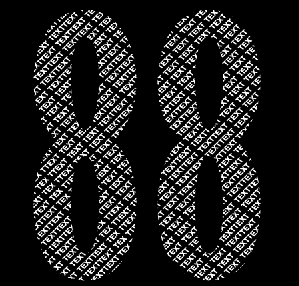
Step 5: after on the another text layer eye icon after copy and paste next you will get below the final image. Same way to using any letters or texts using this methods.
Given below the final image
¬
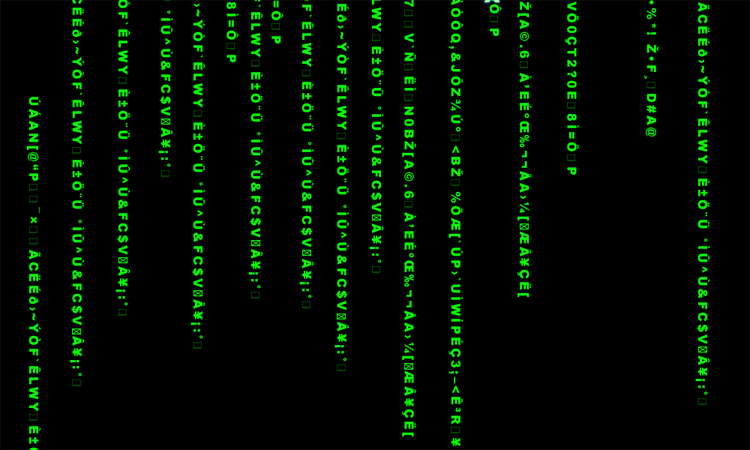
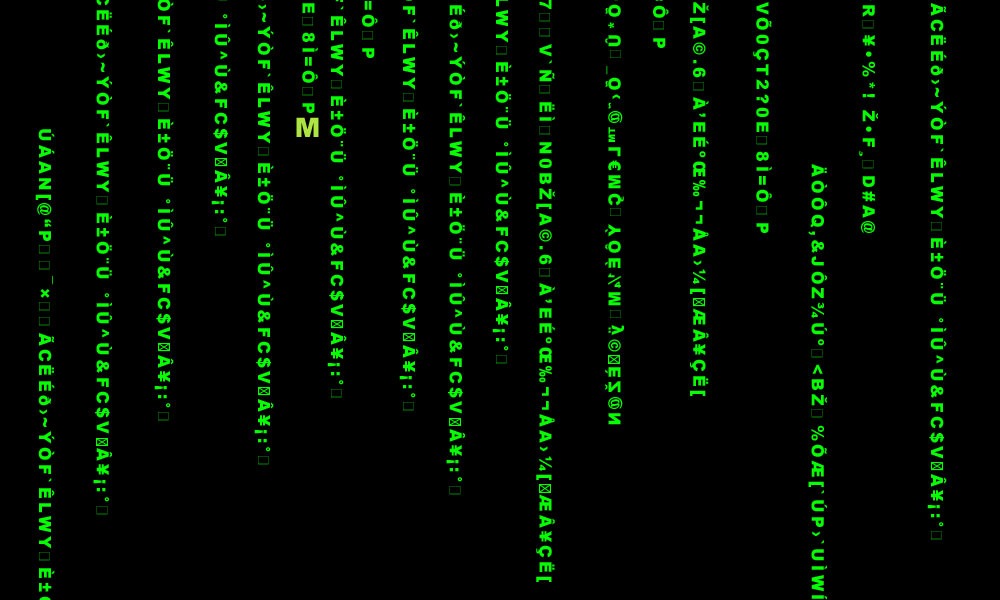
Matrix Text gif images using photoshop
Matrix Text gif images using photoshop
Step 1:
Open the new document and se3t the background color is black.
Step 2:
Any image to right click to oprn with note pad and copy the text after past inside the photoshop document. After change the font color is set by green color.
After select the text layer and press the Ctrl + t after right click and select the rotate 90 cw.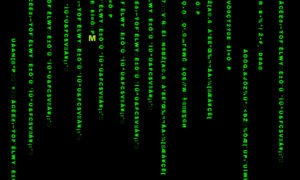
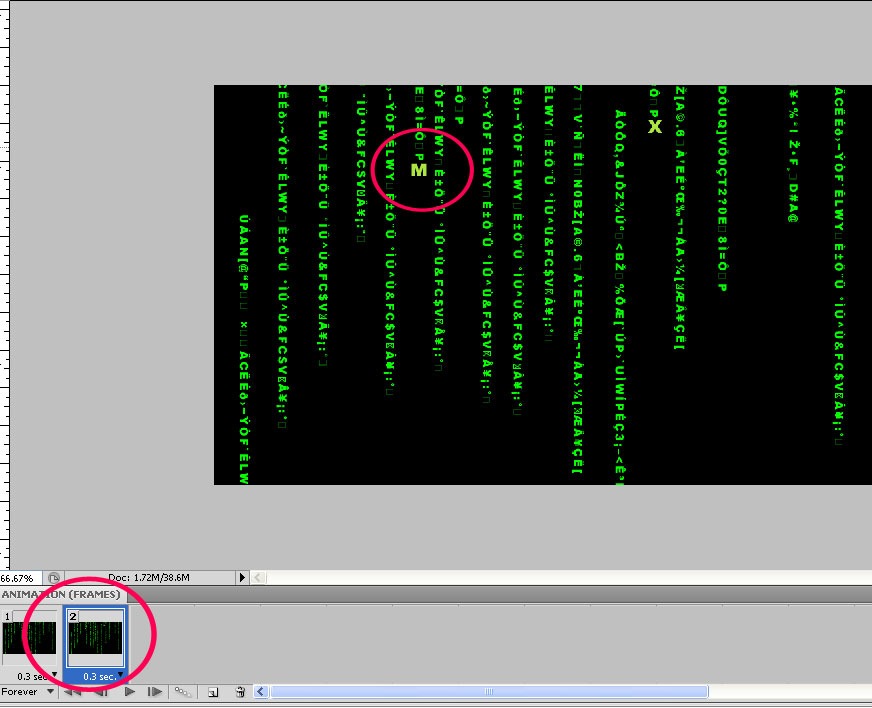
Step 3:Next open the window menu and click to select the animation after animation layer is open below the image.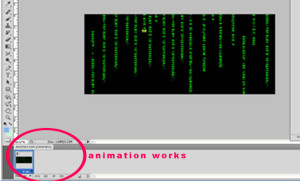
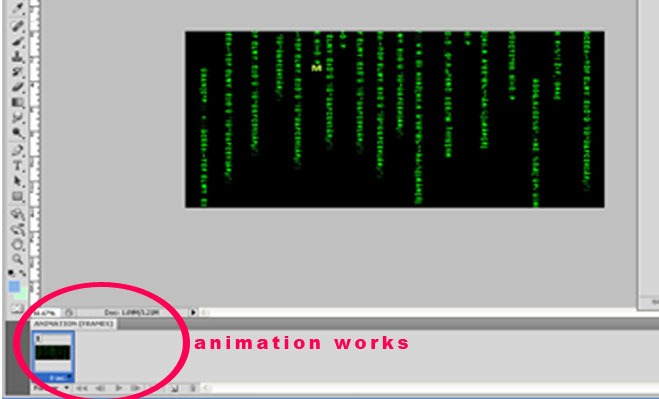
Next animation area to select the duplicate selected frames to every one by one step can add the one duplicate frame after change.
Step 4:
Select the 1 st frame and text movements for select some texts and press the down arrow five or six time.
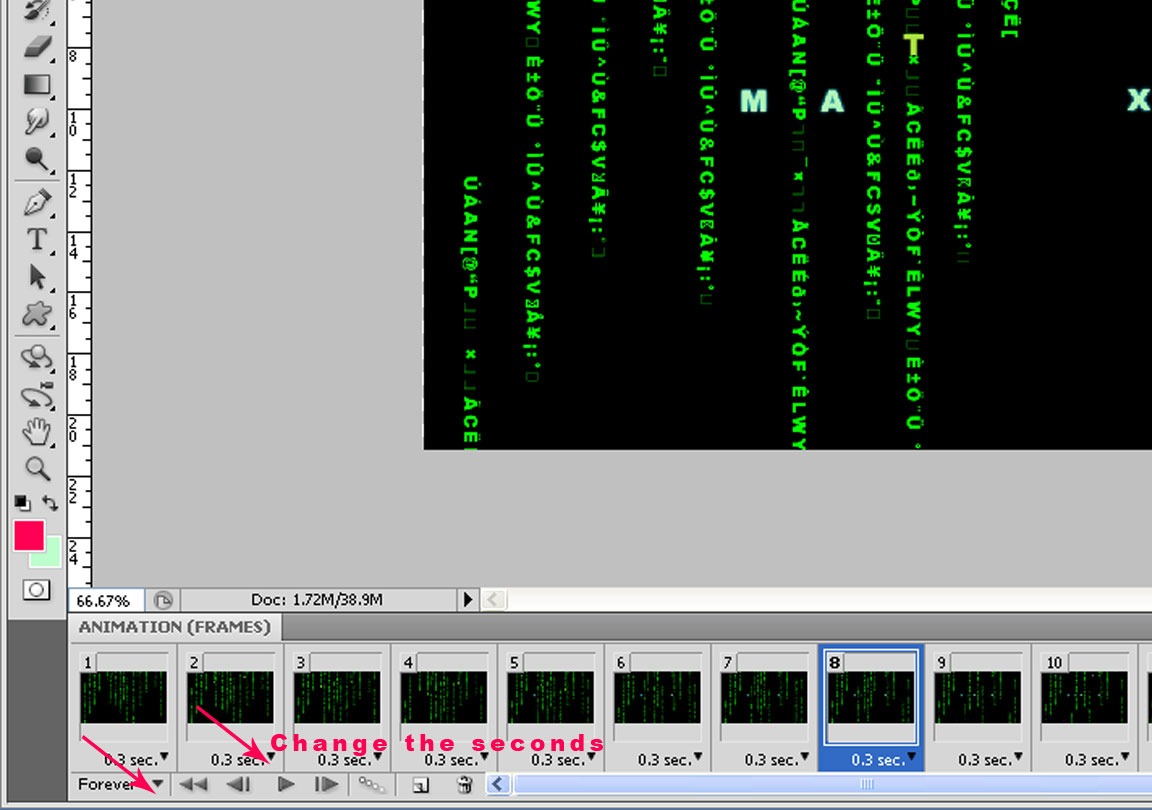
Select the text layer and choose the color green and apply the inner shadow and outer glow. All the letters will be separate to type( M A T R I X). After off the text eye icon.
after select the second frame and change the text movements for select some texts and press the down arrow five or six time after and on the “M” text layer same to move to the text and “M”. 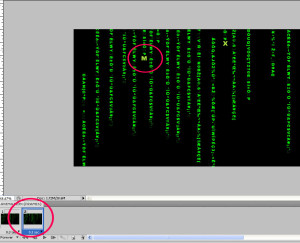
Step 5: same process for the aothe texts can be move finaly animation layer to select looping option and select the forever after change the times for your convenient to set the time. After play option to click you will get the final image.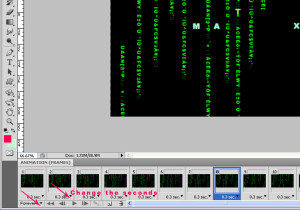
Step 6:
Finaly you will get below the image and save the image is GIF formate and your image similar to below the image.