


Photoshop
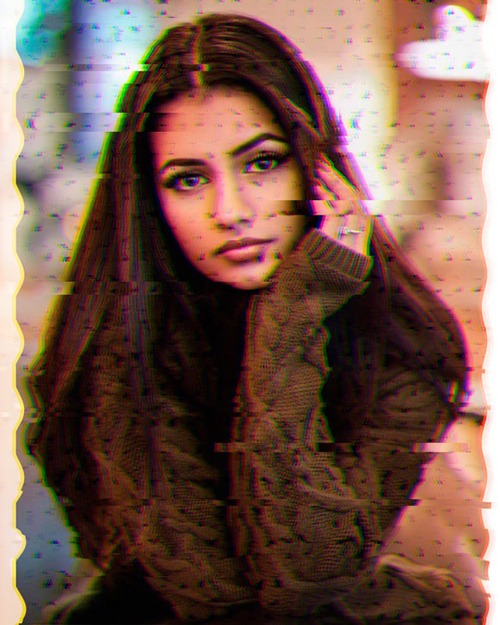
Glitch Effect In Photoshop
Glitch Effect
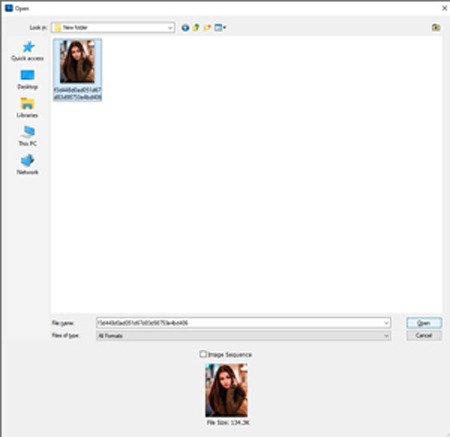
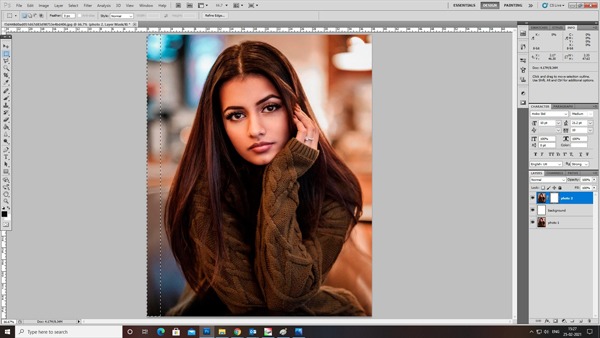
Step:1
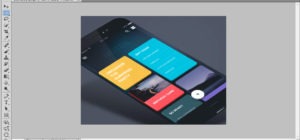
To insert image in the workspace click file->select open and select the image
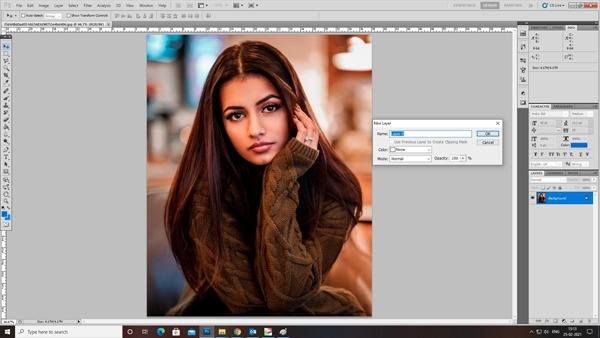
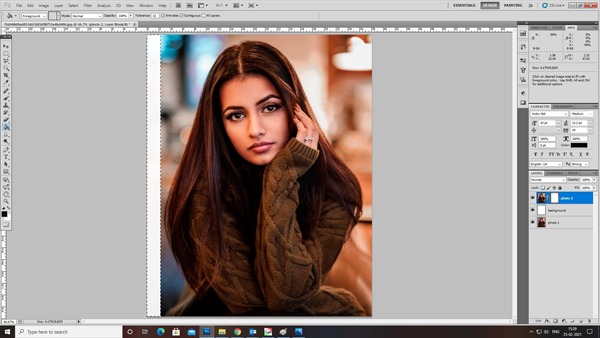
Step:2
Double click the background layer and rename it as photo 1
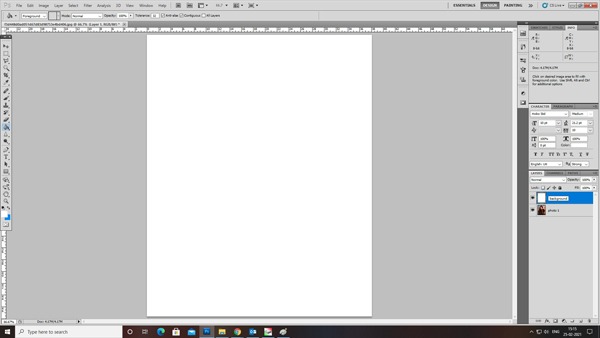
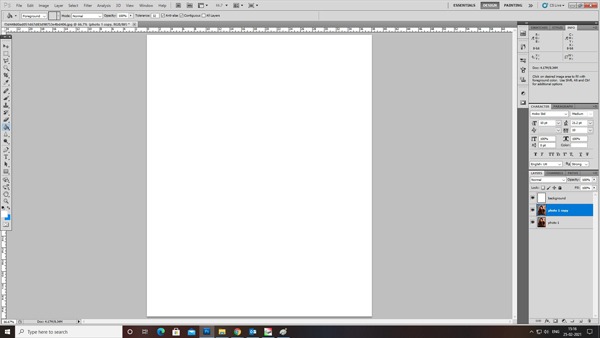
Step:3
Create a new layer and click on to paint bucket tool and select white color.

Step:4
Name that layer as background
Step:5
Click ctrl+j on photo 1 layer to create a copy.
Step:6
Drag it to the background layer and name it as photo 2

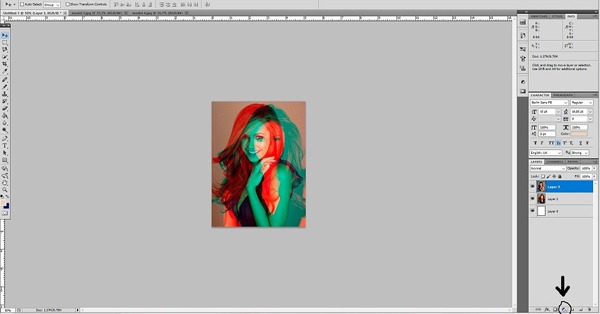
Step:7
Add layer mask to photo 2 layer

Step:8
Use rectangular marquee tool to make a selection on the corners
Step:9
Select the paint bucket tool and fill the selection with the black color
Step:10
Place the photo in center

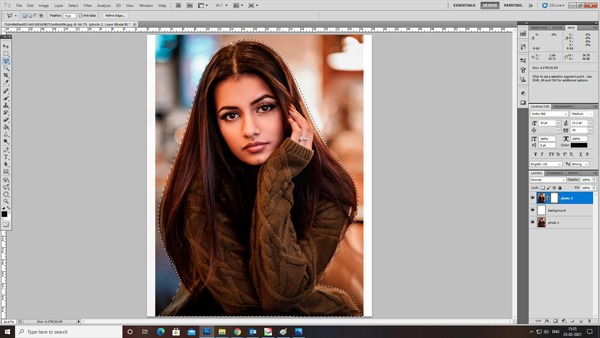
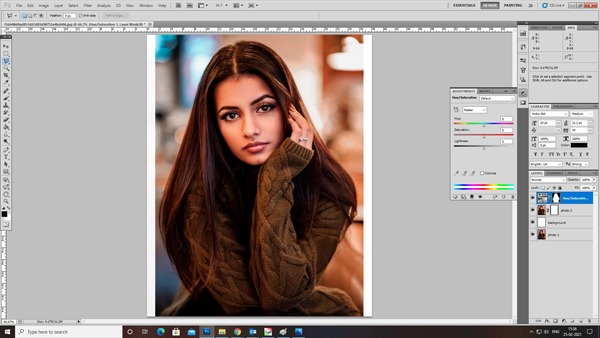
Step:11
Now select the polygonal lasso tool and create a selection around your subject
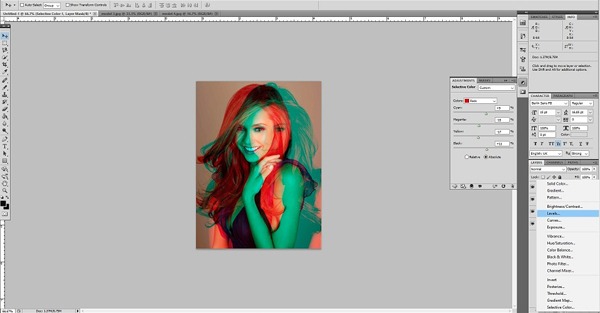
Step:12
Then add a new adjustment layer hue and saturation
Step:13
Hold the ctrl key and select layer mask for new adjustment

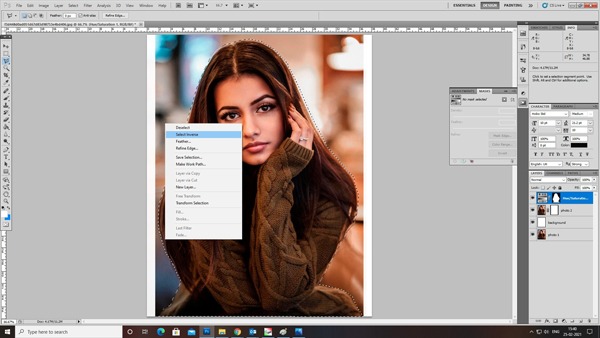
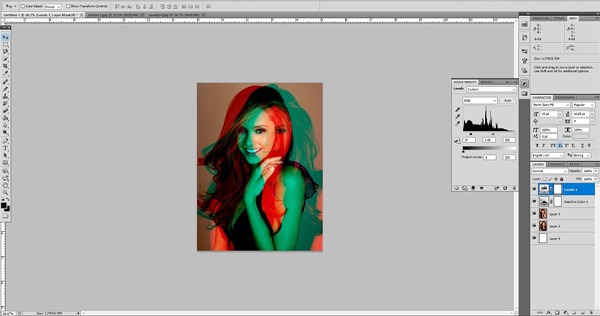
Step:14
The switch back to lasso tool and right click on the select inverse
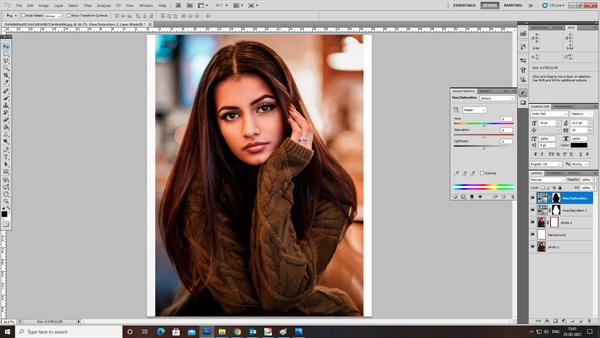
Step:15
Add hue and saturation layer
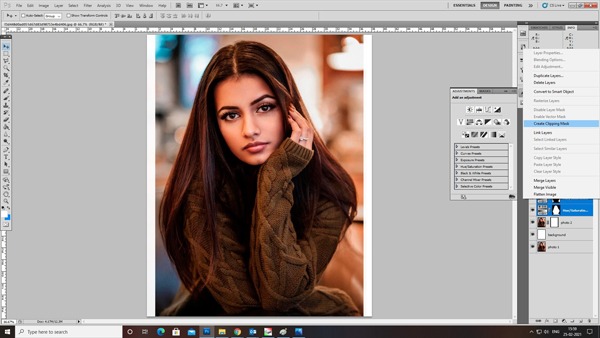
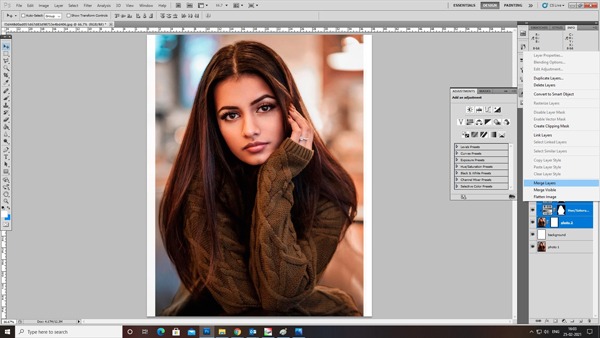
Step:16
Then select both the layers and click create clipping mask. So that you can adjust the background and the subject color separately
Step:17
After adjusting the color select the photo 2 layer and hue & saturation layers to merge layers
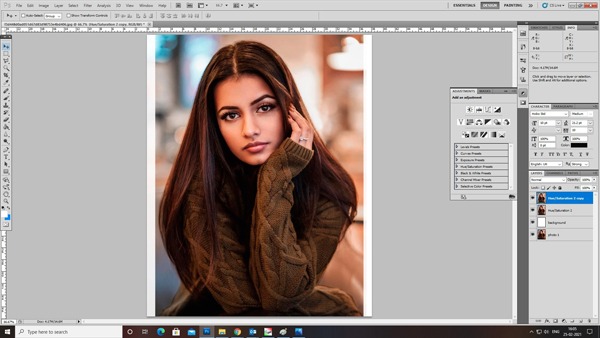
Step:18
Click ctrl+j on hue/Saturation 2 layer to create a copy and rename it as 1 and 2
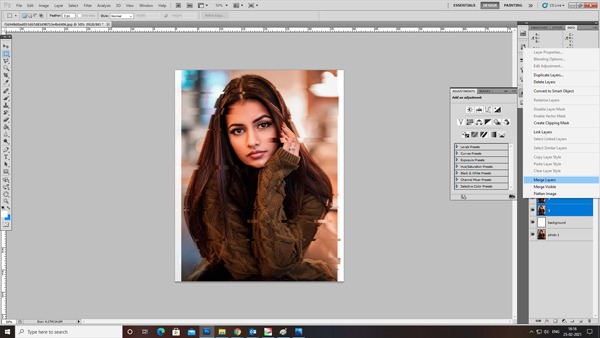
Step:19
Select rectangular marquee tool to select few area of your subject

Step:20
Select move tool and click right arrow key few times to get a wavy effect and Merge layer 1 and 2
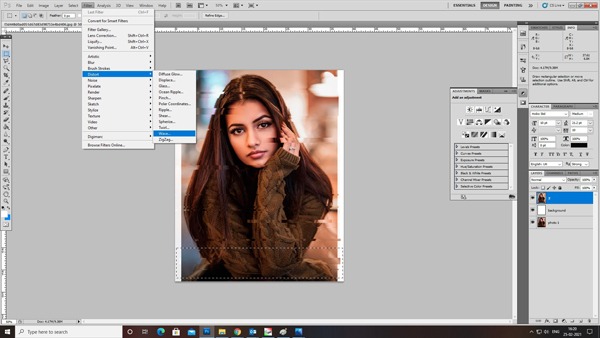
Step:21
To get a wavy glitches Select rectangular marquee tool and select some larger portion

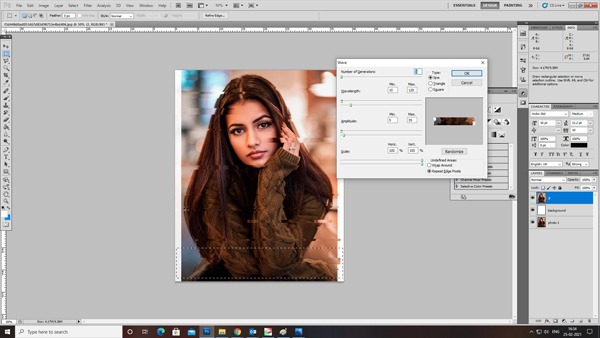
Step:22
Click Filter-> Distort->Wave
Step:23
Do the adjustment and click okay to get the wavy effect
Step:24
To add pattern right click on the 2 layer and go to blending option
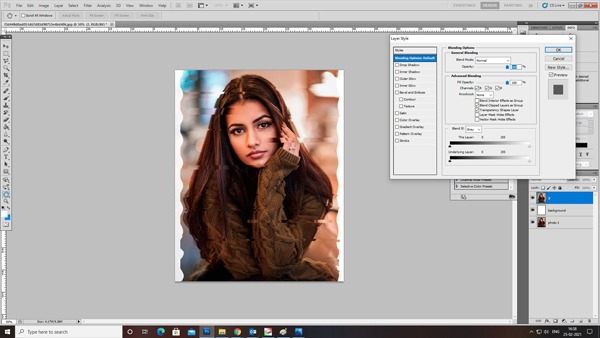
Step:25
Go to pattern overlay and select the pattern mode to linear burn then click okay

Step:26
And create a copy of layer 2

Step:27
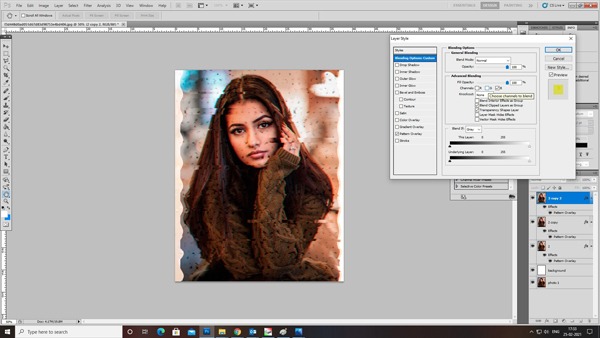
To create 3D effect select the layer and go to the blending option and uncheck the channel R(red). Then select move tool and click right arrow key few times

Step:28
Create a copy of previous step layer and repeat the same as 27th step, but for this layer uncheck the channel R(red) and G (green) and click left arrow key few times
Double Color Exposure Effect In Photoshop
Double Color Exposure Effect
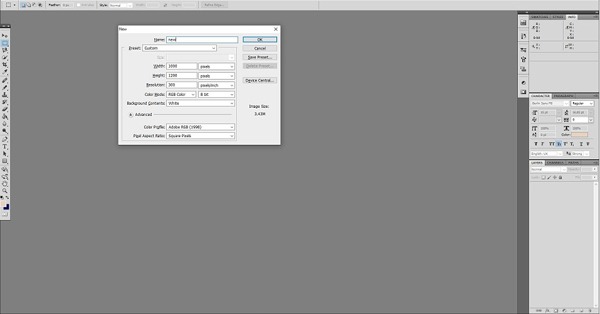
Step:1
Create a new file
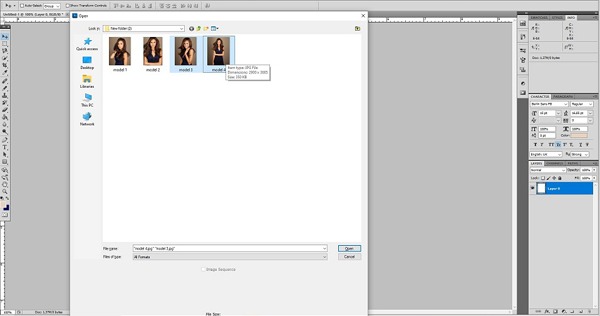
Step:2
Open 2 images which you want to edit
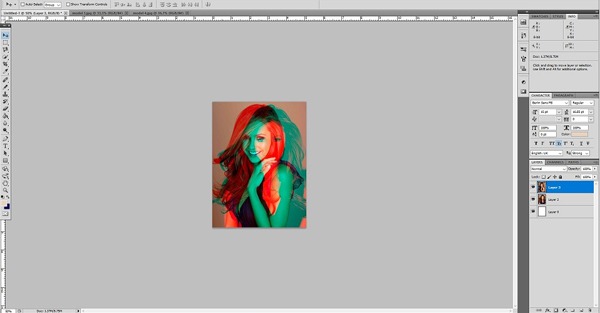
Step:3
To apply the effect double click on the layer 3
Step:4
Layer style box will open

Step:5
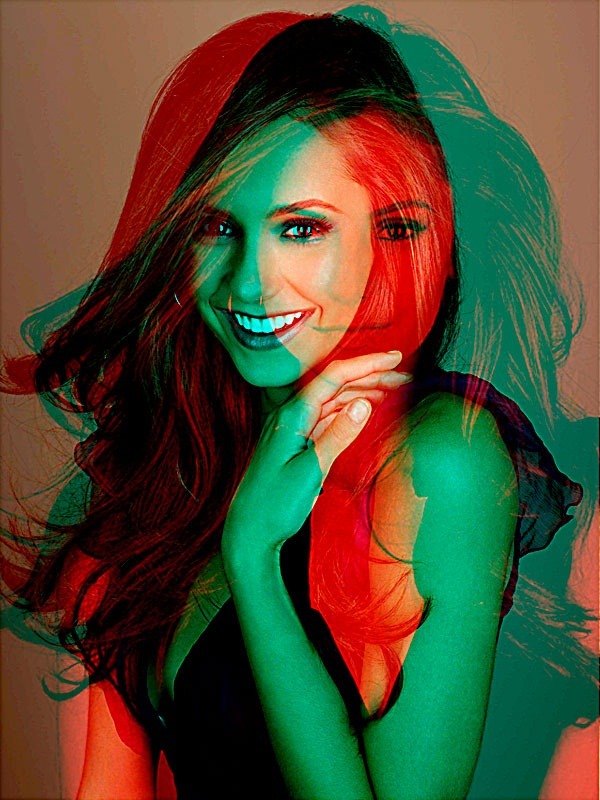
In the blending option if i checking the ‘R’ will give you the red and blue effect and click.
Step:6
Click on to the “create new fill or adjustment layer
Step:7
Select “levels” to adjust the image contrast
Step:8
Adjust effect by dragging the arrow
Create an Animated Interface GIF – Photoshop
Step:1
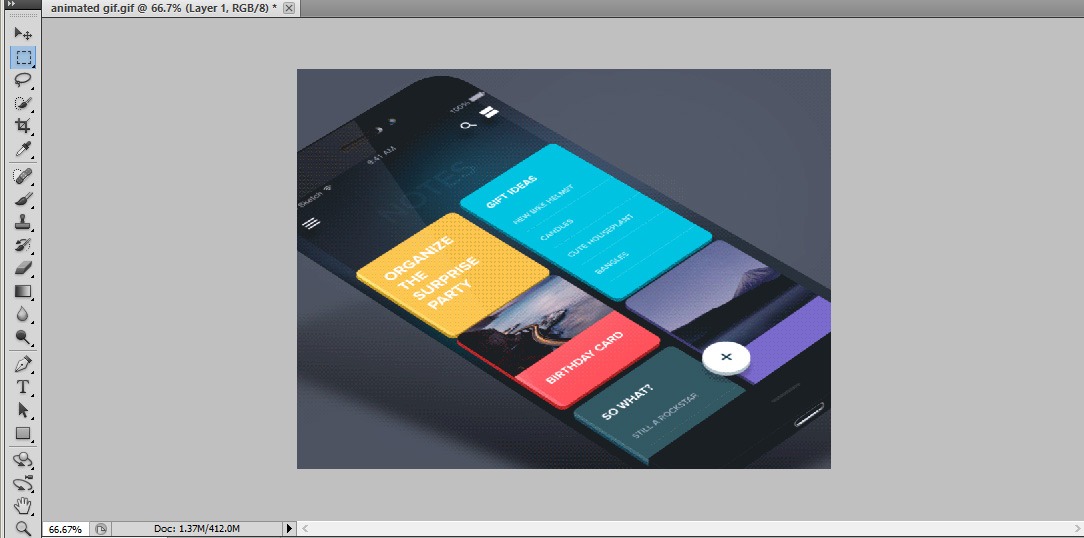
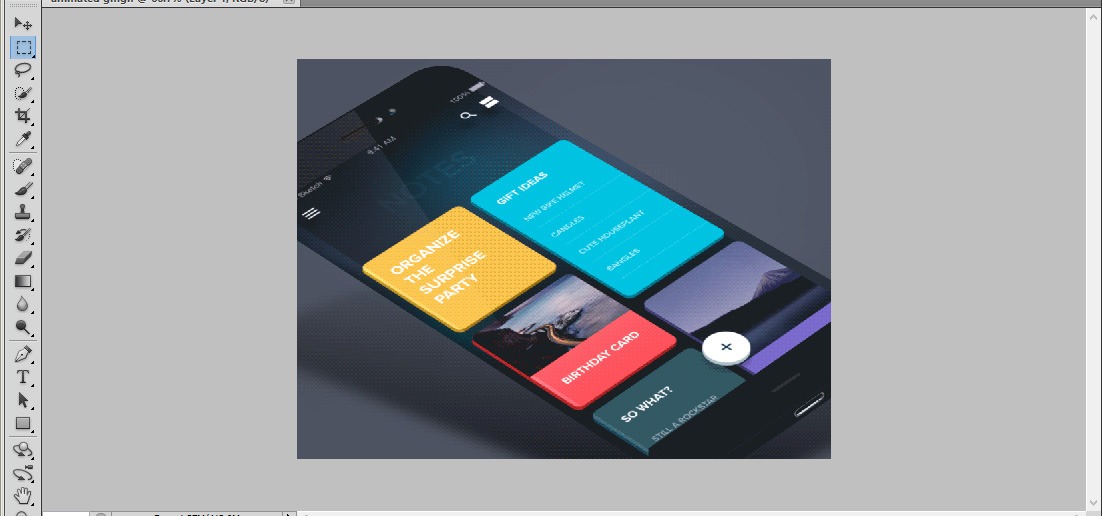
Open a document of width 640 pixels and height 1136 pixels.Create a phone UI according to our needs. Draw a Circle with stroke 3pt. Open the timeline panel and make a new frame.
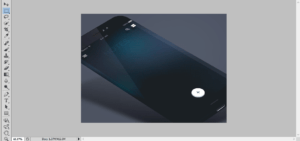

Mobile UI
Step:2
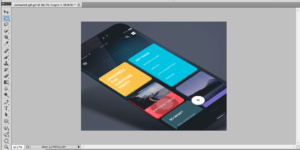
Create a rectangle shaped image and fill with color and add text to it.Create another rectangle and fill with color.Add a frame to it.

Timeline panel
Step:3
Make 0.1 seconds time for the first frame.Create next frame by creating different gadgets. Apply the tween command between last and first frames.

Mobile Gadgets
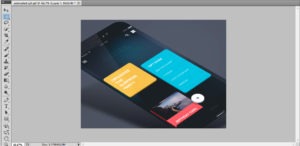
Step:4
Add a new frame by creating a gadget. Insert a nature focused image in to a rectangle.Set its duration to 0.1 second. Create two more frames by creating different gadgets.
Animation frame
Step:5
From timeline panel, click Flatten frames into layers. Every Frame will be converted in to flat layer. For example, if you have 10 frames you will also get 10 flat layers.
Flatten frames
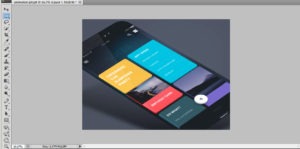
Step:6
According to the frame set the time duration as 0.1 second. Arrange the frames according to our needs. If you think the animation is too slow, you can make it faster by selecting all the frames and set the duration to 0.2 seconds.


Duration setting
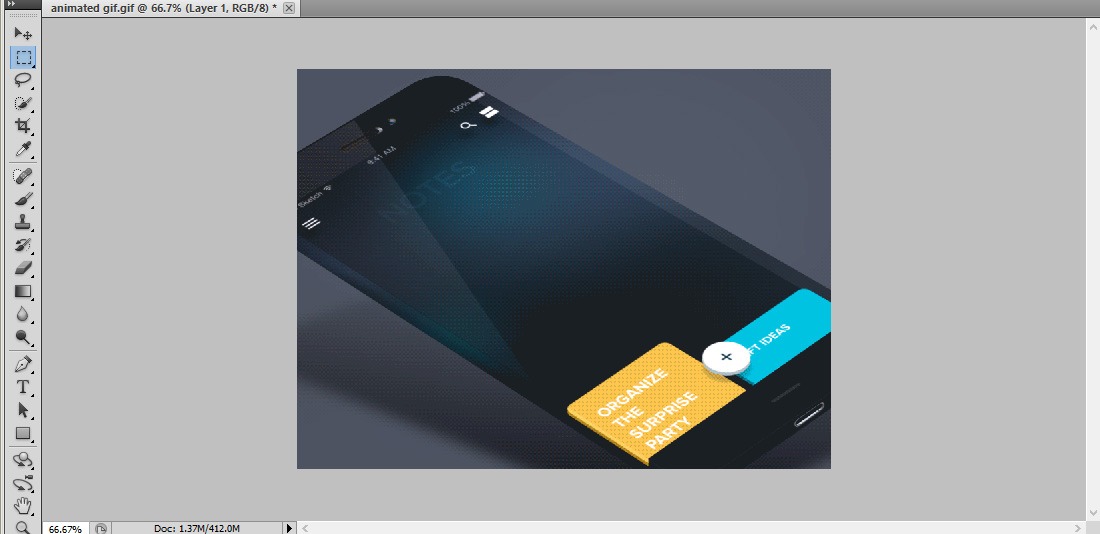
Step:7
Apply the tween command again to make a new animation between first and last frame.So this is the far animation we get,Which gives a best scrolling UI.Save the file in a GIF Format.

Animated gif
Double exposure effect in Photoshop
Step:1
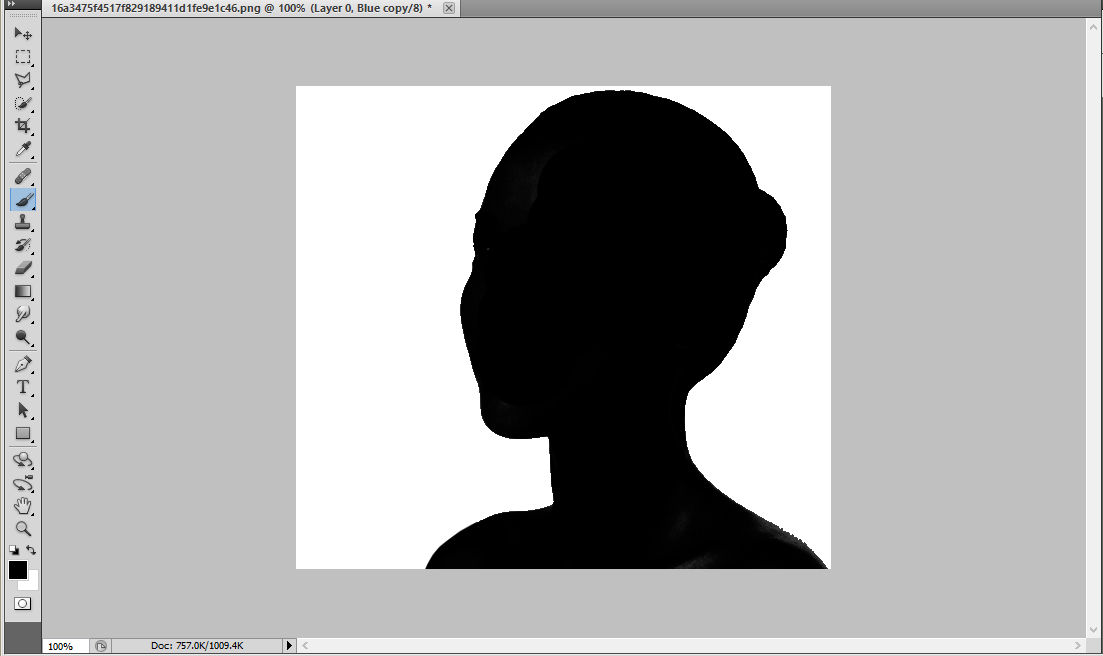
Open the Photo document in Photoshop. Go to channels .In Channels make a Copy of the blue layer by Pressing Ctrl+j
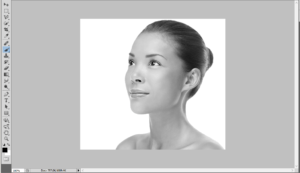

Beautiful girl
Step:2
By Keeping in blue layer Go to adjustments-> levels and make the adjustments.Then make the black color as foreground and use the brush tool to color the image.

black shadow
Step:3
Now turn off the blue layer in that channel. Then go to image-> adjustment -> Inverse. Make a Copy of that Layer.Make the background as white.
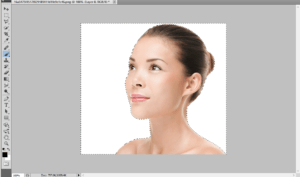

Attractive girl
Step:4
Now open the Forest image in Photoshop and Place that image above these two layers.Press Ctrl in that original image and add a layer mask to that above forest image.
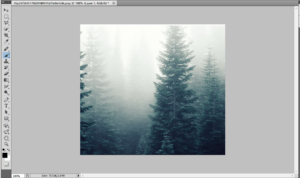

Deep Forest
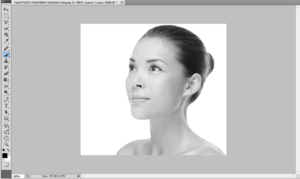
Step:5
Now make a Copy of that girl image and Place above these. Go to Image-> adjustments -> De saturate. now change the blending modes to multiply.

De saturated image
Step:6
Add a layer mask to it and make some adjustments using black brush. Open the forest image and go to blur -> Motion blur and make the adjustments and add a layer mask to it. Reduce the opacity to 40%.

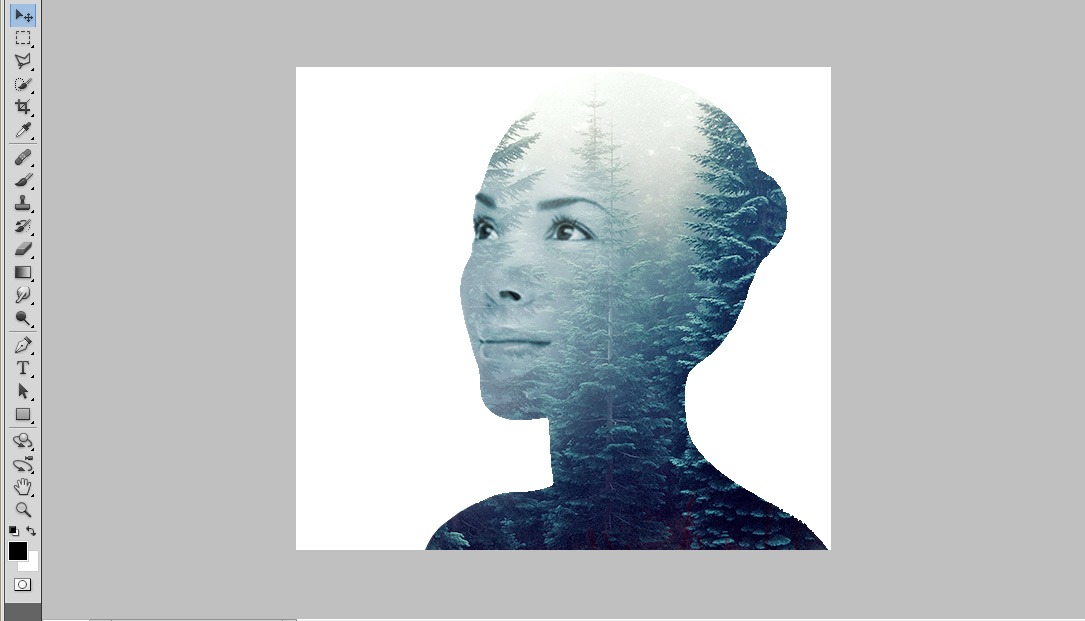
Double exposure
Painterly glow effect using Photoshop
Step:1
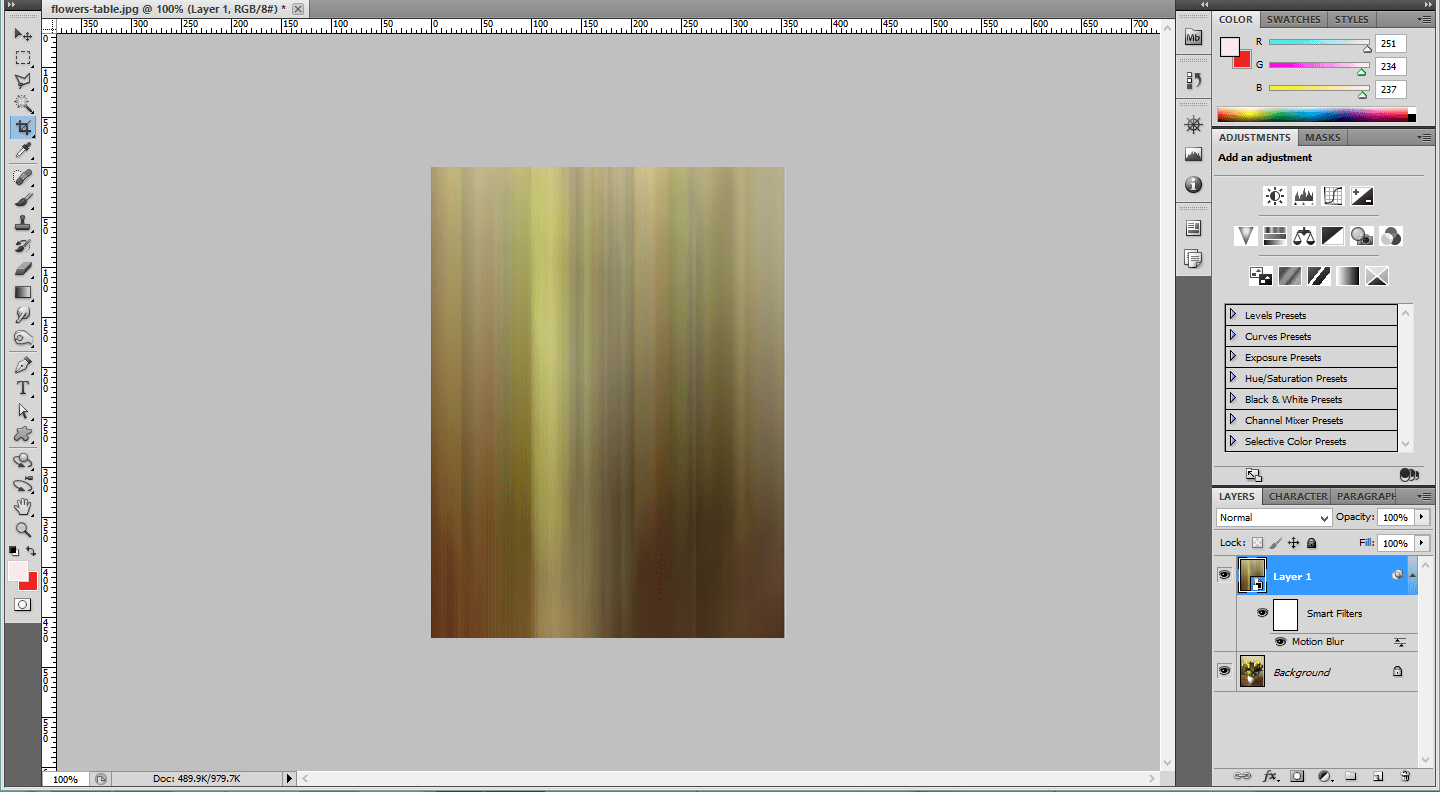
Open the Photo document in Photoshop.Make a copy of the background layer.Then Convert it to smart filter. Go to Filter-> Convert to smart filter.Then add a motion blur filter. Go to blur -> Motion blur -> angle-90 and distance -45o.

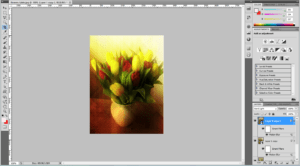
Flower pot with Blurred effect
Step:2
Convert the blending modes from normal to hard light. Then make a copy of the layer1. Change the values of the motion blur filter.Change the value of distance as 355 and angle as -45.

Lighting glow effect
Step:3
Make a copy of the layer 1 copy by pressing ctrl+j. Change the values in the motion blur effect as distance- 290 and angle -45.
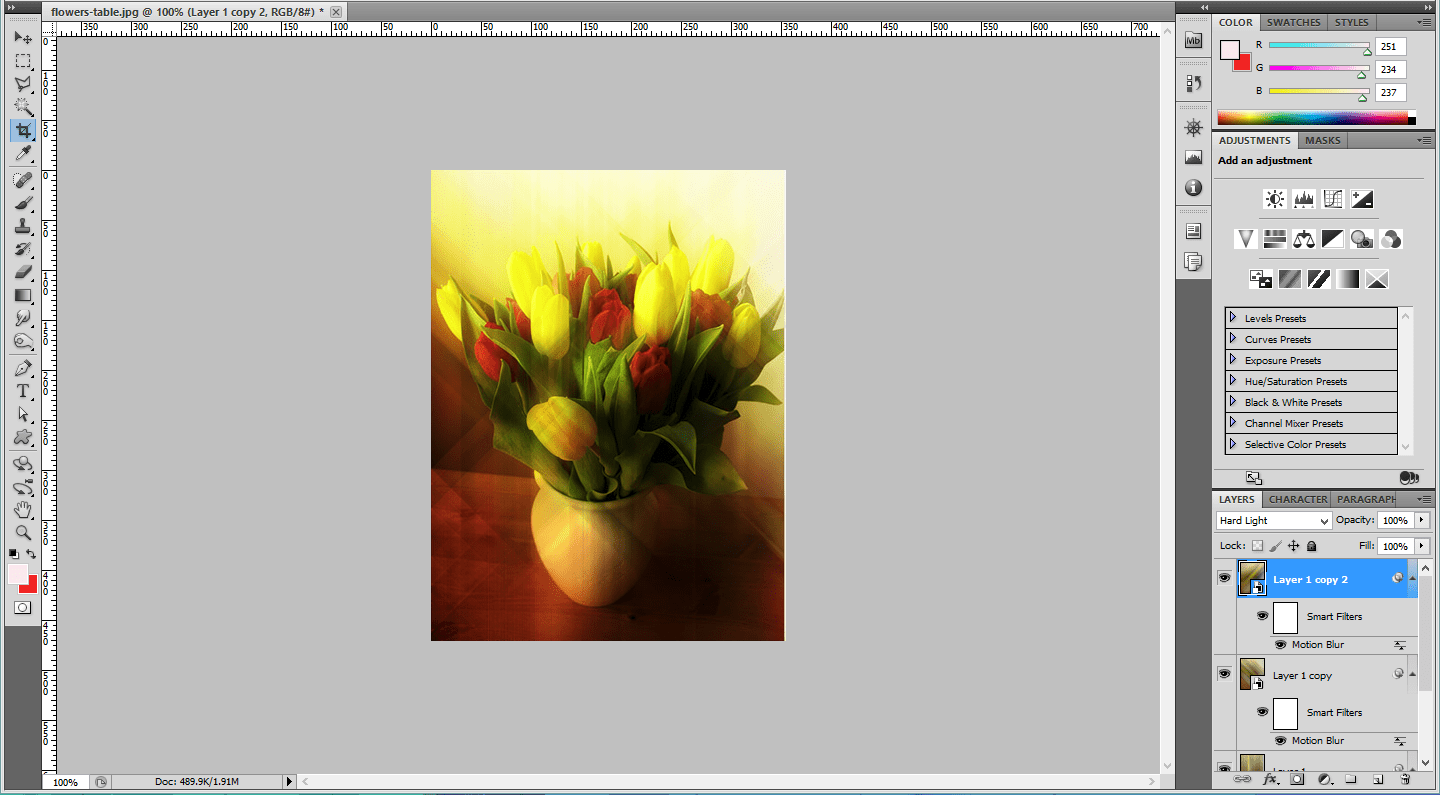
Glimmered flower pot
Step:4
Make these layers in to a group by pressing ctrl+g.Add a layer mask to the group.use the gradient tool( black ad white) and make a paint over the layer mask from center to the end point.

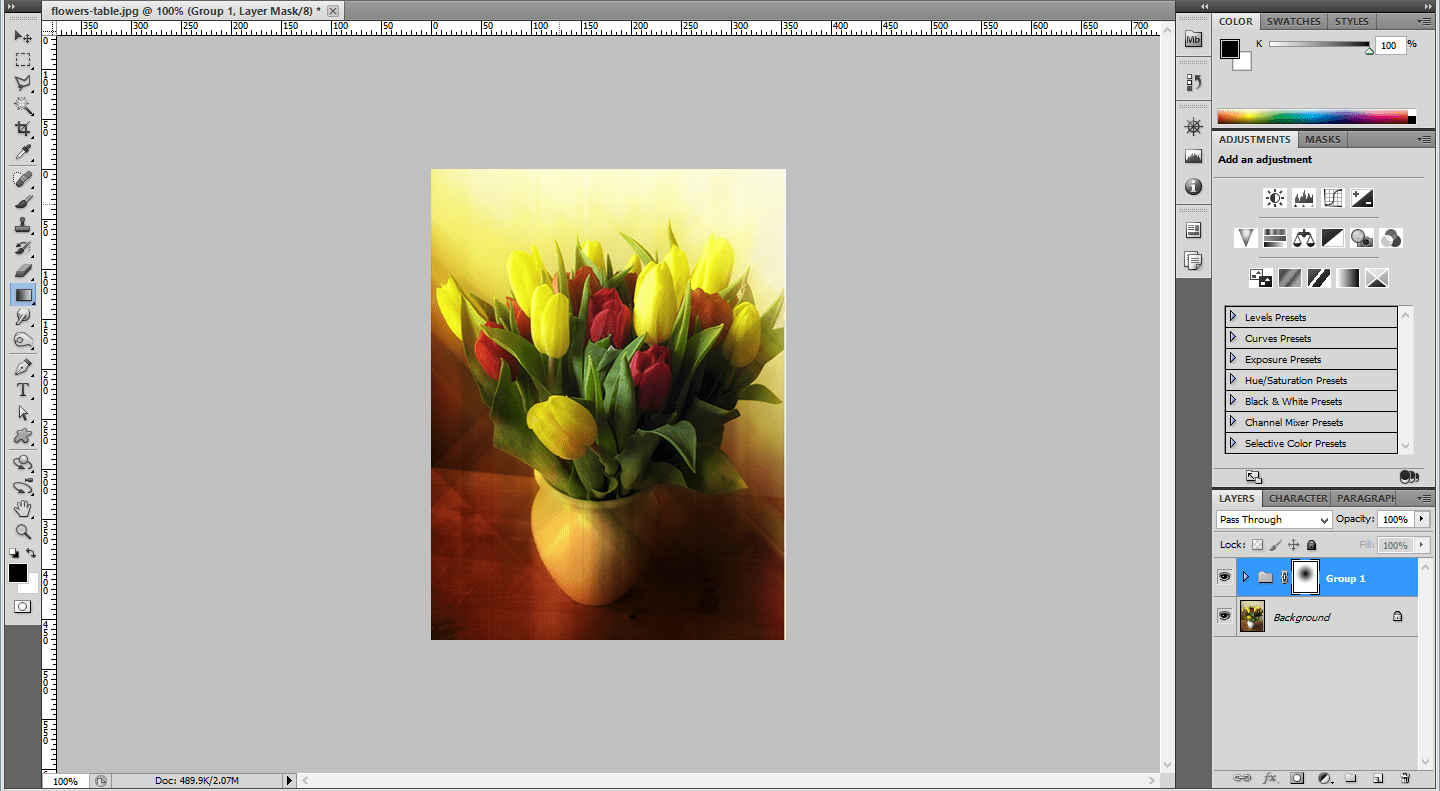
Painterly glow effect
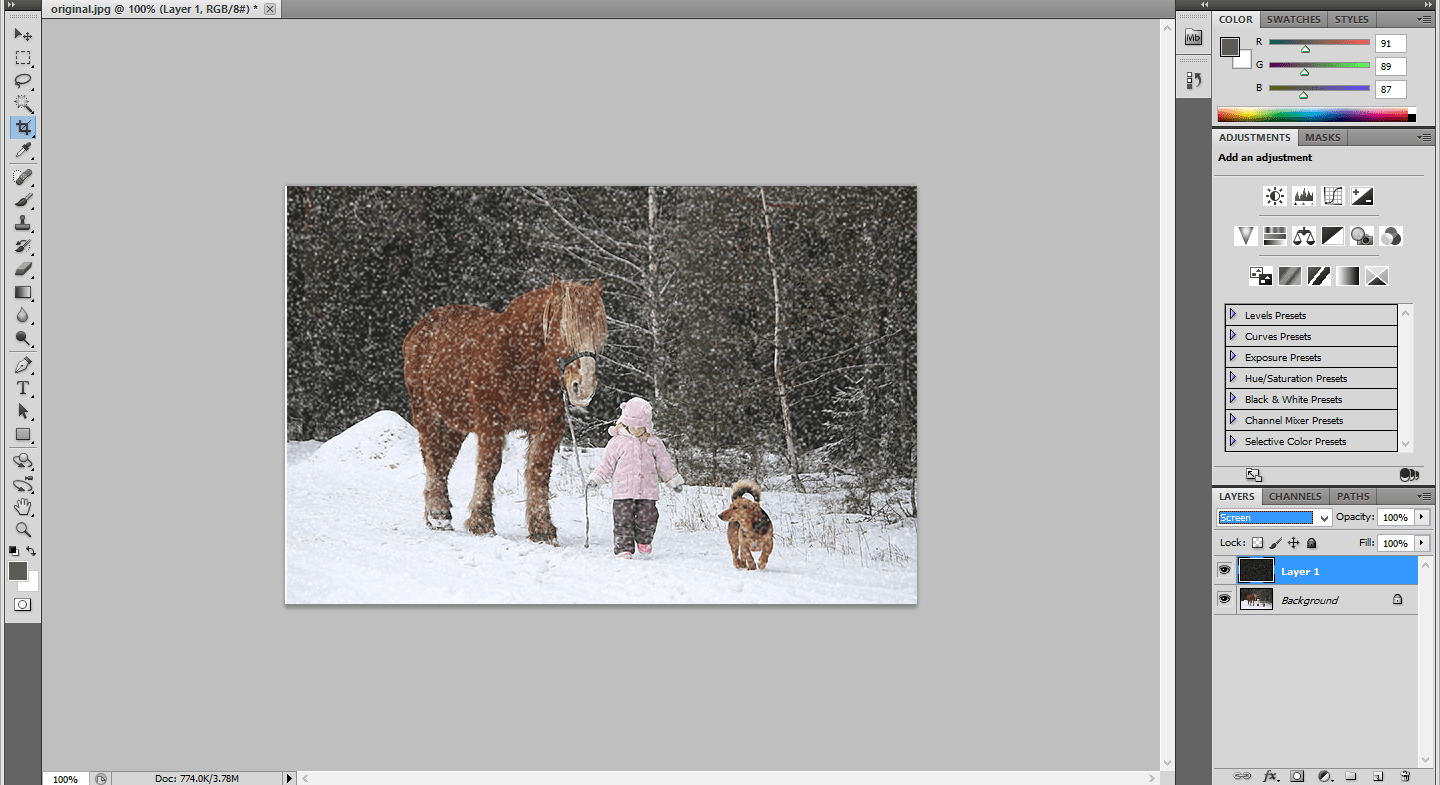
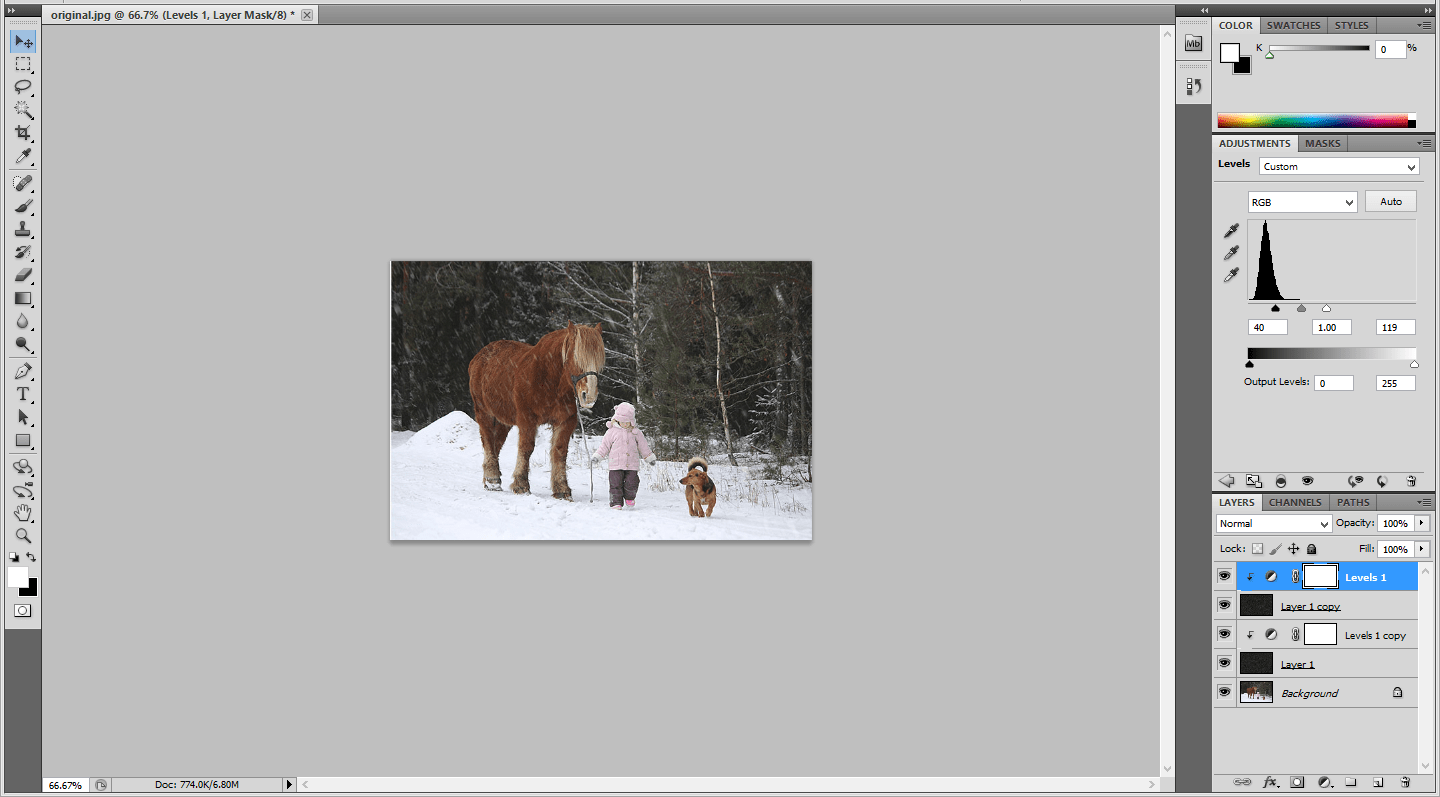
Weather effect using Photoshop
Step:1
Open the document in Photoshop and place the photo in that document. Add a blank layer above this background layer.
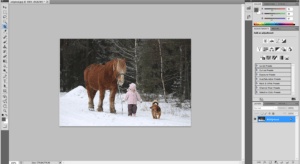

A child with her cozy sweater on the snowy site
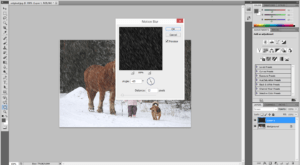
Step:2
Go to edit-> Fill-> black color. Then go to Filter -> Noise -> Add noise -> amount ->25 and make the distribution as Gaussian.
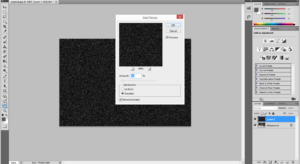

Noise effect
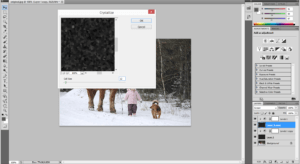
Step:3
Now we want to make a transformation by pressing ctrl+t.Then make the changes in width and height as 200 pixels and make the blending mode as screen.

snow weather effect
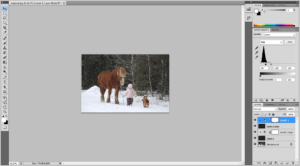
Step:4
Then go to filter -> blur -> Motion blur and make the angle as -65 and the distance as 12 pixels.

Snow falling
Step:5
Then make a level adjustment and add a clipping mask above it.Make a copy of that layer. Then go to edit -> transform -> rotate 180.Then go to filter-> Pixelate -> crystallize.

Snow falling in a snowy site
Step:6
Go to Filter -> blur -> Motion blur -> angle -> -65 and distance as 20 pixels.Then make a changes in the level adjustment.
winter effect
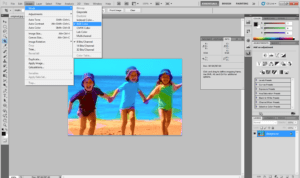
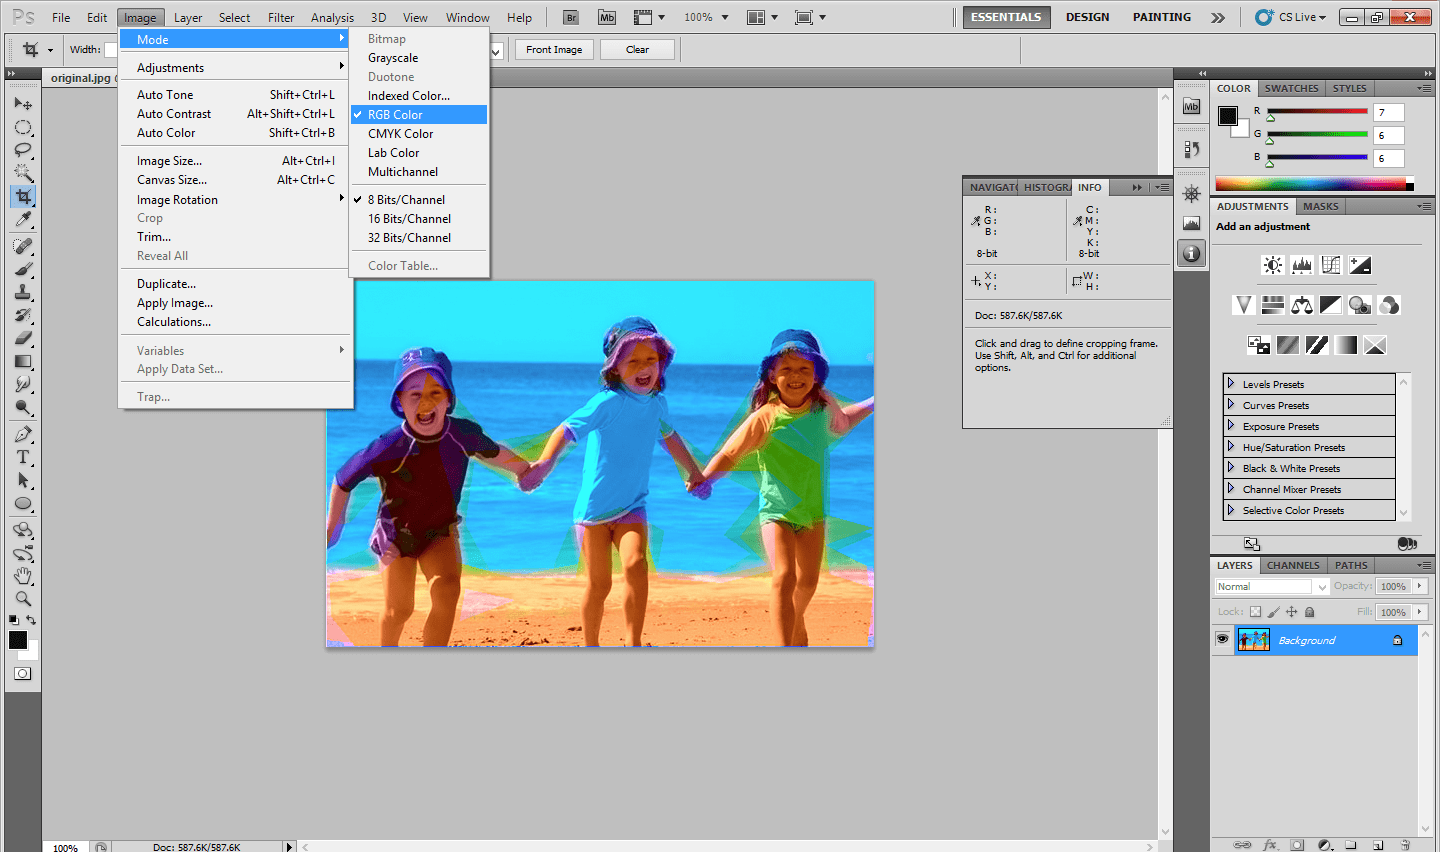
Turning a Photo in to Pop-art effect
Step1:
Open the document in Photoshop.Go to Image -> Mode -> RGB color to Lab Color.
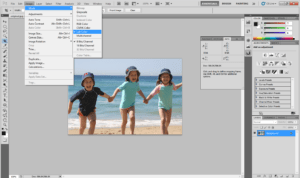

three babies
Step:2
Go to Channels -> a channel and go to image -> adjustments -> Posterize. The Posterize value will be 4.

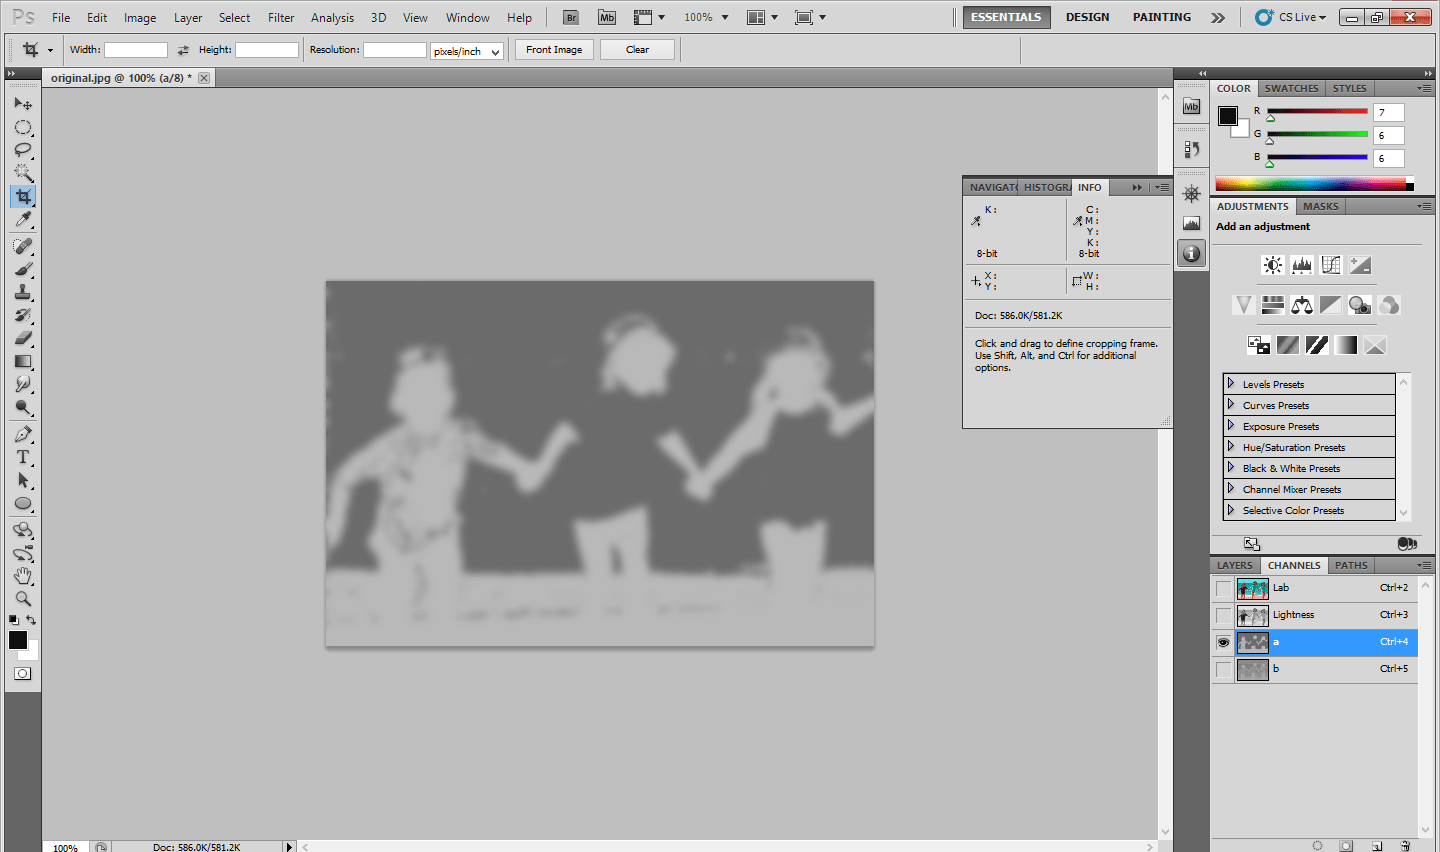
Gray scale image
Step:3
Go to b channel -> Image -> adjustments -> Posterize ->4 and have a blur filter. Go to Filter -> Blur -> Gaussian Blur
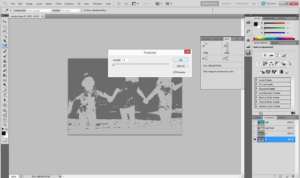

Gaussian Blur
Step:4
Then Go to Filter Gallery -> Cutout Effect. Adjust the Values according to Your needs.It will give a Pop art effect.


Pop-art image
Step:5
Change the Lab color mode to RGB Mode .Now the image turns in to a Pop-art effect.
Children’s with Pop-art effect