


Morphing Text With Image In Photoshop CS
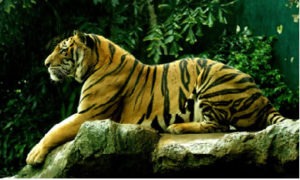
Starting image

Final Result
Step 1: Add a new image
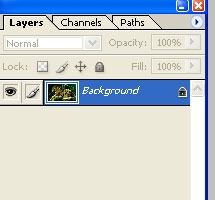
Add new image and if you look in your Layers Panel , you’ll see the image sitting on the Background Layer,
And Double click the Background layer and choose the new name ,for example Layer
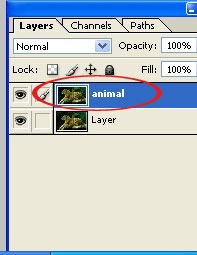
Step 2: Copy the new layer and create a new layer
Next you will select the current layer (layer) and enter the command (Ctrl+J). after copy the new layer is create.
And also chose the name from the image for example(Animal). After create the new white background layer.
First choose the create new fill and select the solid color and choose the white color background .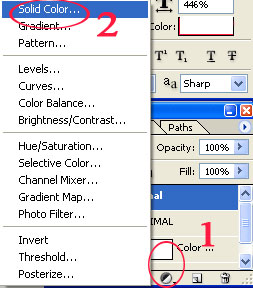
Step 3: Drag the solid color fill layer below animal layer
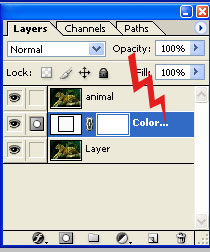
We need to move the Solid Color Fill layer below Animal Layer .
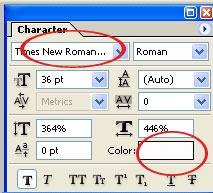
Step 4: Select the Text tool
First you will select the Text tool (or) Ctrl+T and choose the font type for example (Times New Roman) and also choose the font color White.
Step 5: Add your Text
click inside your document and add your text. For example I’ll type the word “Animal”


Step 6: Drag The Type Layer Below Animal Layer
we look in the Layers panel, we see our newly added Type layer sitting above animal Layer and we need to move it below Animal Layer 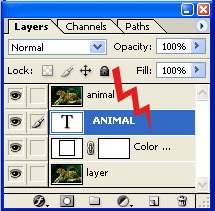
Step 7: Create a Clipping mask
First select the animal layer after go to the layer and select the Create Clipping Mask .
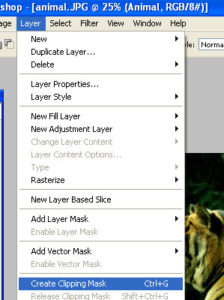

Next you will get the Final image result.


No comments yet.
Leave a comment
Quick Search
Blogroll
Categories
| M | T | W | T | F | S | S |
|---|---|---|---|---|---|---|
| 1 | 2 | |||||
| 3 | 4 | 5 | 6 | 7 | 8 | 9 |
| 10 | 11 | 12 | 13 | 14 | 15 | 16 |
| 17 | 18 | 19 | 20 | 21 | 22 | 23 |
| 24 | 25 | 26 | 27 | 28 | 29 | 30 |
| 31 | ||||||