


Strips Effects using Photoshop CS4
Step1:
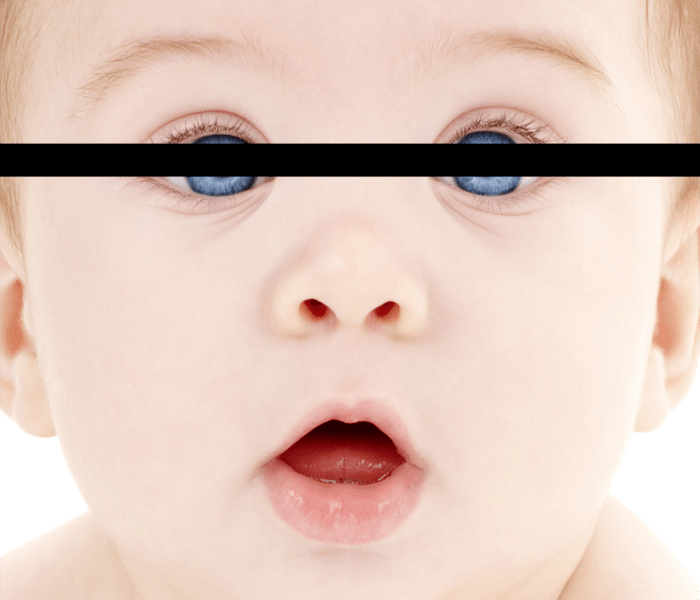
Open the new image and rename the layer. For example baby layer. Crop the image.

Step2:
Create a new layer above the baby layer. Change the new layer name for example strip layer.
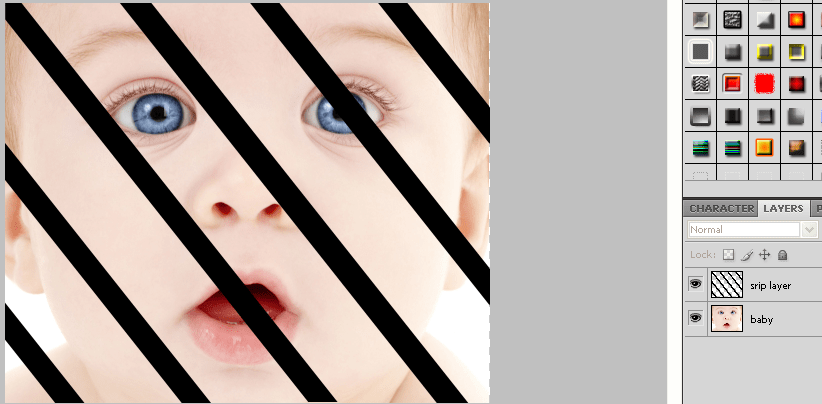
Step 3:
Select the strip layer and select the rectangular selection using the marquee tool. After fill the selection for the black color ( press Alt + Back space). 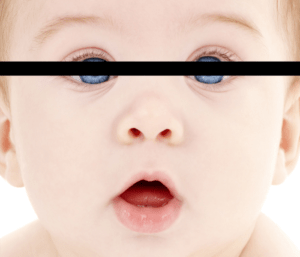
after change the direction for the strip layer for below the image. After merge the strip layers.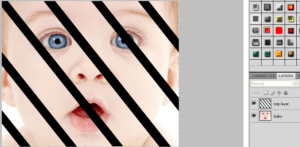
Step 4:
Hide the strip layer eye icon. After copy the baby layer(Ctrl+j ) and hide the original baby layer.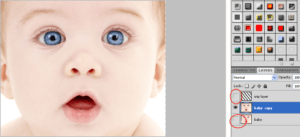

Select the baby copy layer and add the mask.
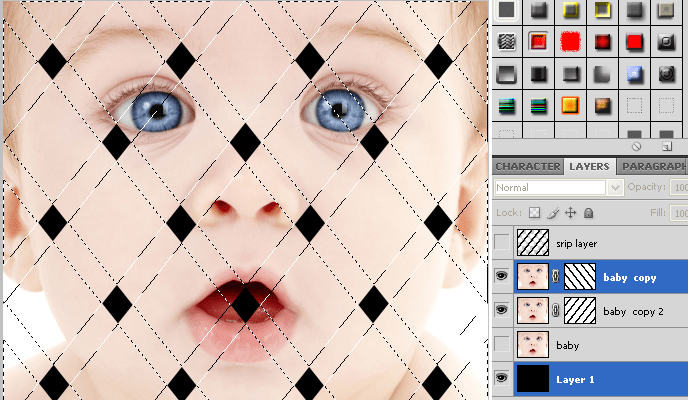
Step5:
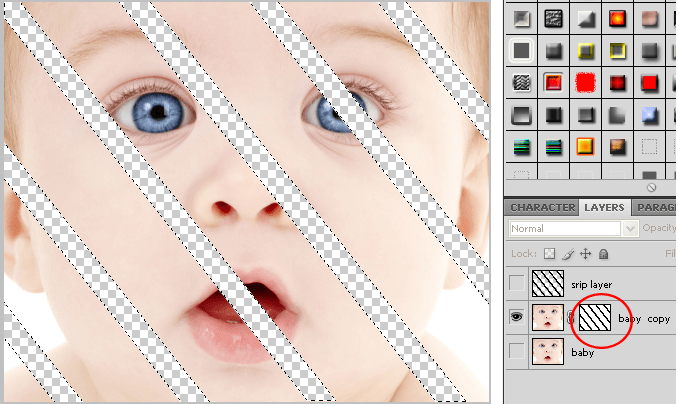
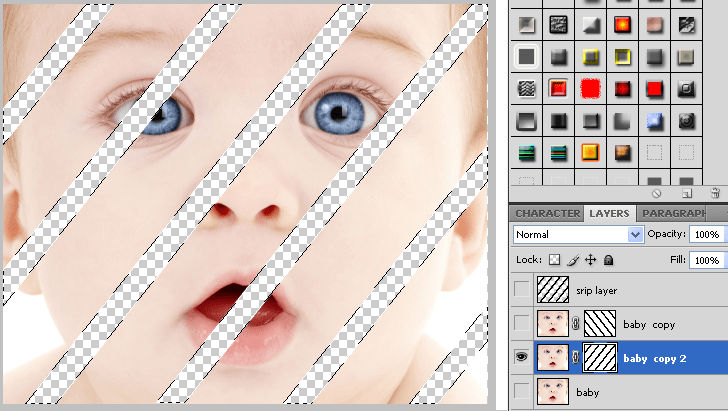
First select the Layer mask thumbnail for baby copy layer. Next ctrl+ click the strip layer after press the Alt + back space. You will get below the image. 
Hide the baby layer and unhide the strip layer and select. After crop the strip layer in Selection around the complete layer.
Again copy the original baby layer and add the mask.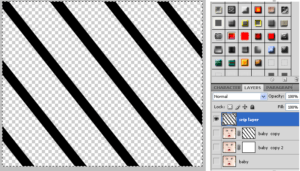
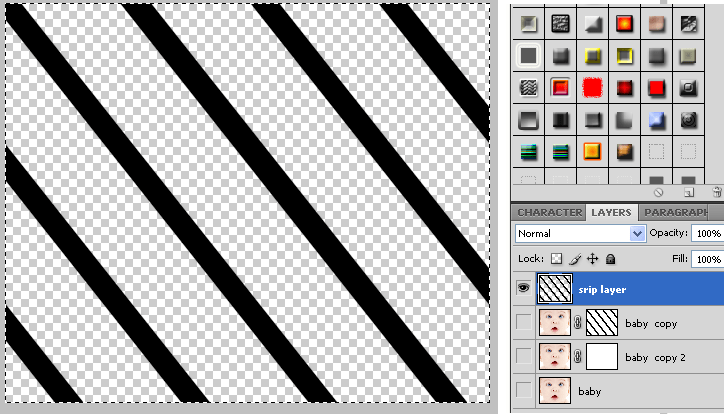
Press the ctrl + t and right click to select the flip horizontal and press enter.
Step 6:
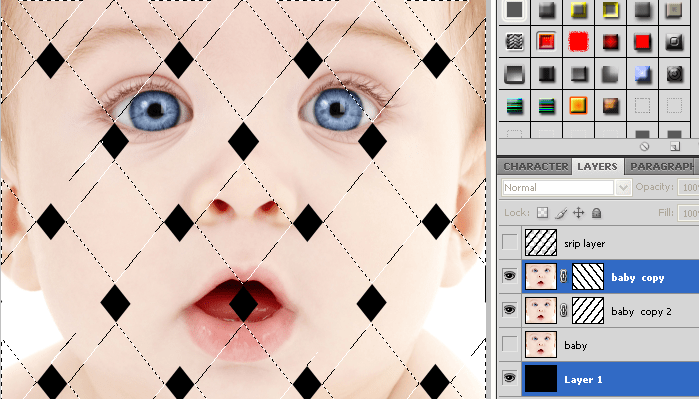
Hide the strip layer and select the baby copy 2 layer and select layer mask thumbnail for baby copy2 layer. Next ctrl+ click the strip layer after press the Alt + back space. You will get below the image.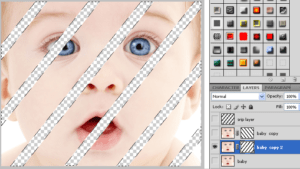
Step7:
Deselect the selection and add the new layer below the all the layer and also fill the black color. Unhide the baby copy layer and you get below the image. 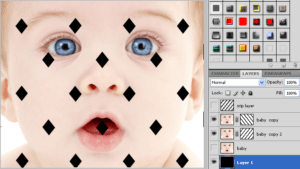

Next press the ctrl + click on baby copy layer mask thumbnail and you will get below the image.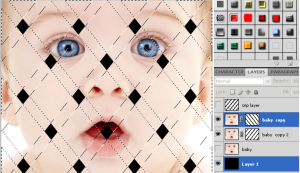
Step 8:
Select the baby copy layer and deselect the alternate boxes using lasso tool and select the original baby layer and press the Ctrl + j. 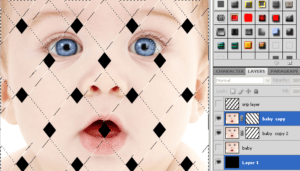
Next you will get the new layer after change the layer name for example shape1.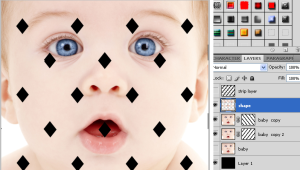

Step 9:
Next select the baby copy layer.
Next follow the step 8
This time deselect the other alternate selection boxes. New layer name is shape2.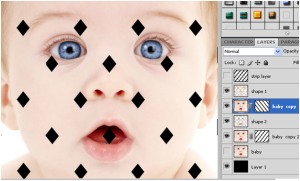

Next select the shape1 layer and right click after press create clipping mask.
This time select the shape2 layer and right click after press create clipping mask.
Step10:
Double click the shape1 layer and change the blend mode screen to normal.
Choose the color black and size is 60, range is 55 and opacity 75. Other values are set 0.
Next same as the shape2. Finally you will get below the Final image.
Final strips effect image.

No comments yet.
Leave a comment
Quick Search
Blogroll
Categories
| M | T | W | T | F | S | S |
|---|---|---|---|---|---|---|
| 1 | 2 | |||||
| 3 | 4 | 5 | 6 | 7 | 8 | 9 |
| 10 | 11 | 12 | 13 | 14 | 15 | 16 |
| 17 | 18 | 19 | 20 | 21 | 22 | 23 |
| 24 | 25 | 26 | 27 | 28 | 29 | 30 |
| 31 | ||||||