

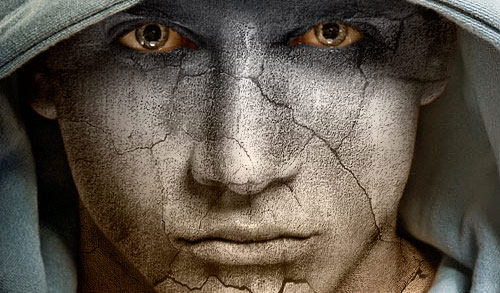
Basically, in this tutorial I’m going to be showing you how to add texture to the skin like the one in the below image.
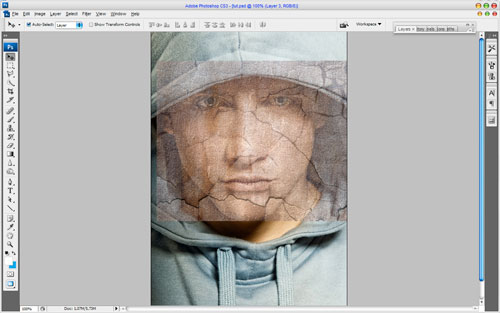
Firstly, start by finding a stock photo that you can add the texture to. For example, you can use this one or you can of course, go to Google Images and look up some picture you are interesting in. Also you need to find some appropriate stone texture. You can do it in the same way or feel free to use mine. Ok, now open up both of your photos in Photoshop, you can either keep it at it’s current size of resize it down a little bit if you want. After that bring the texture picture to the canvas with the man’s face:

Flip this texture vertical with Edit > Transform > Flip Vertical and set opacity up to 50% for this layer:
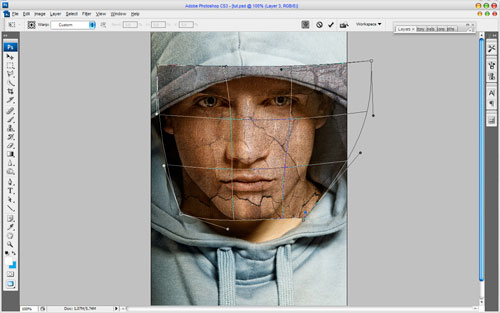
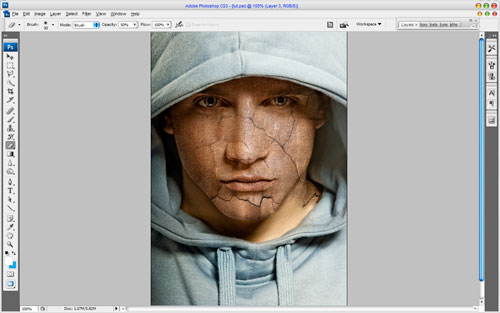
Ok, then mess with the layer mode & opacity/fill. I tried Multiply with opacity of 80%. After that apply Edit > Transform > Warp to transform the texture as on picture below:
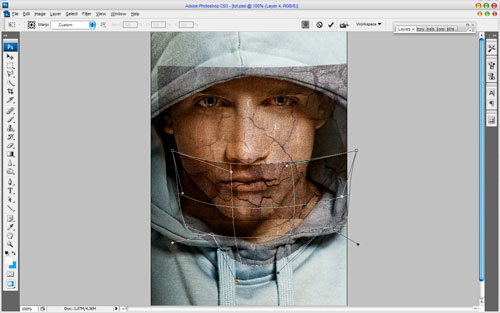
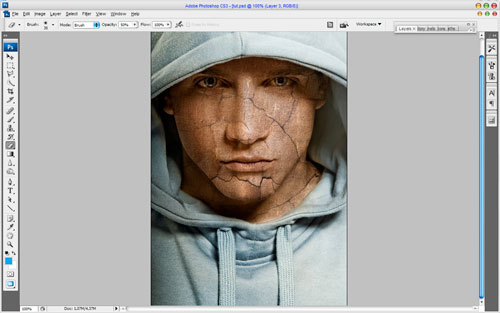
This texture will cover the face and we need one more for the neck covering. Copy the stone texture one more time to our canvas and then change layer mode to the Multiply for the new layer, also set opacity to 80% up. After that resize it a little bit and transform is as below using Edit > Transform > Warp like on picture below:
Now it’s time to compose two different texture layers in one and cut away the textures out the skin area. Hide the upper layer (click on the eye, which indicates layer visibility) and go to lower layer with the texture. Select the Eraser Tool and a soft round brush about 20 px and process the edges to get the picture like mine:
Go back to the hidden layer and make it visible again. Now process its edges in the same way.
Merge two of these layers and change layer mode to Multiply again. Then you might want to make more sharpen this layer. Get out the Sharpen Tool and a soft round brush about 400 px and make a little sharpen work:


Time to make the texture three-dimensional. For this effect use Dodge Tool (Range: Highlights, Exposure: 35%) and Burn Tool (Range: Shadows, Exposure: 40%) to make some parts of the face more brightness and bring some shadows to the dark parts. Try to do it more realistic.
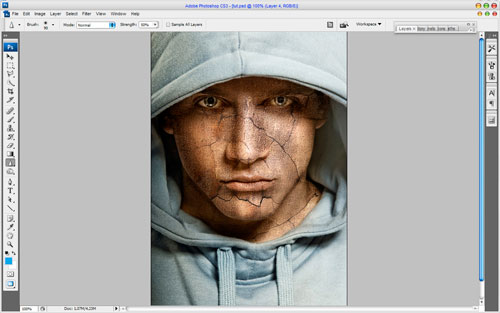
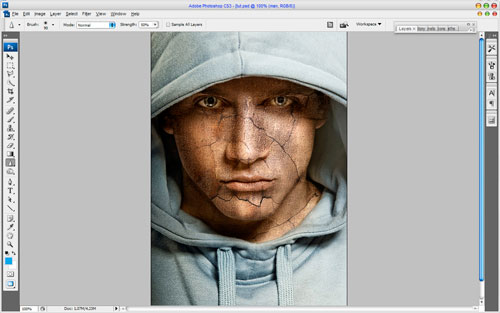
Now I would like to bring man’s clothes some sharpness. Use the Sharpen Tool (Size: 90px, Mode: Normal, Strength: 50%) to get the picture similar to this:
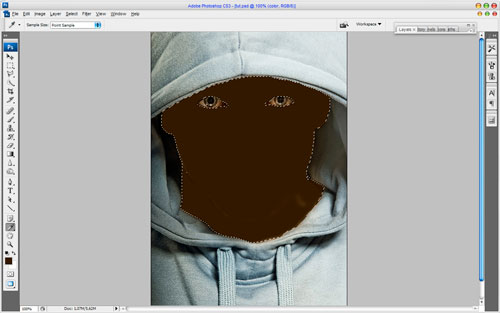
Looks good! Isn’t it? But we are not finished yet! Now time to add some color to the skin. Use Select > Load Selection to create selection as on picture below, after that create a new layer and fill the selected area with color of #331e01:

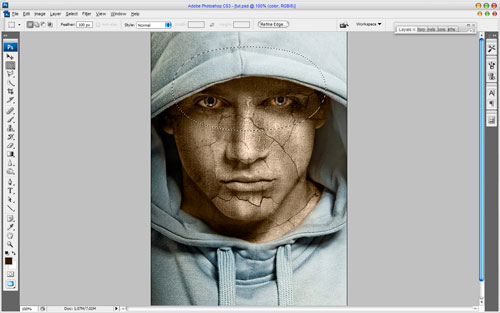
After creating a new color for the man’s skin I think we should add some cold hue to his face. For this effect select the Rectangular Marquee Tool (Feather: 100 px) and make selection as on picture below:
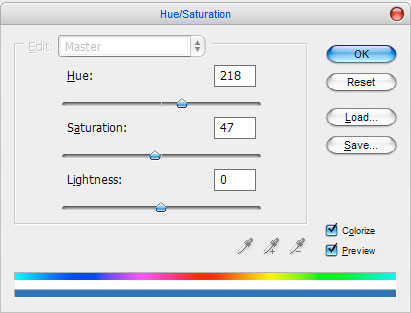
Then use Image > Adjustments > Hue/Saturation with similar settings to these:
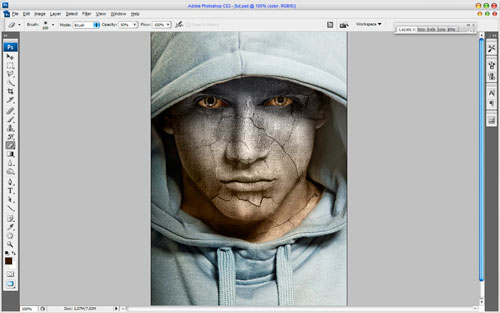
Remove selection with Ctrl+D. Now we have an effect like this one:

Looks great! To finish off the tutorial select the Eraser Tool and a soft round brush with size of 100 px and make clear the lower part of the face and neck, but a little bit!
That is it for now! Read this tutorial, make it and enjoy your own cool pictures! Also thanks for visiting Web designing blog.
Labels: Photoshop tips
posted by vonteity @ 1:52 AM permanent link | |


Post a Comment