


Archive for September, 2016
Crack effect in Face-Photoshop Tutorials
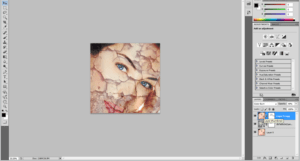
Step1:
Open a document in Photoshop.Place the image which we want to do the cracking effect.Hide the Background Layer.

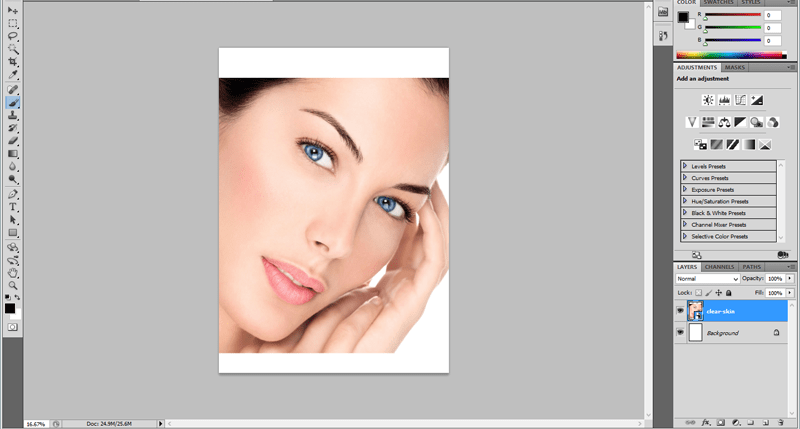
Beautiful girl
Step2:
Again Place the Crack Texture above the image layer.Transform it until it sets in to face.Make Blending Mode as normal.

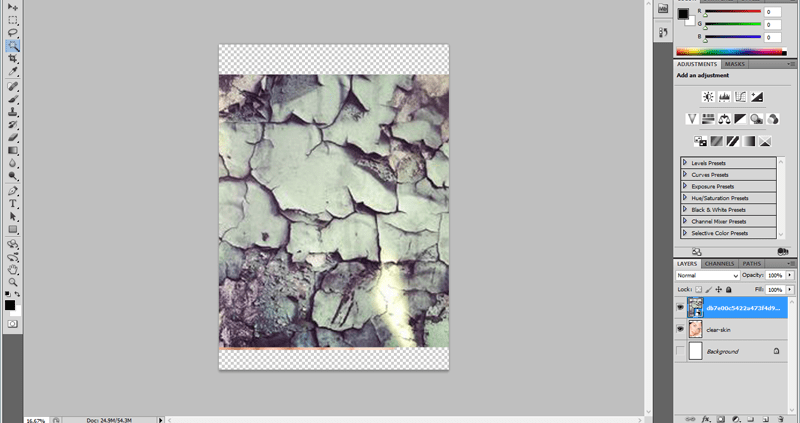
Texture effect
Step3:
Copy the image layer and delete the background Layer.Duplicate image should be placed above the Texture Layer.
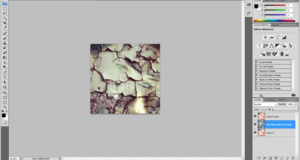
Face with crack
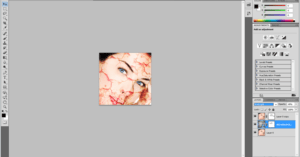
Step:4
Reduce the Texture Layer opacity to 40%. No changes in Blending Mode.Now the Cracking effect is visible to us.

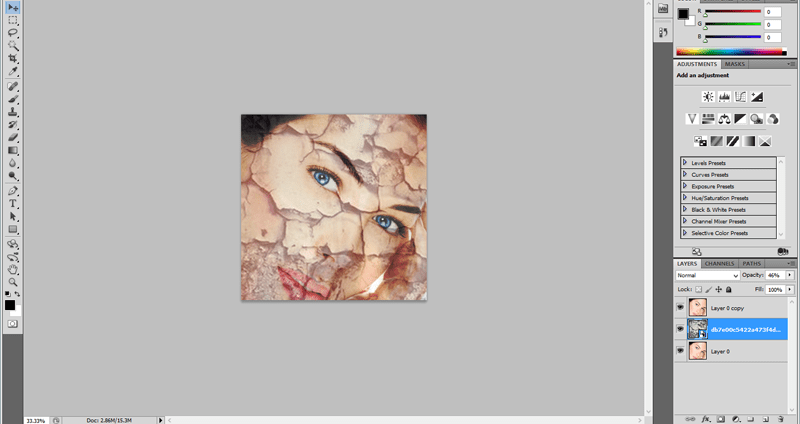
Scratches in face
Step:5
Add the Layer mask to both Texture Layer and Duplicate Layer.Remove some of the Portions like crack in the hair.In Texture layer change the Blending mode to Color burn and reduce the opacity to 49%
cracking effect in face
Step:6
In Texture Layer Change the Blending mode to Vivid Light.
face full of Scratches and blood
Motion Blur Effect and Bourne Ultimatum Color – Photoshop
Step1:
Open a Photo Document in Photoshop.Make a copy of that background layer.Choose the Foreground color as black.
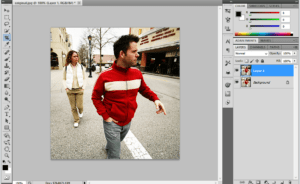
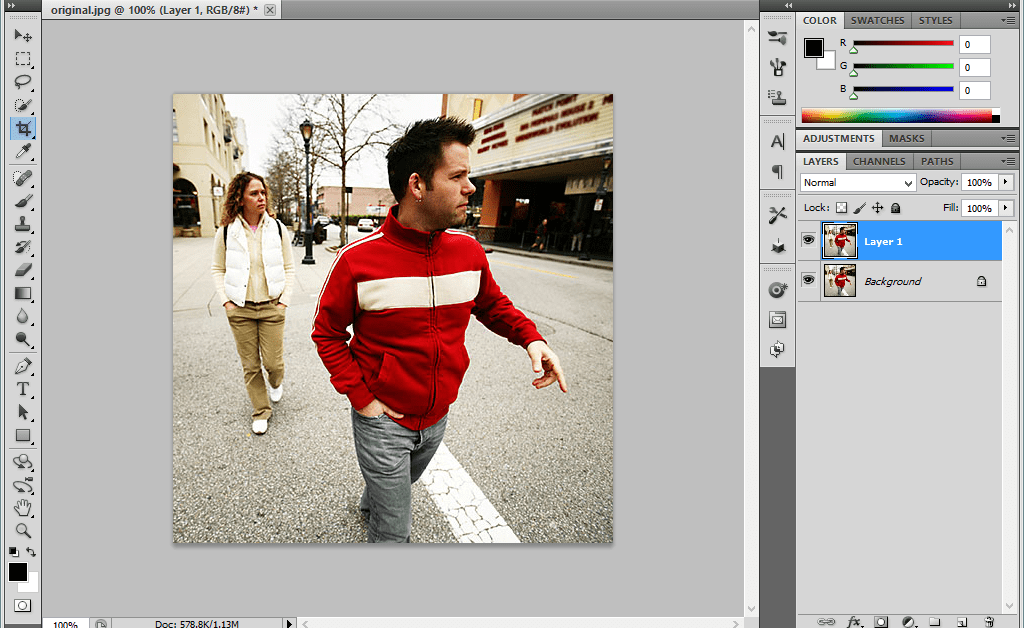
Background layer.
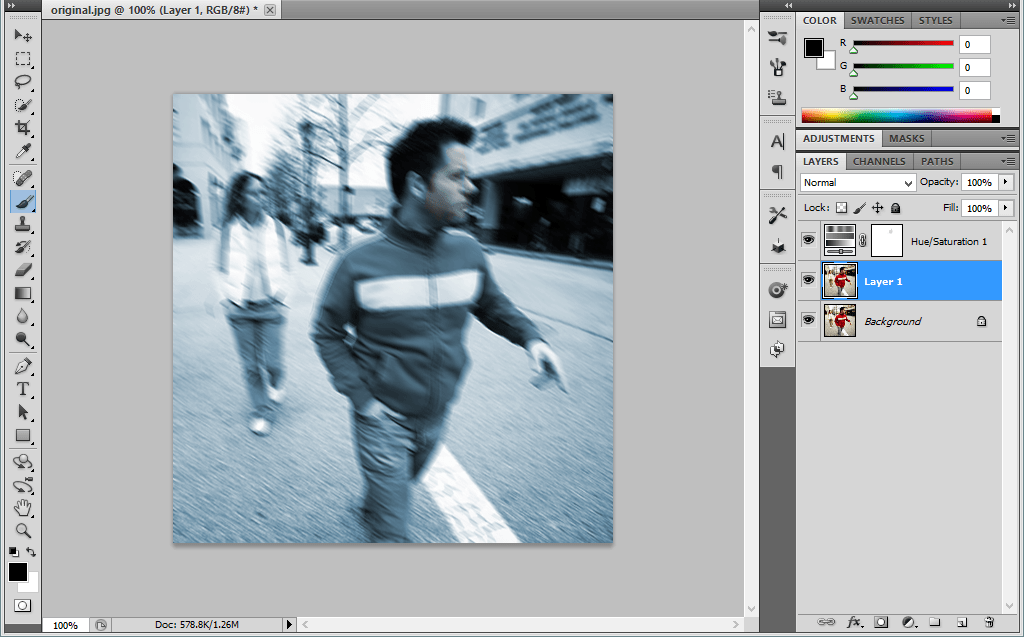
Step2:
Add a hue/saturation above it.Make the hue value as 199 and saturation value as 25.Then choose the brush size and color the face of the man to make as a Original Face.
Hue/Saturation
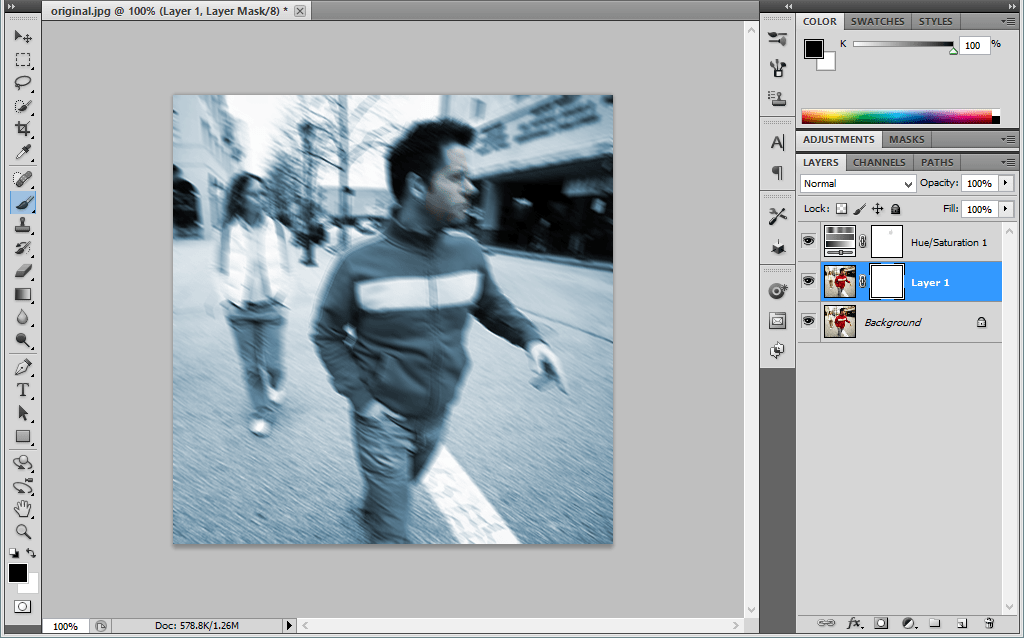
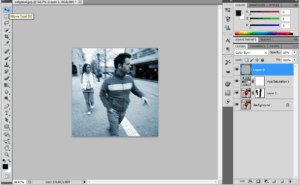
Step:3
Then go to Layer1 image.Make a Motion blur of that image.Go to blur -> Motion blur.
Motion blur
Step:4
Add a Layer Mask above it.Using the brush paint over the Mask. Add a New Layer above it.
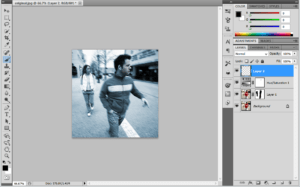

layer Mask
Step:5
Add a Noise filter to it.Go to Filter-> Noise -> Add noise.Then Change the Blending Mode From normal to Color burn and reduces the Opacity to 10%.
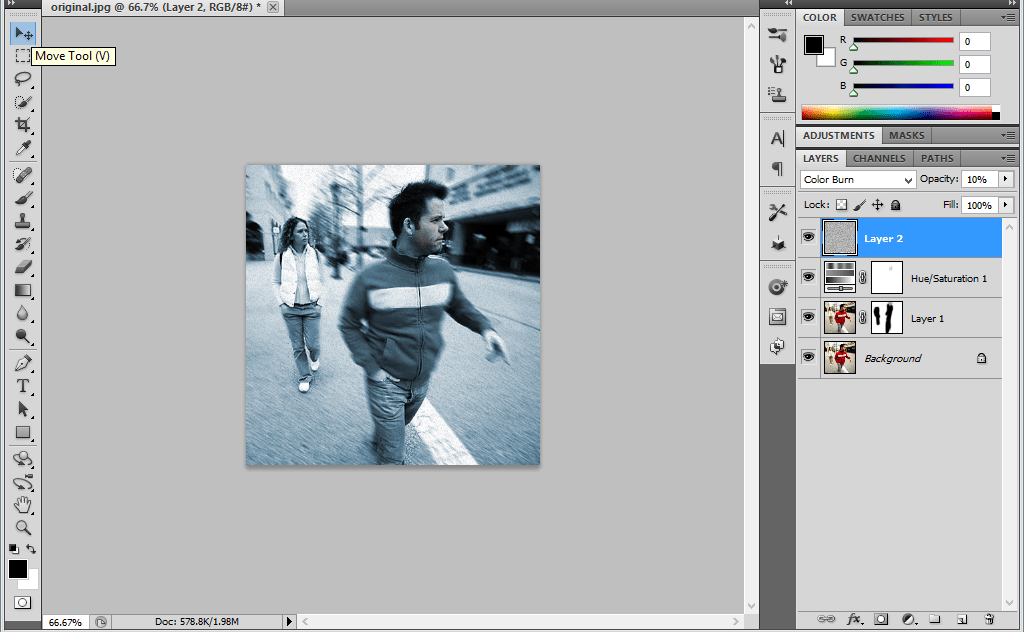
Final image
Wedding Couples in Wine Glass-Photoshop
Step!:
Open the Photo Document in Photoshop.Using the Elliptical tool Select a Portion Of that Couple.Go to Select-> Modify -> Feather->20 and copy that Particular Portion.
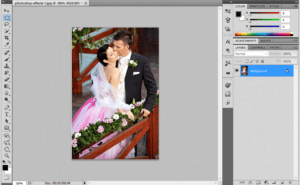

Background image
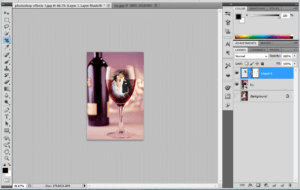
Step:2
Then hide the Background layer and now place the wine bottle image.Place the couple image in the wine glass.
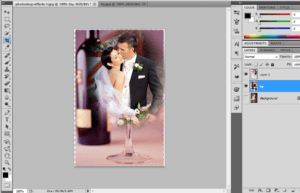

Image in Wine glass
Step:3
Then adjust the image to be placed in the wine bottle.Then apply the Layer mask in the Couple image.Use the Foreground color as black.Using the brush just Paint over the Layer mask
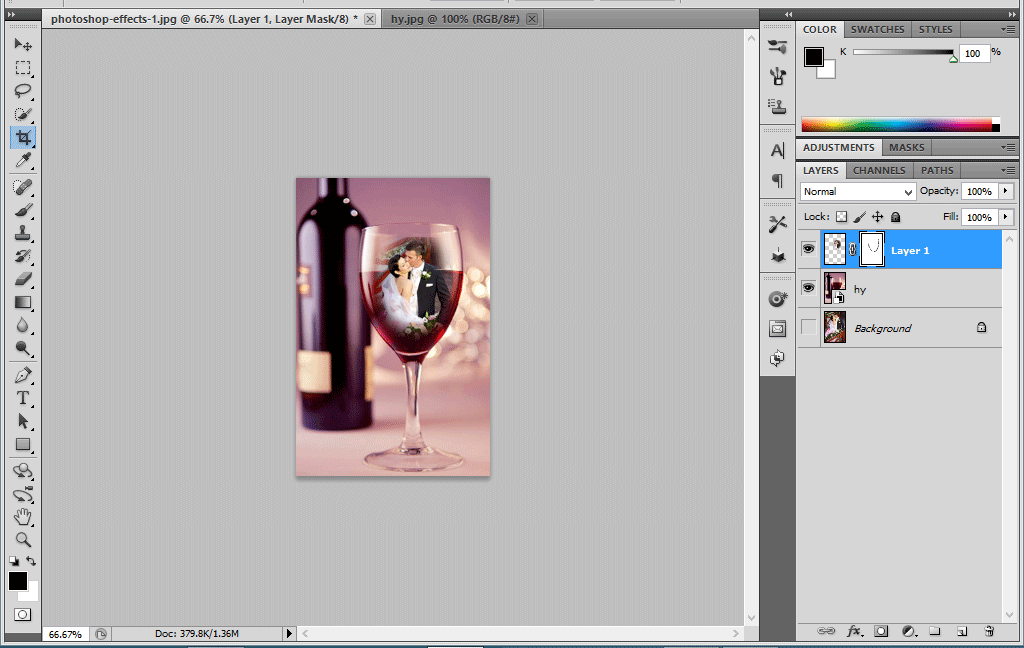
layer mask
Step:4
Then go to Blending Options and change the underlying layer as 177/235. Now the image will be blended with the wine glass.
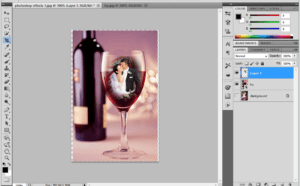

Final output