


Archive for August 18th, 2017
Create an Animated Interface GIF – Photoshop
Step:1
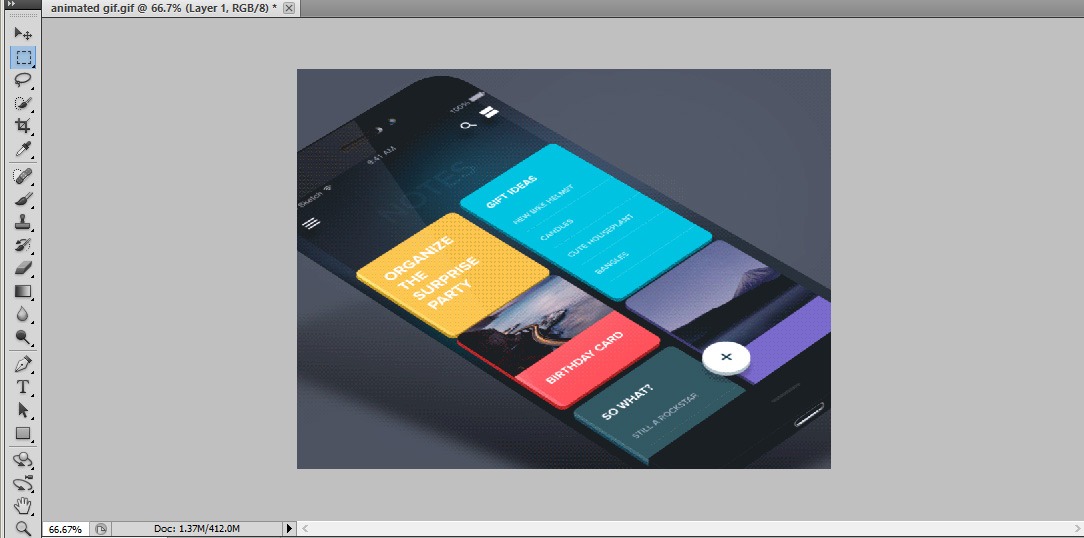
Open a document of width 640 pixels and height 1136 pixels.Create a phone UI according to our needs. Draw a Circle with stroke 3pt. Open the timeline panel and make a new frame.
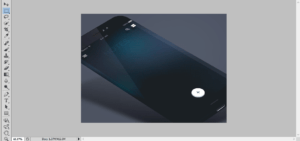

Mobile UI
Step:2
Create a rectangle shaped image and fill with color and add text to it.Create another rectangle and fill with color.Add a frame to it.

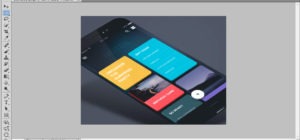
Timeline panel
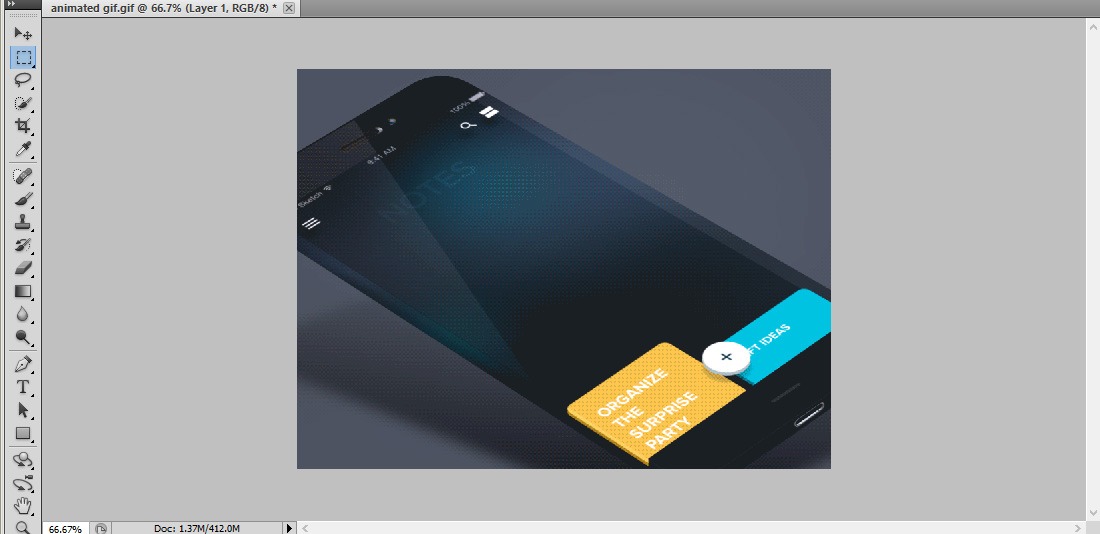
Step:3
Make 0.1 seconds time for the first frame.Create next frame by creating different gadgets. Apply the tween command between last and first frames.

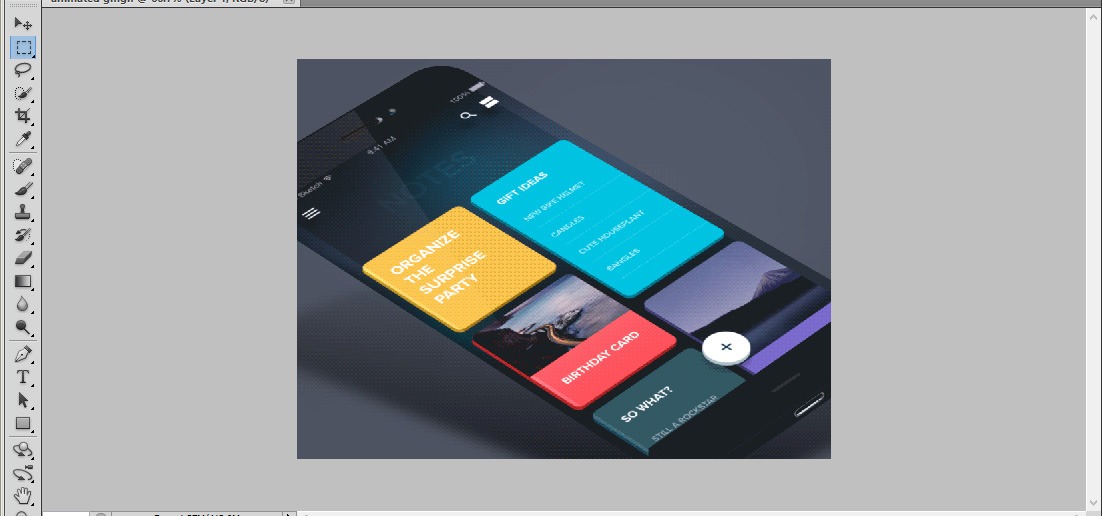
Mobile Gadgets
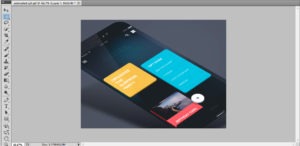
Step:4
Add a new frame by creating a gadget. Insert a nature focused image in to a rectangle.Set its duration to 0.1 second. Create two more frames by creating different gadgets.
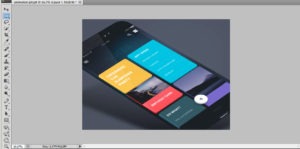
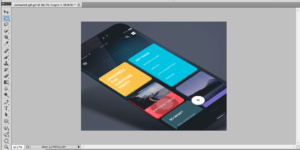
Animation frame
Step:5
From timeline panel, click Flatten frames into layers. Every Frame will be converted in to flat layer. For example, if you have 10 frames you will also get 10 flat layers.
Flatten frames
Step:6
According to the frame set the time duration as 0.1 second. Arrange the frames according to our needs. If you think the animation is too slow, you can make it faster by selecting all the frames and set the duration to 0.2 seconds.


Duration setting
Step:7
Apply the tween command again to make a new animation between first and last frame.So this is the far animation we get,Which gives a best scrolling UI.Save the file in a GIF Format.

Animated gif