web design tips
How to add footer area in widget
Three steps to add footer area in wordpress without plugin.
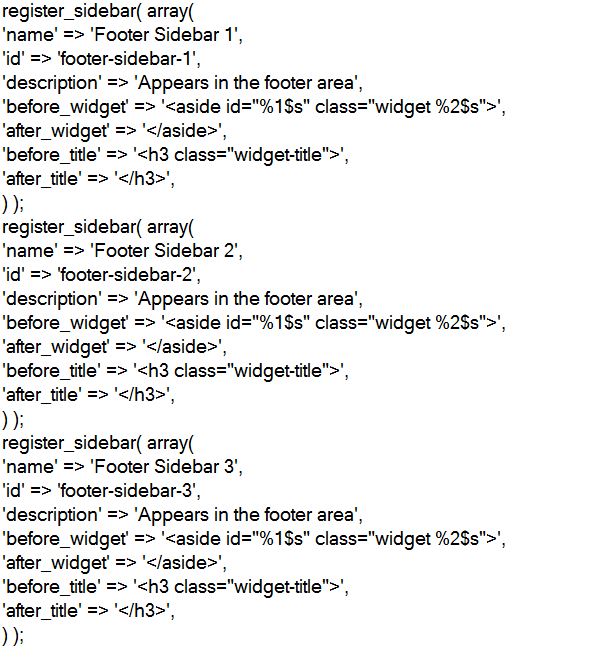
- Add the following code below the function twentytwelve_widgets_init() in functions.php
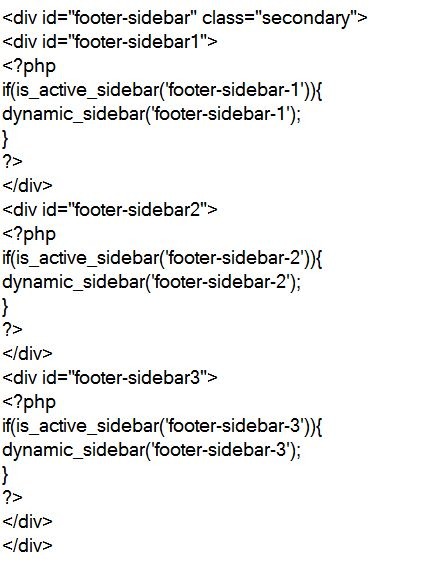
- Add the following code in footer.php
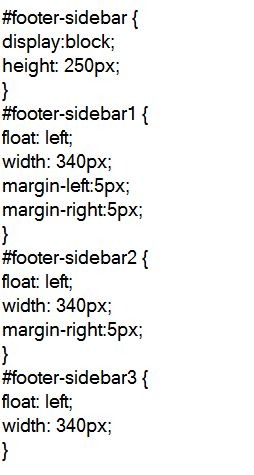
- Add the following CSS code in style.css
How To Manage The Entire Permalink Using Plugin
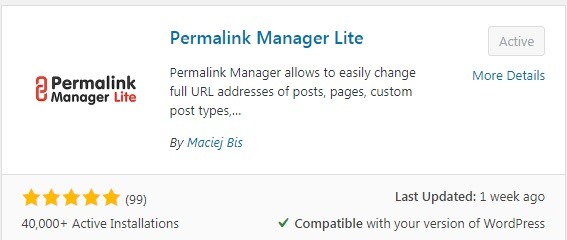
We can easily manage the entire permalink in a website using free plugin like Permalink Manager
Step:1
Install and Activate the plugin.
Step:2
Go to admin Dashboard –> Tools –> Permalink manager.

Step:3
In url editor, there are some options like the given below image. In that you can select which section you want to edit.

Step:4
After completing the edits, Finally click save all the url above.
How To Add Meta Description And Keyword Using WP Plugin
Using WP plugin, We can easily add Meta description and meta keyword in a page.
SEO Manager
SEO manager is one of the best free plugin to add meta description and keyword.
Step:1
Install and Active the plugin.

Step:2
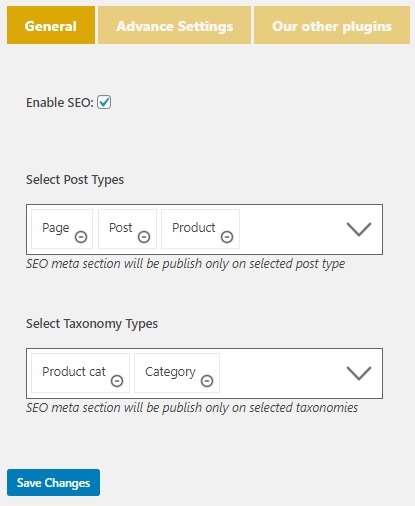
Select the below image options in seo manager section and click save changes.
Step:3
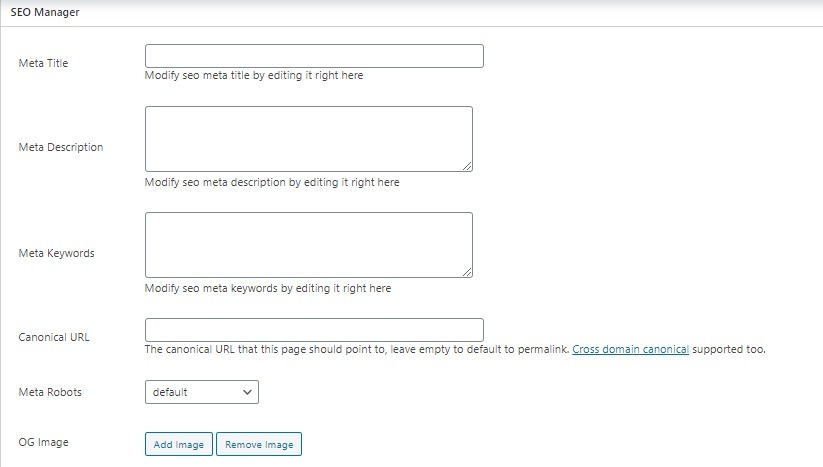
Now we can easily add the meta description and keyword for every single page.
How To Remove Date From The WordPress Post ?
Easy way to remove date from the post using wordpress plugins, Two best plugins for date removel.
- Date Exclusion SEO
- WP Meta and Date Remover
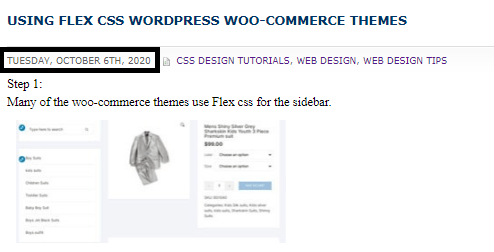
Date Exclusion SEO:
Step:1
The simplest way to remove date. First Install and active the plugin
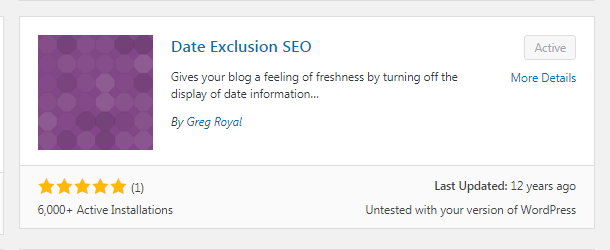
Step:2
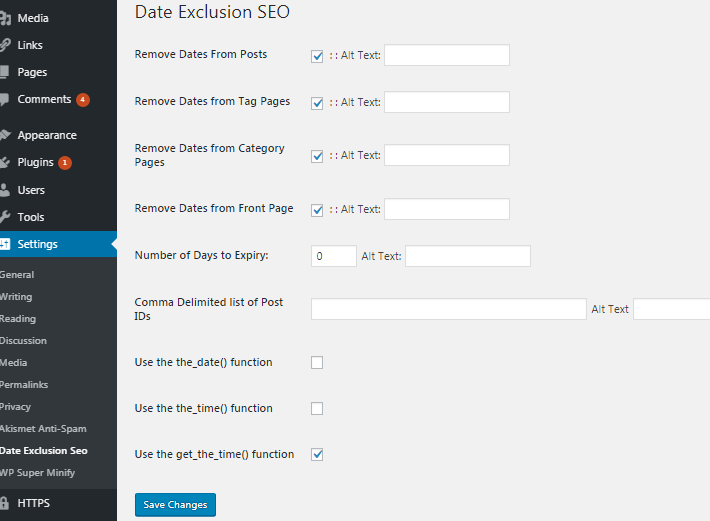
Select the below image options in date exclusion seo section and click save changes.
Now date removed from every post.
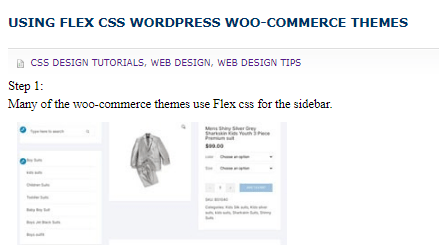
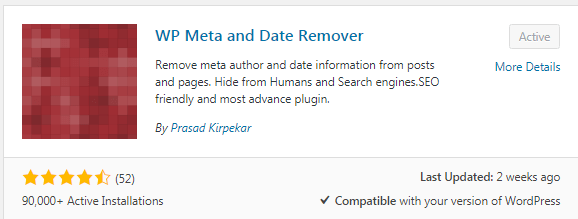
WP Meta and Date Remover:
This plugin is much simpler than the date exclusion seo.
Step:1
Just install and active the plugin no need of any other steps. After active the plugin automatically it removes the date from the post.
Using Flex CSS WordPress Woo-commerce Themes
Step 1:
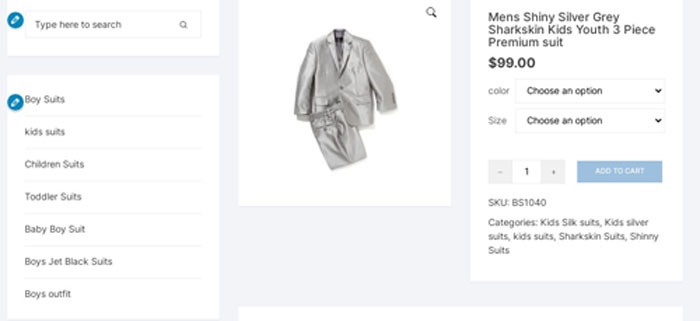
Many of the woo-commerce themes use Flex css for the sidebar.
Step 2:
For single page product,We didn’t need the sidebar. So use simple snippet to hide the sidebar and move the right column to left side.
Snippet:
.class name
{
flex: 0 0 0%;
display:none;
}
How to create a Slideshow with CSS and JavaScript
Now we are going to create a slideshow using html, css and java script. HTML is the standard markup languages for creating web pages. The html coding are as follows:
<html xmlns=”http://www.w3.org/1999/xhtml”>
<head>
<link rel=”stylesheet” href=”style.css” />
<script src=”blog.js”></script>
<meta http-equiv=”Content-Type” content=”text/html; charset=utf-8″ />
<title>Untitled Document</title>
</head><body>
<div class=”slideshow-container”>
<div class=”mySlides fade”>
<div class=”numbertext”>1 / 3</div>
<img src=”img_nature_wide.jpg” style=”width:100%”>
<div class=”text”>Caption Text</div>
</div><div class=”mySlides fade”>
<div class=”numbertext”>2 / 3</div>
<img src=”img_nature_wide.jpg” style=”width:100%”>
<div class=”text”>Caption Two</div>
</div><div class=”mySlides fade”>
<div class=”numbertext”>3 / 3</div>
<imgsrc=”img_nature_wide.jpg” style=”width:100%”>
<div class=”text”>Caption Three</div>
<a class=”next” onclick=”plusSlides(1)”>❯</a>
</div>
<br>
<span class=”dot” onclick=”currentSlide(1)”></span>
<span class=”dot” onclick=”currentSlide(2)”></span>
<span class=”dot” onclick=”currentSlide(3)”></span>
</div>
</body>
</html>
Step:2
Now css followed by html. Css is a multiple page derived from multiple sources with a defined order of Precedence
where the definition of any style element conflict.
{box-sizing:border-box}
.slideshow-container {
max-width: 1000px;
position: relative;
margin: auto;
}
display: none;
}
.prev, .next {
cursor: pointer;
position: absolute;
top: 50%;
width: auto;
margin-top: -22px;
padding: 16px;
color: white;
font-weight: bold;
font-size: 18px;
transition: 0.6s ease;
border-radius: 0 3px 3px 0;
}
.next {
right: 0;
border-radius: 3px 0 0 3px;
}
.prev:hover, .next:hover {
background-color: rgba(0,0,0,0.8);
}
.text {
color: #f2f2f2;
font-size: 15px;
padding: 8px 12px;
position: absolute;
bottom: 8px;
width: 100%;
text-align: center;
}
.numbertext {
color: #f2f2f2;
font-size: 12px;
padding: 8px 12px;
position: absolute;
top: 0;
}
.dot {
cursor:pointer;
height: 13px;
width: 13px;
margin: 0 2px;
background-color: #bbb;
border-radius: 50%;
display: inline-block;
transition: background-color 0.6s ease;
}
background-color: #717171;
}
.fade {
-webkit-animation-name: fade;
-webkit-animation-duration: 1.5s;
animation-name: fade;
animation-duration: 1.5s;
}
from {opacity: .4}
to {opacity: 1}
}
from {opacity: .4}
to {opacity: 1}
}
Step:3
Next step is to add java script.Java script is an object oriented programming language used to create interactive effects within web browser.
showSlides(slideIndex);function plusSlides(n) {
showSlides(slideIndex += n);
}
showSlides(slideIndex = n);
}
var i;
var slides = document.getElementsByClassName(“mySlides”);
var dots = document.getElementsByClassName(“dot”);
if (n > slides.length) {slideIndex = 1}
if (n < 1) {slideIndex = slides.length}
for (i = 0; i < slides.length; i++) {
slides[i].style.display = “none”;
}
for (i = 0; i < dots.length; i++) {
dots[i].className = dots[i].className.replace(” active”, “”);
}
slides[slideIndex-1].style.display = “block”;
dots[slideIndex-1].className += ” active”;
}
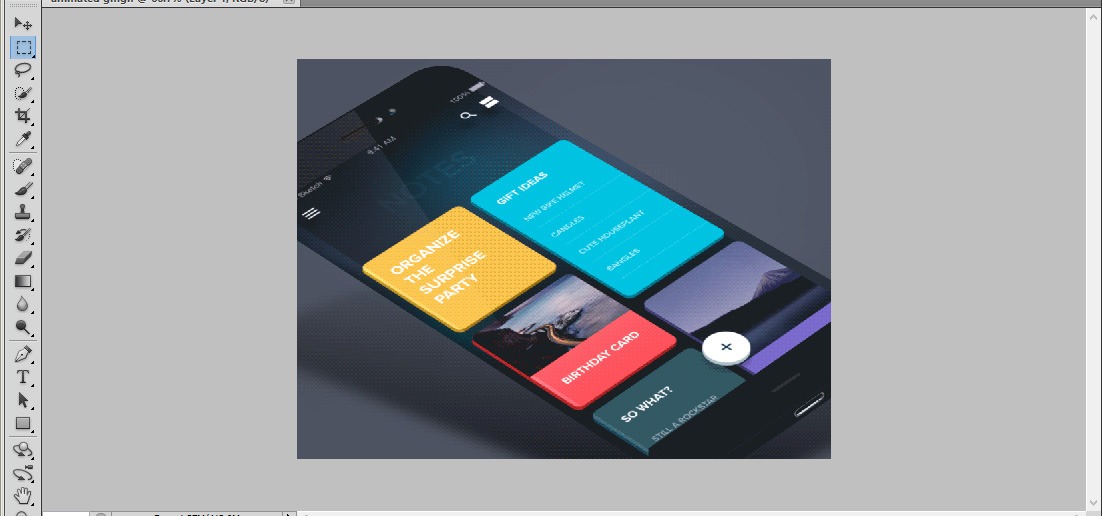
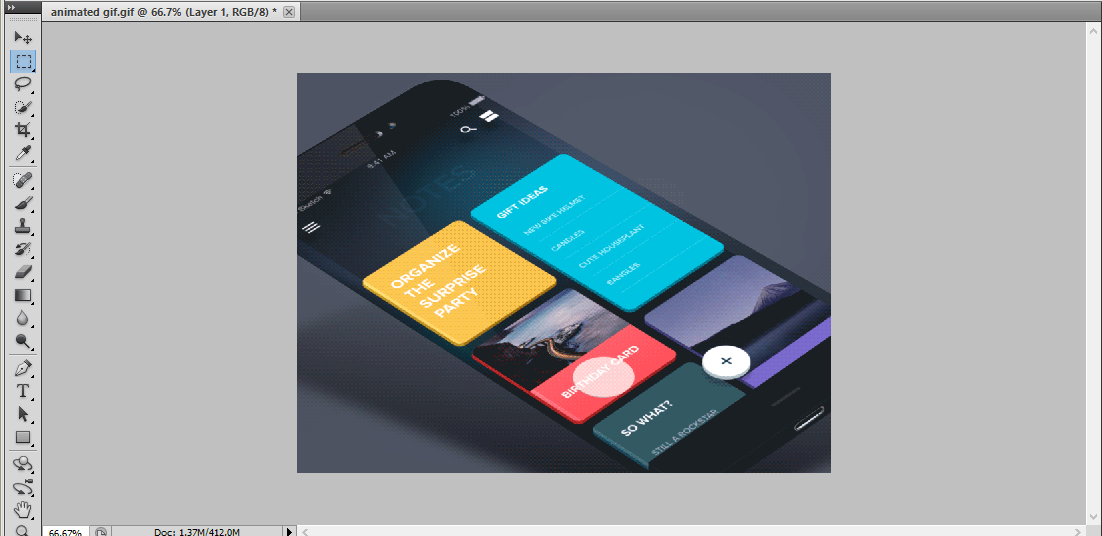
Create an Animated Interface GIF – Photoshop
Step:1
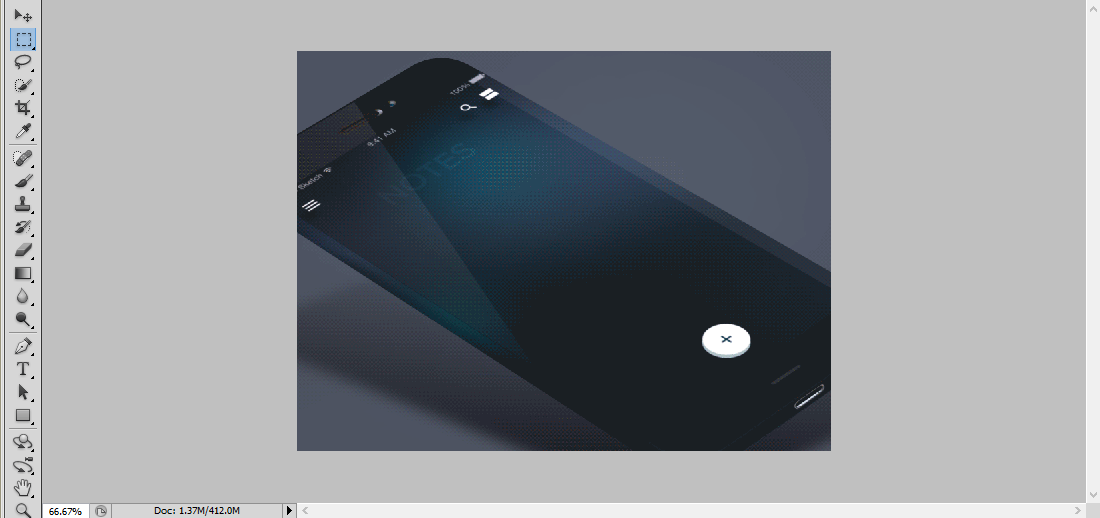
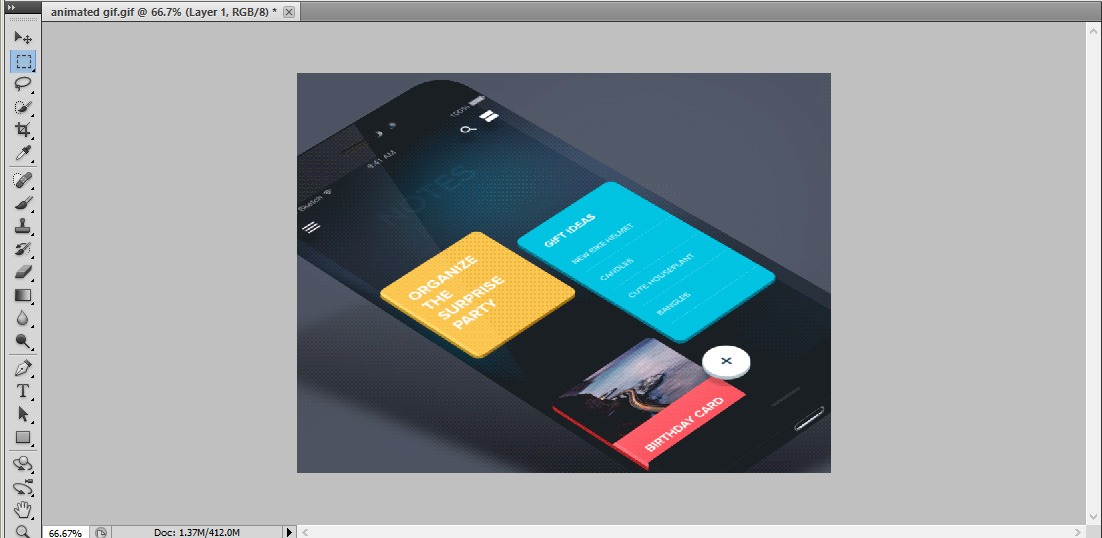
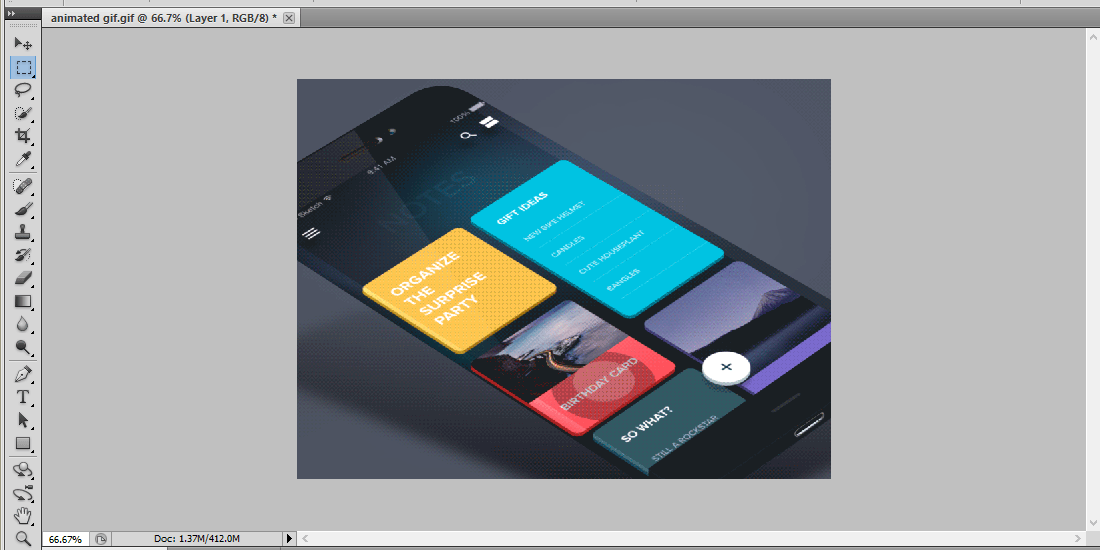
Open a document of width 640 pixels and height 1136 pixels.Create a phone UI according to our needs. Draw a Circle with stroke 3pt. Open the timeline panel and make a new frame.
Step:2
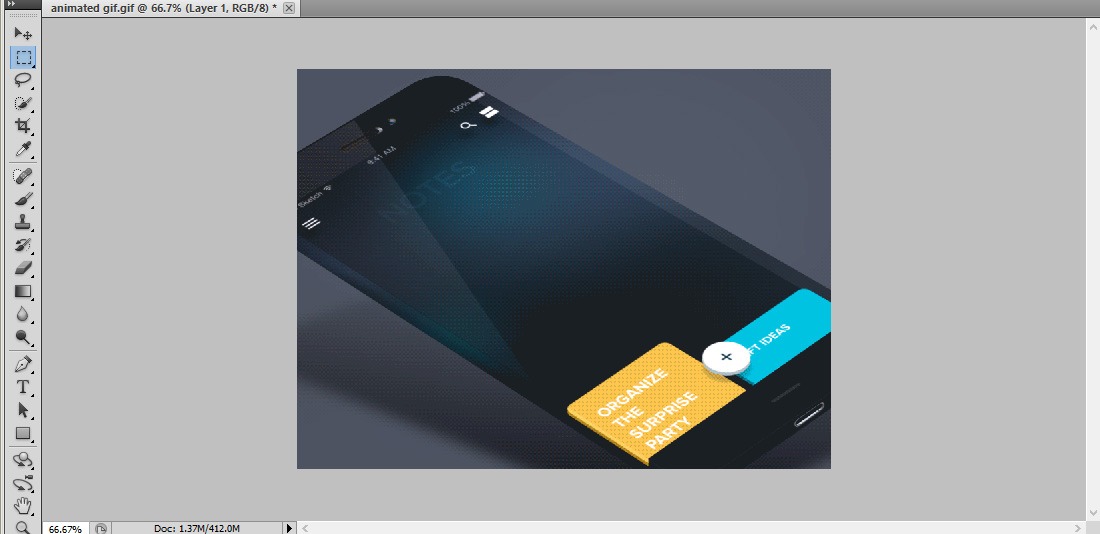
Create a rectangle shaped image and fill with color and add text to it.Create another rectangle and fill with color.Add a frame to it.
Step:3
Make 0.1 seconds time for the first frame.Create next frame by creating different gadgets. Apply the tween command between last and first frames.
Step:4
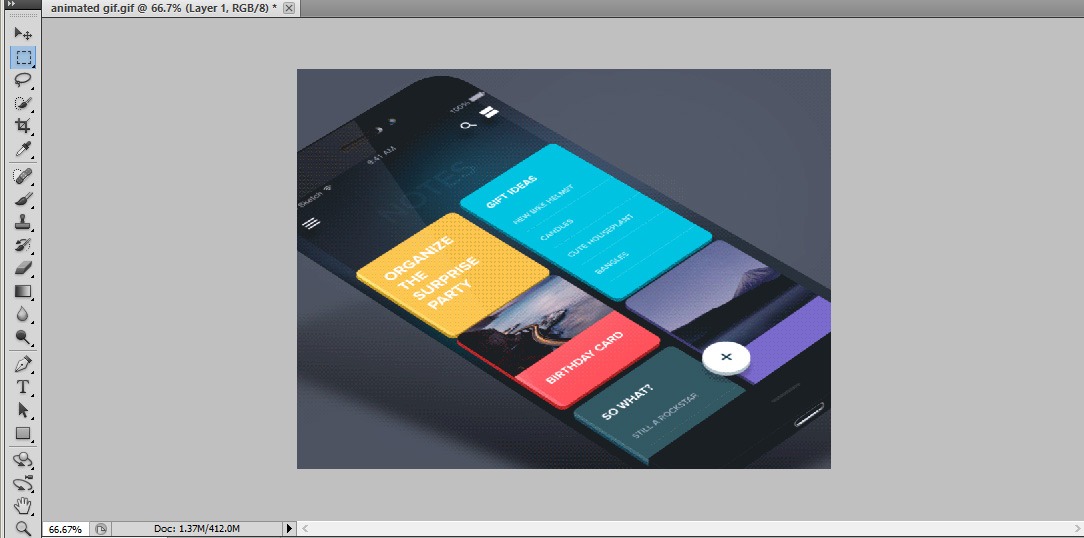
Add a new frame by creating a gadget. Insert a nature focused image in to a rectangle.Set its duration to 0.1 second. Create two more frames by creating different gadgets.
Step:5
From timeline panel, click Flatten frames into layers. Every Frame will be converted in to flat layer. For example, if you have 10 frames you will also get 10 flat layers.
Step:6
According to the frame set the time duration as 0.1 second. Arrange the frames according to our needs. If you think the animation is too slow, you can make it faster by selecting all the frames and set the duration to 0.2 seconds.
Step:7
Apply the tween command again to make a new animation between first and last frame.So this is the far animation we get,Which gives a best scrolling UI.Save the file in a GIF Format.
Weather effect using Photoshop
Step:1
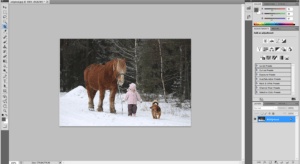
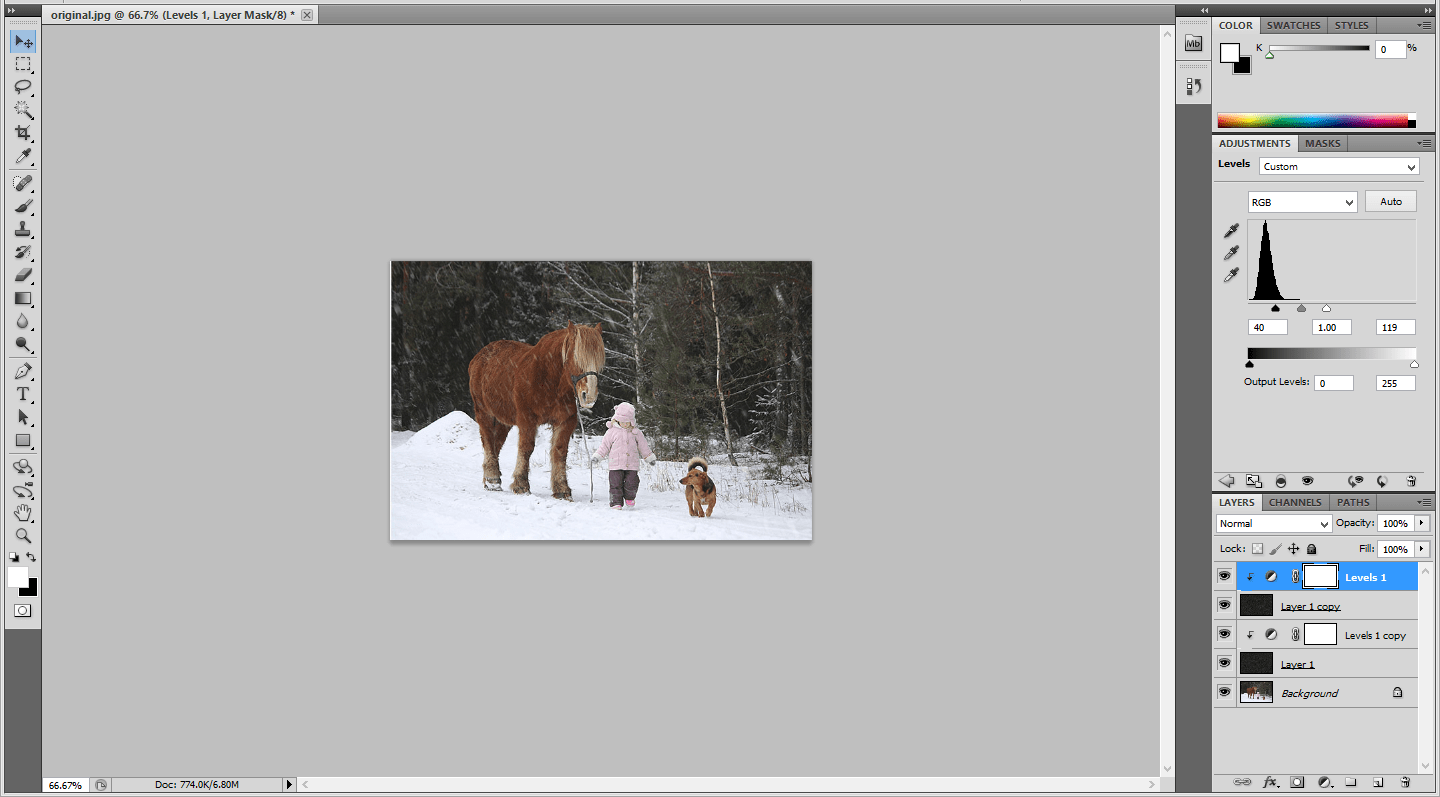
Open the document in Photoshop and place the photo in that document. Add a blank layer above this background layer.
Step:2
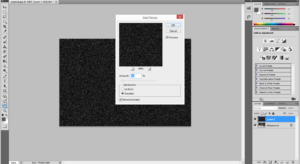
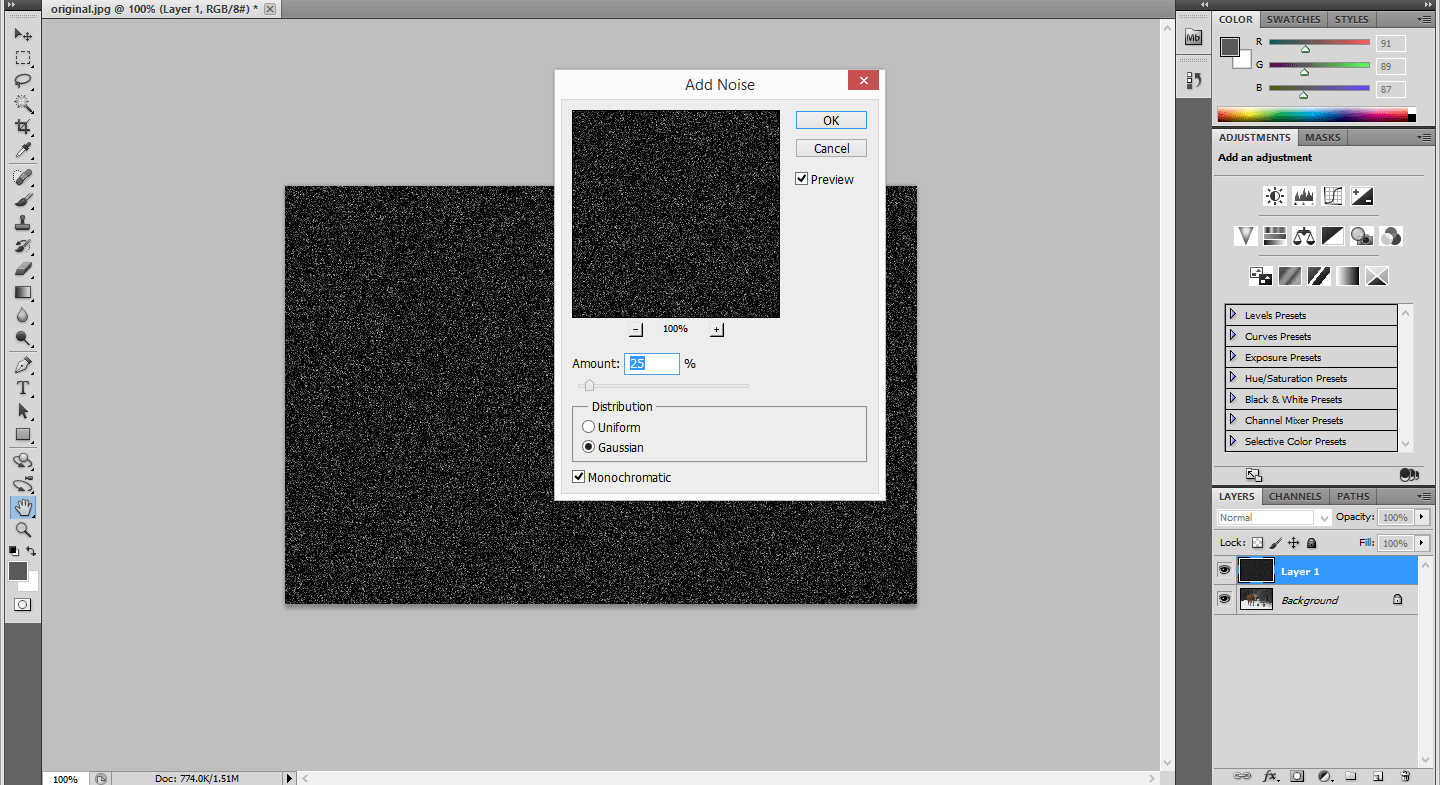
Go to edit-> Fill-> black color. Then go to Filter -> Noise -> Add noise -> amount ->25 and make the distribution as Gaussian.
Step:3
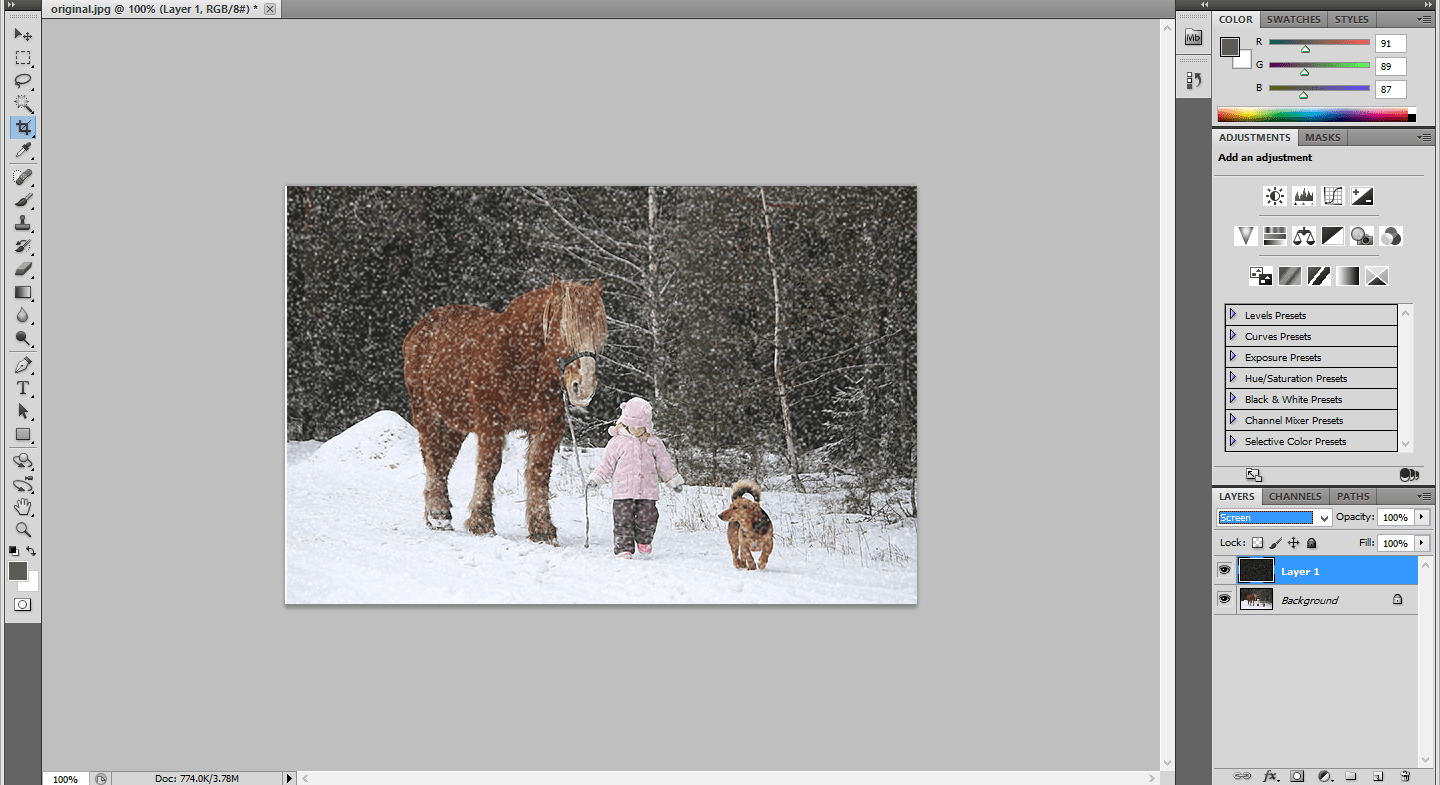
Now we want to make a transformation by pressing ctrl+t.Then make the changes in width and height as 200 pixels and make the blending mode as screen.
Step:4
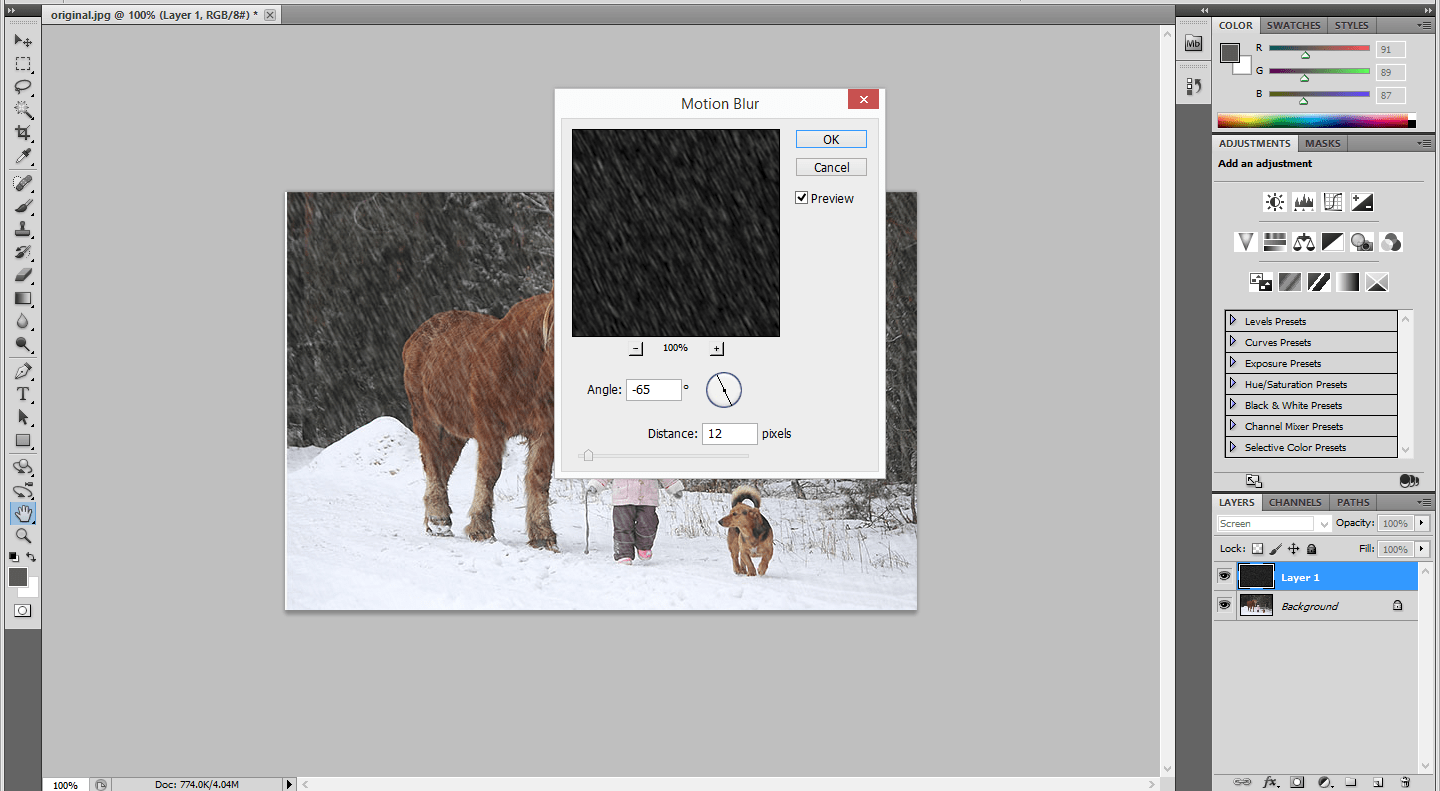
Then go to filter -> blur -> Motion blur and make the angle as -65 and the distance as 12 pixels.
Step:5
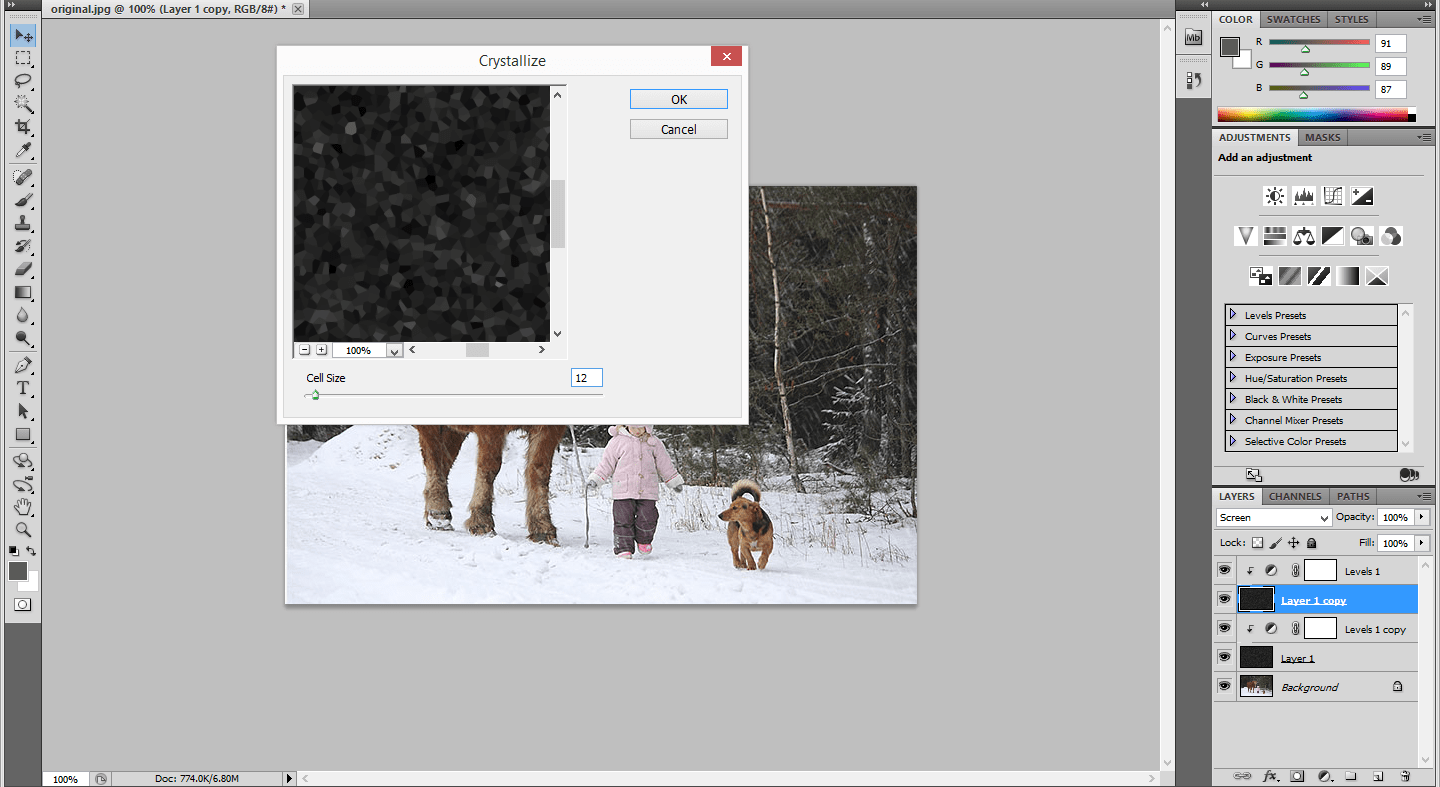
Then make a level adjustment and add a clipping mask above it.Make a copy of that layer. Then go to edit -> transform -> rotate 180.Then go to filter-> Pixelate -> crystallize.
Step:6
Go to Filter -> blur -> Motion blur -> angle -> -65 and distance as 20 pixels.Then make a changes in the level adjustment.
Turning a new photo in to old photo-photoshop
Step1:
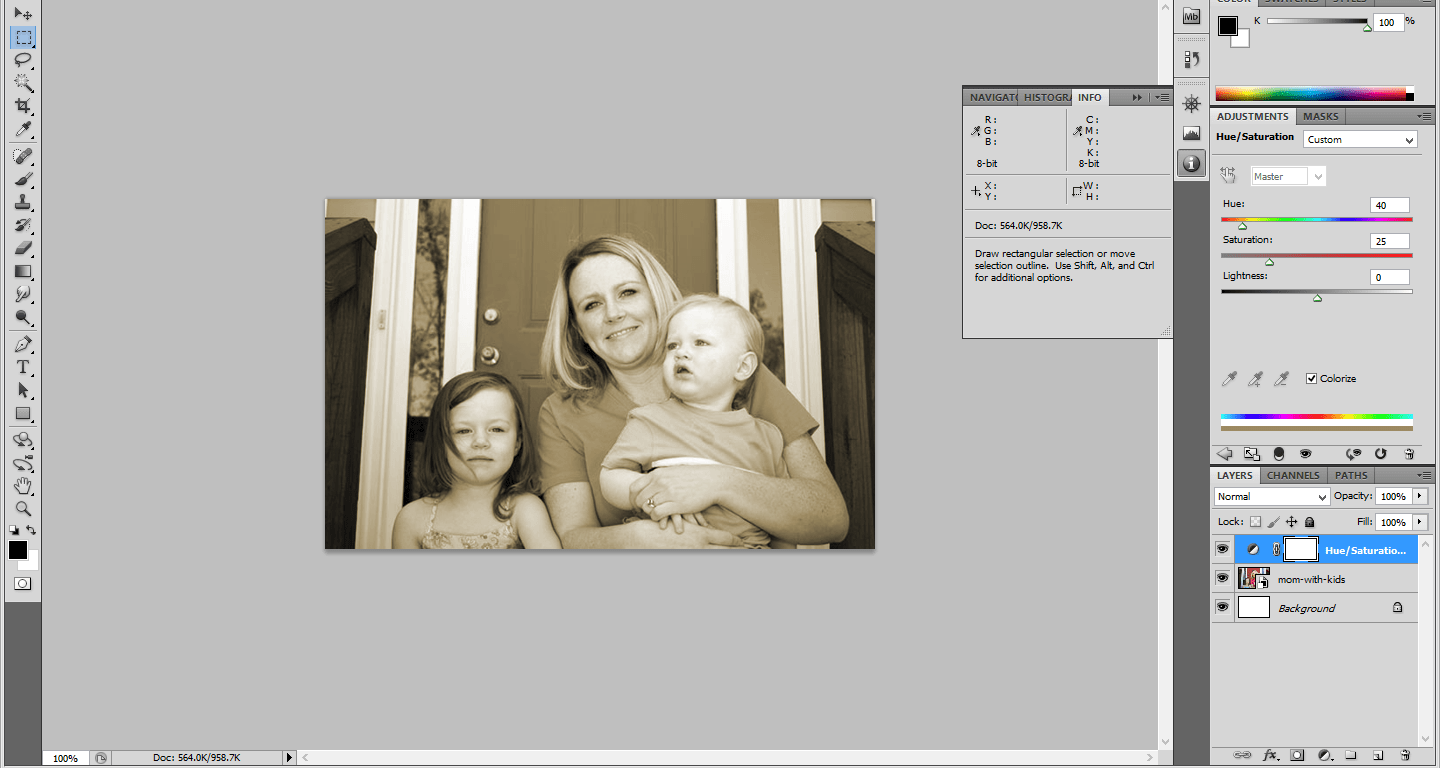
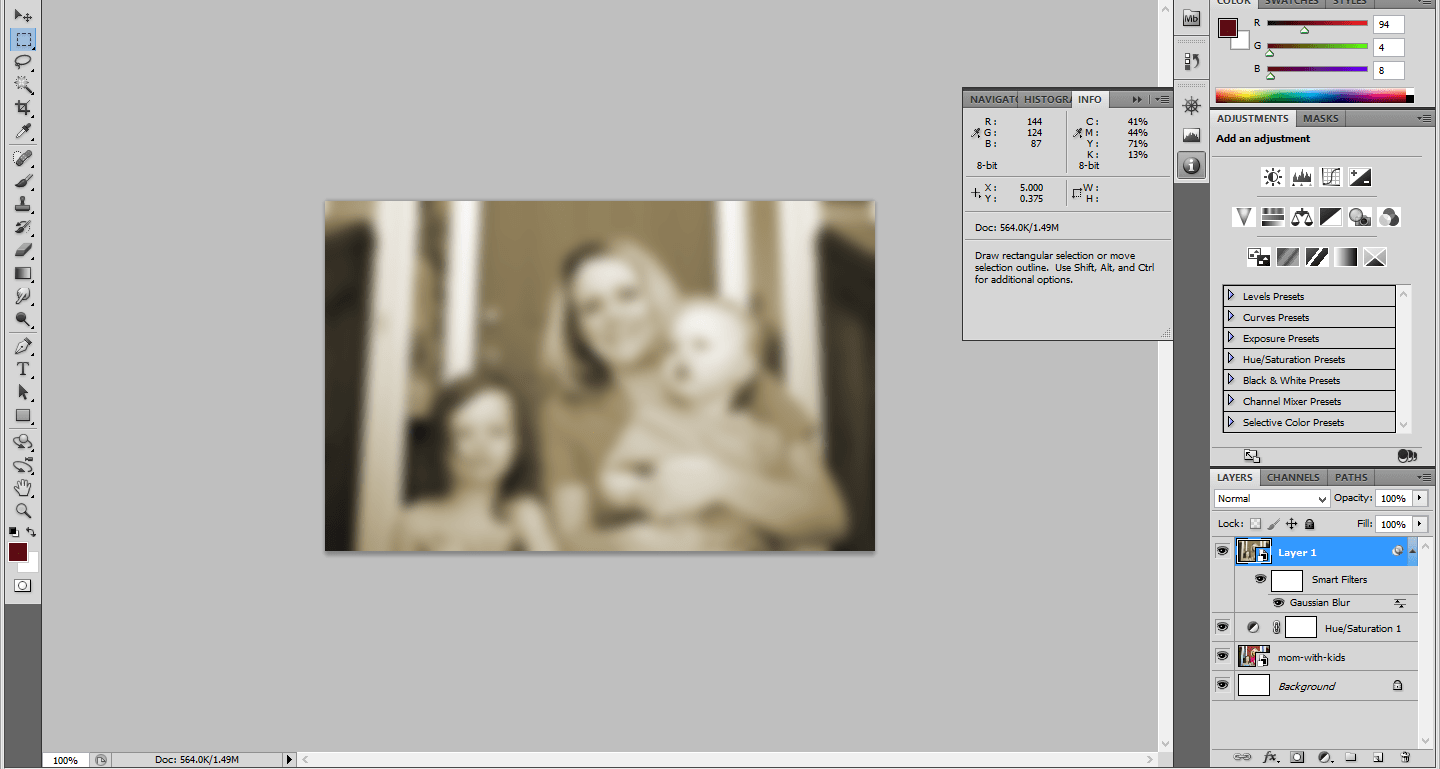
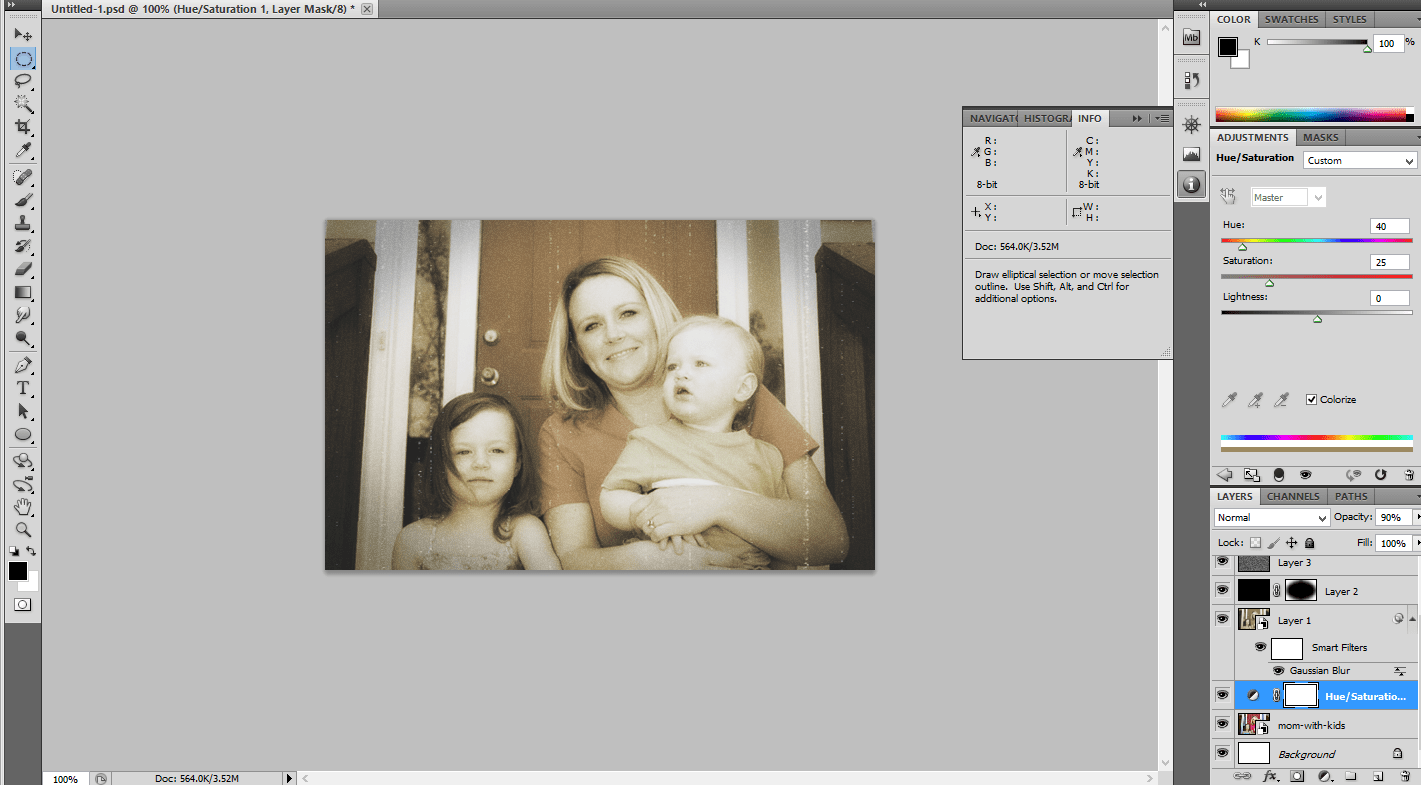
Open the document in Photoshop. Add a hue/saturation layer above it with the hue value as 40 and saturation value as 25.
Step:2
Merge the two layers by pressing ctrl+shift+alt+E.Then go to Filter-> Blur -> Gaussian Blur-> Radius 6 Pixels.
Step:3
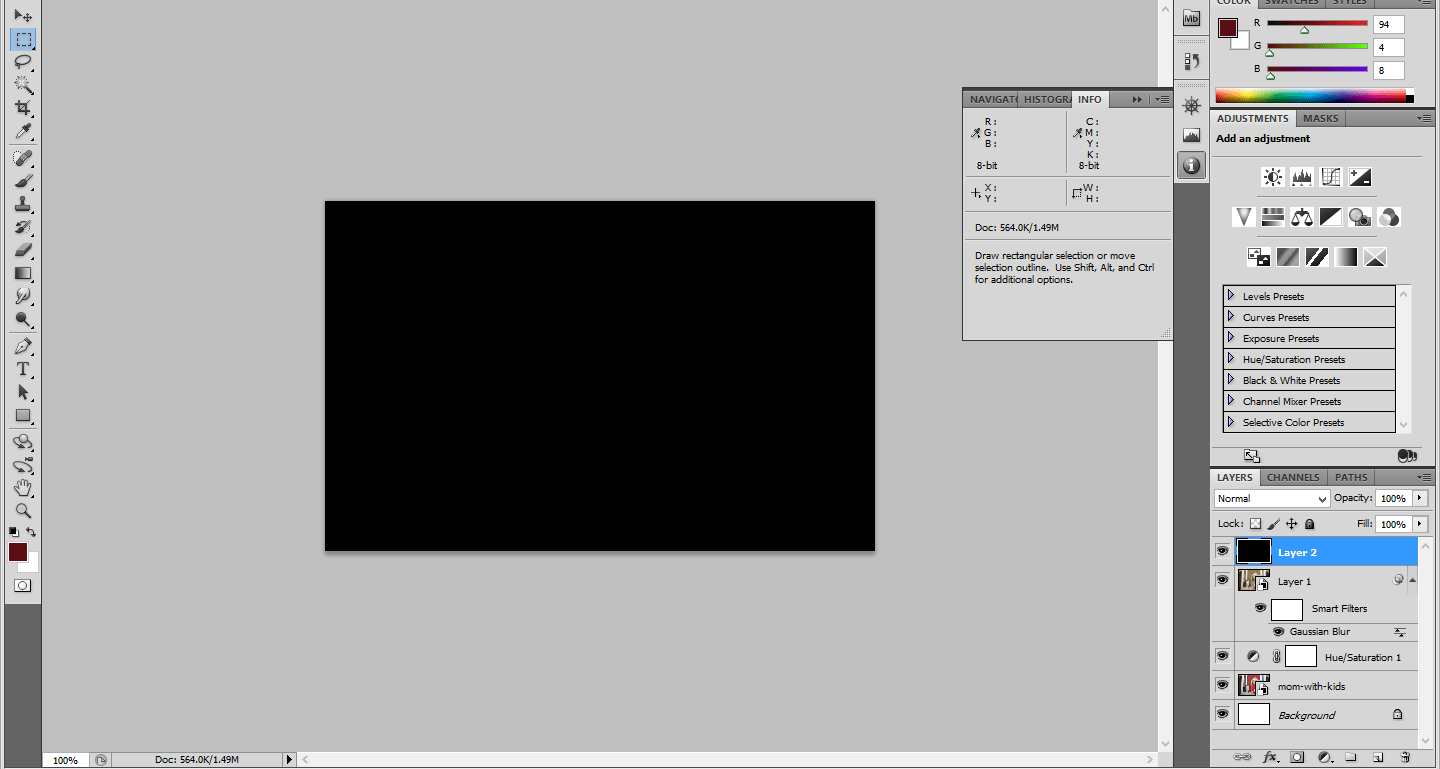
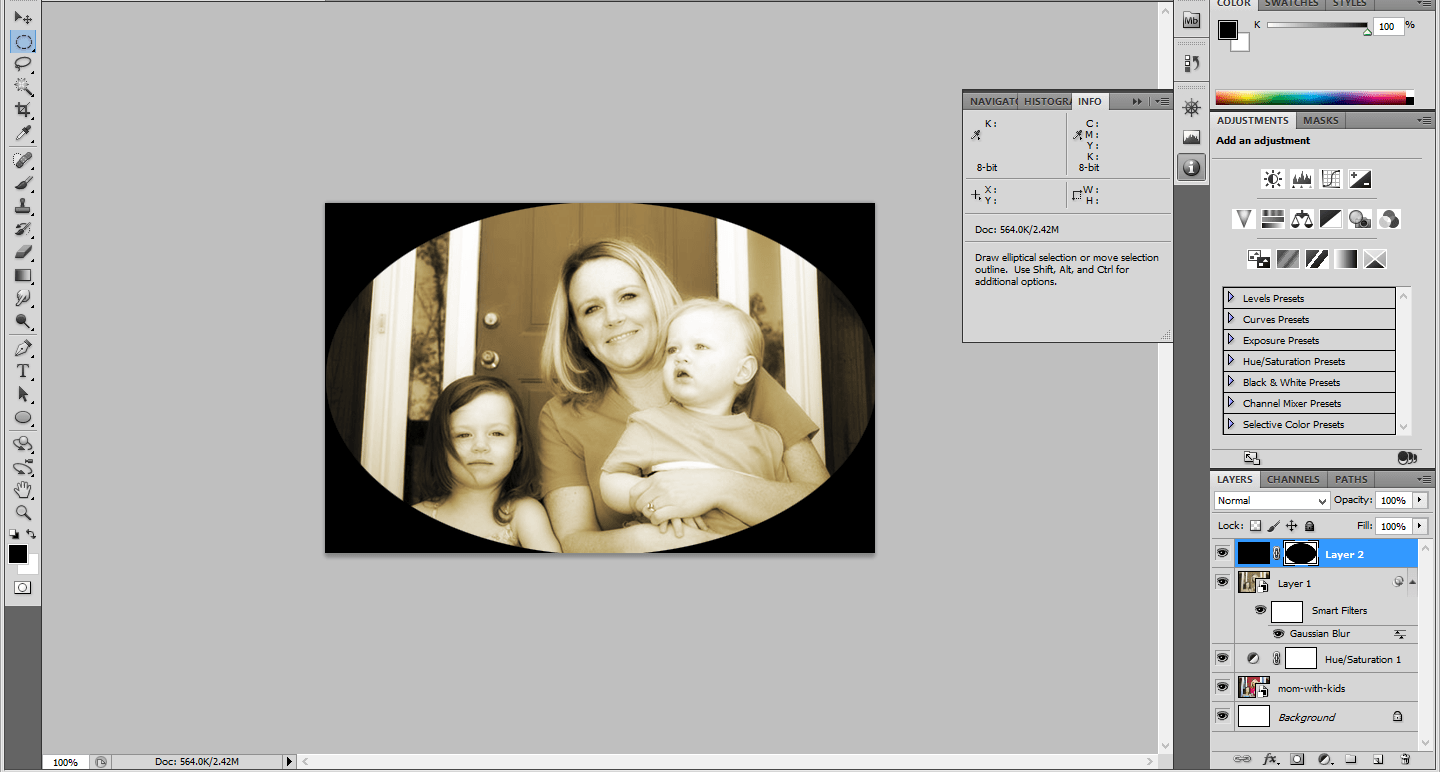
Add a new layer above it and fill the layer with black color. Go to edit -> Fill -> Black color.
Step:4
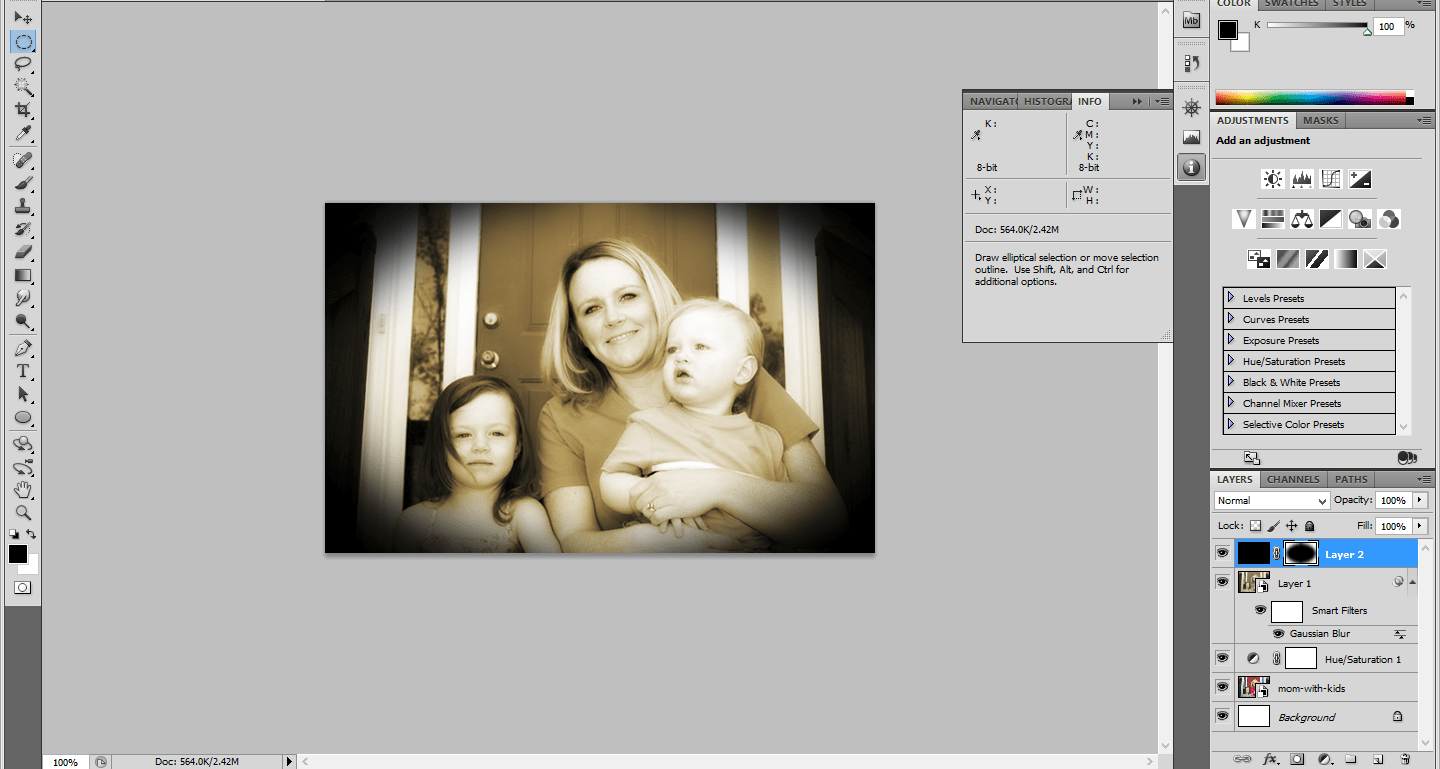
Choose the elliptical tool and make a ellipse in the layer and then hold alt with layermask.The foreground color should be black.
Step:5
Go to Blur -> Gaussian Blur.Now the Elliptical round will be merged with the Photo.
Step:6
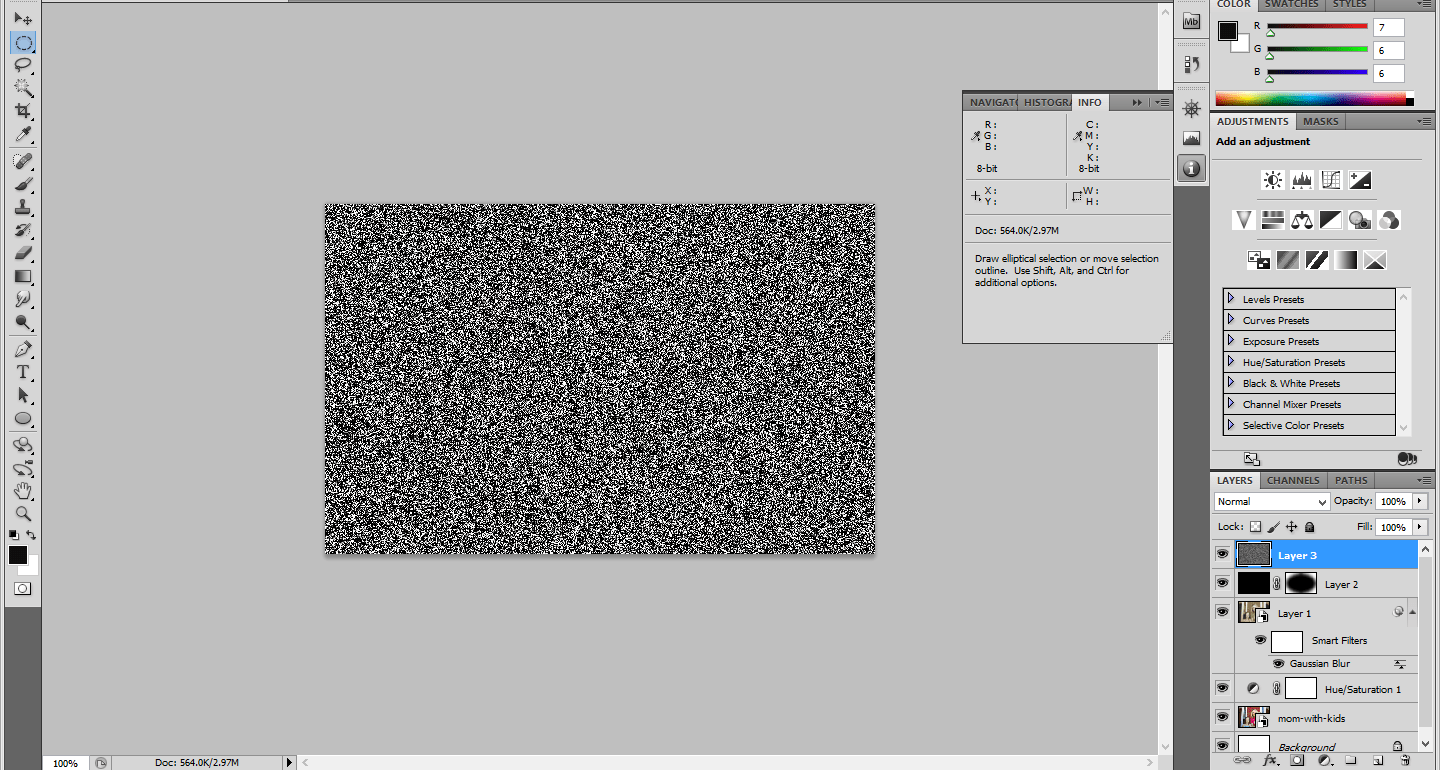
Add a new layer above it and add a noise Filter. Go to Filter-> Noise -> add noise.The Distribution should be Gaussian.
Step:7
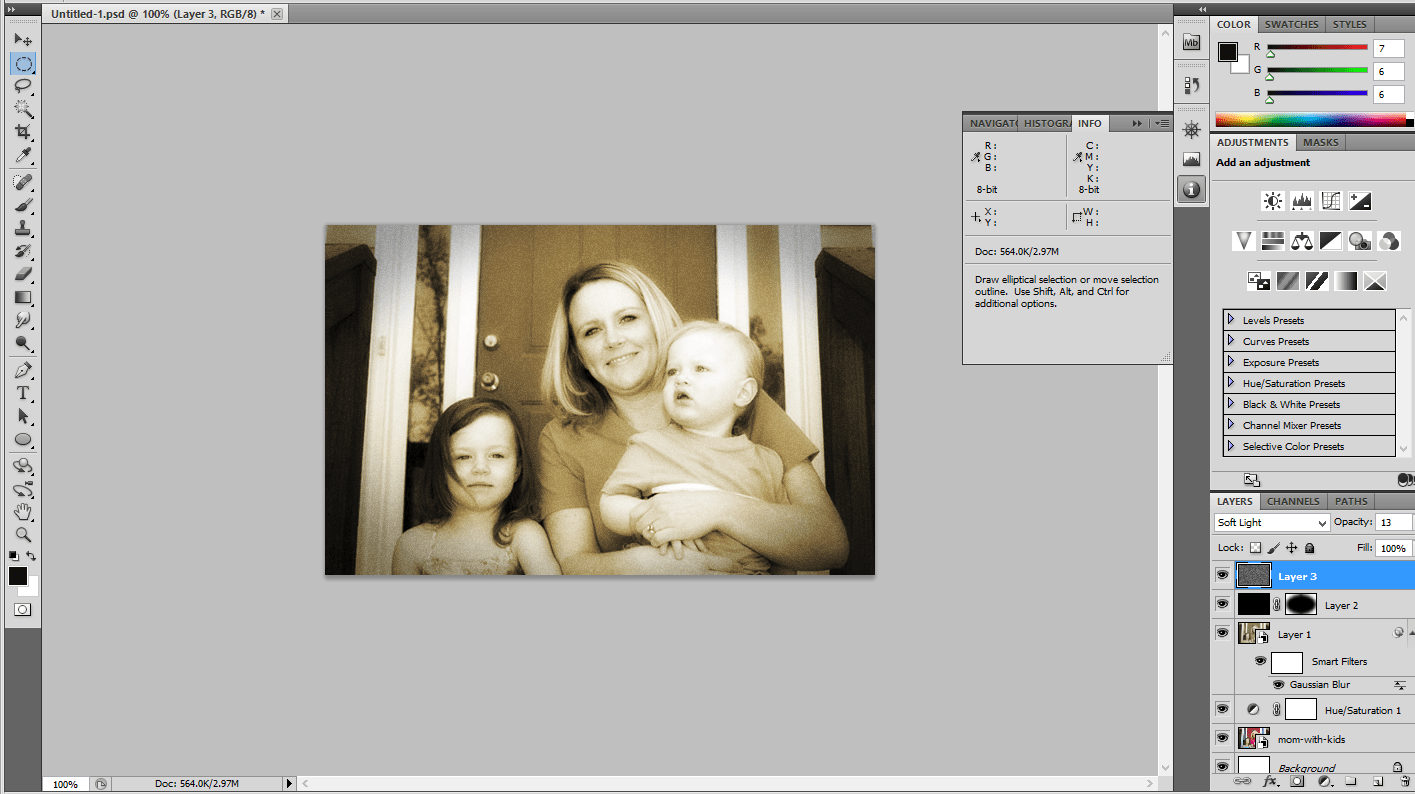
Change the Blending Modes from normal to soft light and reduce the Opacity to 13%.
Step:8
Add a new layer above it and fill the layer with black color, Add a grain filter and choose the Vertical lines from it.
Step:9
Finally reduce the Opacity to 90%. Now it looks like a old Photo


