light vector
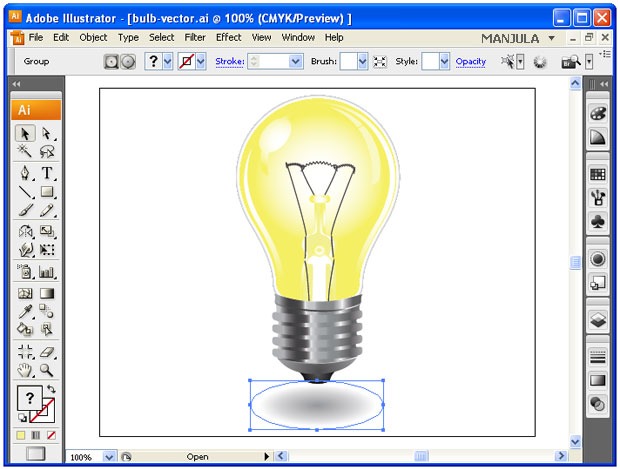
Light Bulb Vector Using Illustrator
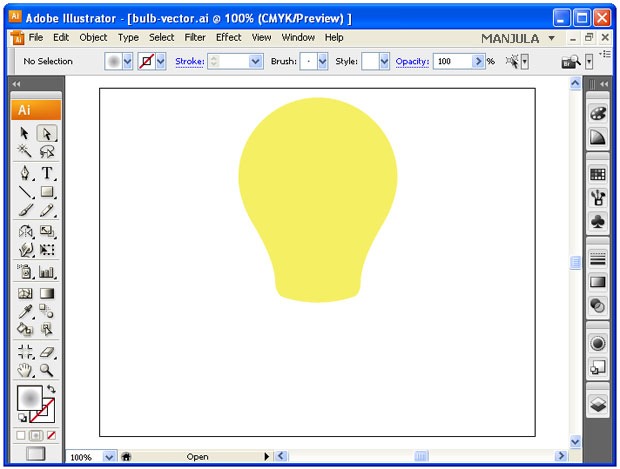
Step-1 Draw a bulb shape and fill with yellow color.
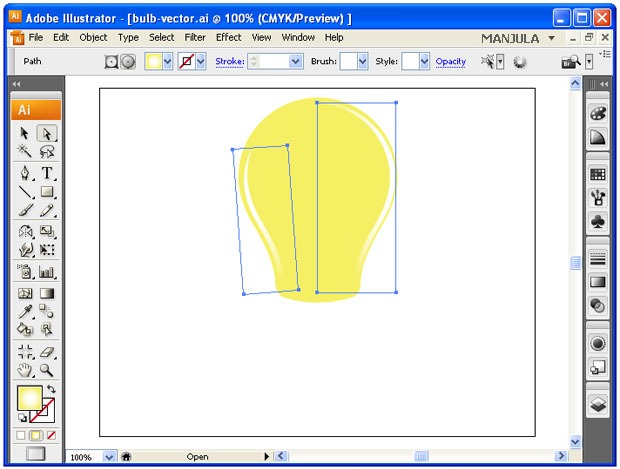
Step-2 Draw a below like arc at the two edges of the bulb sides and fill it with white and yellow gradient (radial).
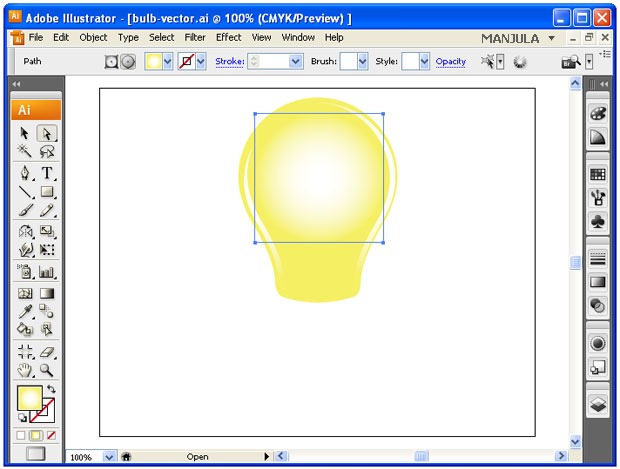
Step-3 Create a circle fills it with white and yellow radial gradient.
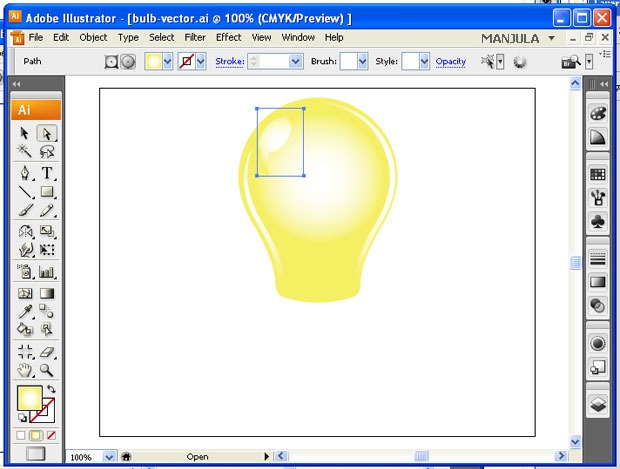
Step-4 To give a realistic effect like reflection of the light, draw below shape and fill it with white and yellow gradient.
Step-5 Create the inner components of bulb by using gradient fill.
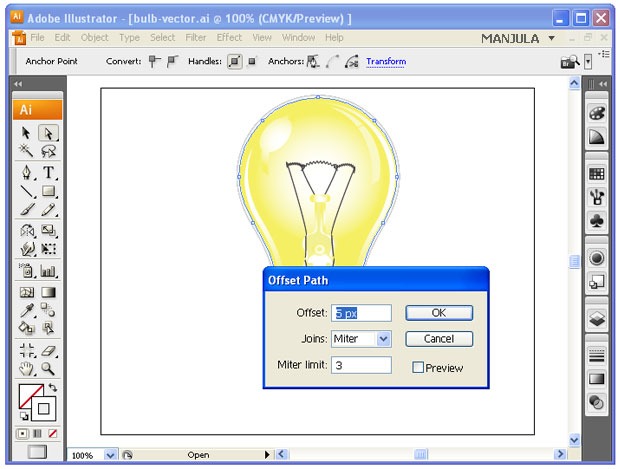
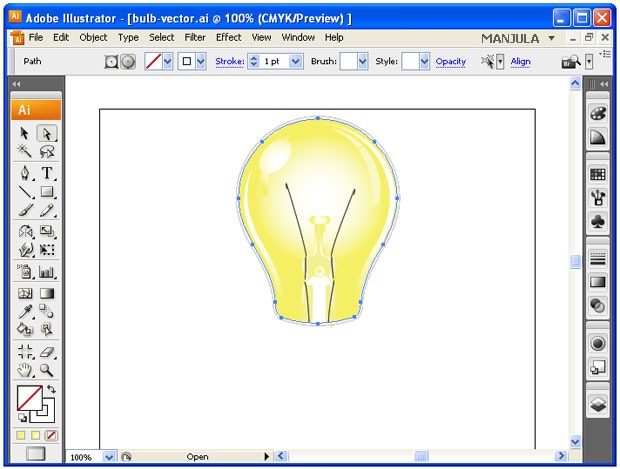
Step-6 Give the outline for the bulb using pen tool. First draw the stroke and go to OBJECT -> PATH -> OFFSET. Set the values as per your requirements.
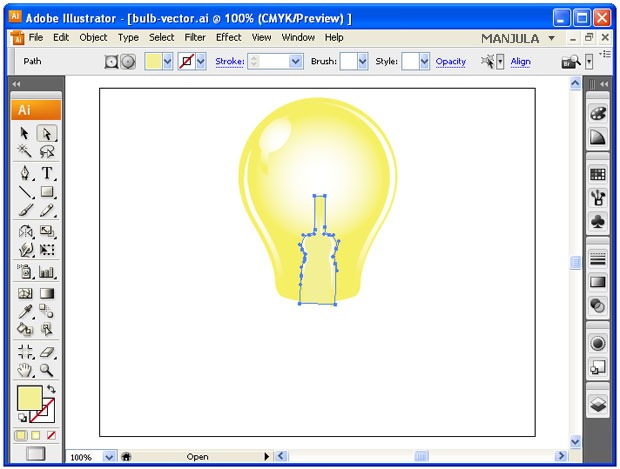
Step-7 Create the tungsten path using pen tool.
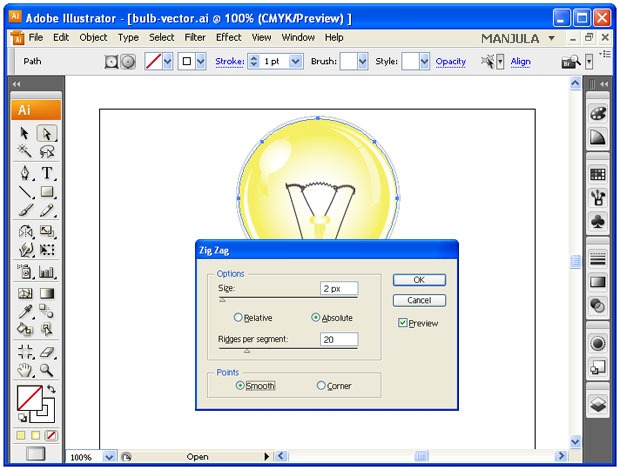
Step-8 For the top part of the tungsten draw three arcs continuously and go to EFFECT -> DISTORT & TRANSFORM -> ZIG ZAG.
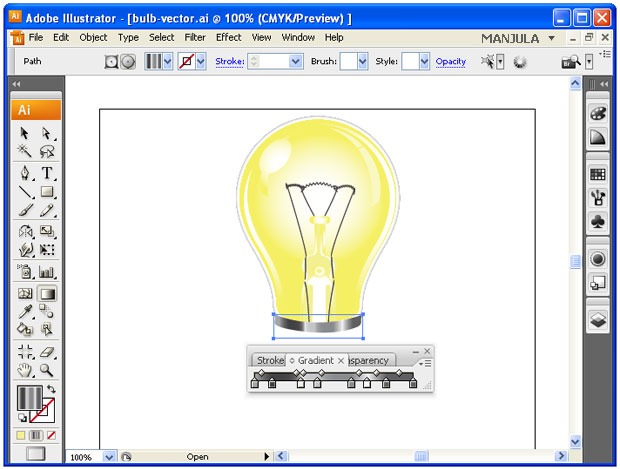
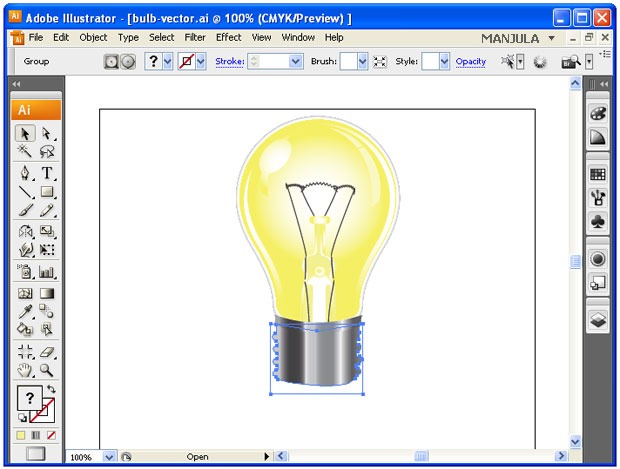
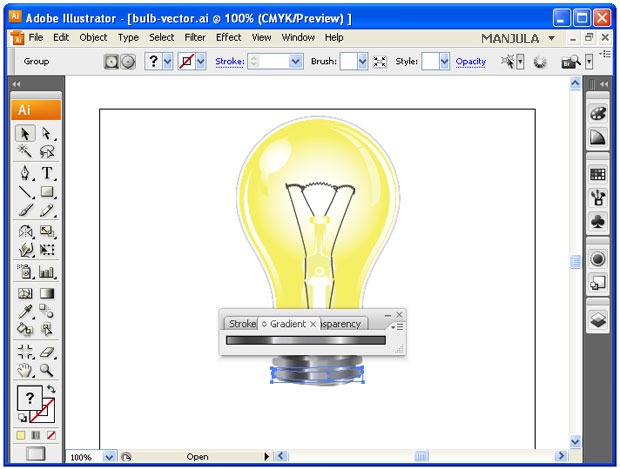
Step-9 Now comes to the bottom part of the light. Apply gradients as like below.
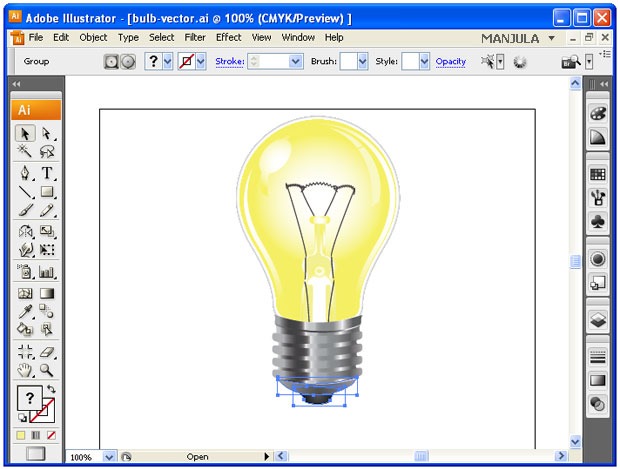
Step-10 For the shadow effect, draw an ellipse and apply white and gray radial gradient.
Enjoy 🙂


