Photoshop tips
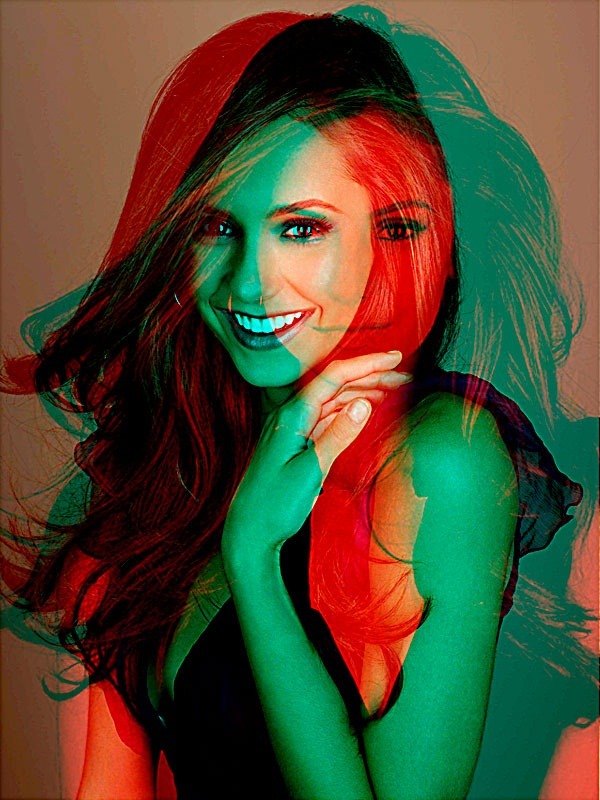
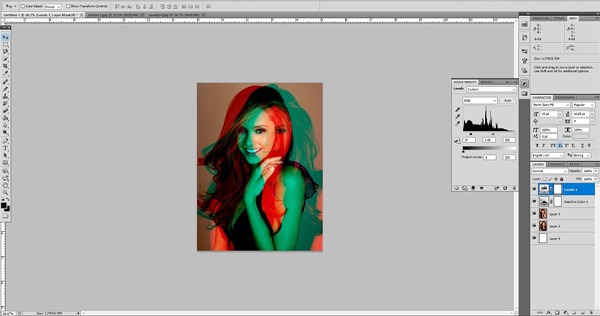
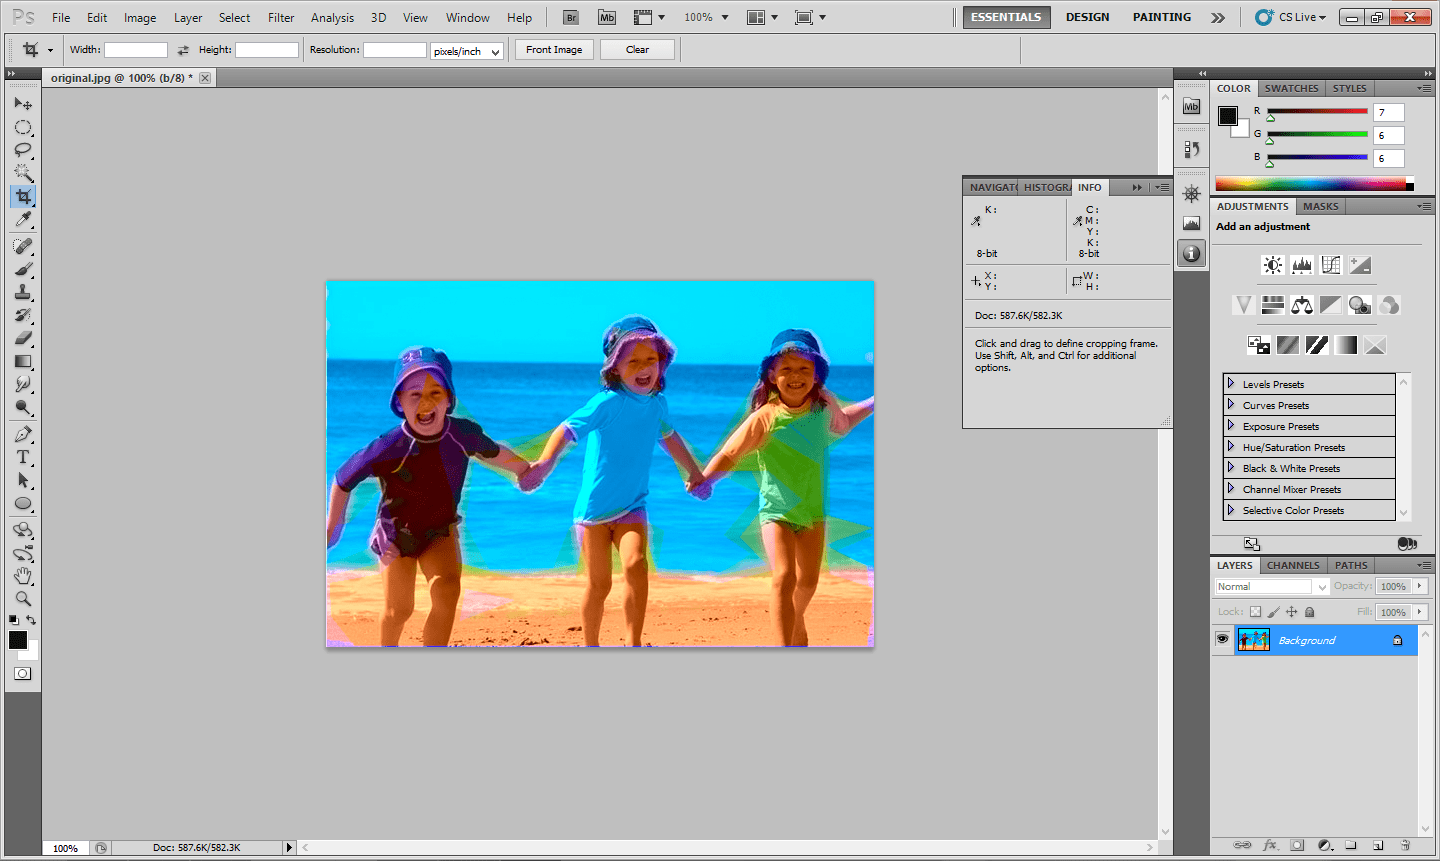
Double Color Exposure Effect In Photoshop
Double Color Exposure Effect
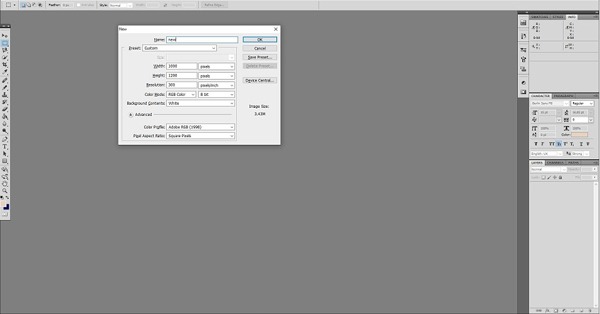
Step:2
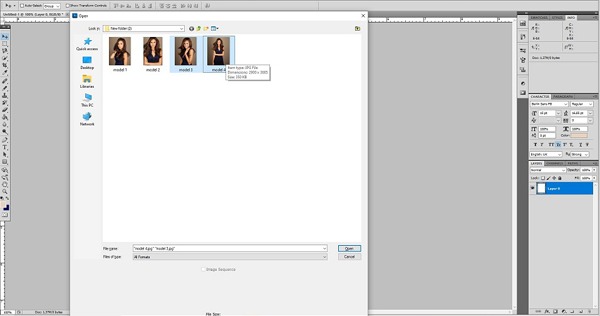
Open 2 images which you want to edit
Step:3
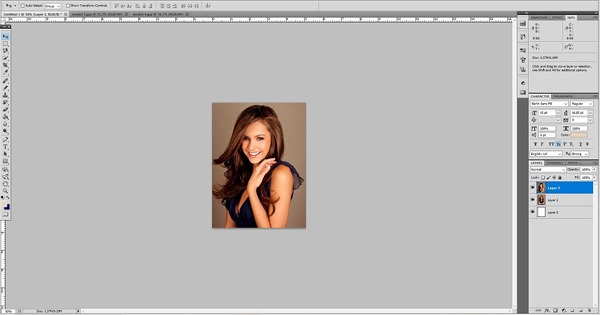
To apply the effect double click on the layer 3
Step:4
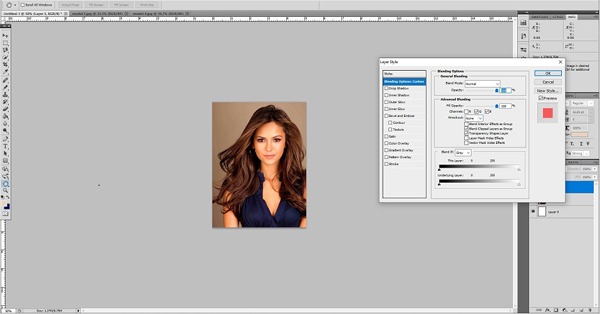
Layer style box will open
Step:5
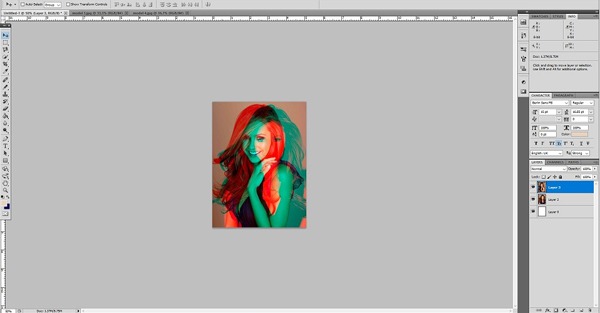
In the blending option if i checking the ‘R’ will give you the red and blue effect and click.
Step:6
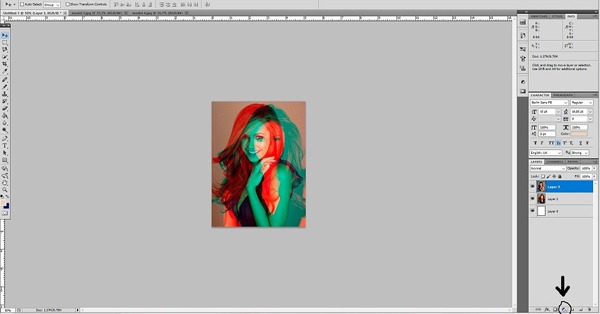
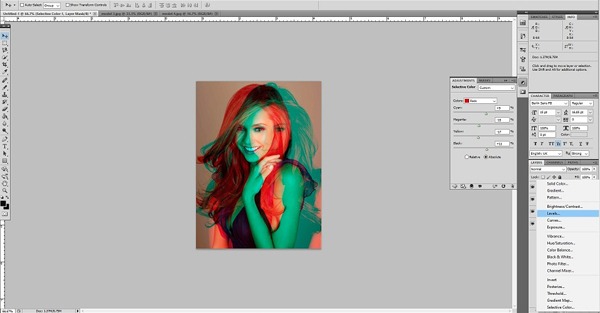
Click on to the “create new fill or adjustment layer
How to create a Slideshow with CSS and JavaScript
Now we are going to create a slideshow using html, css and java script. HTML is the standard markup languages for creating web pages. The html coding are as follows:
<html xmlns=”http://www.w3.org/1999/xhtml”>
<head>
<link rel=”stylesheet” href=”style.css” />
<script src=”blog.js”></script>
<meta http-equiv=”Content-Type” content=”text/html; charset=utf-8″ />
<title>Untitled Document</title>
</head><body>
<div class=”slideshow-container”>
<div class=”mySlides fade”>
<div class=”numbertext”>1 / 3</div>
<img src=”img_nature_wide.jpg” style=”width:100%”>
<div class=”text”>Caption Text</div>
</div><div class=”mySlides fade”>
<div class=”numbertext”>2 / 3</div>
<img src=”img_nature_wide.jpg” style=”width:100%”>
<div class=”text”>Caption Two</div>
</div><div class=”mySlides fade”>
<div class=”numbertext”>3 / 3</div>
<imgsrc=”img_nature_wide.jpg” style=”width:100%”>
<div class=”text”>Caption Three</div>
<a class=”next” onclick=”plusSlides(1)”>❯</a>
</div>
<br>
<span class=”dot” onclick=”currentSlide(1)”></span>
<span class=”dot” onclick=”currentSlide(2)”></span>
<span class=”dot” onclick=”currentSlide(3)”></span>
</div>
</body>
</html>
Step:2
Now css followed by html. Css is a multiple page derived from multiple sources with a defined order of Precedence
where the definition of any style element conflict.
{box-sizing:border-box}
.slideshow-container {
max-width: 1000px;
position: relative;
margin: auto;
}
display: none;
}
.prev, .next {
cursor: pointer;
position: absolute;
top: 50%;
width: auto;
margin-top: -22px;
padding: 16px;
color: white;
font-weight: bold;
font-size: 18px;
transition: 0.6s ease;
border-radius: 0 3px 3px 0;
}
.next {
right: 0;
border-radius: 3px 0 0 3px;
}
.prev:hover, .next:hover {
background-color: rgba(0,0,0,0.8);
}
.text {
color: #f2f2f2;
font-size: 15px;
padding: 8px 12px;
position: absolute;
bottom: 8px;
width: 100%;
text-align: center;
}
.numbertext {
color: #f2f2f2;
font-size: 12px;
padding: 8px 12px;
position: absolute;
top: 0;
}
.dot {
cursor:pointer;
height: 13px;
width: 13px;
margin: 0 2px;
background-color: #bbb;
border-radius: 50%;
display: inline-block;
transition: background-color 0.6s ease;
}
background-color: #717171;
}
.fade {
-webkit-animation-name: fade;
-webkit-animation-duration: 1.5s;
animation-name: fade;
animation-duration: 1.5s;
}
from {opacity: .4}
to {opacity: 1}
}
from {opacity: .4}
to {opacity: 1}
}
Step:3
Next step is to add java script.Java script is an object oriented programming language used to create interactive effects within web browser.
showSlides(slideIndex);function plusSlides(n) {
showSlides(slideIndex += n);
}
showSlides(slideIndex = n);
}
var i;
var slides = document.getElementsByClassName(“mySlides”);
var dots = document.getElementsByClassName(“dot”);
if (n > slides.length) {slideIndex = 1}
if (n < 1) {slideIndex = slides.length}
for (i = 0; i < slides.length; i++) {
slides[i].style.display = “none”;
}
for (i = 0; i < dots.length; i++) {
dots[i].className = dots[i].className.replace(” active”, “”);
}
slides[slideIndex-1].style.display = “block”;
dots[slideIndex-1].className += ” active”;
}
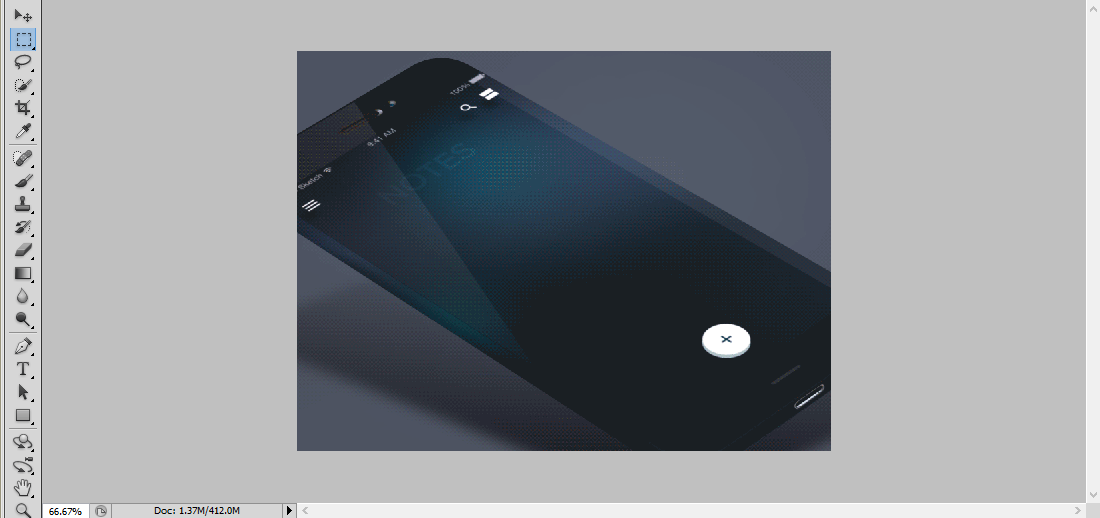
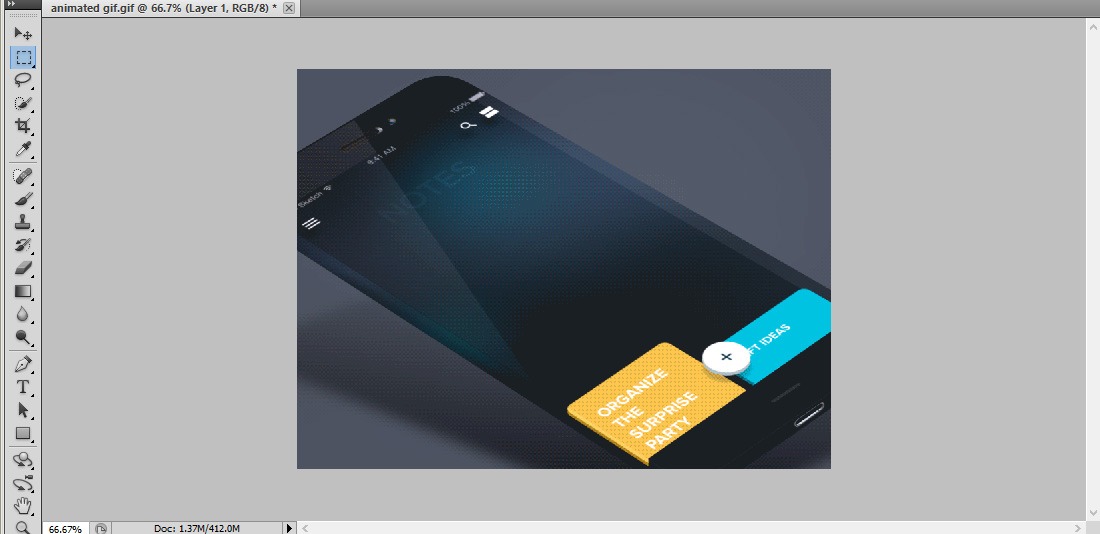
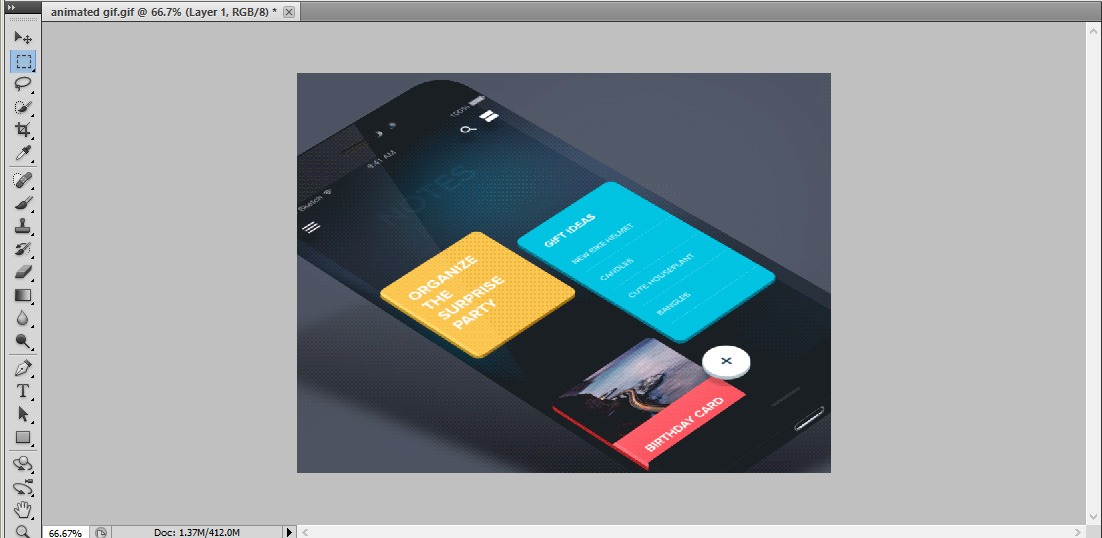
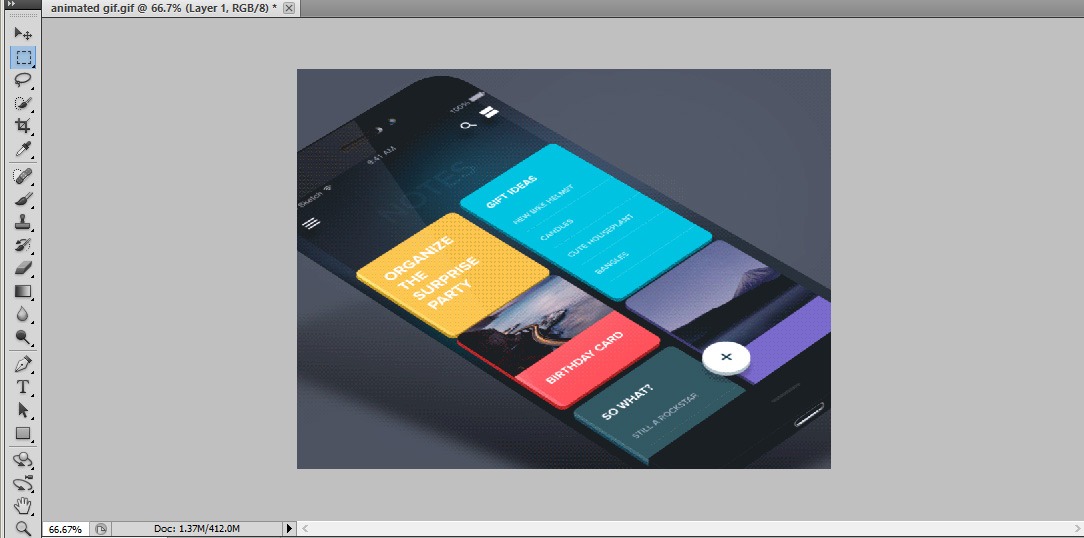
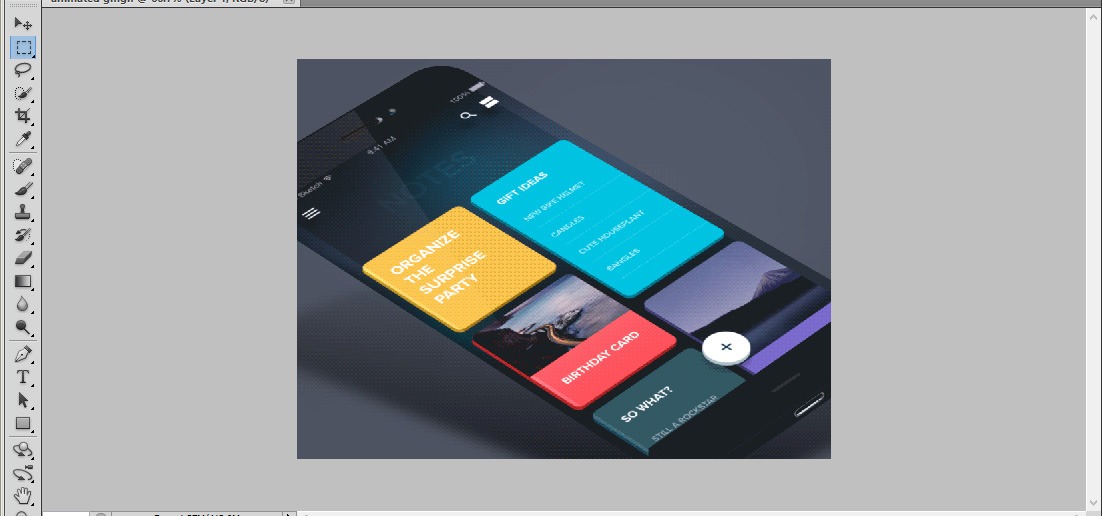
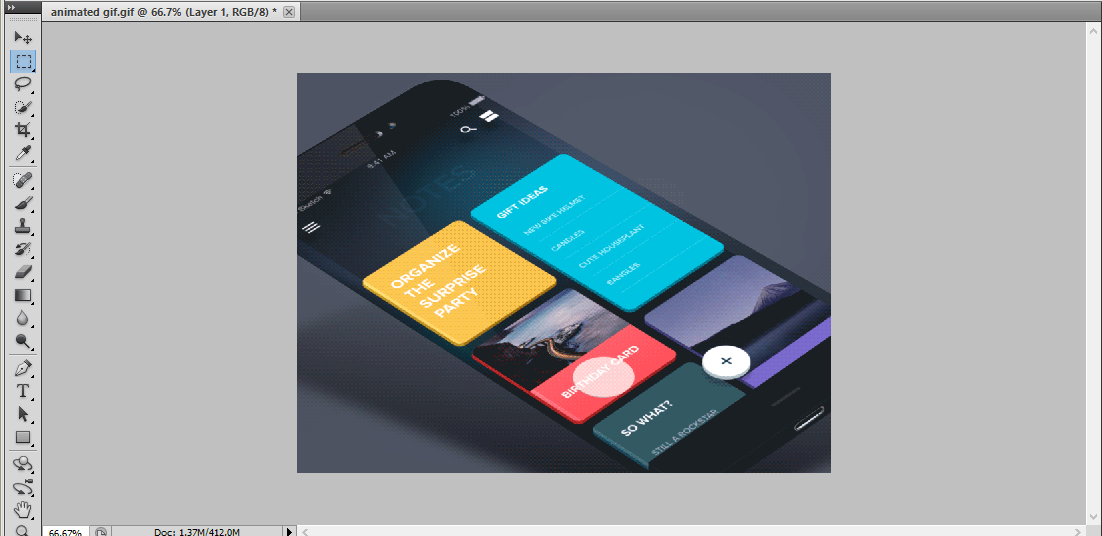
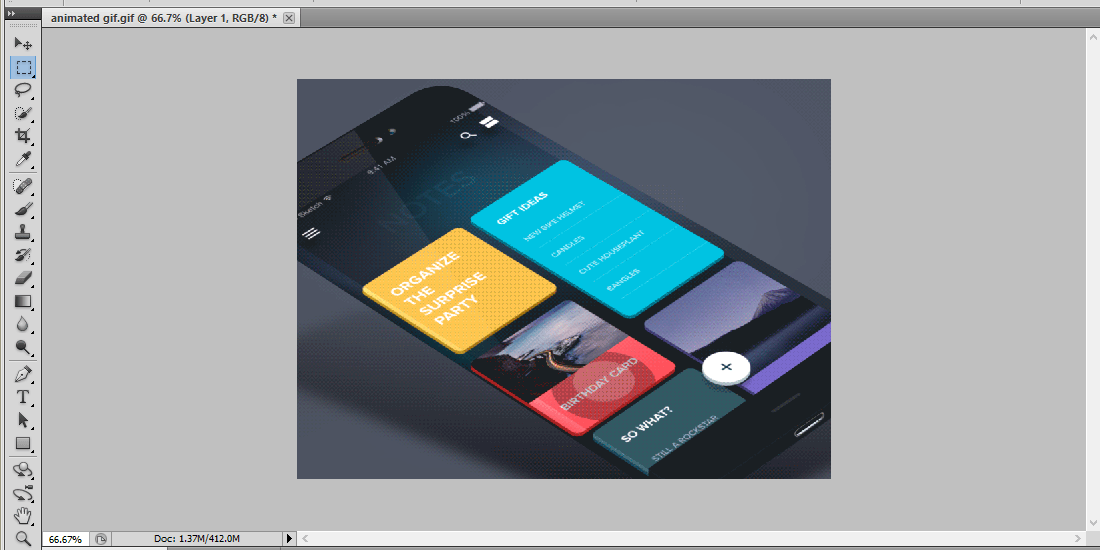
Create an Animated Interface GIF – Photoshop
Step:1
Open a document of width 640 pixels and height 1136 pixels.Create a phone UI according to our needs. Draw a Circle with stroke 3pt. Open the timeline panel and make a new frame.
Step:2
Create a rectangle shaped image and fill with color and add text to it.Create another rectangle and fill with color.Add a frame to it.
Step:3
Make 0.1 seconds time for the first frame.Create next frame by creating different gadgets. Apply the tween command between last and first frames.
Step:4
Add a new frame by creating a gadget. Insert a nature focused image in to a rectangle.Set its duration to 0.1 second. Create two more frames by creating different gadgets.
Step:5
From timeline panel, click Flatten frames into layers. Every Frame will be converted in to flat layer. For example, if you have 10 frames you will also get 10 flat layers.
Step:6
According to the frame set the time duration as 0.1 second. Arrange the frames according to our needs. If you think the animation is too slow, you can make it faster by selecting all the frames and set the duration to 0.2 seconds.
Step:7
Apply the tween command again to make a new animation between first and last frame.So this is the far animation we get,Which gives a best scrolling UI.Save the file in a GIF Format.
Double exposure effect in Photoshop
Step:1
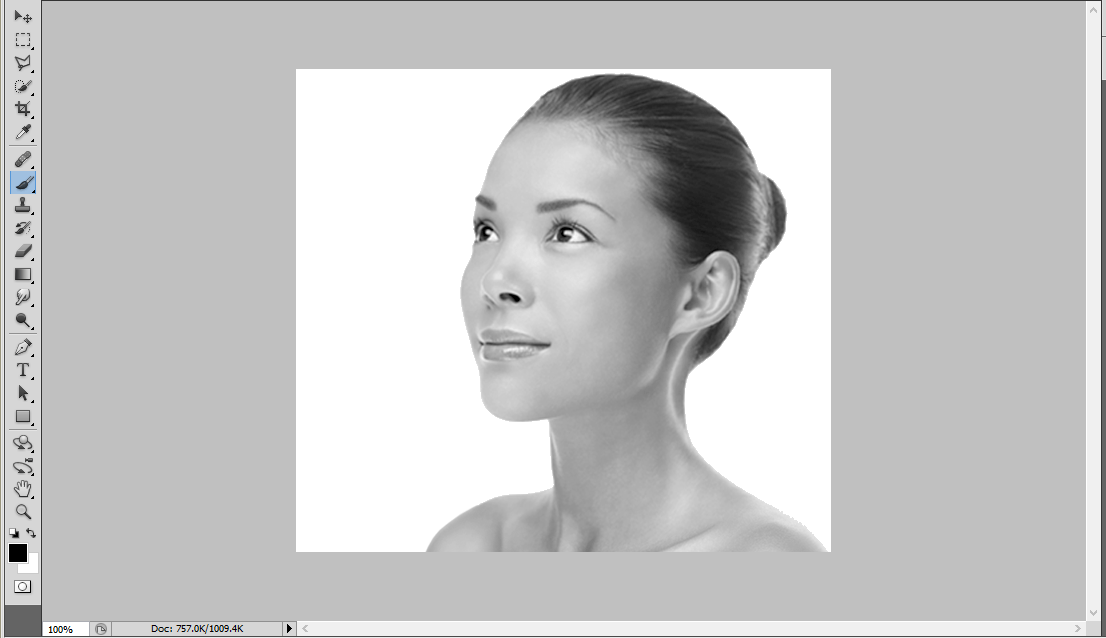
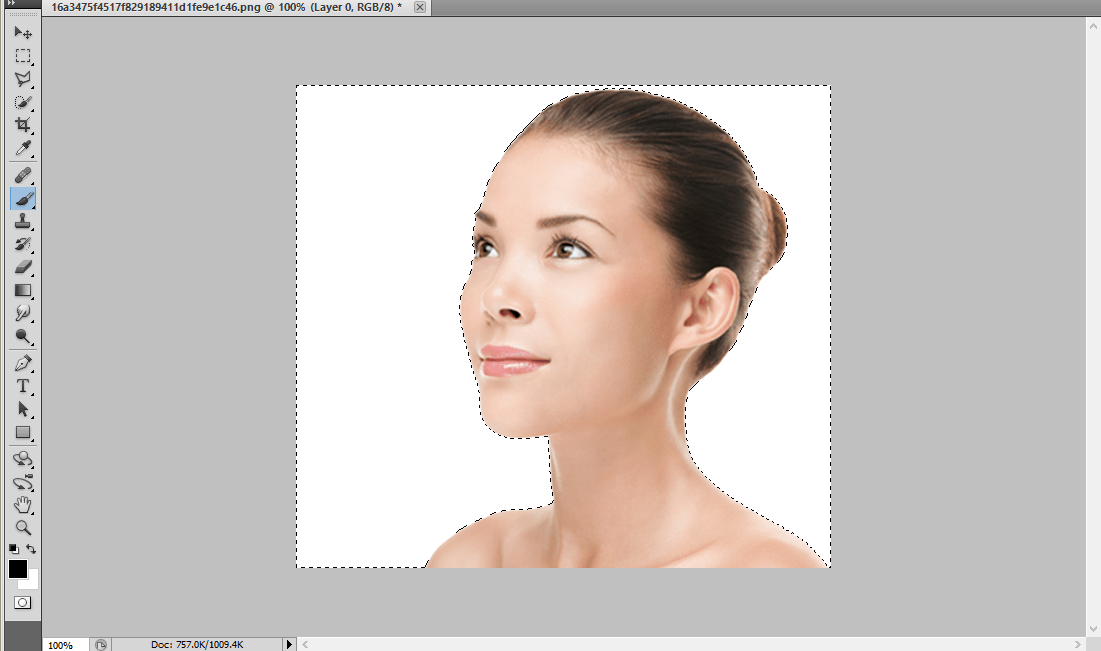
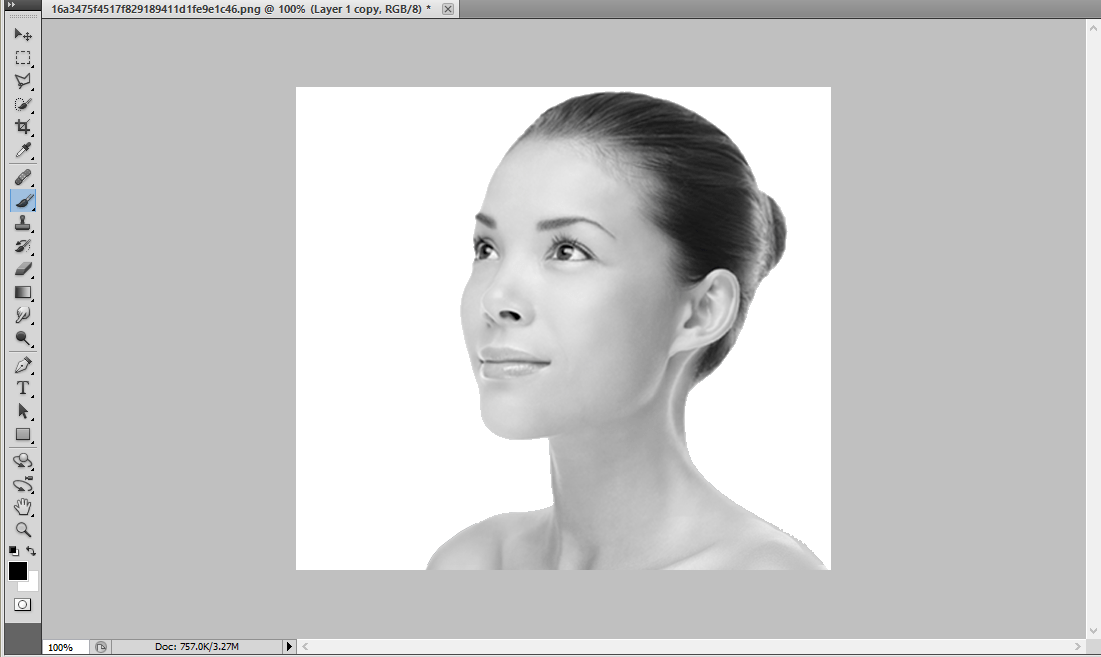
Open the Photo document in Photoshop. Go to channels .In Channels make a Copy of the blue layer by Pressing Ctrl+j
Step:2
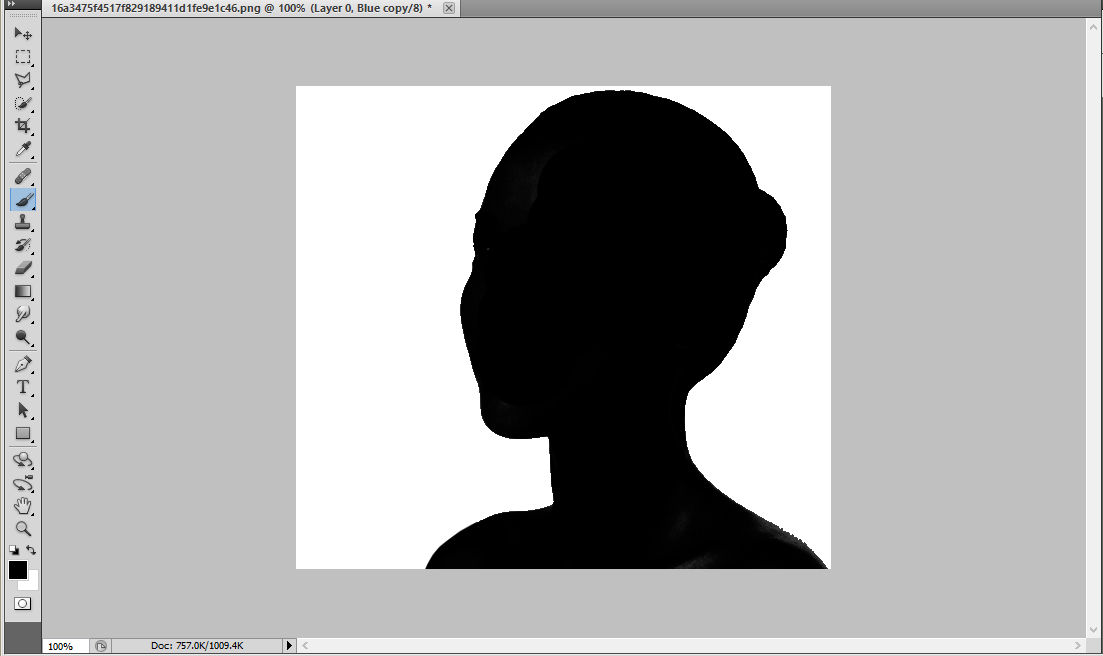
By Keeping in blue layer Go to adjustments-> levels and make the adjustments.Then make the black color as foreground and use the brush tool to color the image.
Step:3
Now turn off the blue layer in that channel. Then go to image-> adjustment -> Inverse. Make a Copy of that Layer.Make the background as white.
Step:4
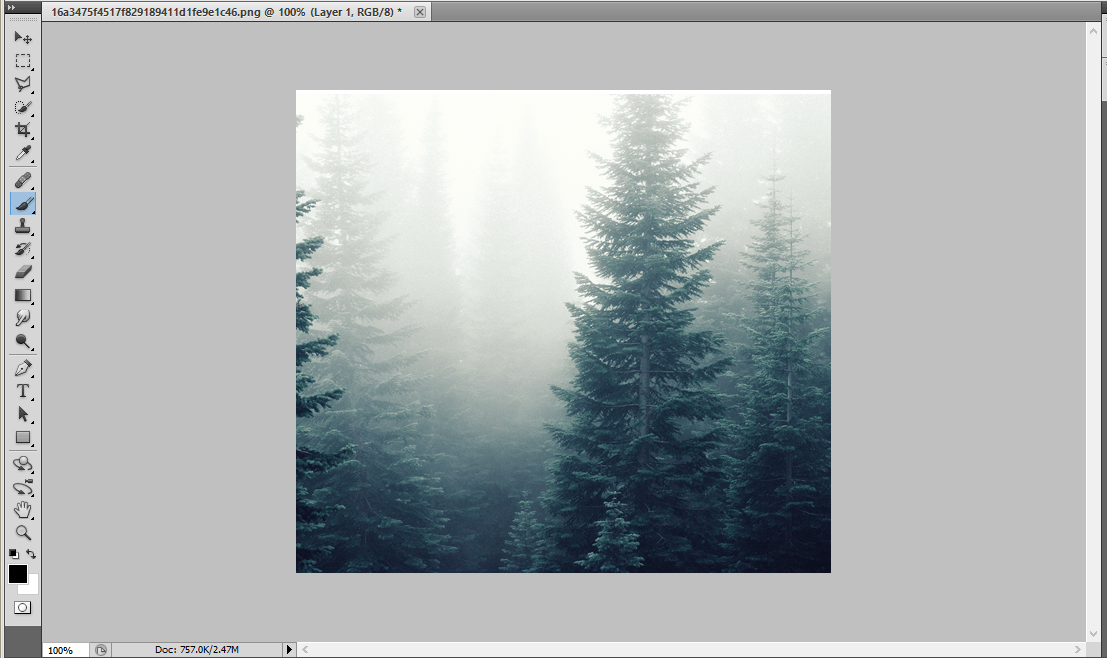
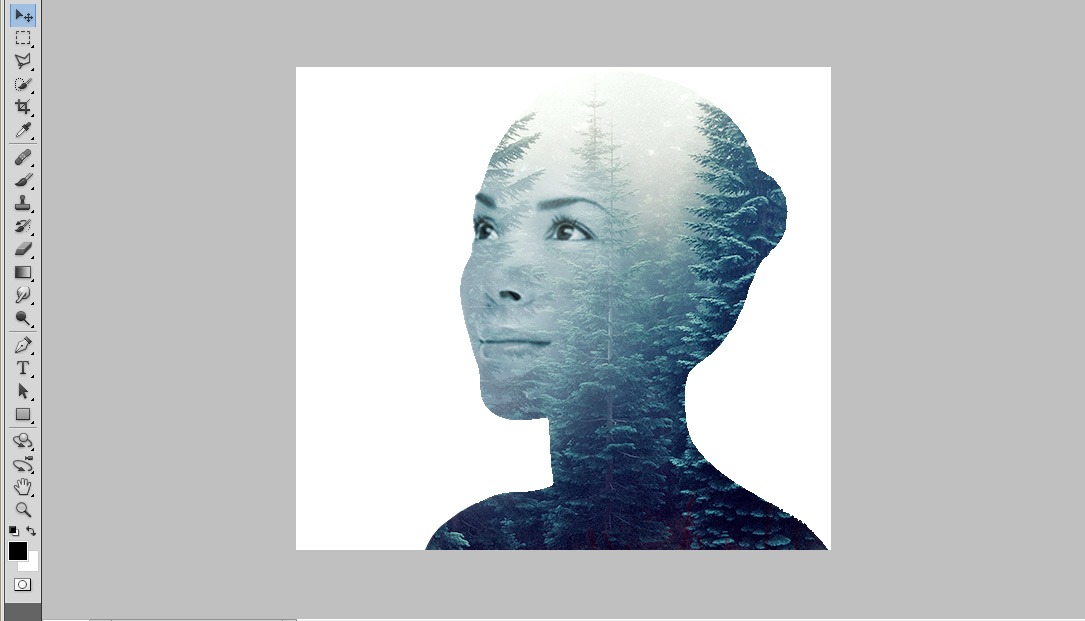
Now open the Forest image in Photoshop and Place that image above these two layers.Press Ctrl in that original image and add a layer mask to that above forest image.
Step:5
Now make a Copy of that girl image and Place above these. Go to Image-> adjustments -> De saturate. now change the blending modes to multiply.
Step:6
Add a layer mask to it and make some adjustments using black brush. Open the forest image and go to blur -> Motion blur and make the adjustments and add a layer mask to it. Reduce the opacity to 40%.
Painterly glow effect using Photoshop
Step:1
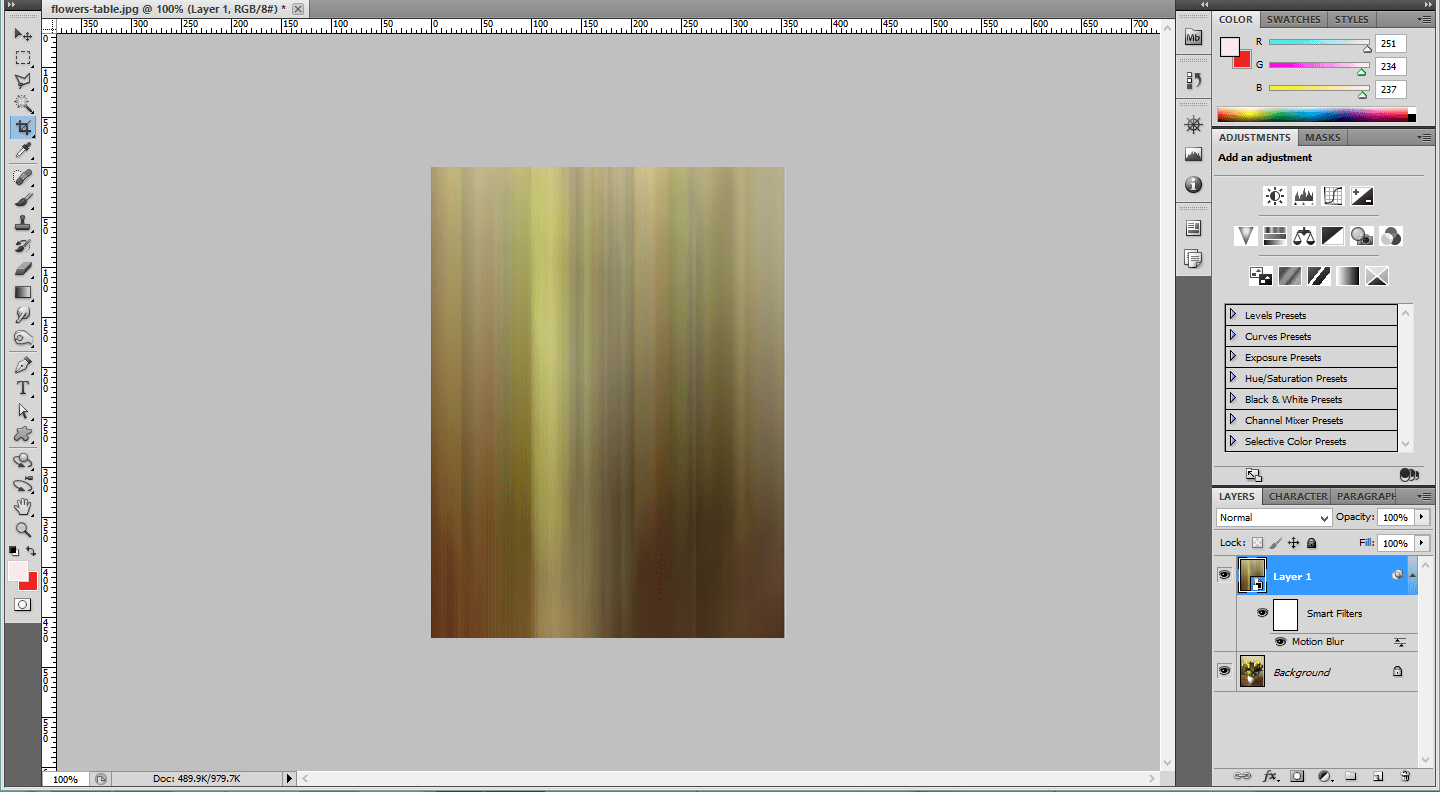
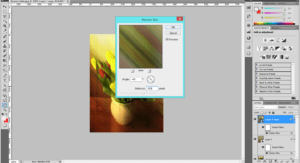
Open the Photo document in Photoshop.Make a copy of the background layer.Then Convert it to smart filter. Go to Filter-> Convert to smart filter.Then add a motion blur filter. Go to blur -> Motion blur -> angle-90 and distance -45o.
Step:2
Convert the blending modes from normal to hard light. Then make a copy of the layer1. Change the values of the motion blur filter.Change the value of distance as 355 and angle as -45.
Step:3
Make a copy of the layer 1 copy by pressing ctrl+j. Change the values in the motion blur effect as distance- 290 and angle -45.
Step:4
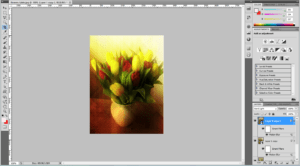
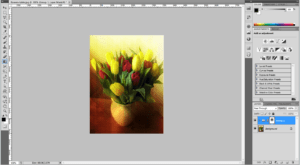
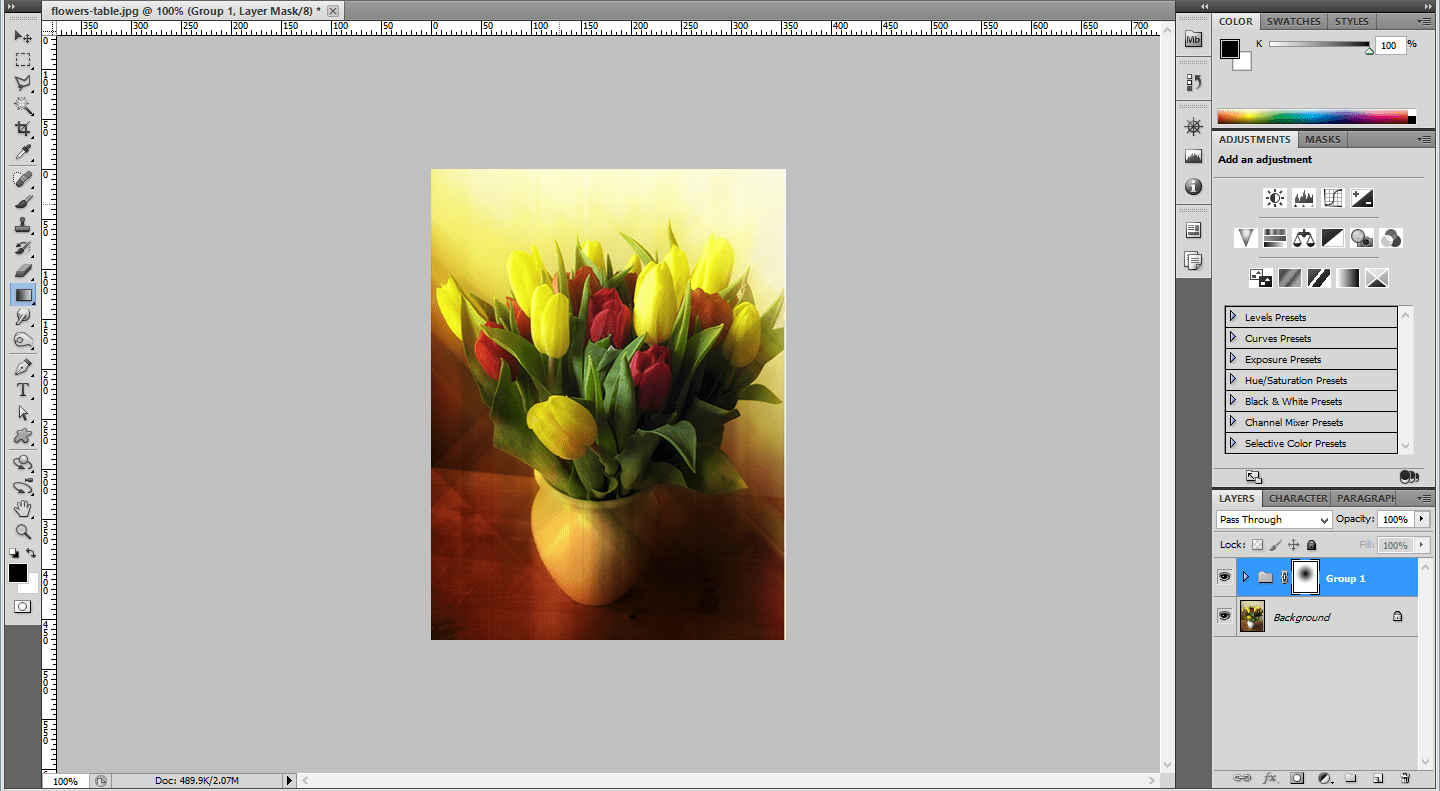
Make these layers in to a group by pressing ctrl+g.Add a layer mask to the group.use the gradient tool( black ad white) and make a paint over the layer mask from center to the end point.
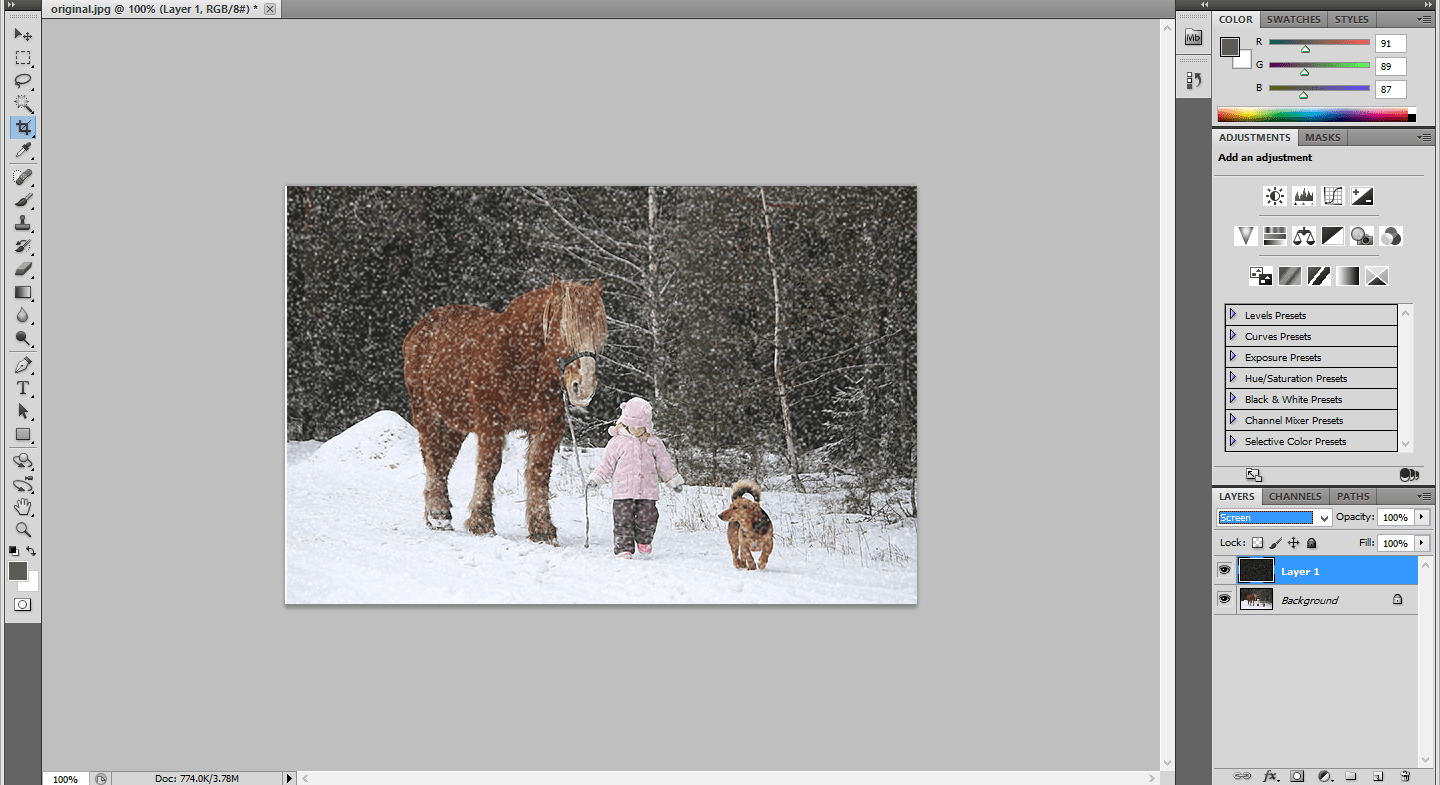
Weather effect using Photoshop
Step:1
Open the document in Photoshop and place the photo in that document. Add a blank layer above this background layer.
Step:2
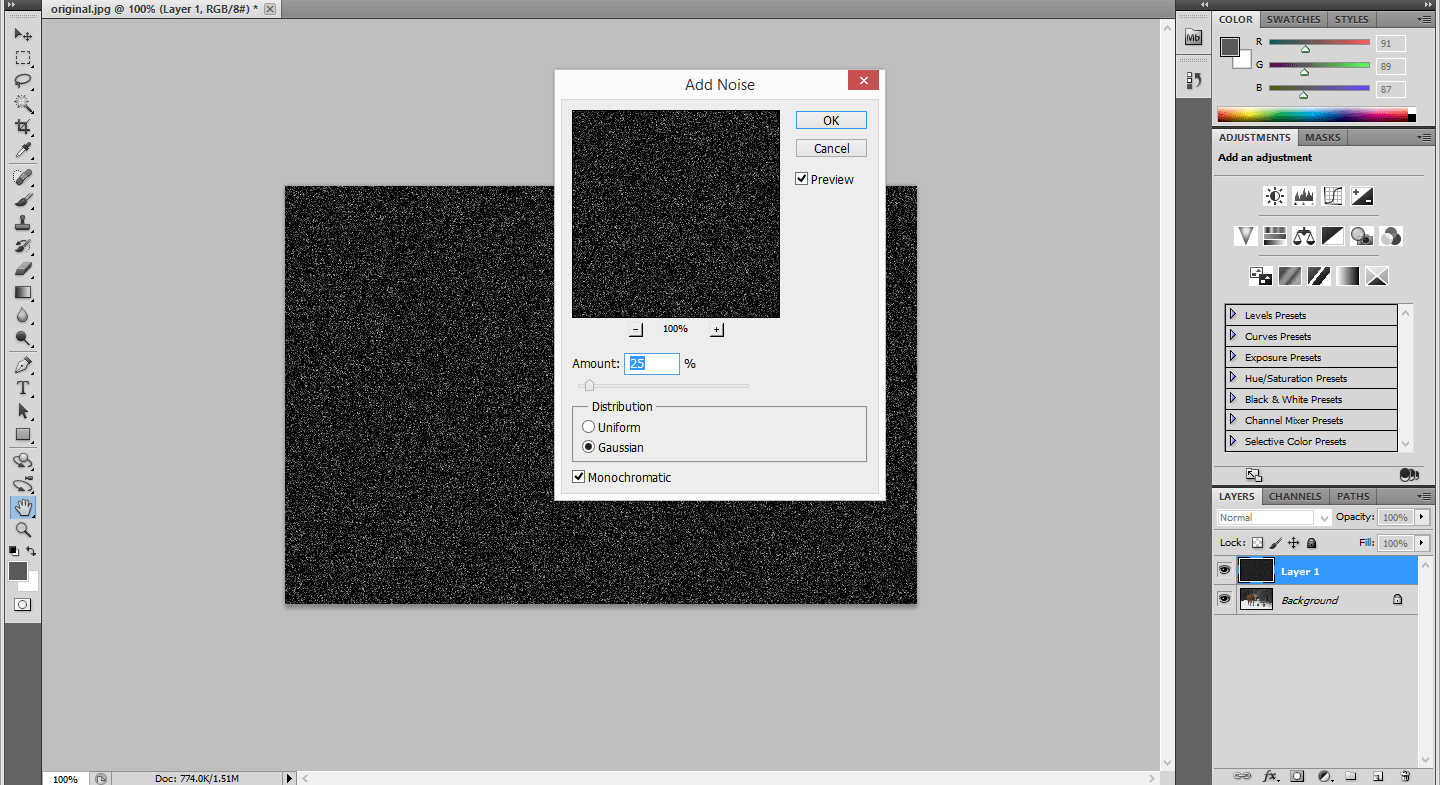
Go to edit-> Fill-> black color. Then go to Filter -> Noise -> Add noise -> amount ->25 and make the distribution as Gaussian.
Step:3
Now we want to make a transformation by pressing ctrl+t.Then make the changes in width and height as 200 pixels and make the blending mode as screen.
Step:4
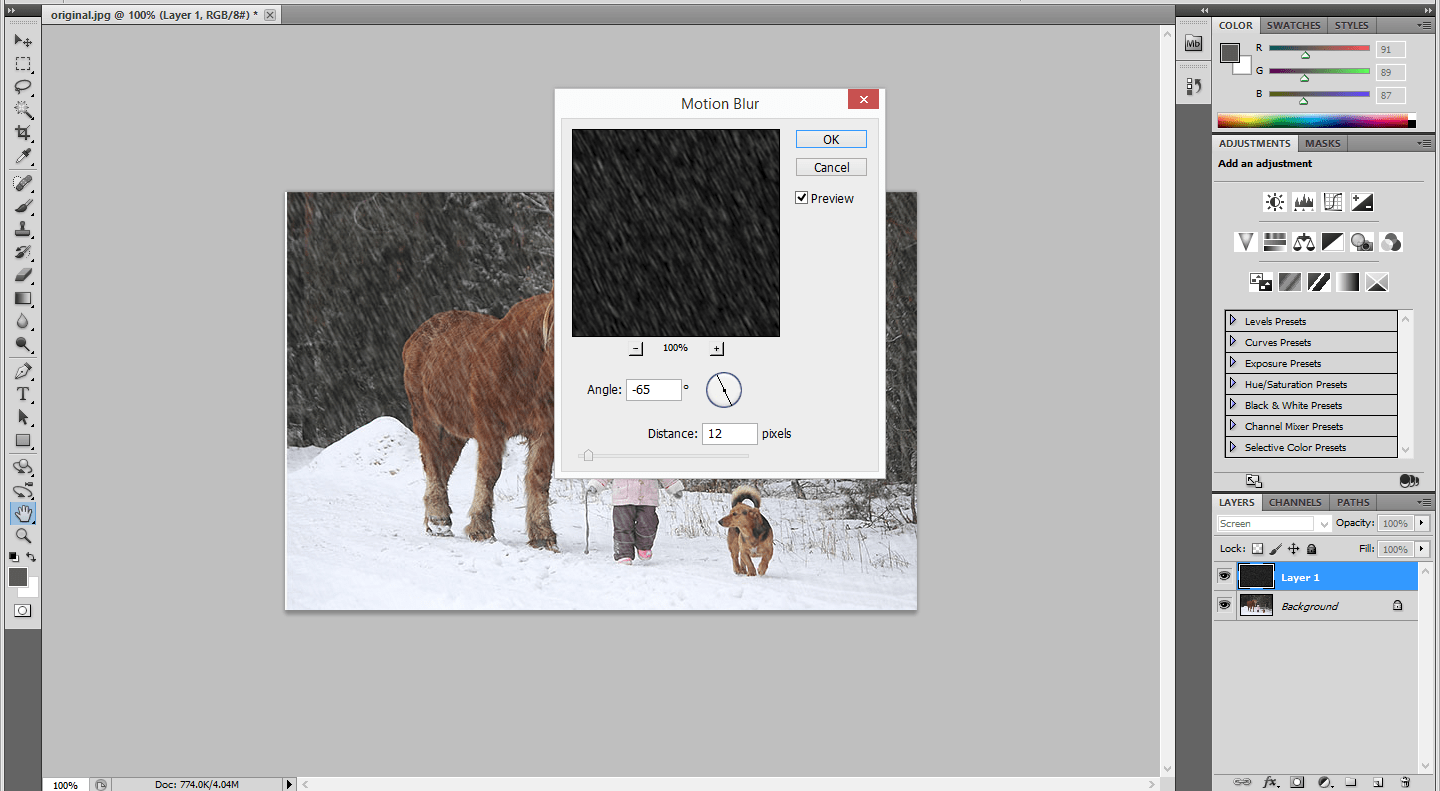
Then go to filter -> blur -> Motion blur and make the angle as -65 and the distance as 12 pixels.
Step:5
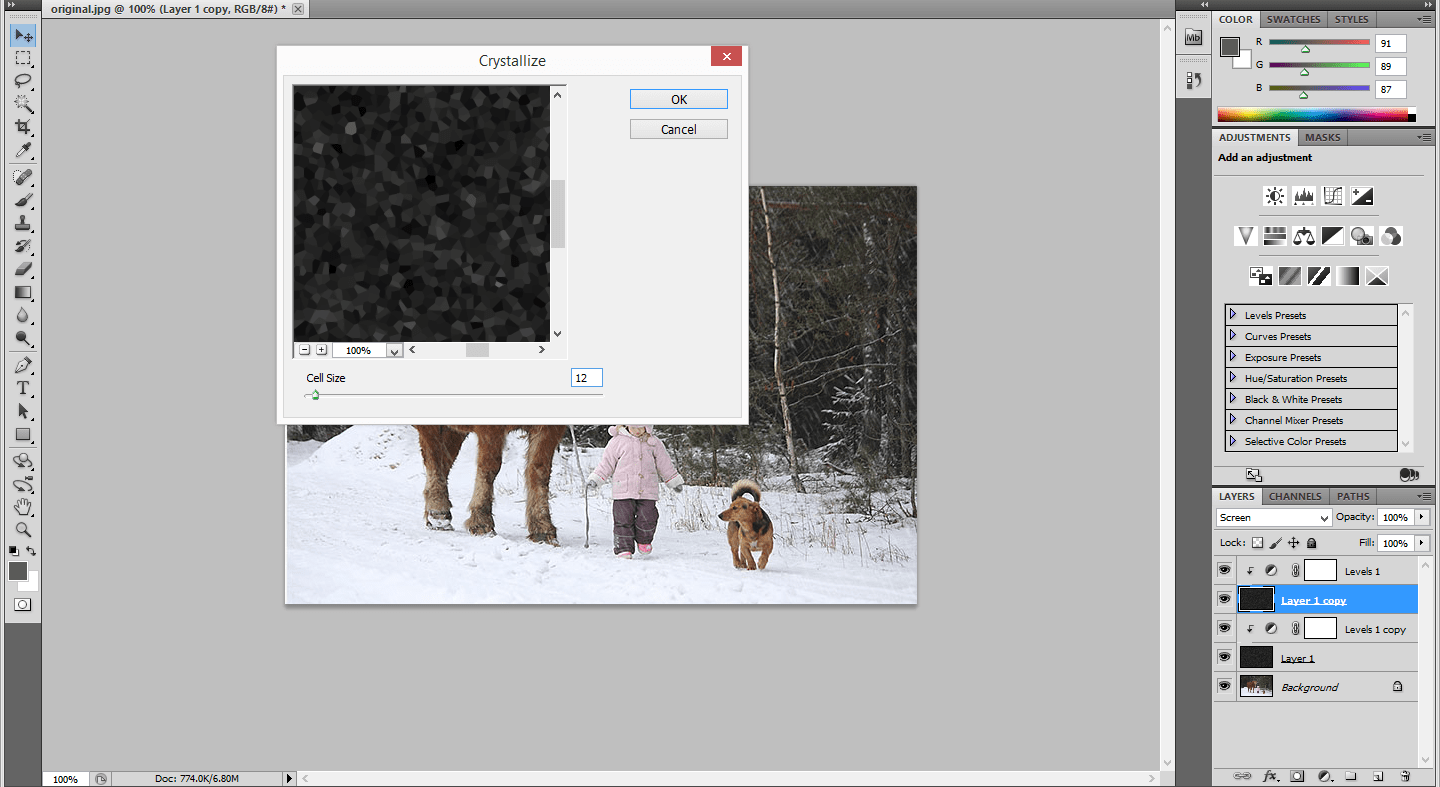
Then make a level adjustment and add a clipping mask above it.Make a copy of that layer. Then go to edit -> transform -> rotate 180.Then go to filter-> Pixelate -> crystallize.
Step:6
Go to Filter -> blur -> Motion blur -> angle -> -65 and distance as 20 pixels.Then make a changes in the level adjustment.
Turning a Photo in to Pop-art effect
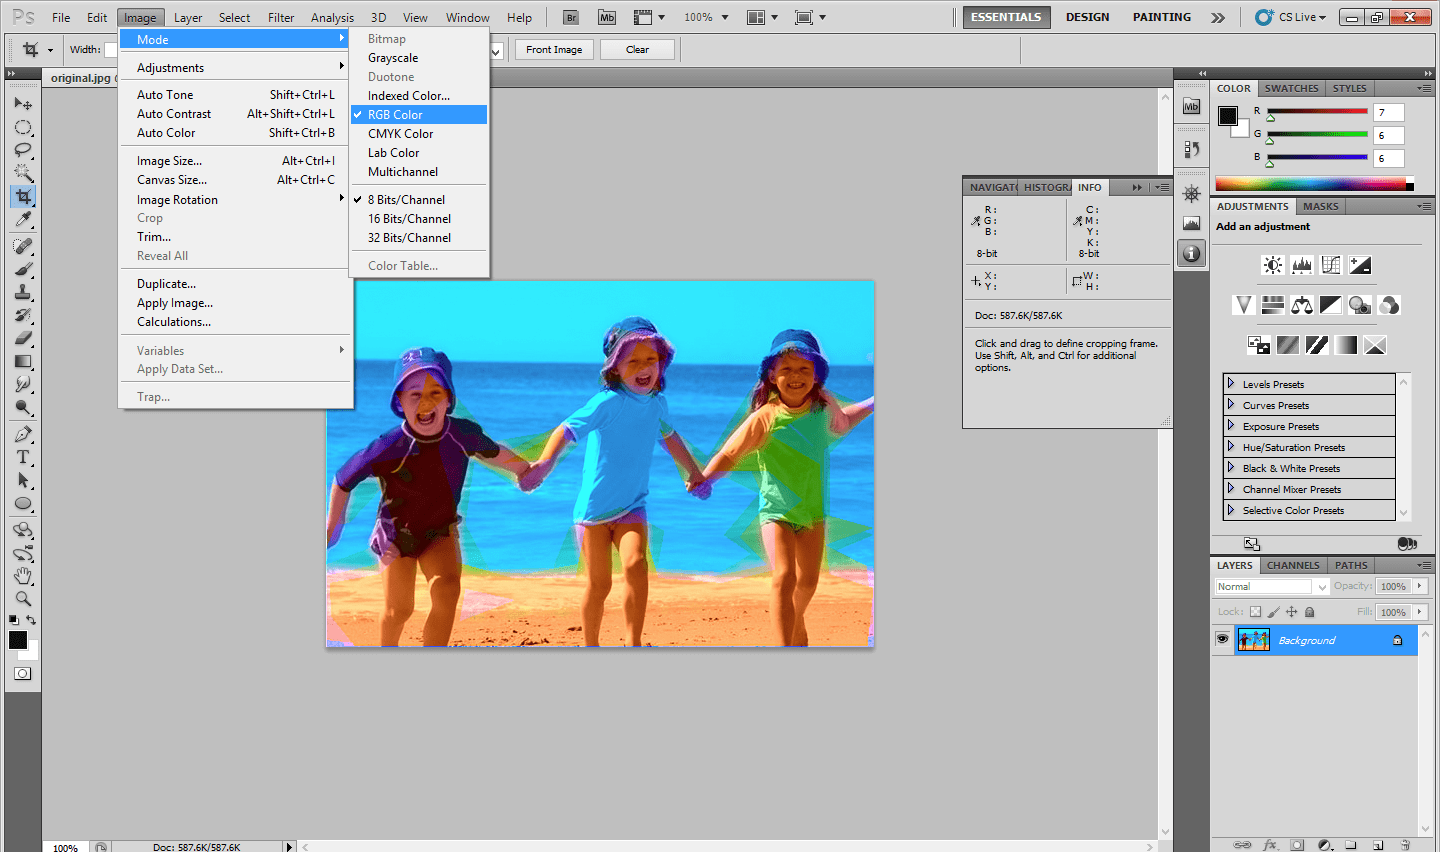
Step1:
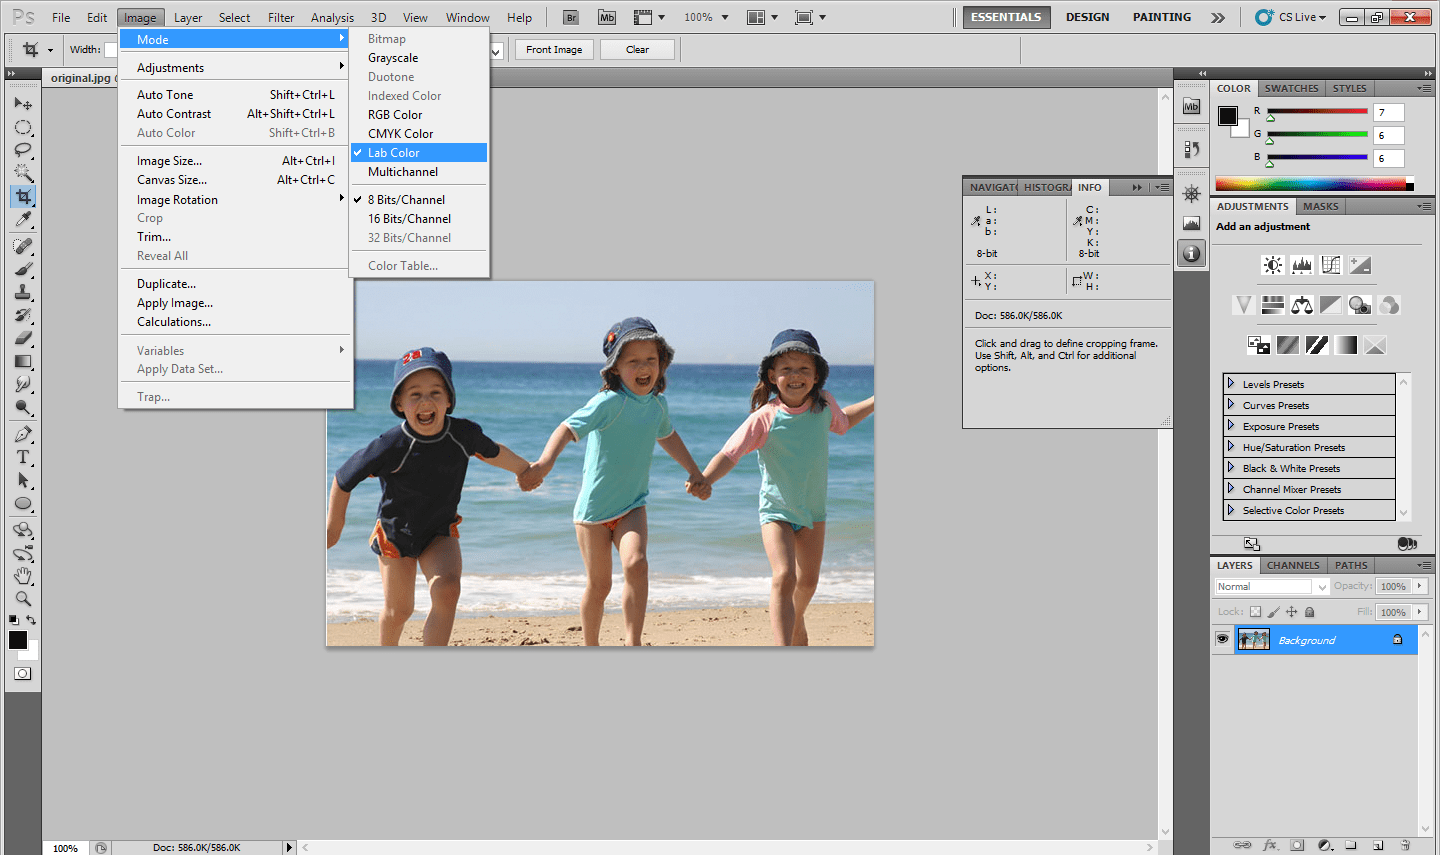
Open the document in Photoshop.Go to Image -> Mode -> RGB color to Lab Color.
Step:2
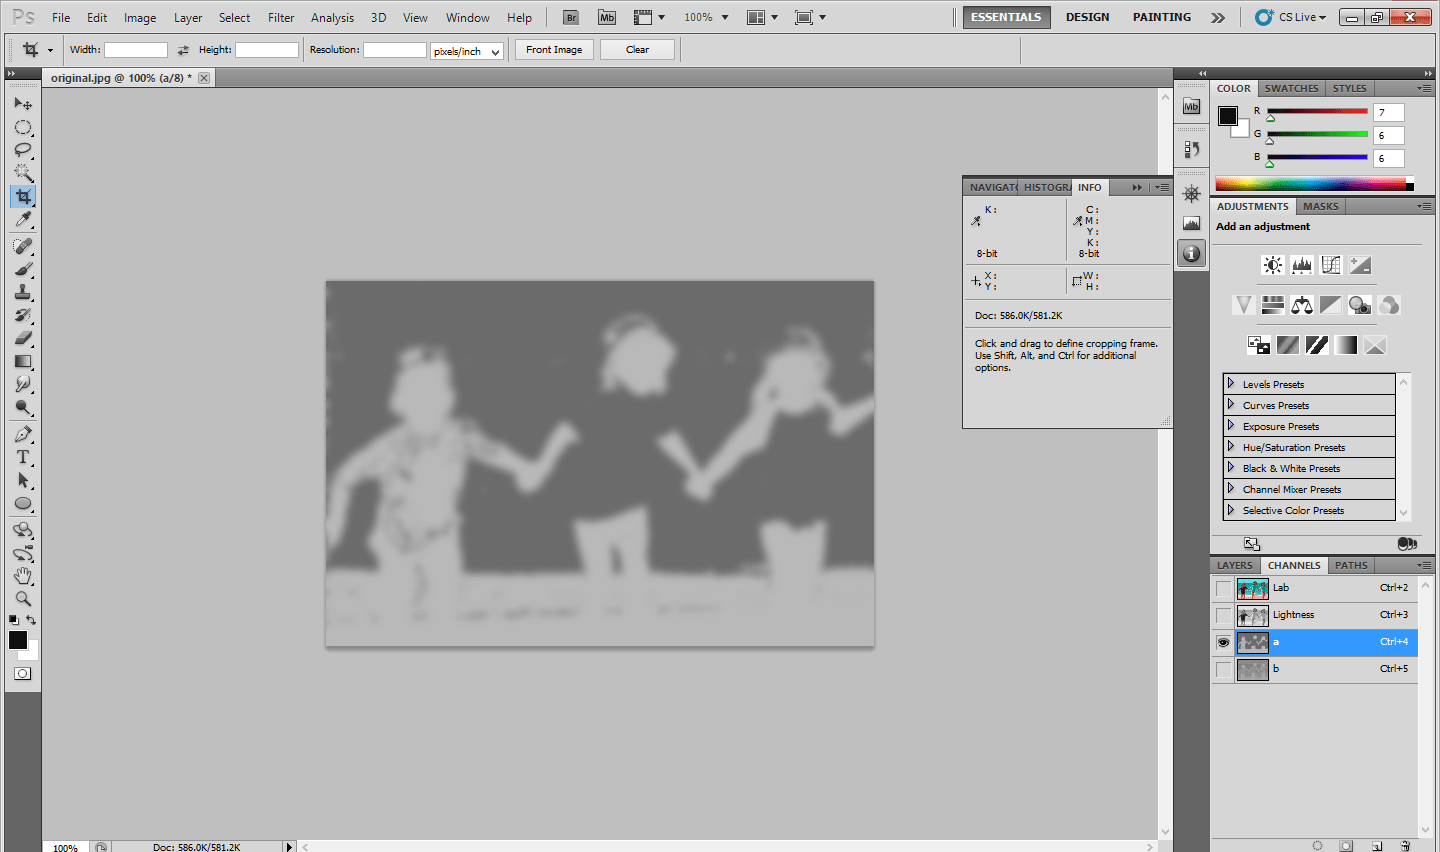
Go to Channels -> a channel and go to image -> adjustments -> Posterize. The Posterize value will be 4.
Step:3
Go to b channel -> Image -> adjustments -> Posterize ->4 and have a blur filter. Go to Filter -> Blur -> Gaussian Blur
Step:4
Then Go to Filter Gallery -> Cutout Effect. Adjust the Values according to Your needs.It will give a Pop art effect.
Step:5
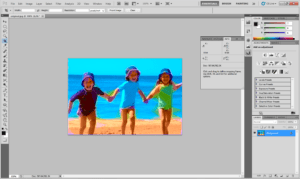
Change the Lab color mode to RGB Mode .Now the image turns in to a Pop-art effect.
Turning a new photo in to old photo-photoshop
Step1:
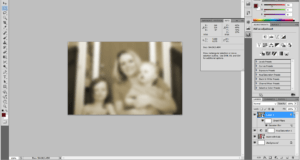
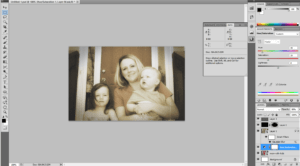
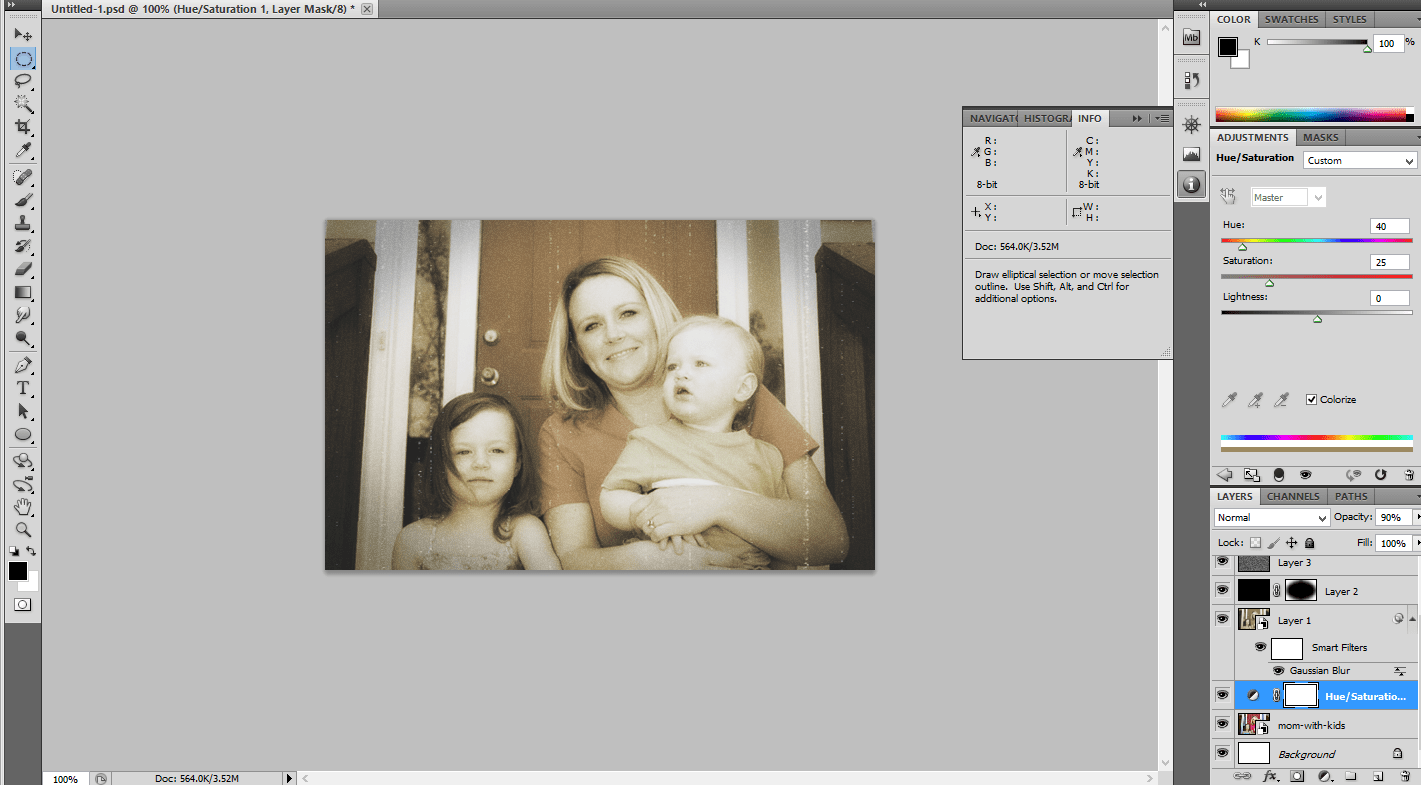
Open the document in Photoshop. Add a hue/saturation layer above it with the hue value as 40 and saturation value as 25.
Step:2
Merge the two layers by pressing ctrl+shift+alt+E.Then go to Filter-> Blur -> Gaussian Blur-> Radius 6 Pixels.
Step:3
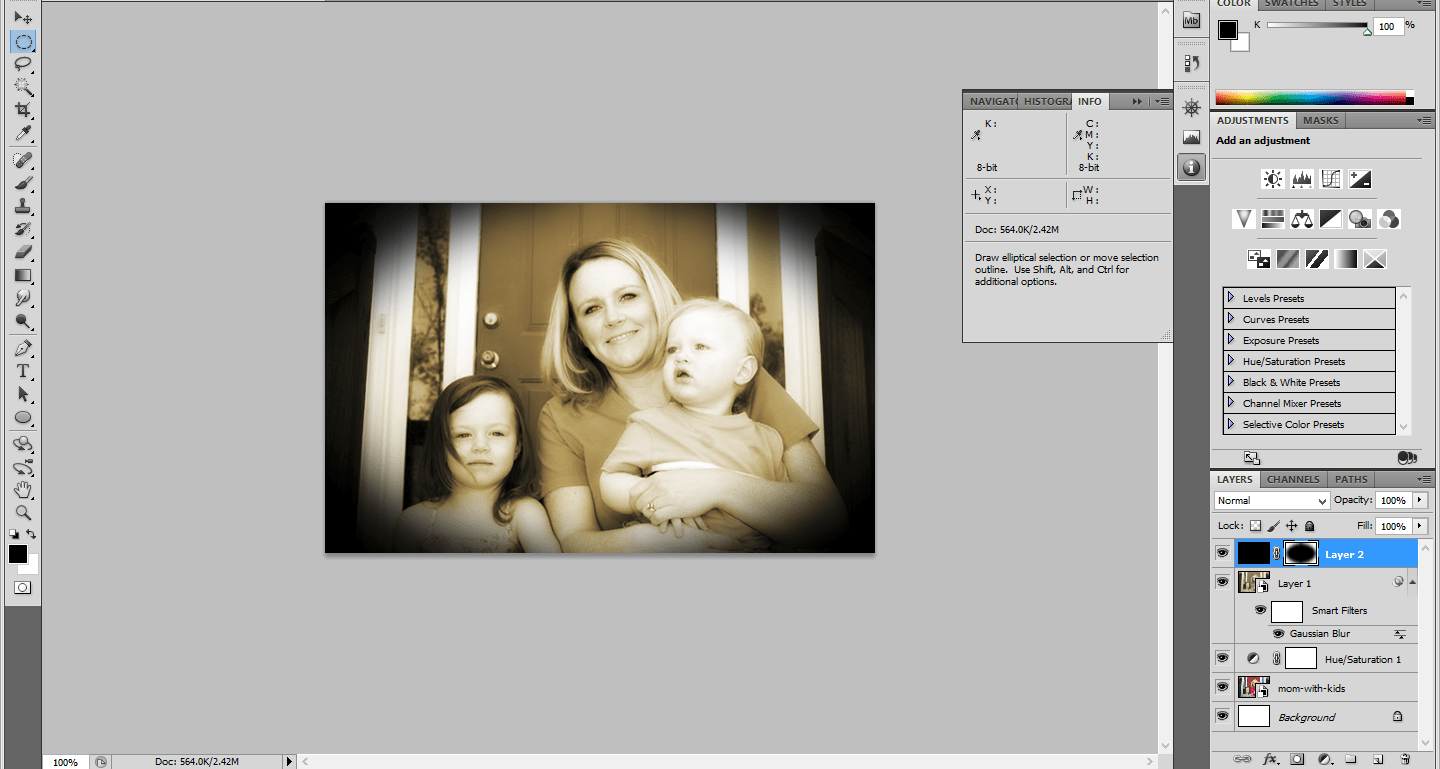
Add a new layer above it and fill the layer with black color. Go to edit -> Fill -> Black color.
Step:4
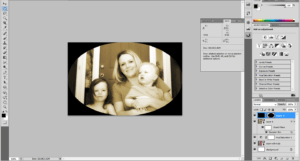
Choose the elliptical tool and make a ellipse in the layer and then hold alt with layermask.The foreground color should be black.
Step:5
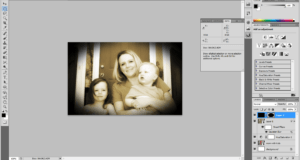
Go to Blur -> Gaussian Blur.Now the Elliptical round will be merged with the Photo.
Step:6
Add a new layer above it and add a noise Filter. Go to Filter-> Noise -> add noise.The Distribution should be Gaussian.
Step:7
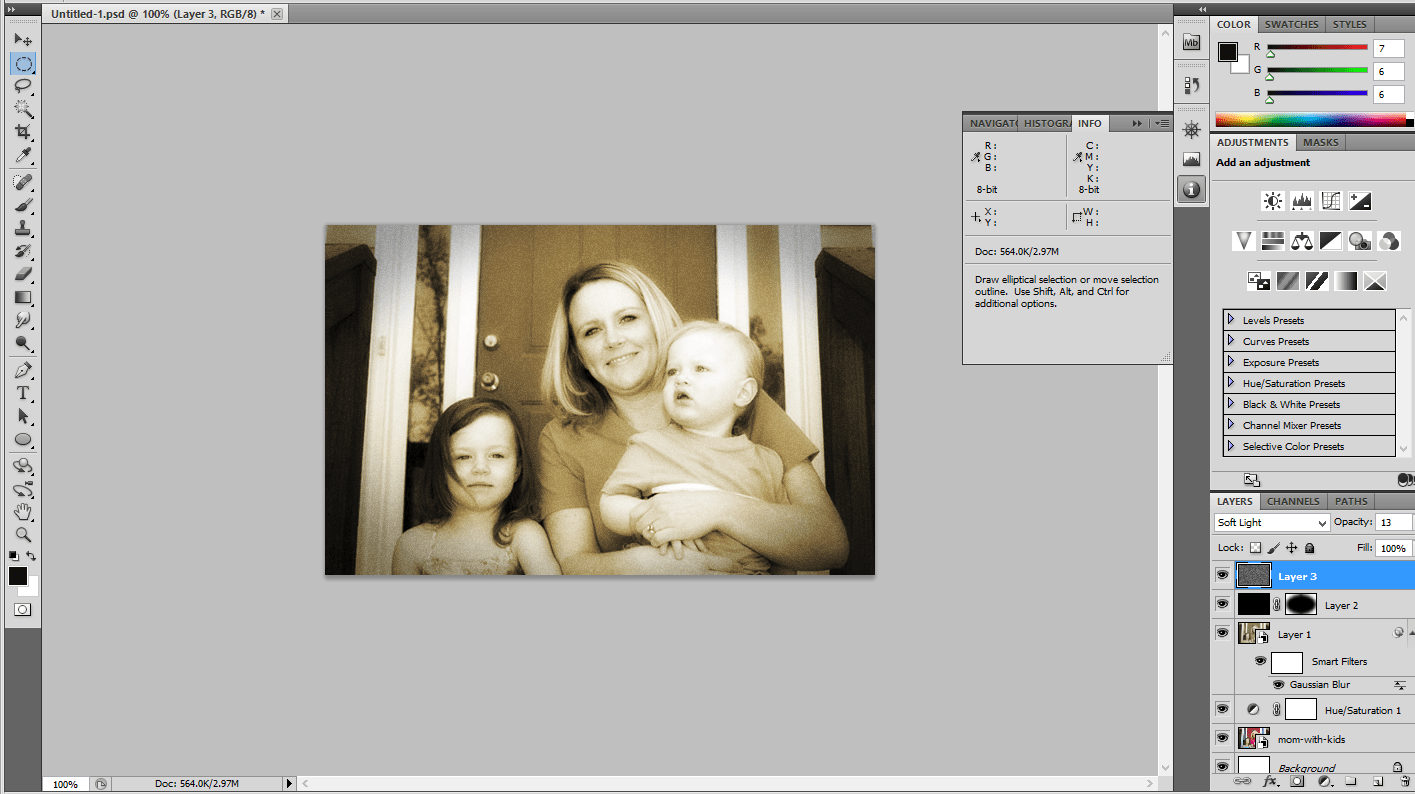
Change the Blending Modes from normal to soft light and reduce the Opacity to 13%.
Step:8
Add a new layer above it and fill the layer with black color, Add a grain filter and choose the Vertical lines from it.
Step:9
Finally reduce the Opacity to 90%. Now it looks like a old Photo
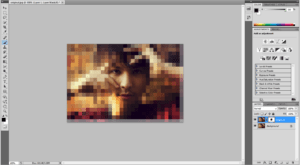
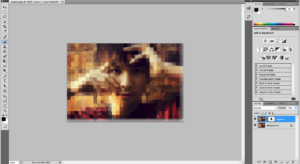
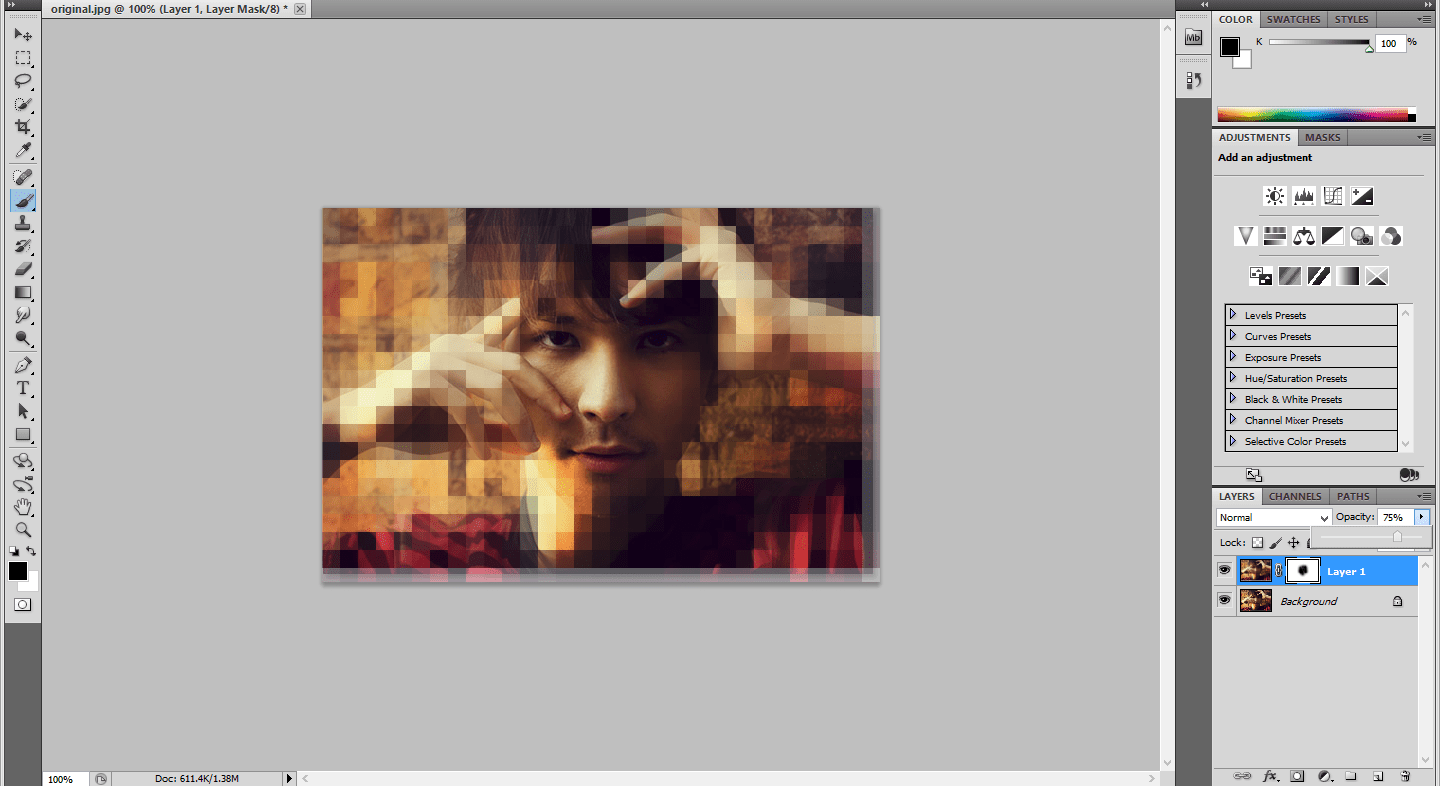
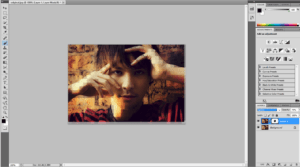
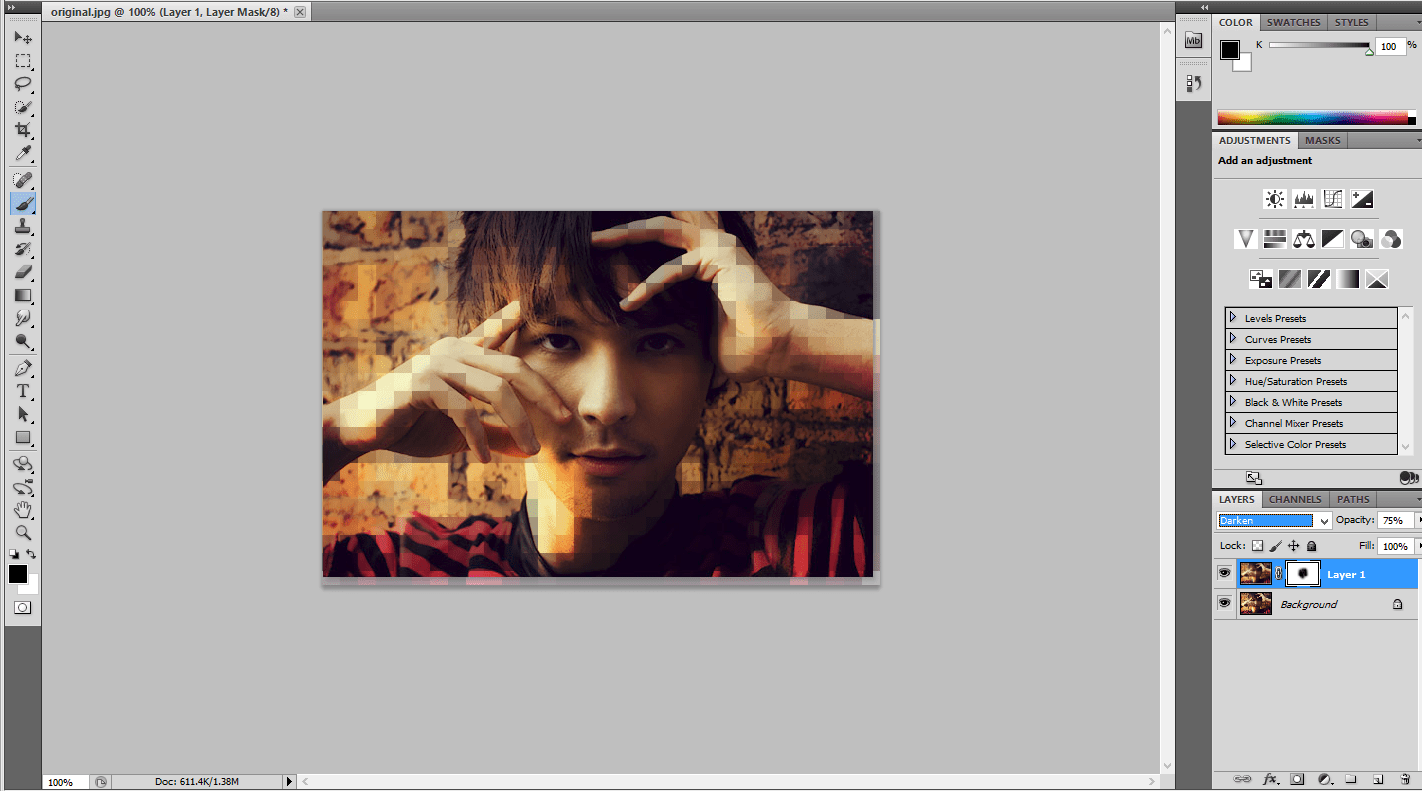
Digital Pixel Effect using Photoshop
Step:1
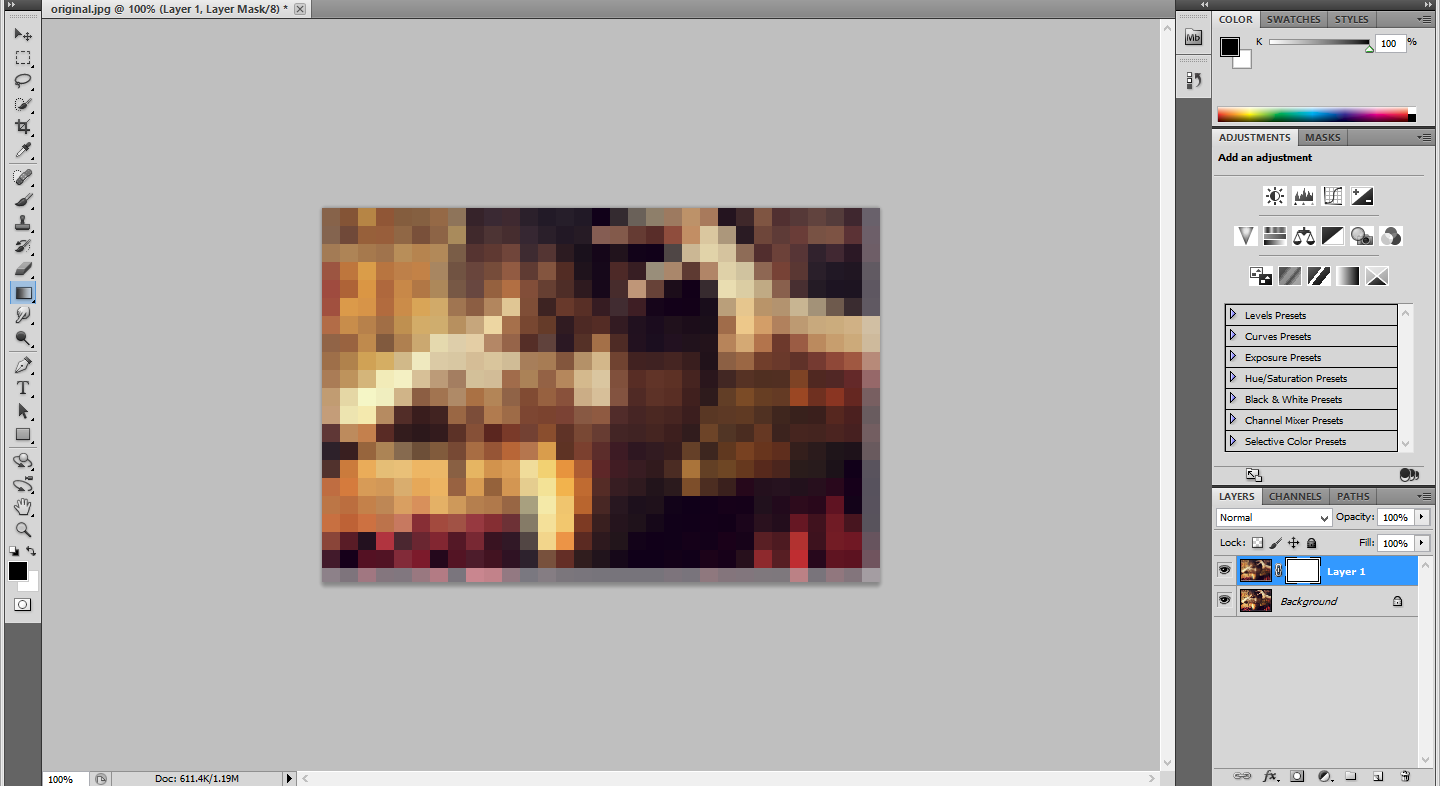
Open the Photo document in Photoshop.Make a duplicate layer by Pressing ctrl+j
Step:2
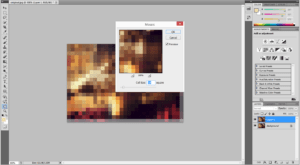
In the duplicate layer go to Filter -> Pixelate -> Mosaic and change the cell size to 18. Cell size can be varied depend upon our needs.
Step:3
Add a later mask in the duplicate layer.Then apply the gradient mask from left to right using black as foreground color and white as background layer.
Step:4
Apply white color on Layer mask. Using brush remove some of the Face parts like eyes, nose, head.Make black as foreground color.
Step:5
Reduce the Opacity to 75%. Change the Blending modes from normal to darken. You can change the blending modes according to your needs.
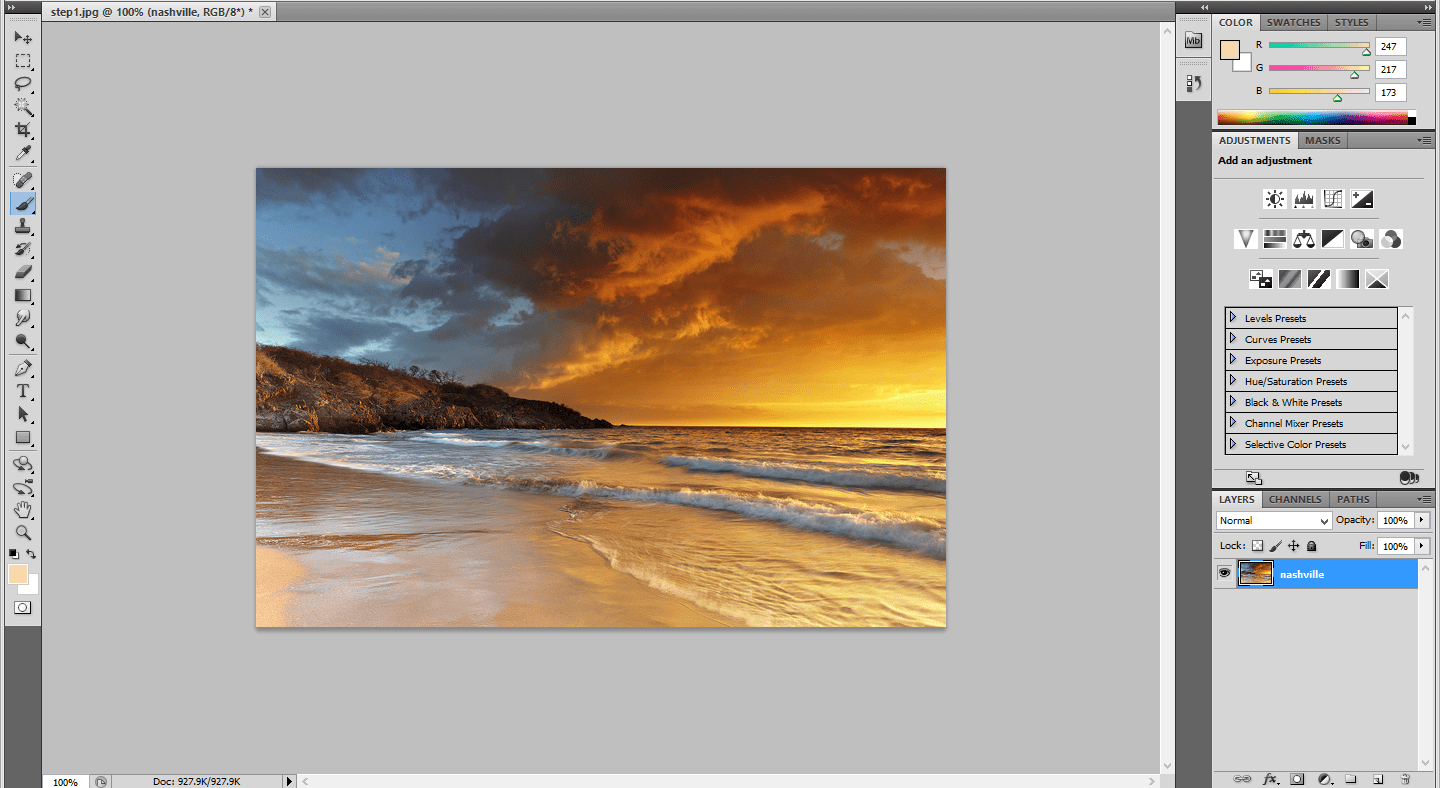
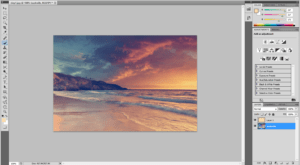
How to create a Nashville filter from Instagram using Photoshop
Step1:
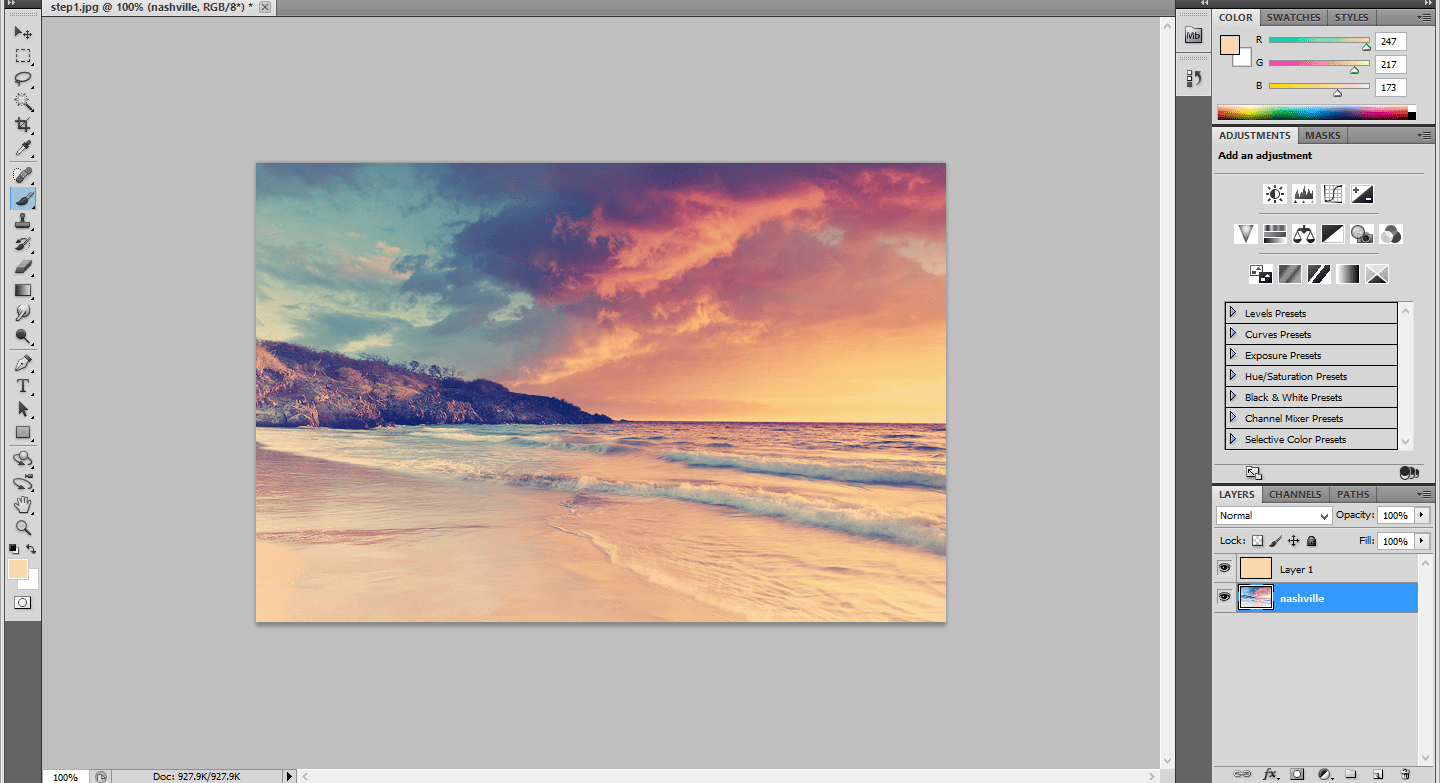
Open the Photo document in Photoshop and Edit the layer name as Nashville. Create a New layer above this layer.
Step:2
Fill the Color in the new layer. The color should be as follows: Red-247, Green- 217, Blue- 173.Change the blending modes from normal to multiply.
Step:3
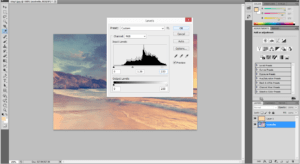
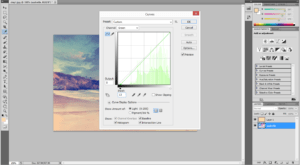
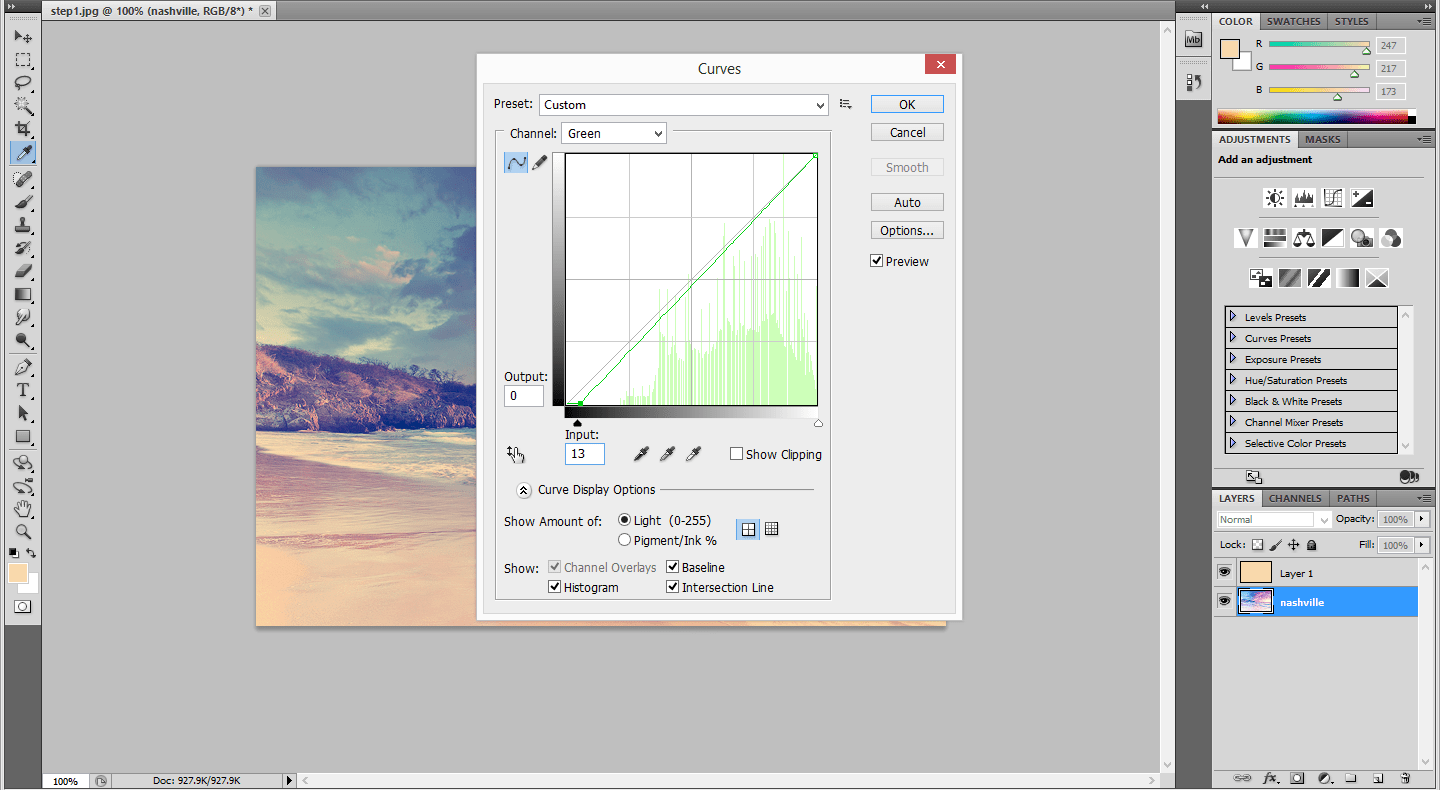
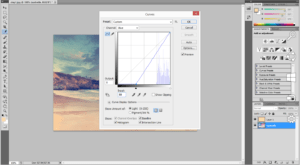
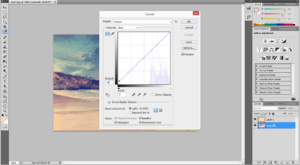
Click on the Nashville Layer and go to image-> adjustments-> Curves.Change the Values as follows. Change the green channel output to 37 and blue channel output to 133.
Step:4
Again go to Image -> Adjustments -> Levels.Change the Middle value to 1.36 and input to 236.
Step:5
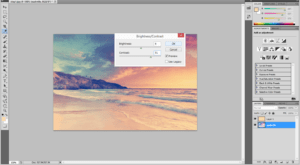
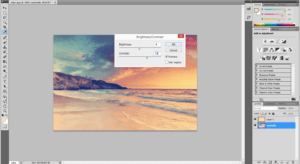
Go to Image-> adjustments-> Brightness/Contrast and change the brightness value as 6 and contrast value to 51.
Step:6
Again go to image-> adjustments-> Curves. Change the green channel input to 13 and blue channel input to 88.
Step:7
To give a more depth go to image ->adjustments-> Brightness/Contrast.Change the brightness value as -6 and Contrast value as 33.
Step:8
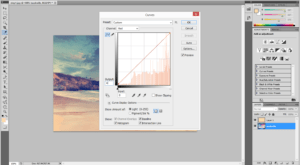
Then again go to Image->adjustments-> Curves. Change the red channel output to 4 and blue channel output to 14.
Step:9
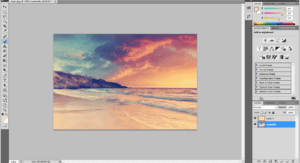
Now the normal image turns in to Nashville filter effect.


