Photoshop tips
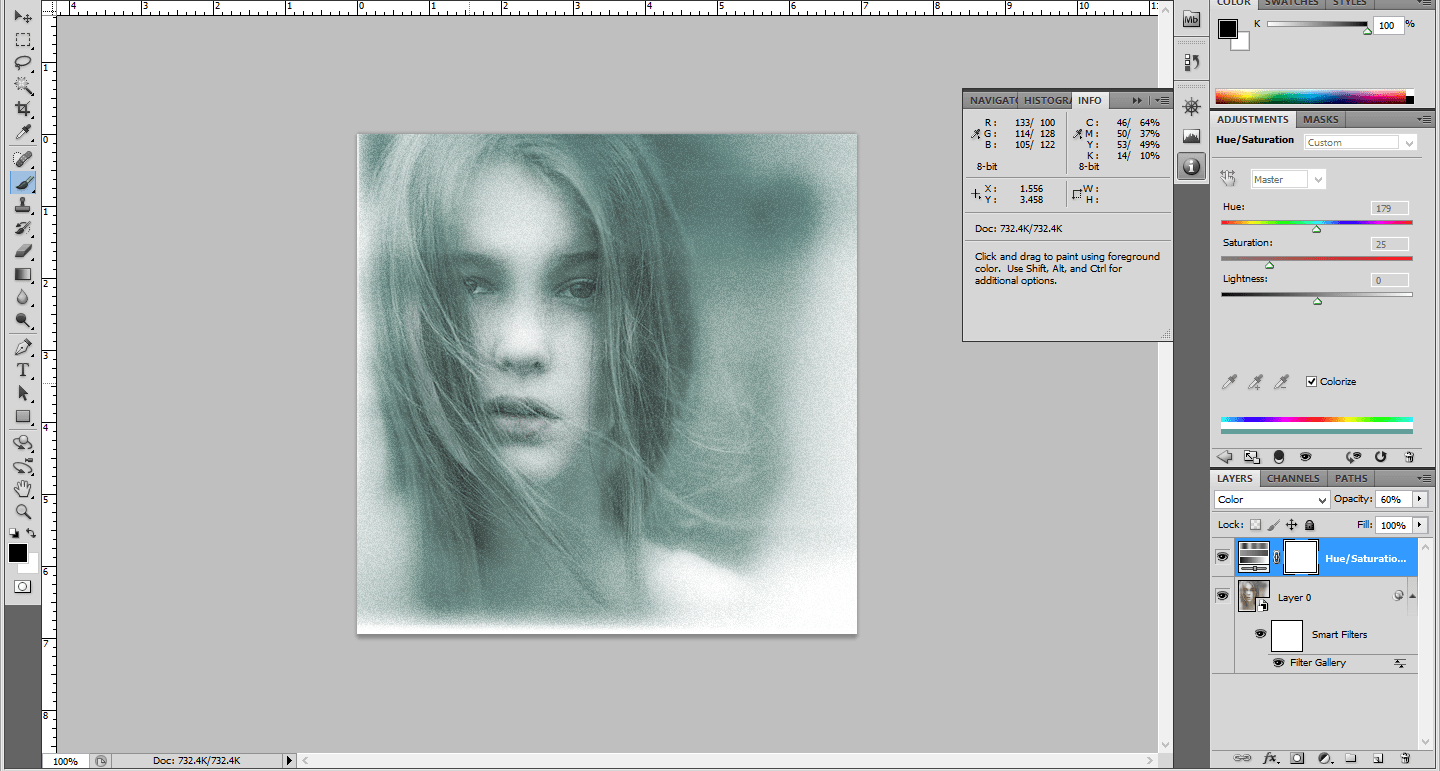
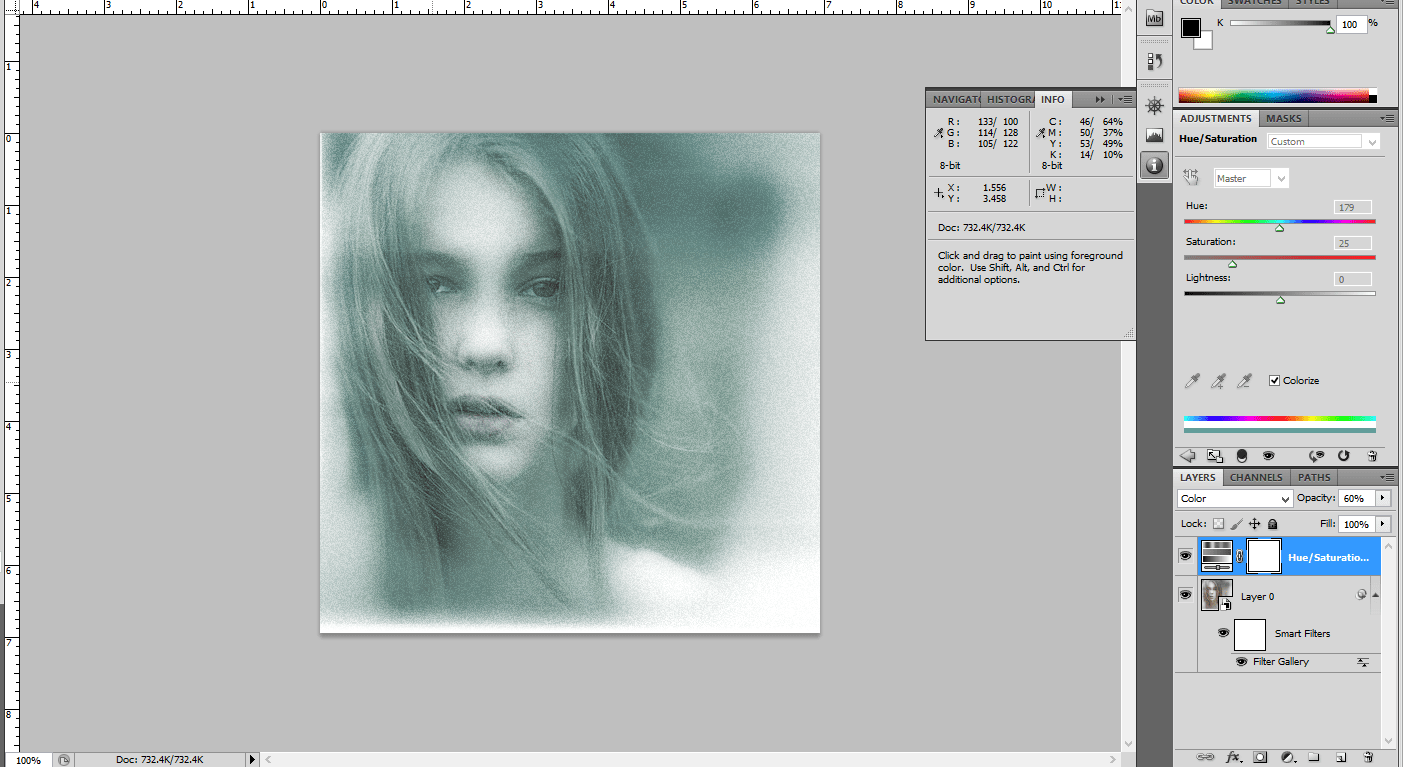
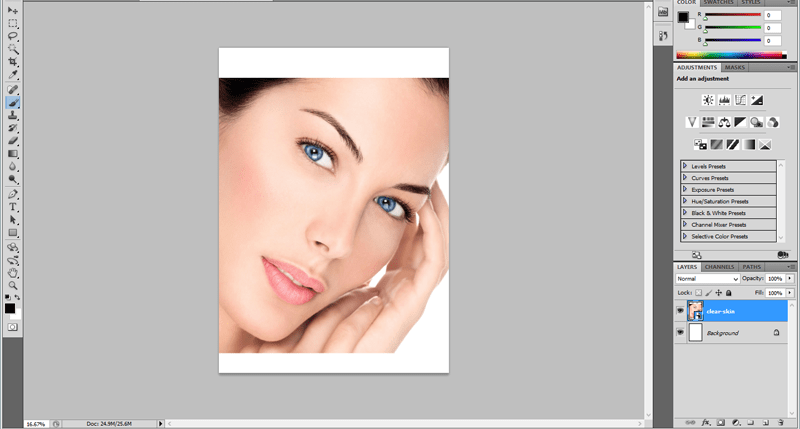
Turning a Beautiful girl in to a Ghost image-Photoshop
Step1:
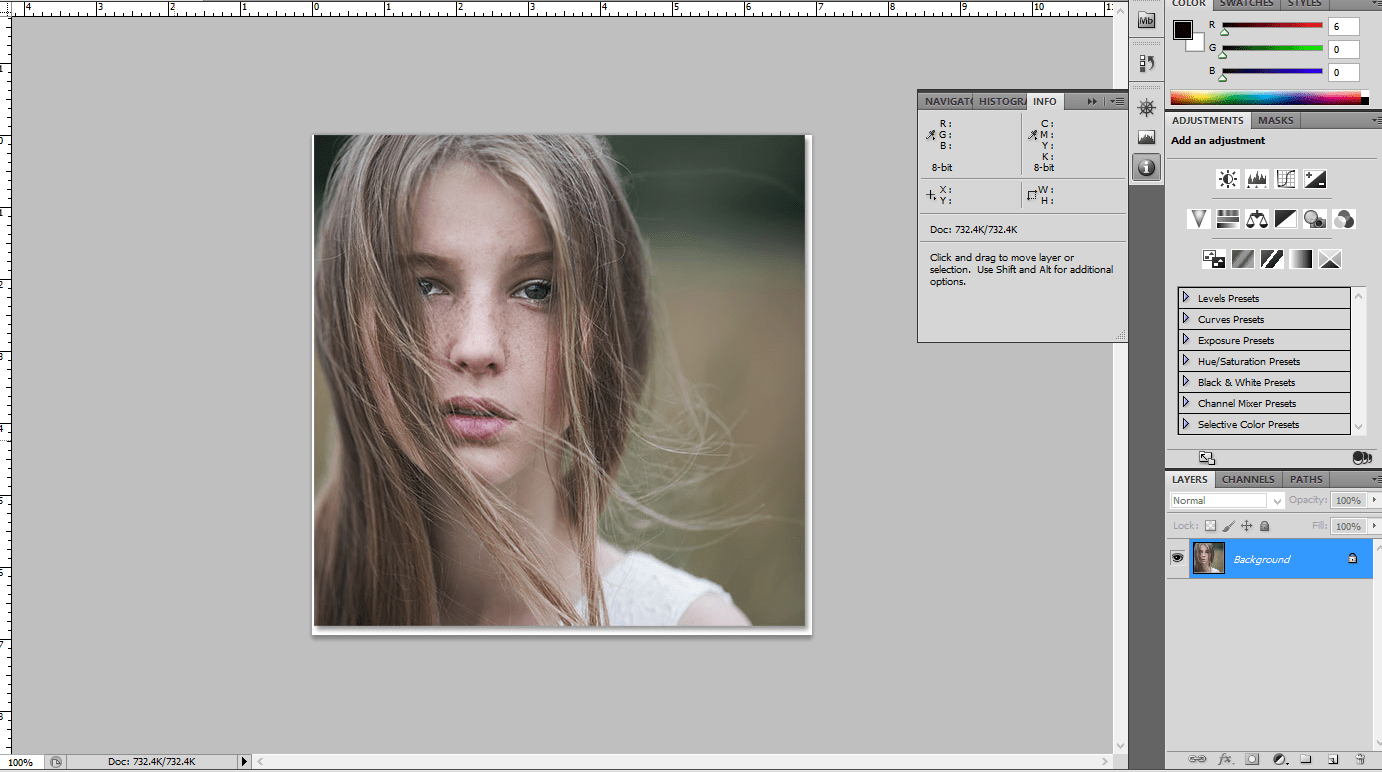
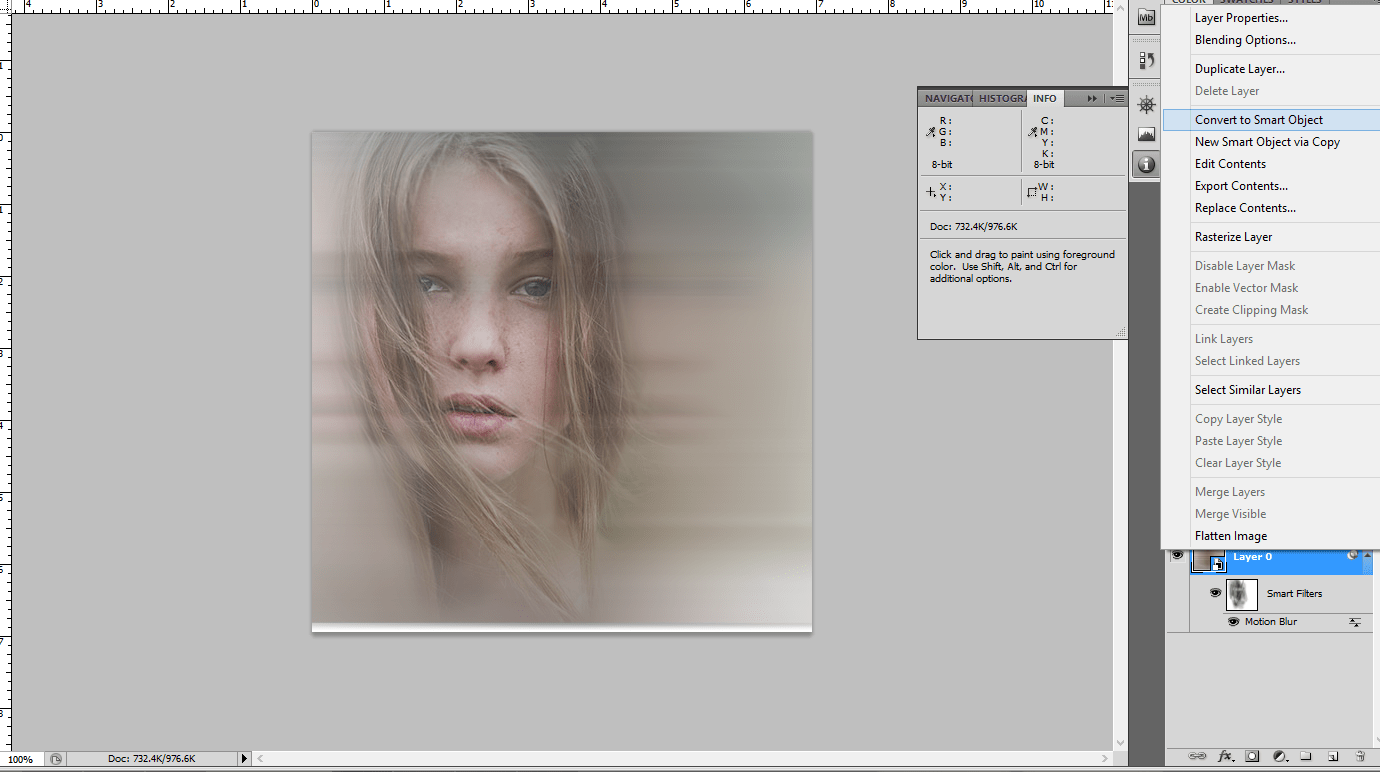
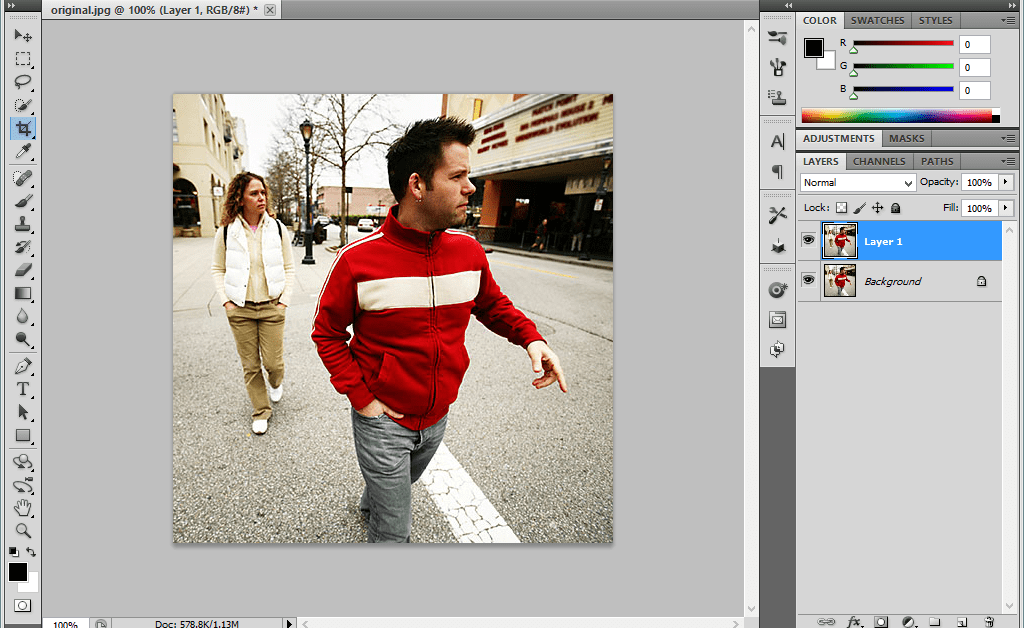
Open the document in a Photoshop.Convert the image in to smart object by clicking right side option
Step:2
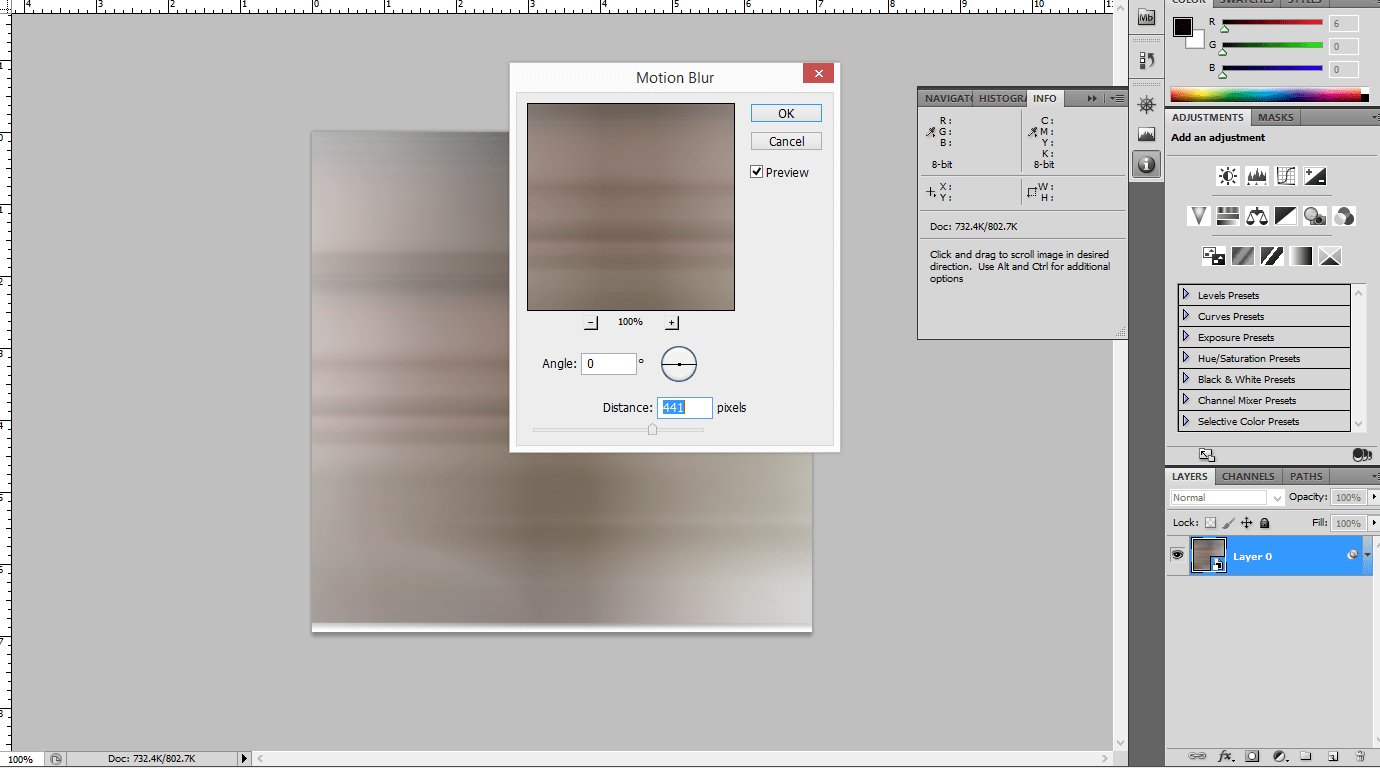
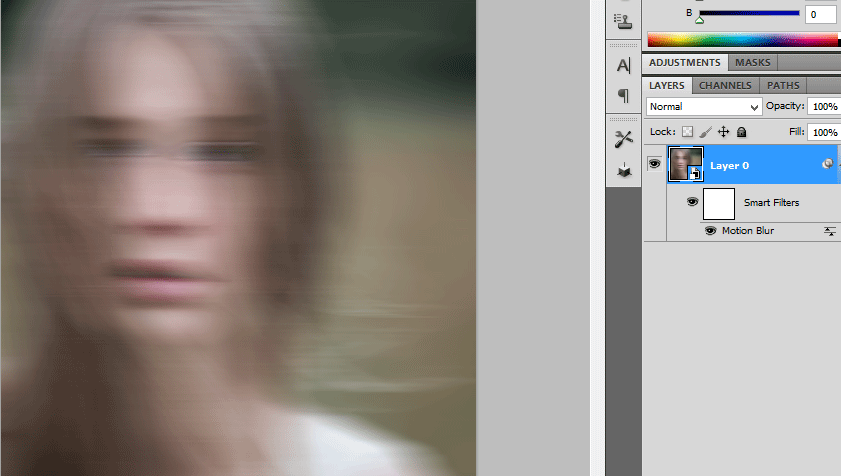
Go to Filter-> blur -> Motion blur and adjust the values.Edit the distance as 441 Pixels.
Step:3
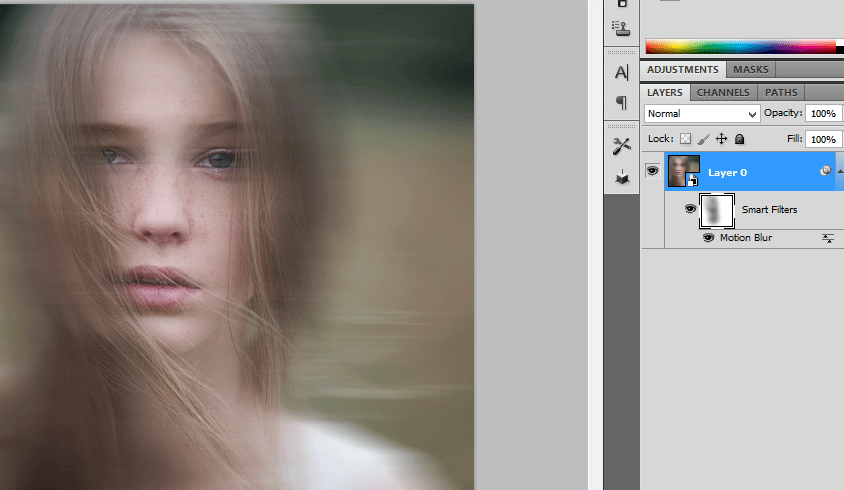
In the layer mask use the brush to show some of the original portion.Use black color as foreground color.Reduce the brush opacity to 60
Step:4
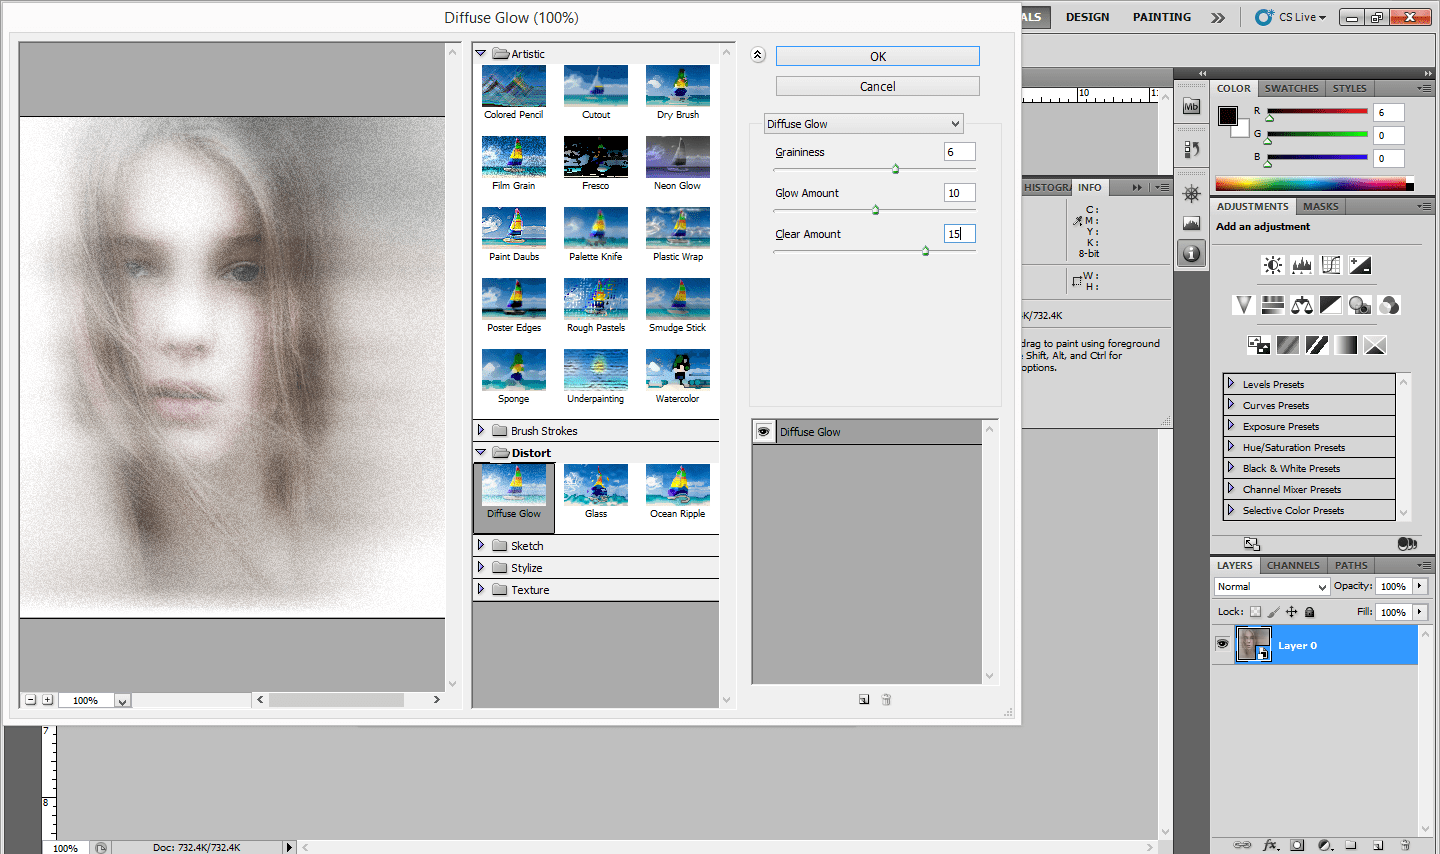
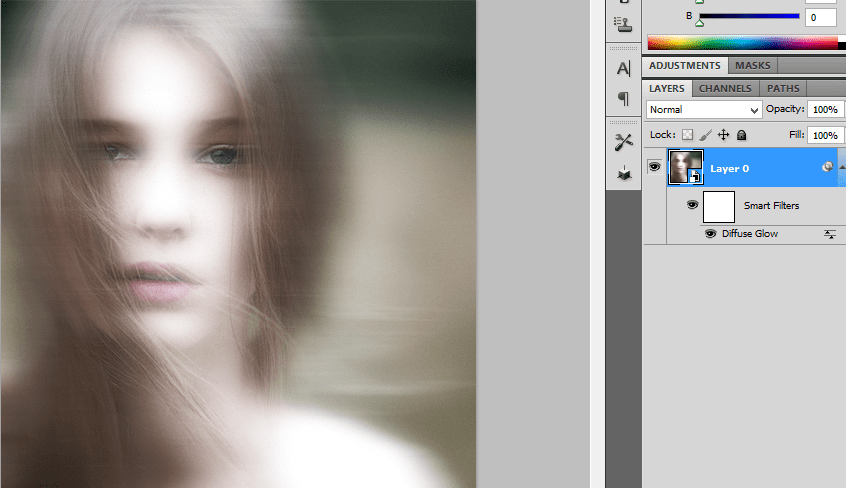
Convert the image in to smart object.Go to Filter-> filter gallery-> Diffuse glow.
Step:5
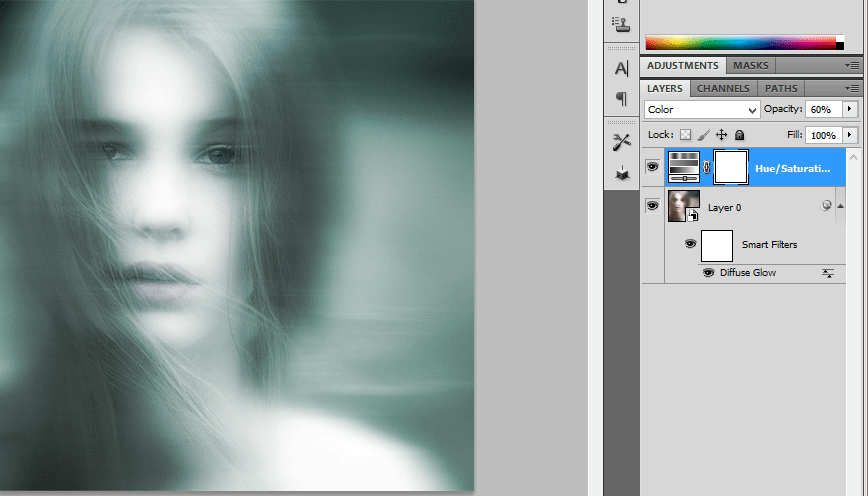
Add a hue/saturation layer above it.Make the hue value as 179 and saturation value as 25.
Step:6
Change the blending mode from normal to color and reduce the opacity to 60%
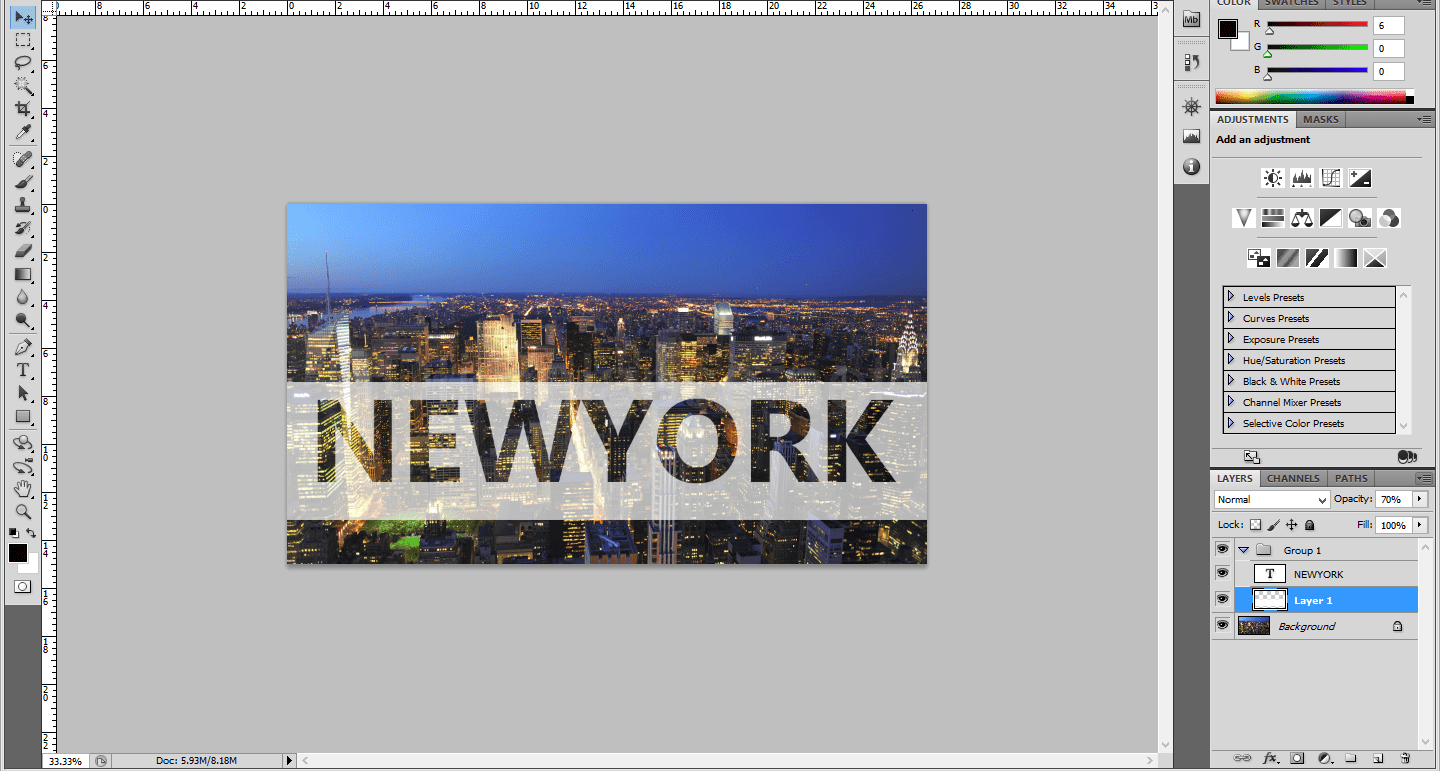
Adding a Transparent Text Area to an image-Photoshop
Step:1
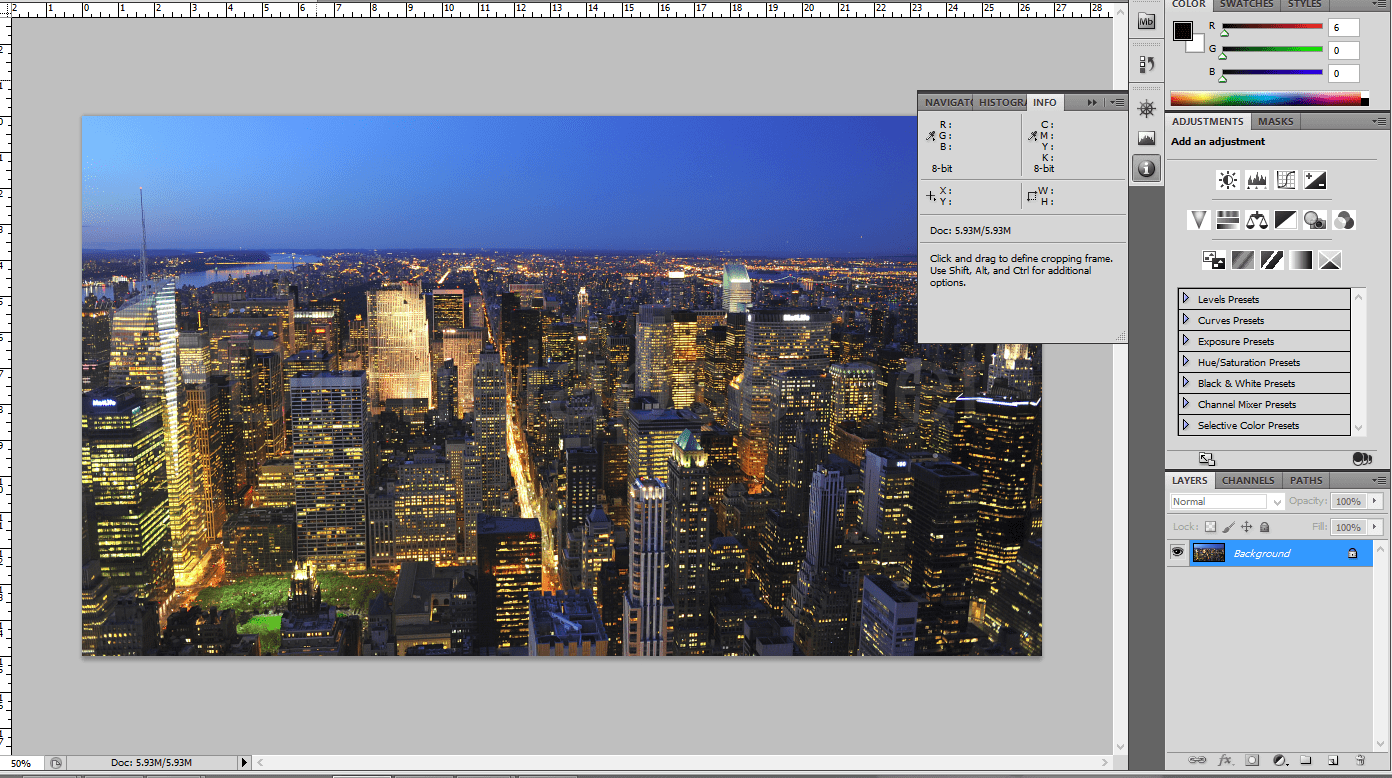
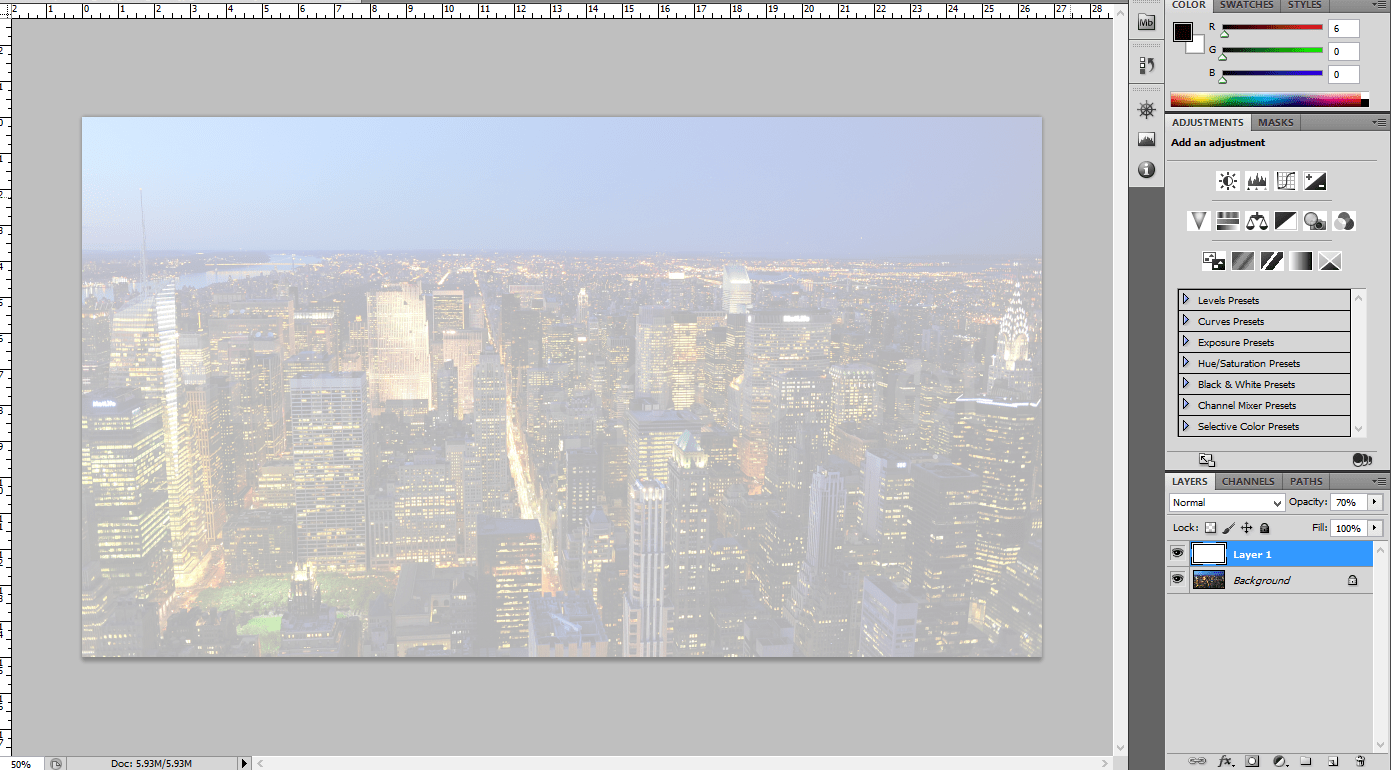
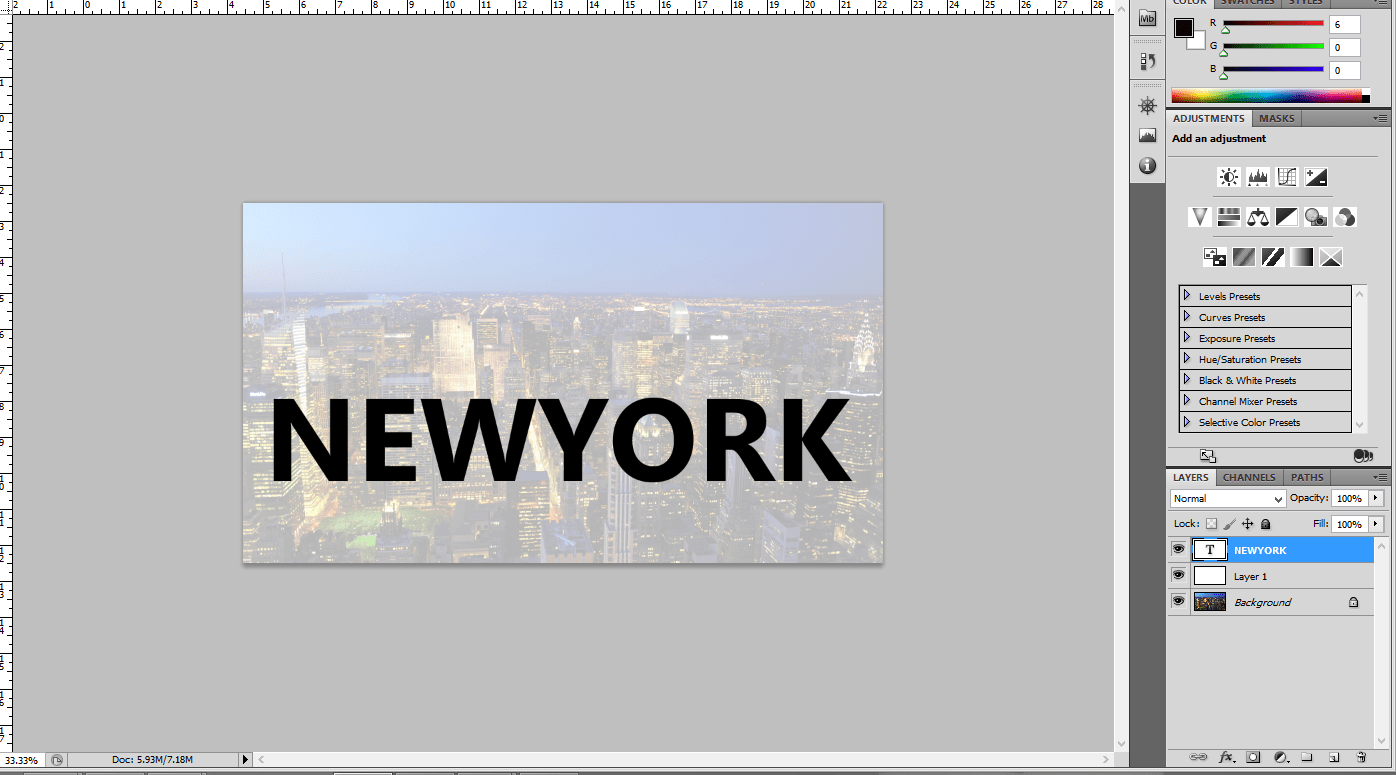
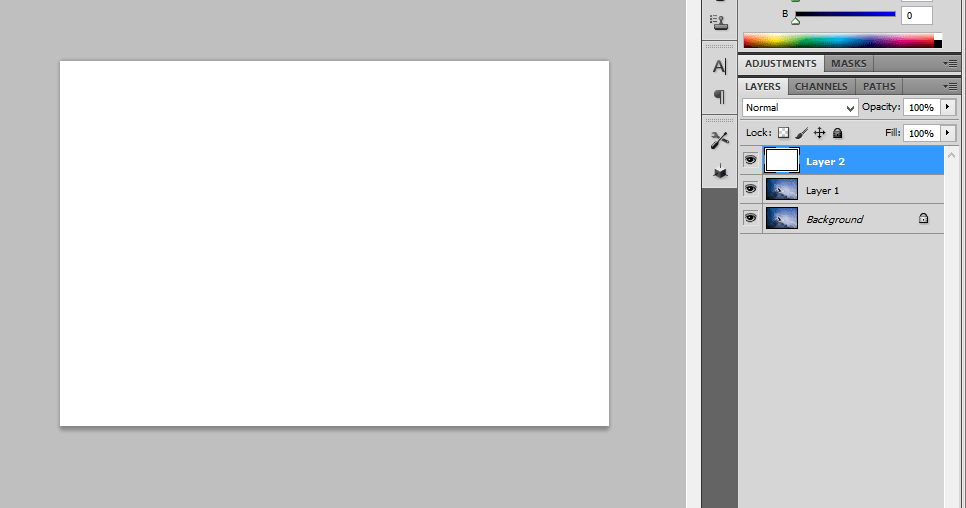
Open the Photo document in Photoshop.Add a new layer above it
Step:2
Fill the layer with white color . Then reduce the opacity to 70%. Adjust the opacity according to your needs.
Step:3
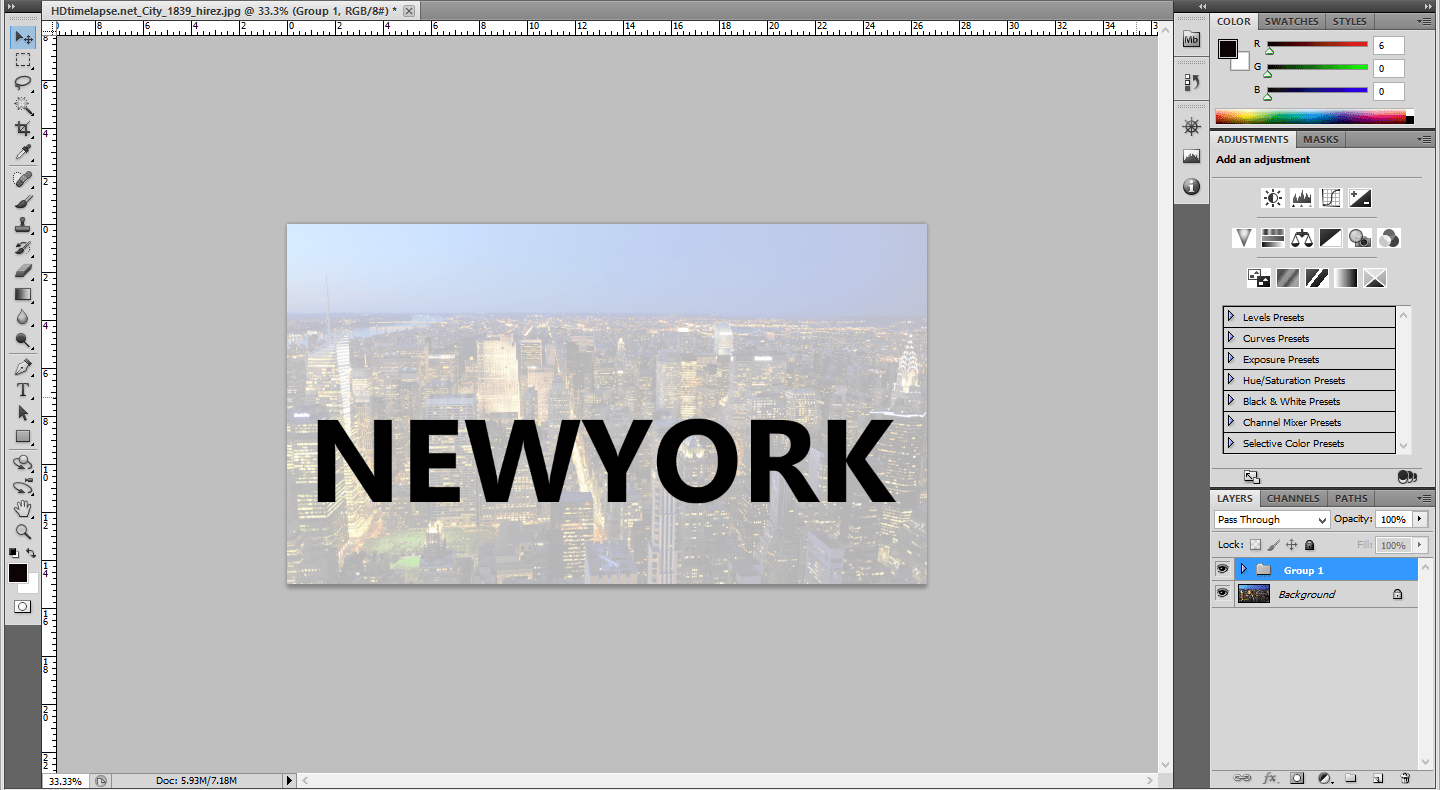
Add a text layer as New York above the white layer.Using the transformations Ctrl+t adjust the word length to fit in the document.
Step:4
Make the snow layer and text layer in to a group by Pressing Ctrl+g.Then go to blending options reduce the fil opacity to 0% and knockout option as shallow.
Step:5
Transform the snow layer in to a small rectangle.It can be done by Pressing Ctrl+t.
Crack effect in Face-Photoshop Tutorials
Step1:
Open a document in Photoshop.Place the image which we want to do the cracking effect.Hide the Background Layer.
Step2:
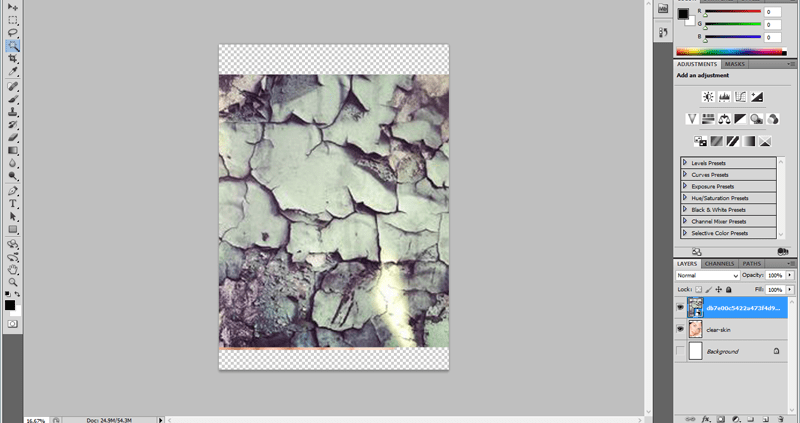
Again Place the Crack Texture above the image layer.Transform it until it sets in to face.Make Blending Mode as normal.
Step3:
Copy the image layer and delete the background Layer.Duplicate image should be placed above the Texture Layer.
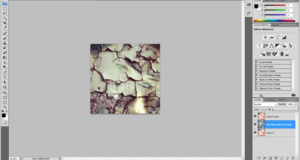
Face with crack
Step:4
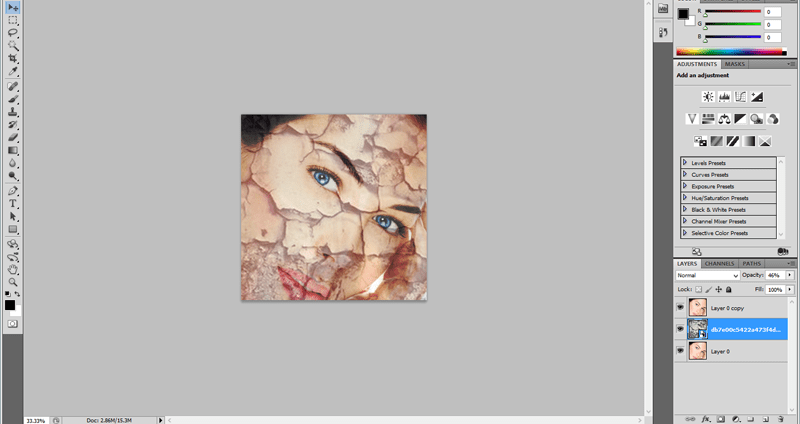
Reduce the Texture Layer opacity to 40%. No changes in Blending Mode.Now the Cracking effect is visible to us.
Step:5
Add the Layer mask to both Texture Layer and Duplicate Layer.Remove some of the Portions like crack in the hair.In Texture layer change the Blending mode to Color burn and reduce the opacity to 49%
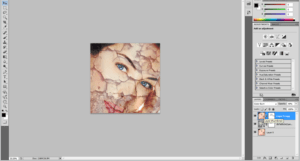
cracking effect in face
Step:6
In Texture Layer Change the Blending mode to Vivid Light.
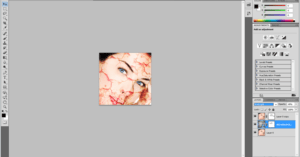
face full of Scratches and blood
Motion Blur Effect and Bourne Ultimatum Color – Photoshop
Step1:
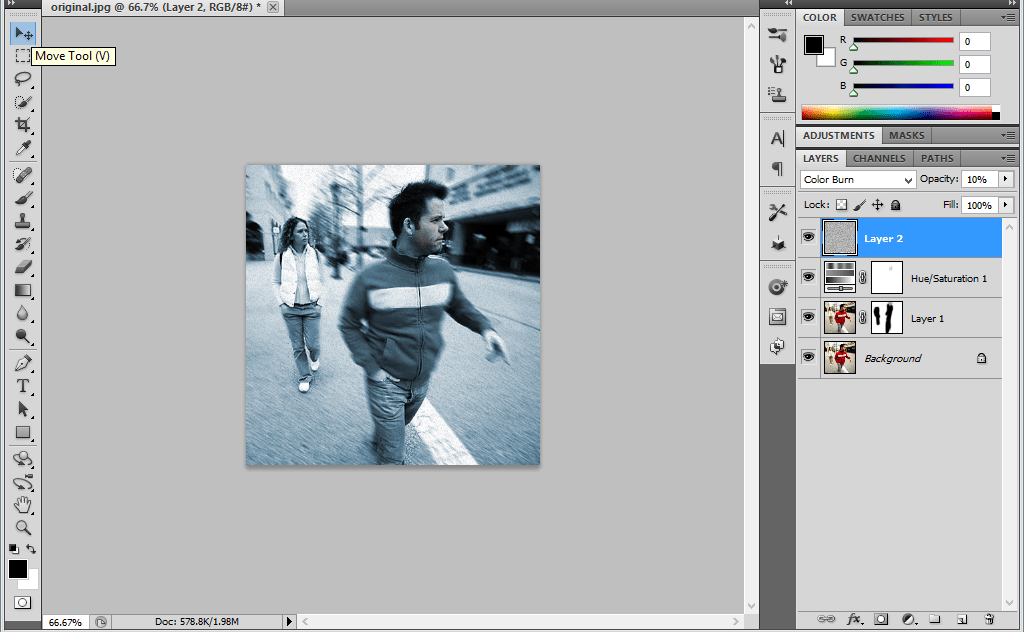
Open a Photo Document in Photoshop.Make a copy of that background layer.Choose the Foreground color as black.
Step2:
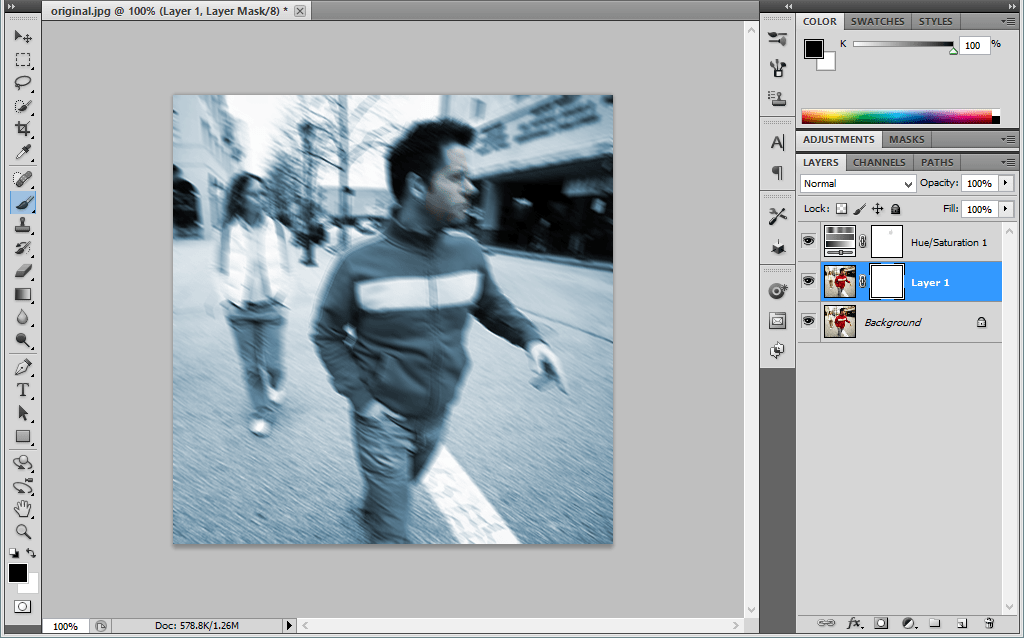
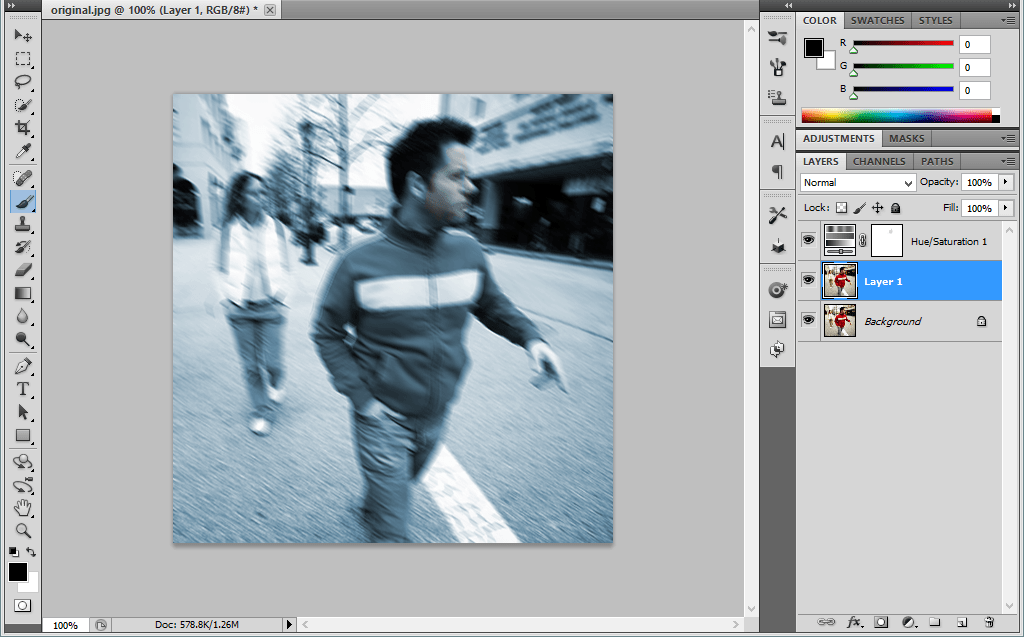
Add a hue/saturation above it.Make the hue value as 199 and saturation value as 25.Then choose the brush size and color the face of the man to make as a Original Face.
Step:3
Then go to Layer1 image.Make a Motion blur of that image.Go to blur -> Motion blur.
Step:4
Add a Layer Mask above it.Using the brush paint over the Mask. Add a New Layer above it.
Step:5
Add a Noise filter to it.Go to Filter-> Noise -> Add noise.Then Change the Blending Mode From normal to Color burn and reduces the Opacity to 10%.
Wedding Couples in Wine Glass-Photoshop
Step!:
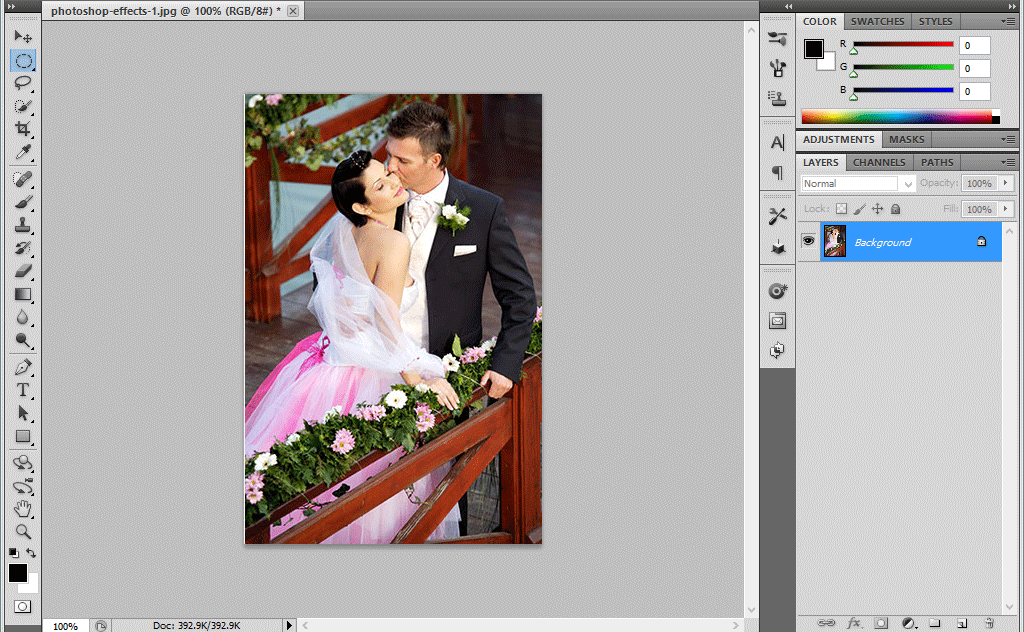
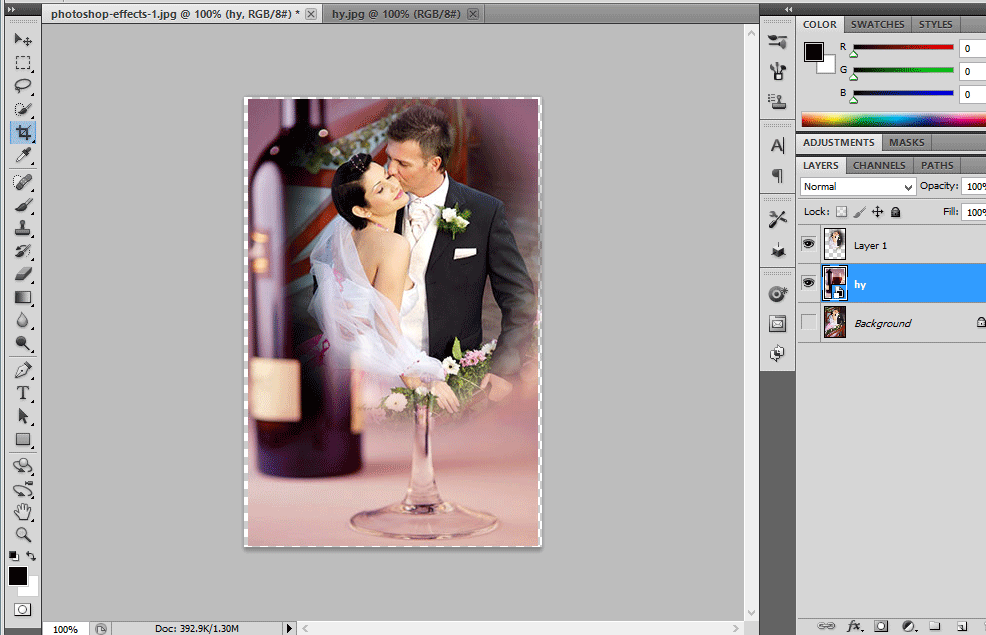
Open the Photo Document in Photoshop.Using the Elliptical tool Select a Portion Of that Couple.Go to Select-> Modify -> Feather->20 and copy that Particular Portion.
Step:2
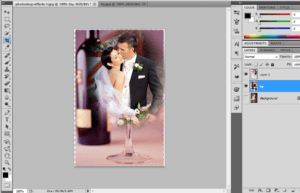
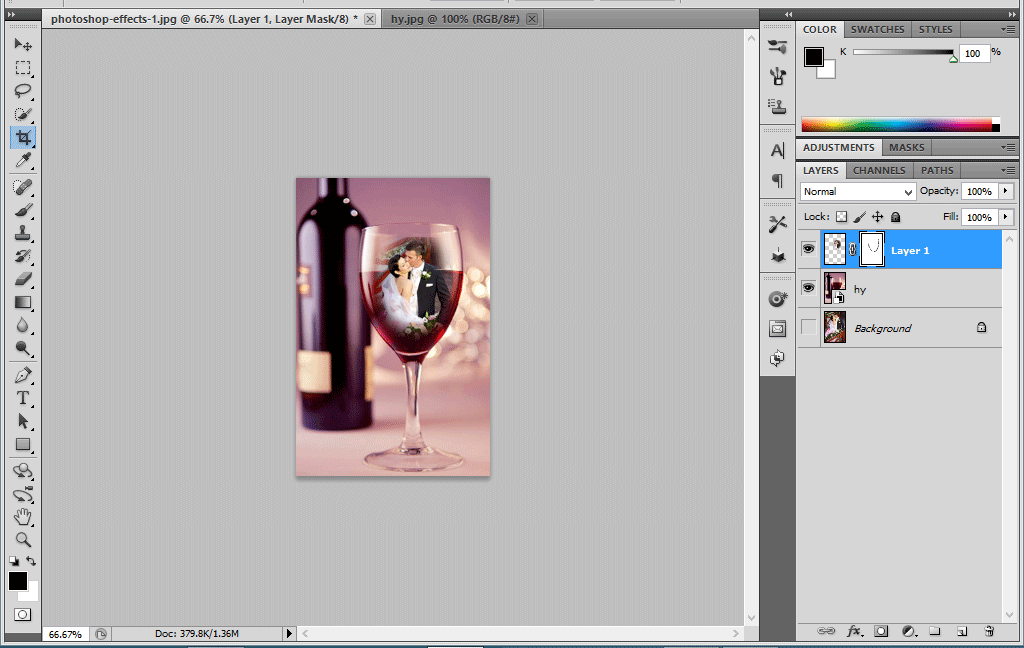
Then hide the Background layer and now place the wine bottle image.Place the couple image in the wine glass.
Step:3
Then adjust the image to be placed in the wine bottle.Then apply the Layer mask in the Couple image.Use the Foreground color as black.Using the brush just Paint over the Layer mask
Step:4
Then go to Blending Options and change the underlying layer as 177/235. Now the image will be blended with the wine glass.
Realistic water painting effect
Step:1
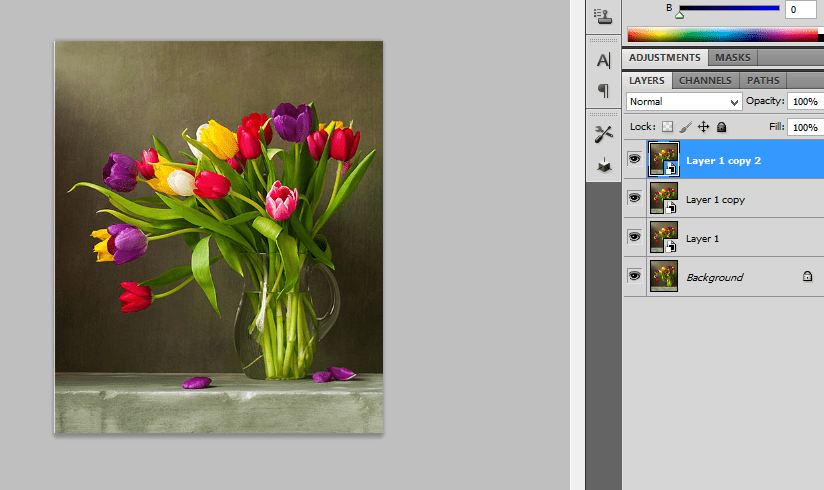
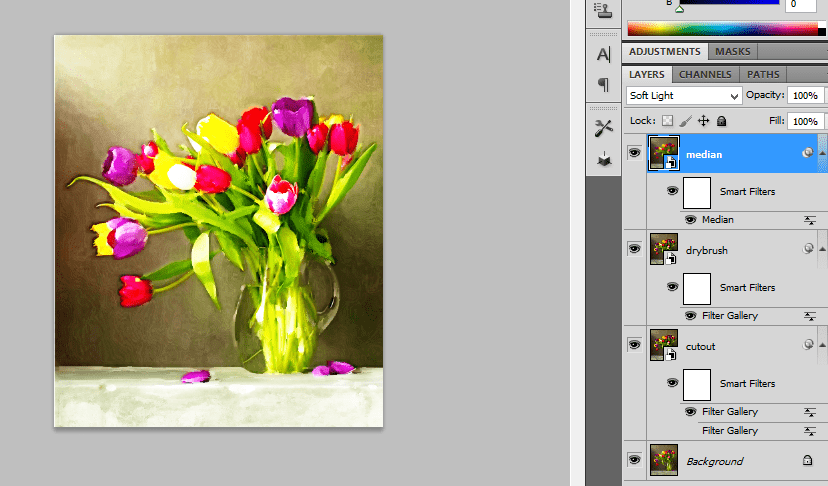
Open a photo document in Photoshop. Make a copy of the background layer and convert into smart object.Then make a couple of copy from this layer.
Step:2
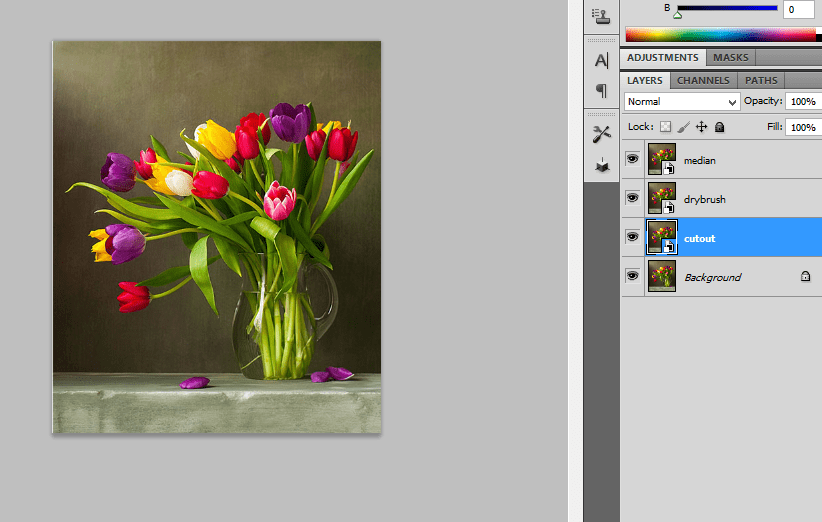
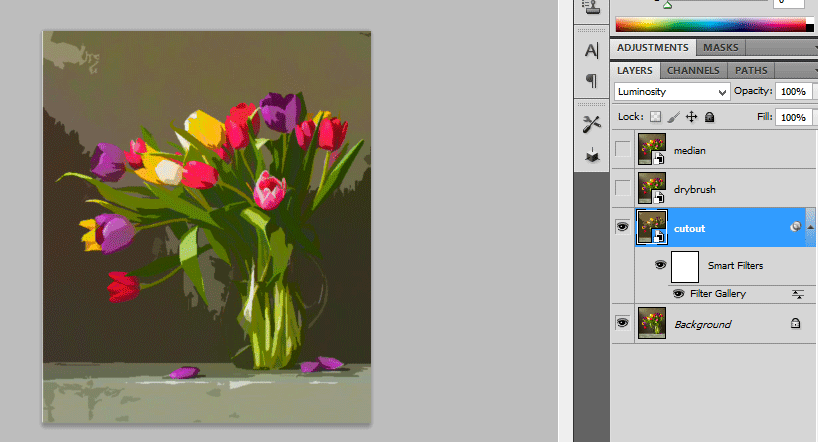
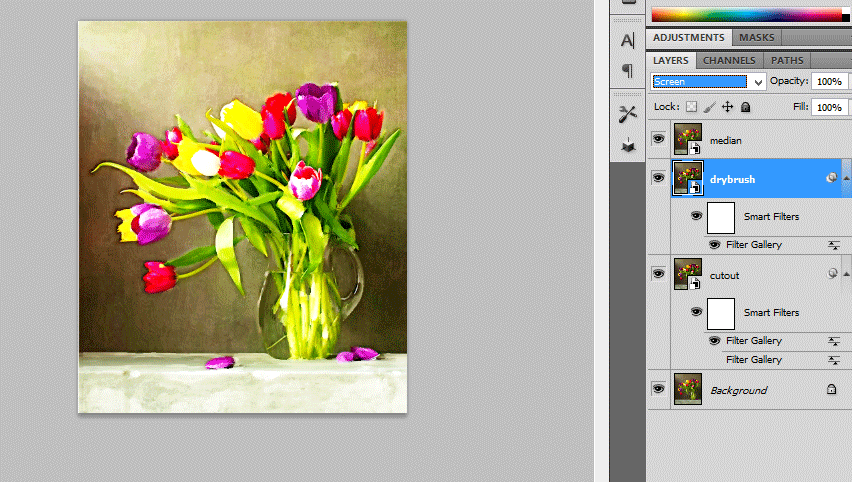
Then rename all the three layers as cutout, dry brush, Median.Hide the dry brush and median layer.
Step:3
In cutout layer add a filter effect. Go to filter ->Artistic -> Cutout Filter. Then chane the blending mode from normal to luminosity
Step:4
Then turn on the dry brush layer and add a dry brush filter. Go to Filter -> Artistic -> dry brush filter and change the blending mode from Normal to Screen.
Step:5
Turn on the Median filter and add a filter. Go to Filter -> Noise -> Median and change the blending mode from normal to soft light.
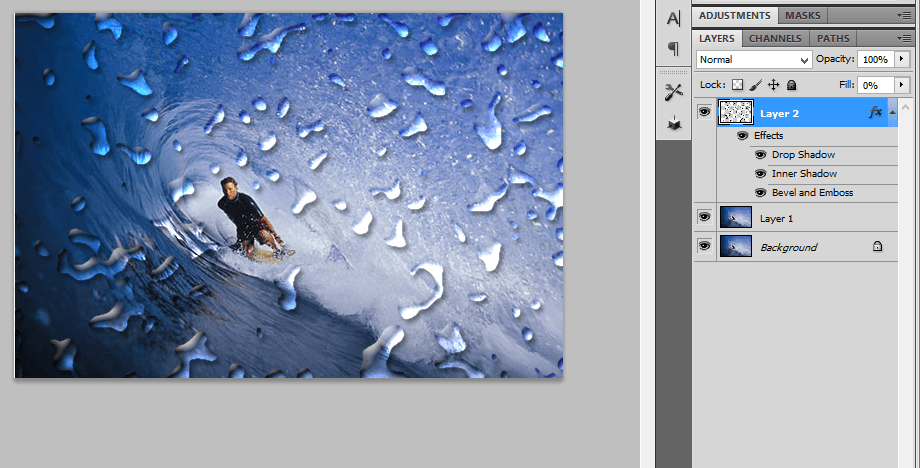
Realistic water droplets photoshop effect
Step:1
Open a document in Photoshop.Duplicate this layer by pressing ctrl+j.Then create a new layer and fill with white color above this layer.
Step:2
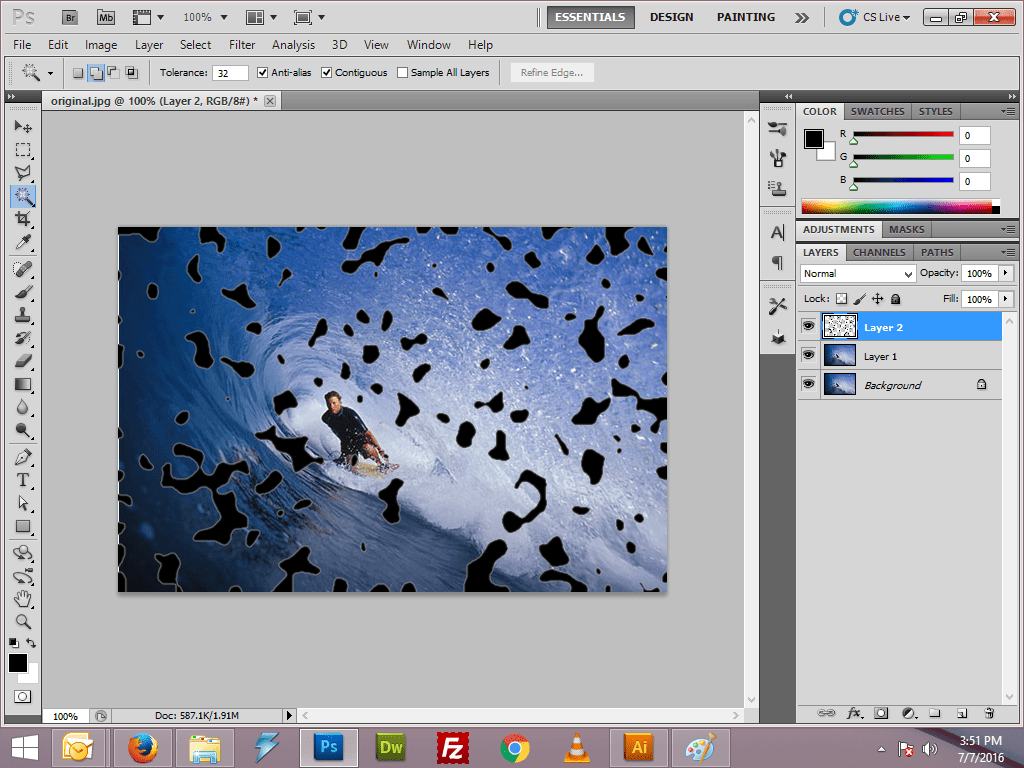
Add a noise filter. Go to Filter -> Noise -> Add noise -> amount 400%. Then apply the Gaussian blur filter. Then have a threshold adjustment
Step:3
Select all the black areas and invert the selection. Then lower the fill of the black shape to 0%.
Step:4
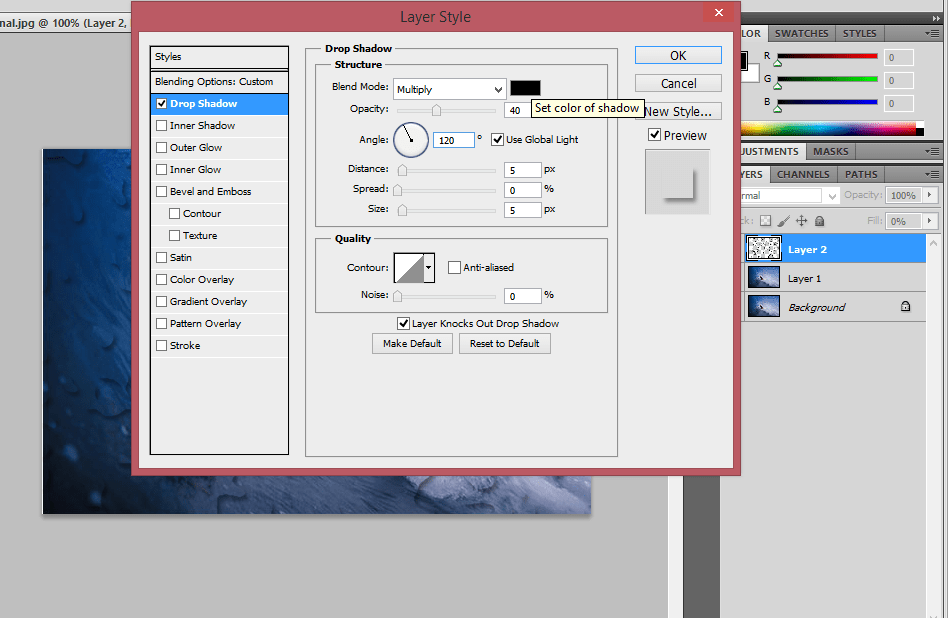
Then add a drop shadow for this layer by adding the suitable values.Erase the remaining portion whichever u don’t want.
Step:5
Then have the border selection and feather selection. Go to Select -> Modify -> Border/Feather.
Ghost image effect-Photoshop filter
Step:1
Open a photo document in Photoshop. Convert this layer in to Smart object.Apply the Motion blur.Go to filter -> blur -> motion blur by adding the distance value as 64pixels.
Step:2
The layer mask is added along with this.Now we want to erase the portion which we need.It can be done by choosing soft brush with black color.
Step:3
Now convert this in to smart object.Then apply the diffuse glow filter. Go to filter ->Distort -> Diffuse glow filter.
Step:4
Add a hue/saturation layer above it.Hue value is 180 and the saturation is 25.Then change the blending mode from normal to color and reduces the opacity to 60%
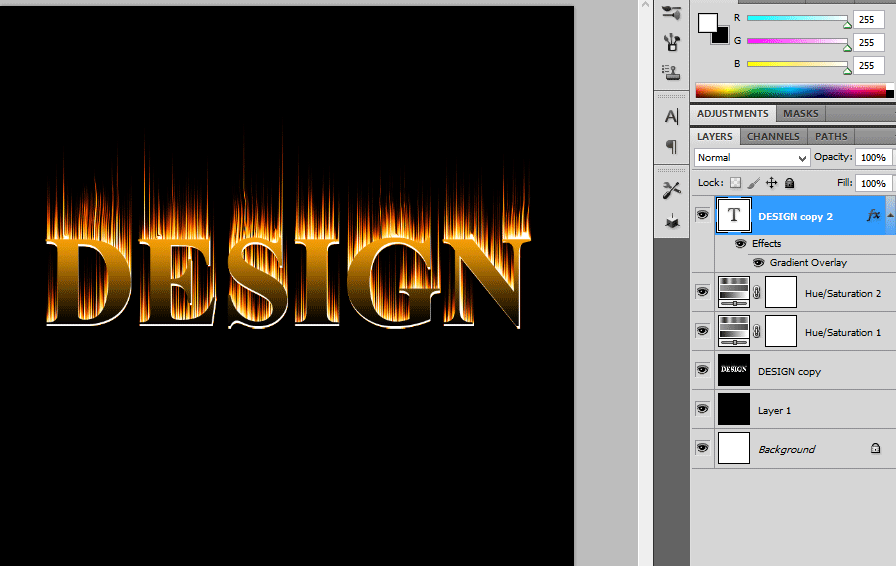
Flaming hot fire text – photoshop effect
Step:1
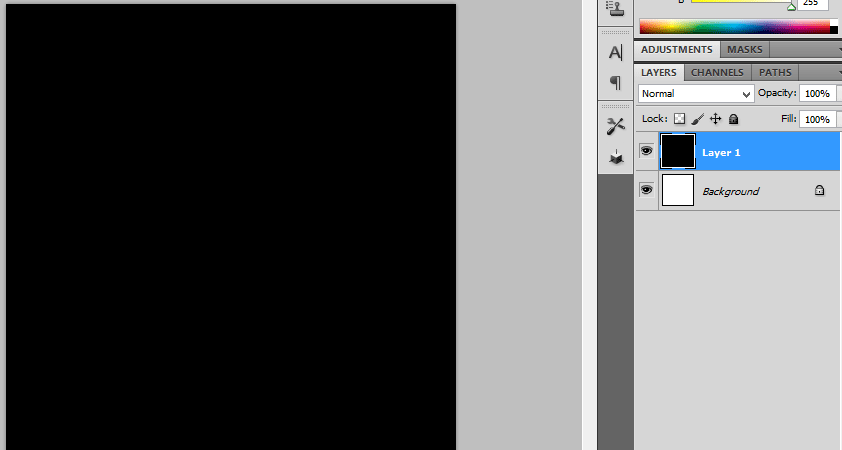
Create a new document with width 3 inch and height 3 inch.Then create a new layer above it and filled with black color.
Step:2
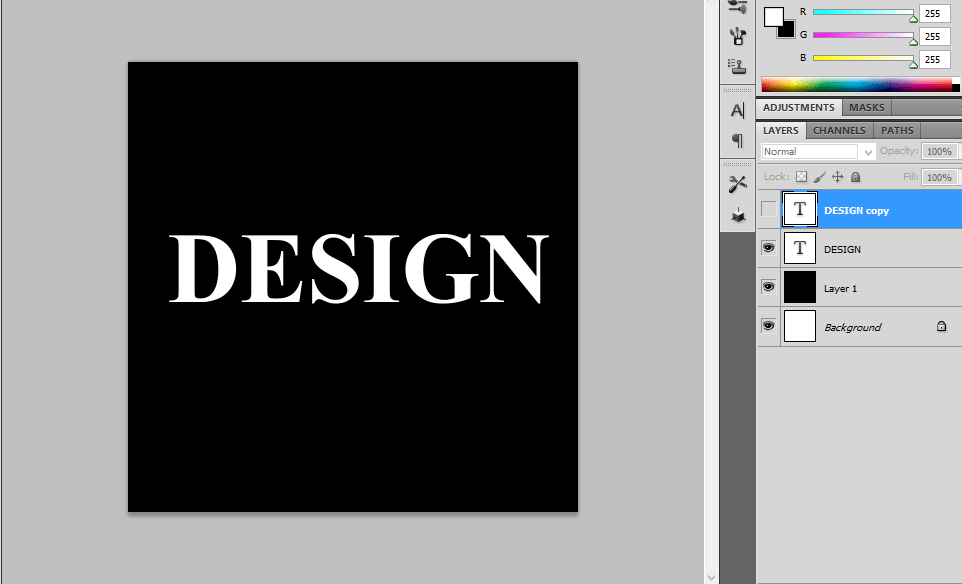
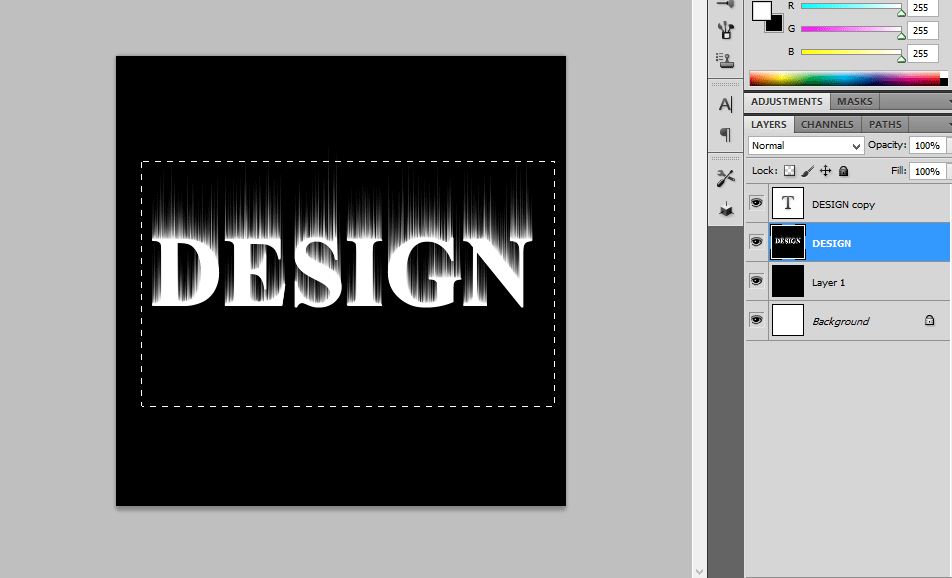
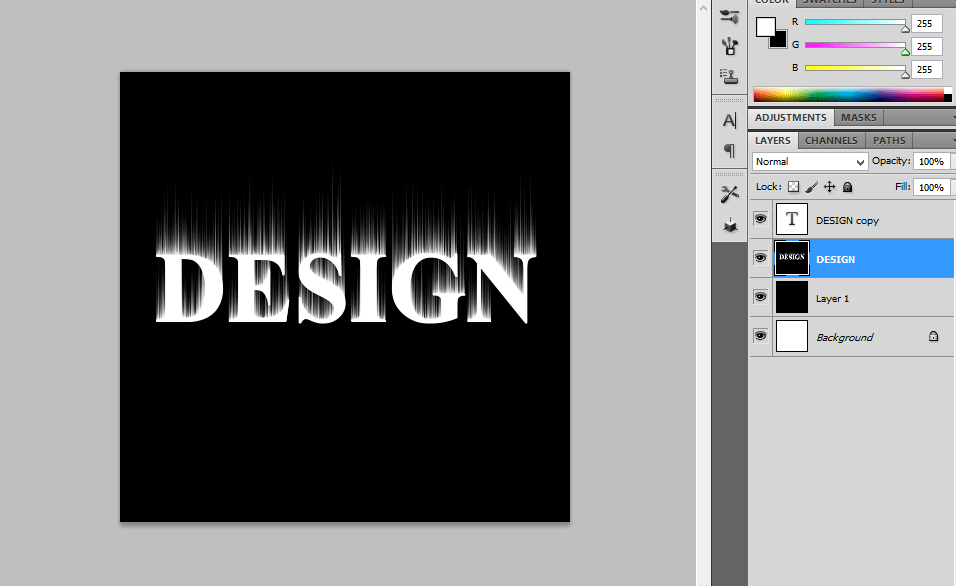
Then type the text as DESIGN .Iam using Times new roman text here.Then enlarge the text by clicking ctr+t.Duplicate the text layer.
Step:3
Hide the duplicate text layer.Then rotate the text layer in to 90cw.Then go to Filter-> stylize->wind.Repeat this for more than couple of times.Then again rotate to 90ccw.
Step:4
Create a new layer and fill with black color.Merge the text layer and the black color layer.
Step:5
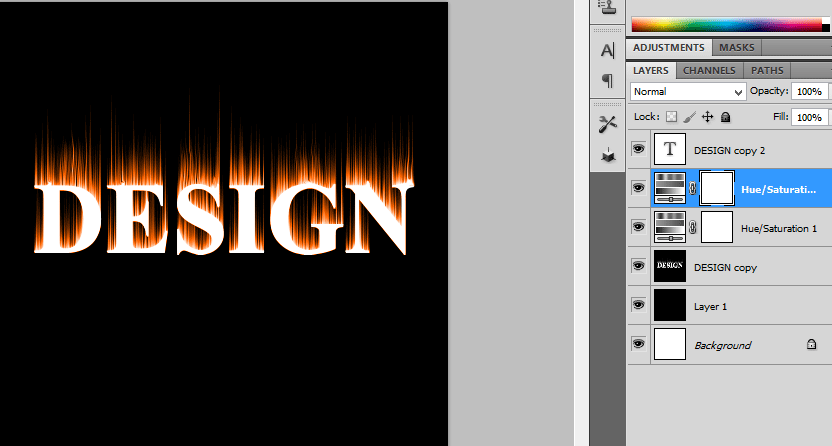
Next step is go to filter->Liquify.Using different values of brush size liquify it.Then add a hue/saturation above it.The values are hue 40 and saturation 100.
Step:6
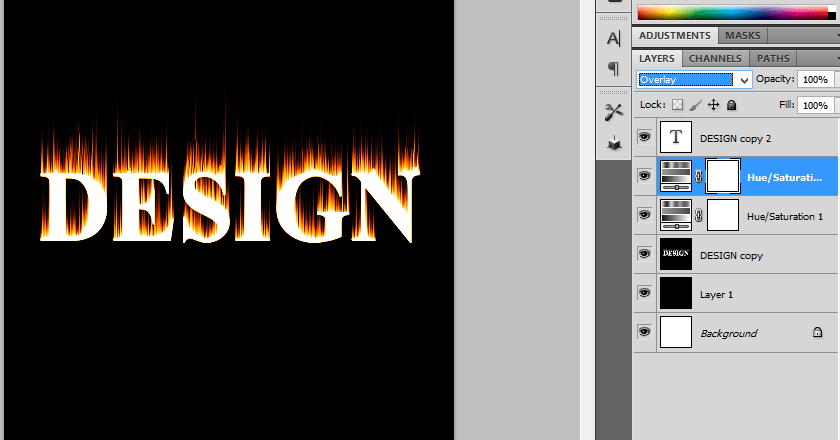
Again add hue/ saturation by adding hue value as-15.then change the blending mode to overlay. Then unlock the hide button from the text layer which we hided before.
Step:7
Than add a gradient overlay by adding gradient as black and yellow.Now it looks like a flaming fire hot text.


