html5 with css
An Easy Parallax Scrolling Method
Parallax scrolling is an exciting technique, where, as you scroll, the background image creates the illusion of 3D effect. Here the shortest and simplest b to achieve maximum tremendousness!
Step 1: Basic Method
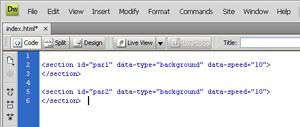
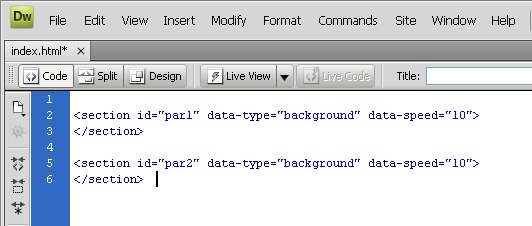
I used the <section> tag with the attributes data-type & data-speed, which were introduced in HTML5 coding and it makes the HTML markup easier to read.
According to the condition for practice Data Attributes, any attribute that starts with data- will be treated as a storage area for private data. Additionally, this won’t affect the layout or presentation.
To control the speed of the background images, we’ll use data-type=”background”and data-speed=”10″ as key attributes to specify the necessary parameters.
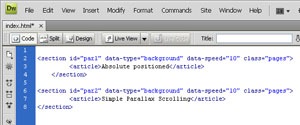
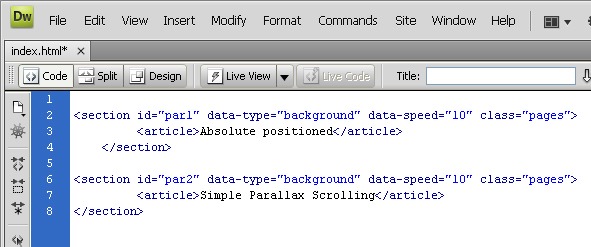
Next, let’s add the content within the <article> tag inside each <section>
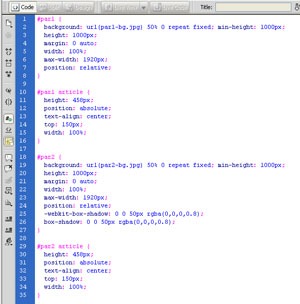
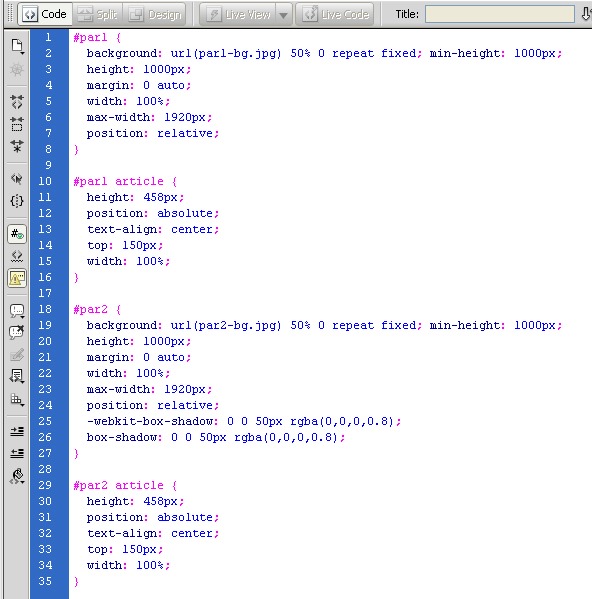
let’s add the background images in our CSS for each section.
Upon adding backgrounds for both sections, it should look like:
Let us add few more CSS to style to the page.
Step 2: jQuery code
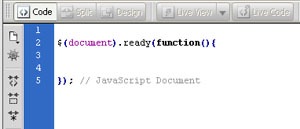
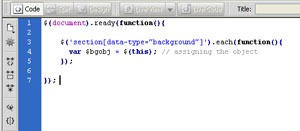
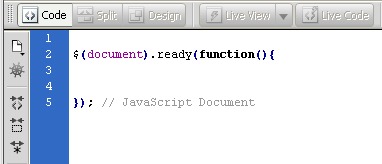
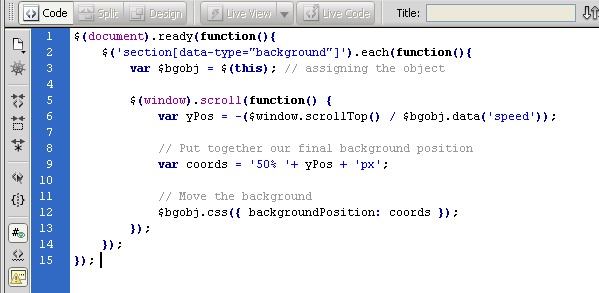
Yes, Using the jQuery code, we’ll begin with the standarddocument.ready() method to ensure that the page has loaded and is ready to be manipulated.
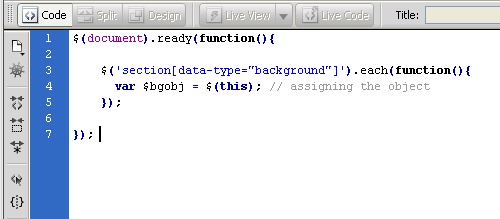
Now, the first thing happening below is that we’re iterating over each <section>in the page, which has the attribute data-type=”background”
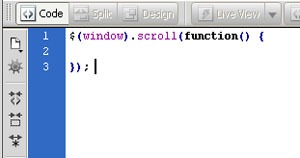
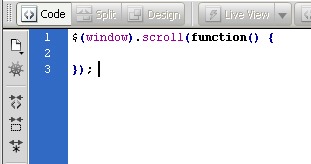
Add another function, .scroll(), inside .each(), which is invoked as the user begins scrolling.
We need to determine how much the user scrolled up, and then divide the value by the data-speed value, mentioned in the step1.
$window.scrollTop(): we are getting the current scroll value from the top. This initially determines how much the user has scrolled up. $bgobj.data(‘speed’) refers to the data-speed assigned in the beginning, and yPos is the final value that we need to apply for scrolling. However, it will be a negative value, because we have to move the background in the opposite direction of the user’s scroll.
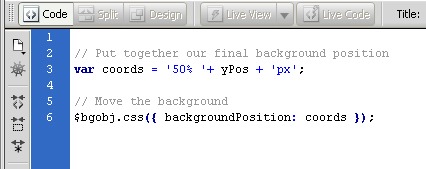
The final thing that we need to do is put together our final background position into a variable. In order to keep the horizontal position of the background as static, we have assigned 50% as its xPosition. Then, we added yPos as the yPosition, and, finally, assigned the background coordinates to our <section>background: $bgobj.css({ backgroundPosition: coords });.
Your final b might look like:
Yes, we have done it! Try it out by yourself.
5 HOT TRENDS IN WEB DESIGN FOR 2013
In the fast-moving nature of the web, it’s only natural that website design trends change frequently. The year 2013 will confirm to hold just as much change in web design practices than prior year.
1. Responsive Web Design
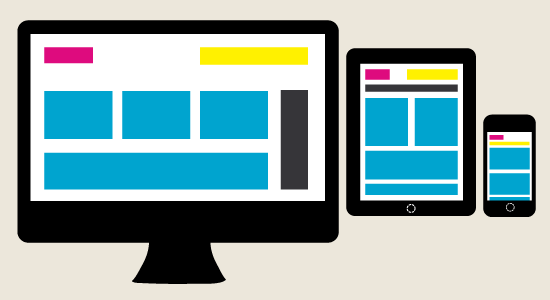
Responsive design is the approach of developing one set of code to accommodate the display of a web design in all display atmospheres, in spite of screen dimensions.
For example, you may see one variety of the design on a desktop, another on a tablet’s horizontal view, another on a tablet’s vertical view, and yet another on a Smartphone. Responsive design is a content-focused move toward to building web experiences, and is future-focused in that the design is fluid and can adapt to new technology.
2. Design in Full Screen
A wave of better visual design is upon us. Look at the recent redesigns of Facebook, Twitter and LinkedIn, and it’s evident that some of the most popular sites on the web are determined to deliver a more visual experience.
Similarly, we expect to see more companies taking the visual direction to a better extreme with the implementation of full-screen designs.
3. Parallax Design
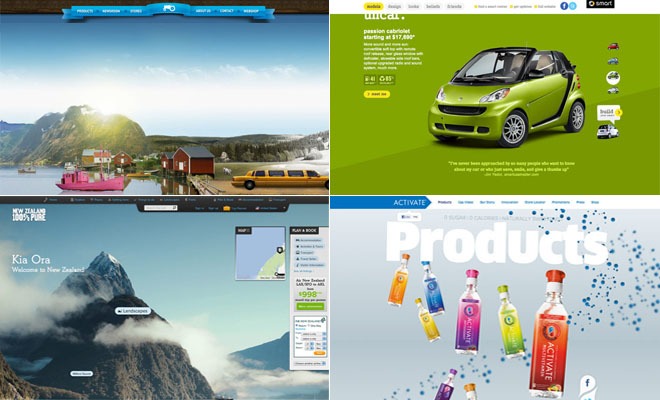
One of the cooler developments in web design in recent years is parallax design, which integrates special scrolling techniques whereby background images on the screen move slower than foreground images. The consequential illusion on the screen is one of 3D depth. The effect can be perfectly amazing.
See examples at beetle.com, activatedrinks.com, stopatnever.com, sullivannyc.com and the Air Jordan 2012 website. Be sure to scroll down the page!
4. Designed Fonts
In the past, in order to attract a website, a designer should typically look to images. In 2013, expect fonts to be a significant design element in many websites. This is thanks to web fonts such as those listed at Google Fonts and MyFonts, allowing designers to go beyond standard system fonts.
There are many different font formats for the web, including EOT, TTF, OTF, CFF, AFM, LWFN, FFIL, FON, PFM, PFB, WOFF, SVG, STD, PRO and XSF, which can make font selection somewhat challenging. However, with the use of the CSS3 @Font-Face rule, designers can have a boundless number of custom fonts with which to work. Perhaps one day in the not too distant future web fonts insert will become the default design practice, enabling almost any typeface and any font style, just like in print design.
5. Social Media Integration
Social media integration historically has meant social checklist in a website, or the display of Facebook and/or Twitter activity feeds in a website. These examples of integration are limited, and begging for a accurate integration of content and engagement.
In terms of basic tools, Click To Tweet is a good option in that it files in on the very specific pieces of data that would be most shareable, rather than forcing the user to share the entire page. We particularly recommend the tool.
The major social platforms each offer a variety of integration options, as well. For example, Twitter for Websites, Twitter’s embedded timelines, and Facebook social plugins deepen site and social integration. Even though, these are examples of the current state of “patchwork integration” slightly than what you should consider accurate integration.
Expect 2013 to start heading in that direction.
CSS TUTORIAL FOR INTERMEDIATES: POSITIONING AND ITS TYPES.
Positioning HTML elements may be the toughest but most rewarding things you can master. There are four types to interpret the size styles:
- Position: static position is the default behavior if you do not set it – the element just appears where it is in the flow of the HTML
- Position: relative position allows you to set the position relative to the position it would have been in using static
- Position: absolute position allows you to set the position relative to its parent element (e.g. an image within a DIV)
- Position: fixed position allows you to set the position on the page ignoring any other elements
1) Static positioning in CSS:
This is the default if you do not specify the positioning for an element in the stylesheet.
If you have four paragraphs one after the other you most likely want them to appear one after the other on the page! The same applies to any other block element.
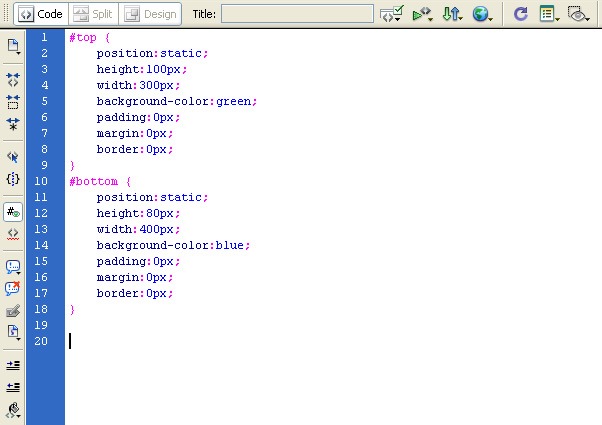
These blocks are positioned in the default way (position: static position):
Below is the code in a stylesheet (embedded or external):
2) Relative positioning in CSS:
Below are the same two DIVs one after the other as in above type. The first one is still position: static position. Its position defaults to after this paragraph
The second DIV is relative position.
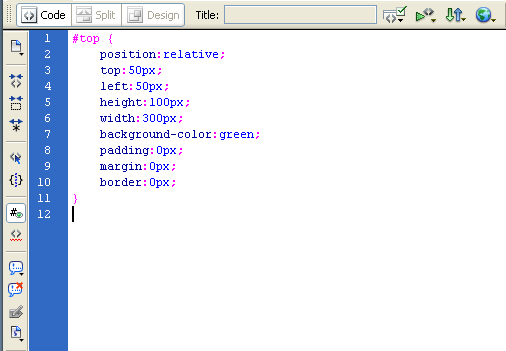
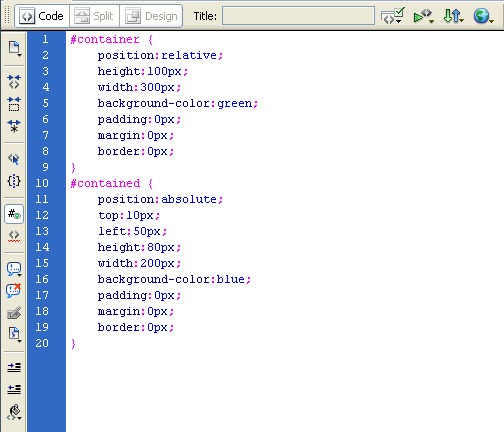
Below is the code in a stylesheet (embedded or external):
The major changes are the first few lines. This seems easy so far but changes the first element to a relative position as well and it all starts to get complex:
3) Absolute positioning in CSS:
In several ways this is easier than relative positioning. Absolute positioning places the element in position based on the position of its parent. This will not work if the parent is position: static position (so set it to relative or absolute).
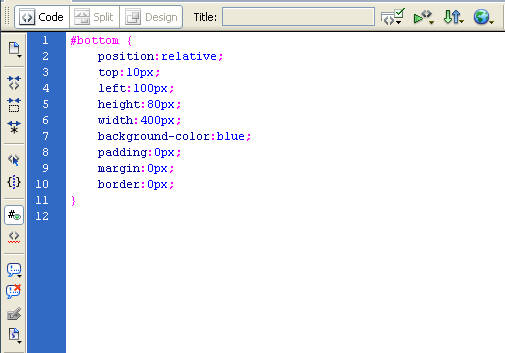
Below is the code in a stylesheet (embedded or external):
4) Fixed positioning in CSS:
Placing things in a fixed position on the page might sound perfect but it can cause problems. How do you let for all the different resolutions and browsers?
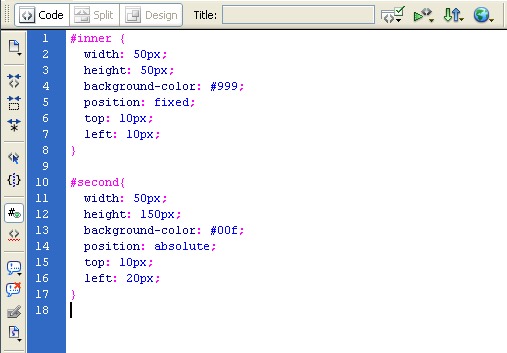
It is quite easy though. It’s just the same as absolute positioning but it ignores which element is inside which. Fixed positioned elements are positioned on the particular page rather than in another element.
Easy Typographic Portrait In Photoshop for Beginners.
STEP-1: choose a portrait image for your typography design.
STEP-2: Creating Image Effect
Convert the image into posterize effect by selecting Image > Adjustments > posterize. Set the Levels to 7.
STEP-3: Add Background Text – Important Step
Lower your text opacity to around 20%. Create a new group (Layer – New – Group) and name it Text. Use only the different fonts and sizes. Avoid large spaces between words. Fonts I used:
- Arial
- Cambria
- Die hund
- Impact
- Tahoma
- Times New Roman
- Verdana
- And little bit more default fonts
Merge the text into layer and then, crop the layer by selecting the face region.
Change the merged layer color by choosing Blending options > Color overlay.
Step-5: Creating effect
When you’re done duplicate your TEXT group (Layer – Duplicate Group) and merge it (Ctrl+E). Make your unmerged TEXT group invisible and select the face region by using Magic Wand Tool.
Step 6 – Create Background Text Effect
Make merged text layer visible again and apply following layer style.
Step 7 – Final touches
Create new layer, go to Image then Apply Image, then go to Filter choose Render, select Lightning Effects and apply following settings. Here is the final result of portrait typography design.
Best Useful Css Tips (For beginners)
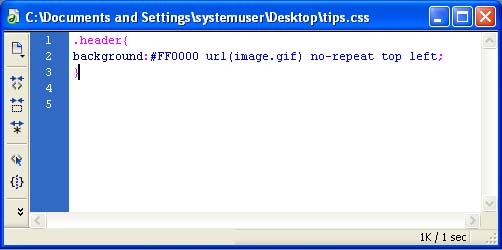
Use Shorthand Css
Shorthand CSS gives you a shorter way of writing your CSS codes, and most important of all – it makes the code easier to understand.
Instead of creating CSS like this
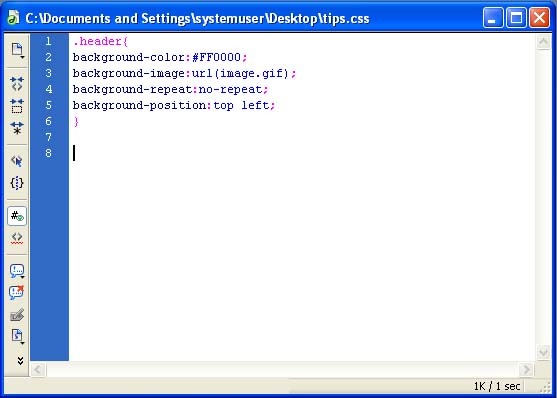
It can be short-handed into the following:
Understanding Class And ID
These two selectors repeatedly confuse beginners. In CSS, class is represented by a dot “.” while id is a hash ‘#“. In a nutshell id is used on style that is distinctive and don’t repeat itself, class on the other side, can be re-use.
Forget <Table>, Try <Div>
One of the greatest advantages of CSS is the use of <div> to attain total flexibility in terms of styling. <div> are unlike <table>, where substances are ‘locked’ within a <td>‘s cell. It’s safe to say most <table> layouts are attainable with the use of <div> and proper styling, well maybe except considerable tabular contents.
CSS Padding
Padding is the space between the border of an HTML element and the content within it.
Padding of an element in a single property as follows:
padding: 10px 10px 10px 10px;
If you declare all four values as above, the order is as follows:
Top, right, bottom, left
HTML5 Tutorial: Base Element Tag
The HTML <base> tag is used to specify a base URI, or URL, for relative links. For example, you can set the base URL once at the top of your page, then all subsequent relative links will use that URL as a starting point.
The <base> tag must be between the document’s <head> tags. Also, there must be no more than one base element per document.
Example
Modify the code below, then click “Update”. See below for attributes.
Source Code
<head><base href=”http://www.searchenginegenie.com/javascript/” target=”_blank” />
</head>
<body>
<p>Learn about <a href=”javascript_arrays.cfm”>JavaScript Arrays</a></p><p>Note: The link above will actually resolve to <i>http://www.searchenginegenie.com/javascript/javascript_arrays.cfm</i> regardless of the URL of the current page. This is because the base URL (http://www.searchenginegenie.com/javascript/) is prepended to the (relative) URL indicated in the link (javascript_arrays.cfm)</p>
</body> Result Learn about JavaScript ArraysNote: The link above will actually resolve to http://www.searchenginegenie.com/javascript/javascript_arrays.cfm regardless of the URL of the current page. This is because the base URL (http://www.searchenginegenie.com/javascript/) is prepended to the (relative) URL indicated in the link (javascript_arrays.cfm)
Solution for HTML5 Accessibility in IE
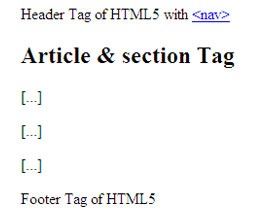
OUTPUT (in IE) AFTER FIXING THE SOLUTION:
OUTPUT (in IE) BEFORE FIXING THE SOLUTION:
HTML5 CODE:
<!DOCTYPE html>
<html xmlns="http://www.w3.org/1999/HTML" lang="en" xml:lang="en">
<head>
<meta charset="utf-8" />
<title>My first HTML5 website</title>
</head>
<body style="padding-left: 35px;">
<header> Header Tag of HTML5 with
<nav><a href="#"><nav></a> </nav>
</header>
<article>
<section>
<h2>Article & section Tag</h2>
<p>[…]</p>
<p>[…]</p>
<p>[…]</p>
</section>
</article>
<footer>Footer Tag of HTML5 </footer>
</body>
</html>
CSS CODE:
header {
background: #9e9e9e;
width: 600px;
height: 25px;
color:#FFF;
font-size:20px;
display: block;
text-align:center;
}
header a {
color: #FFF;
}
header a:hover {
color: #ebebeb;
}
article{
color: #CCC;
font-family:Arial, Helvetica, sans-serif;
font-size:14px;
}
footer {
background: #9e9e9e;
width: 600px;
height: 25px;
color:#FFF;
font-size:20px;
display: block;
text-align:center;
}
The main script should be added to the
section. It only can access the HTML5 in IE. Without the below script you will not get the required output.That’s it…


