WEB DESIGNING
CSS TUTORIAL FOR INTERMEDIATES: POSITIONING AND ITS TYPES.
Positioning HTML elements may be the toughest but most rewarding things you can master. There are four types to interpret the size styles:
- Position: static position is the default behavior if you do not set it – the element just appears where it is in the flow of the HTML
- Position: relative position allows you to set the position relative to the position it would have been in using static
- Position: absolute position allows you to set the position relative to its parent element (e.g. an image within a DIV)
- Position: fixed position allows you to set the position on the page ignoring any other elements
1) Static positioning in CSS:
This is the default if you do not specify the positioning for an element in the stylesheet.
If you have four paragraphs one after the other you most likely want them to appear one after the other on the page! The same applies to any other block element.
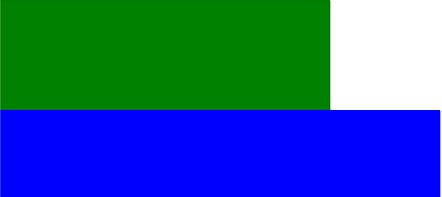
These blocks are positioned in the default way (position: static position):
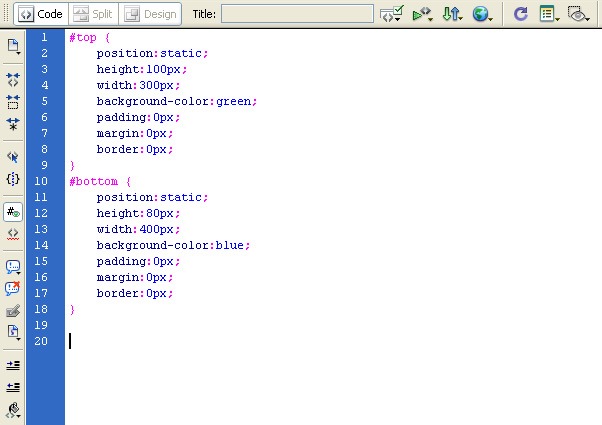
Below is the code in a stylesheet (embedded or external):
2) Relative positioning in CSS:
Below are the same two DIVs one after the other as in above type. The first one is still position: static position. Its position defaults to after this paragraph
The second DIV is relative position.
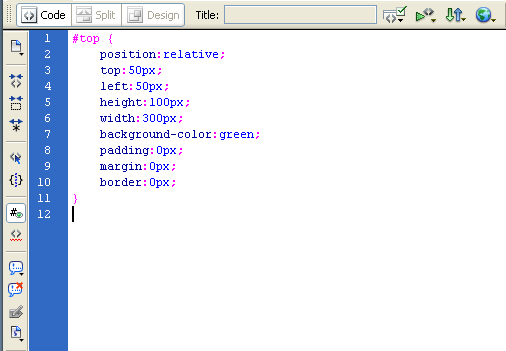
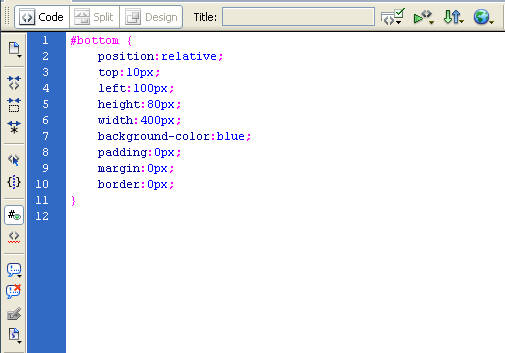
Below is the code in a stylesheet (embedded or external):
The major changes are the first few lines. This seems easy so far but changes the first element to a relative position as well and it all starts to get complex:
3) Absolute positioning in CSS:
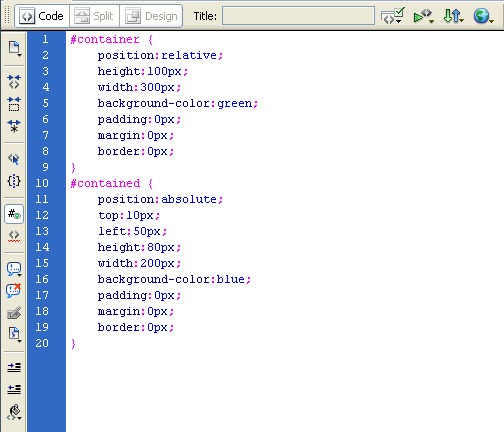
In several ways this is easier than relative positioning. Absolute positioning places the element in position based on the position of its parent. This will not work if the parent is position: static position (so set it to relative or absolute).
Below is the code in a stylesheet (embedded or external):
4) Fixed positioning in CSS:
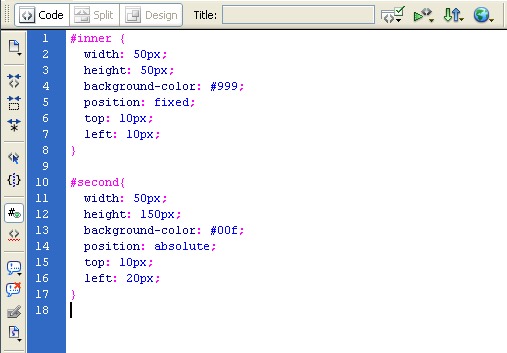
Placing things in a fixed position on the page might sound perfect but it can cause problems. How do you let for all the different resolutions and browsers?
It is quite easy though. It’s just the same as absolute positioning but it ignores which element is inside which. Fixed positioned elements are positioned on the particular page rather than in another element.
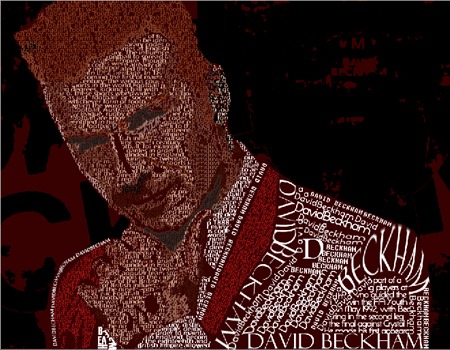
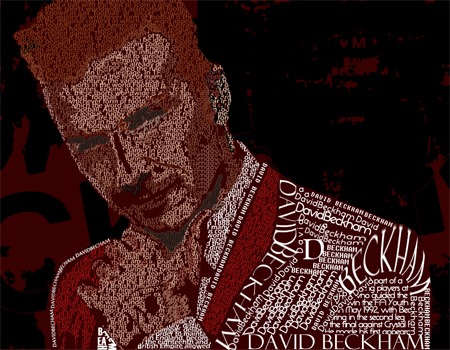
Easy Typographic Portrait In Photoshop for Beginners.
STEP-1: choose a portrait image for your typography design.
STEP-2: Creating Image Effect
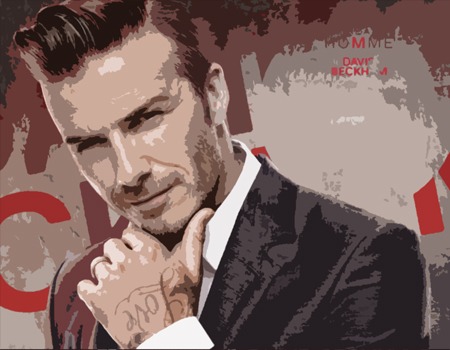
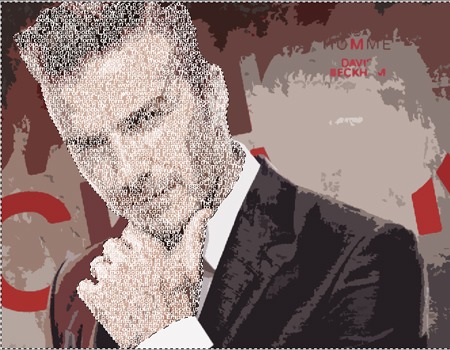
Convert the image into posterize effect by selecting Image > Adjustments > posterize. Set the Levels to 7.
STEP-3: Add Background Text – Important Step
Lower your text opacity to around 20%. Create a new group (Layer – New – Group) and name it Text. Use only the different fonts and sizes. Avoid large spaces between words. Fonts I used:
- Arial
- Cambria
- Die hund
- Impact
- Tahoma
- Times New Roman
- Verdana
- And little bit more default fonts
Merge the text into layer and then, crop the layer by selecting the face region.
Change the merged layer color by choosing Blending options > Color overlay.
Step-5: Creating effect
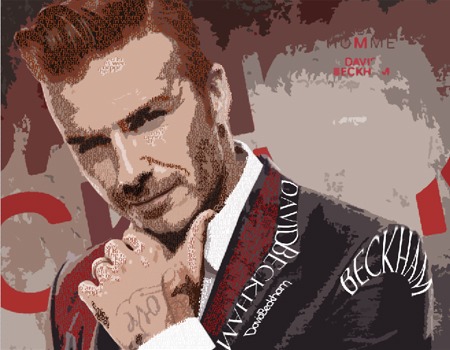
When you’re done duplicate your TEXT group (Layer – Duplicate Group) and merge it (Ctrl+E). Make your unmerged TEXT group invisible and select the face region by using Magic Wand Tool.
Step 6 – Create Background Text Effect
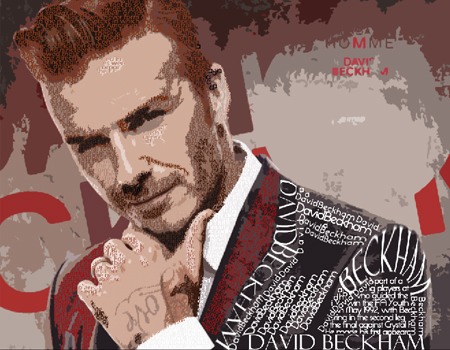
Make merged text layer visible again and apply following layer style.
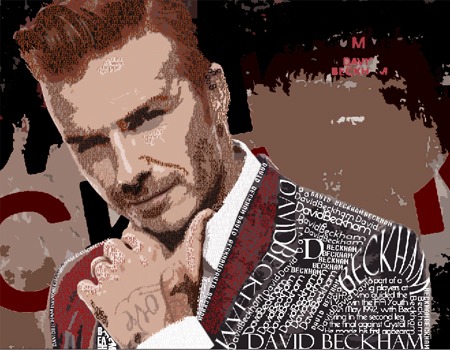
Step 7 – Final touches
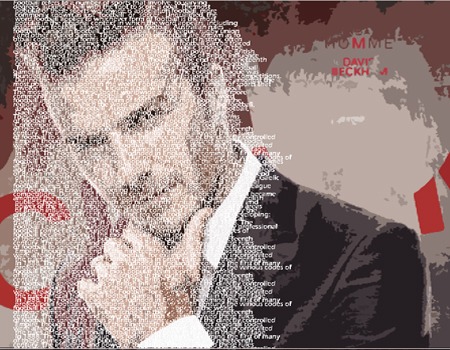
Create new layer, go to Image then Apply Image, then go to Filter choose Render, select Lightning Effects and apply following settings. Here is the final result of portrait typography design.
HOW TO DESIGN A WATERCOLOR PORTRAIT
Step 1 – Create the Texture
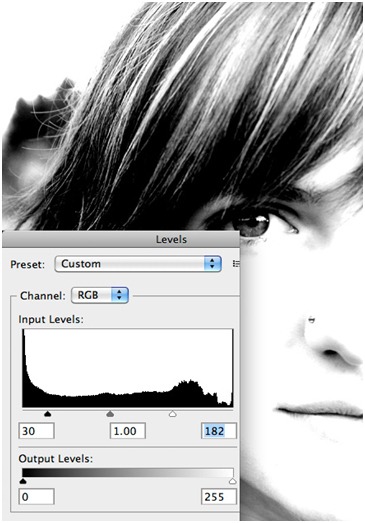
Open the image in Photoshop. From here we need to create a high contrast side of the image. To do that we first need to desaturate the image (Ctrl+Shift+U) or (Image | Adjust | Desaturate). Then we need to punch up the contrast using levels (Image | Adjust | Levels).
==================================
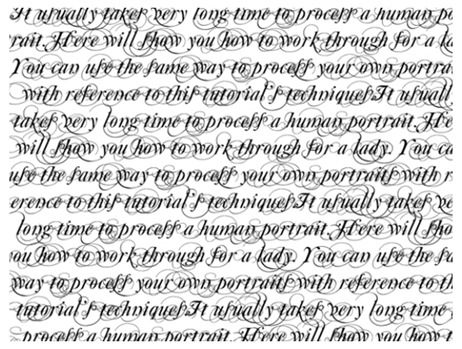
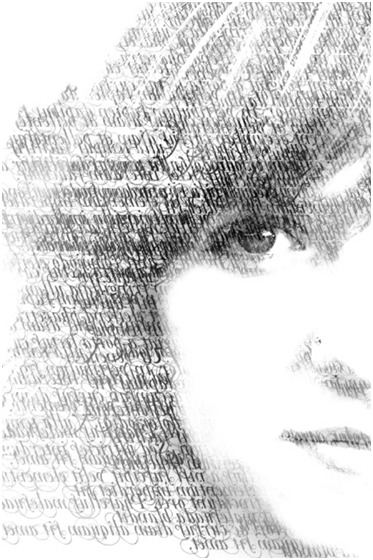
To create the texture, use a custom brush of solid text. You can use any font that you like, but I choose the Mutlu fonts for its eye-catching loops and curls.
Create new blank document 700×700 pixels and fill the document with a block of black text.
====================================
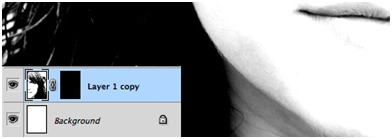
Now click (Edit | Define Brush Preset) to create the custom brush. Go to your portrait image again. create a layer mask for the girl’s layer.
===================================
Fill the layer mask with solid black, which will make the girl image to disappear. Using you’re newly created custom brush, select solid white for your foreground color and begin to click on the mask to reveal portions of the girl’s face. Experiment with the different opacity settings for your brush.
==========================================
Step 2 – Add the Watercolor
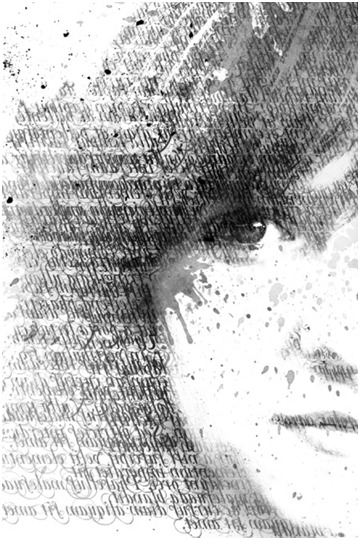
Now on a new layer above the portrait, begin adding watercolor with single click, then using a black brush. There’s no any particular method here. Just does what you feel look right. Don’t go extreme; less is more with these splatters. You don’t want them to underrate from the subjects face.
============================================
Step 3 – Add a Little Color
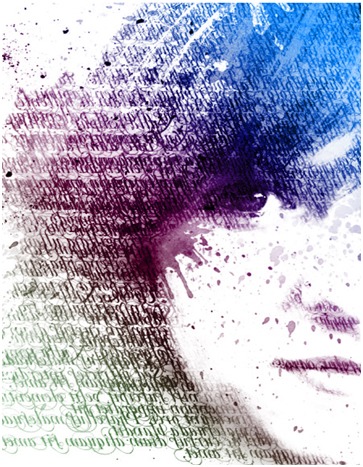
To add color, we need to create a Gradient Fill Adjustment Layer, and set its blending mode to Overlay. You can use any sort of color you prefer.
=========================================
As I specified before, this effect seems to work with just about any photo.
Best Useful Css Tips (For beginners)
Use Shorthand Css
Shorthand CSS gives you a shorter way of writing your CSS codes, and most important of all – it makes the code easier to understand.
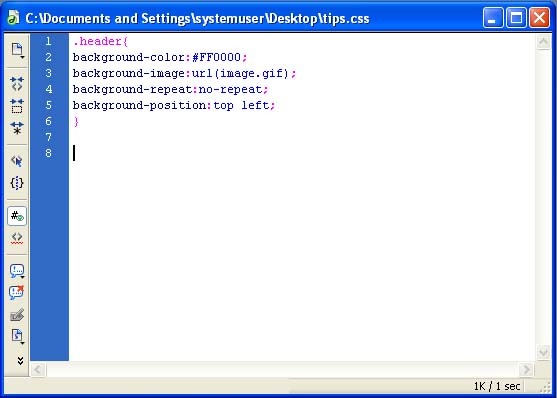
Instead of creating CSS like this
It can be short-handed into the following:
Understanding Class And ID
These two selectors repeatedly confuse beginners. In CSS, class is represented by a dot “.” while id is a hash ‘#“. In a nutshell id is used on style that is distinctive and don’t repeat itself, class on the other side, can be re-use.
Forget <Table>, Try <Div>
One of the greatest advantages of CSS is the use of <div> to attain total flexibility in terms of styling. <div> are unlike <table>, where substances are ‘locked’ within a <td>‘s cell. It’s safe to say most <table> layouts are attainable with the use of <div> and proper styling, well maybe except considerable tabular contents.
CSS Padding
Padding is the space between the border of an HTML element and the content within it.
Padding of an element in a single property as follows:
padding: 10px 10px 10px 10px;
If you declare all four values as above, the order is as follows:
Top, right, bottom, left
Shake Effect on Action Script Using Flash 3.0
Step 1: Open a new flash file. Choose Window > Properties from the main menu bar to open the PROPERTIES panel.
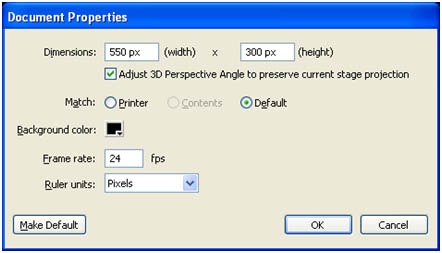
Step 2: Expand the Properties section in the panel and choose the Edit button to enlarge the Document Settings window. Next, set the width to 550 pixels and height to 300 pixels in the
PROPERTIES panel, as shown in Figure below. Choose the Ok button.
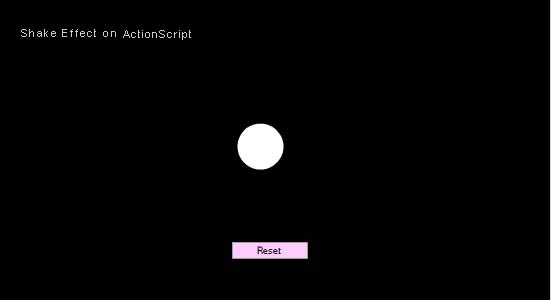
Step 3: Now we need to draw an oval for masking. Select the Oval tool from tools. Draw an circle in the document.
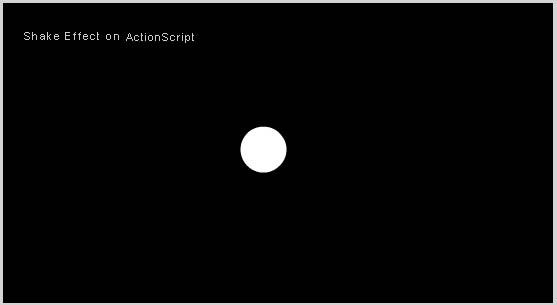
Step 4: Fill the color (#99FFFF) inside the oval. And name the document on left-top as shake effect on Action Script.
Step 5: Place the button on the document and give instance name it Reset as figure shown below.
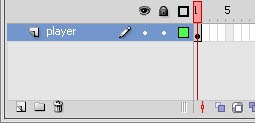
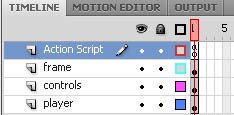
Step 6: Create a timeline for layer 1 and name it as player.
Step 7: Create another layer for controlling effects and named it as controls. And for frame select the rectangle tool from toolbar.
Step 8: Create a fourth layer for Performing Action Script.
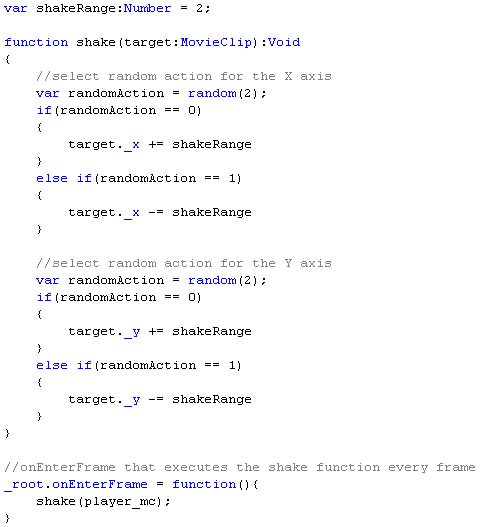
Step 9: Type the following Action Script in Layer-4(Action Script).
Step 10: Import shake effect images to library. Images name should be same as in library and script. Go to library panel and right click on each image. Choose Properties à Linkage. Check the “Export for Action script” option. And run the program.
Various Color changing on Single Object Using Flash 3.0
Step 1: Open a new flash file. Choose Window > Properties from the main menu bar to open the PROPERTIES panel.
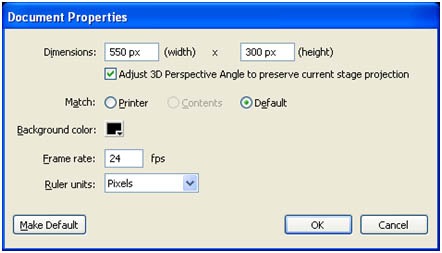
Step 2: Expand the Properties section in the panel and choose the Edit button to enlarge the Document Settings window. Next, set the width to 500 pixels and height to 358 pixels in the
PROPERTIES panel, as shown in Figure below. Choose the Ok button.
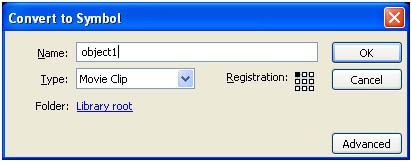
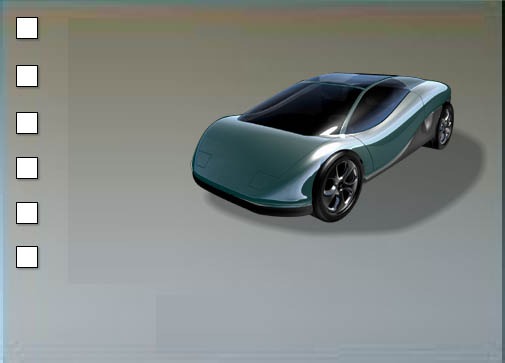
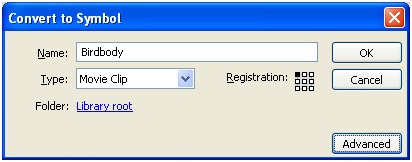
Step 3: Draw or import an object from the file. Then select the car and press F8(To convert into symbol) to convert into movie clip.
Step 4: While the object is still selected, go to the Properties Panel (Ctrl+F3) below the stage. On the left side, You will find the Instance name input field there. Call this Movie Clip as whatever you like. For this example, I will call my movie clip object1. See the picture below.
Step 5: Create a new layer above the objects layer and name it button.
Step 6: After that, create a four buttons (red, blue, brown and yellow, etc…). See the picture below.
Step 7: Take the selection tool (V) and click on the red button. Then, go again to the Properties Panel (Ctrl+F3) below the stage. On the left side, You will find the Instance name input field there. Call this button swatch1_btn. See the picture below.
Step 8: Do this also for every other button, but for red, type blue, brown….
Step 9: Create a new layer above the buttons layer and name it action.
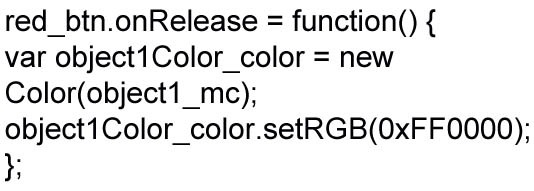
Step 10: Click on the first frame of layer action and go to the action script panel (F9). Then, enter this code inside the actions panel:
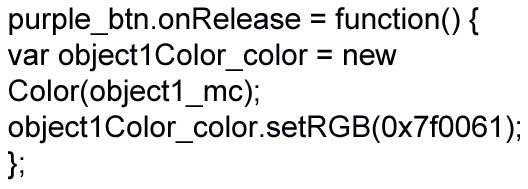
Code 1: this code is for purple color button
Code 2: this code is for red color button
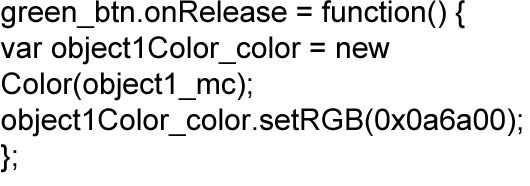
Code 3: this code is for green color button
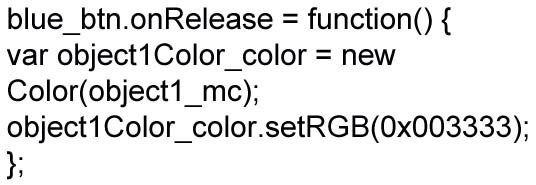
Code 4: this code is for blue color button
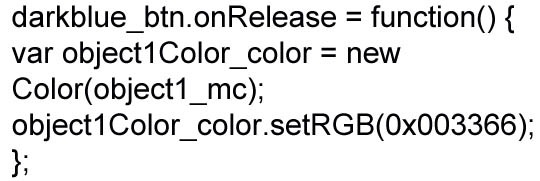
Code 5: this code is for dark blue color button
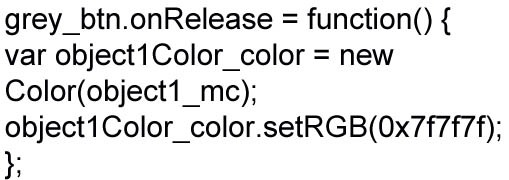
Code 6: this code is for grey color button
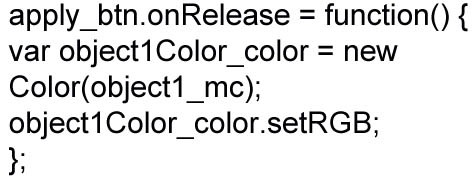
Step 11: This main button is for applying color to the car.
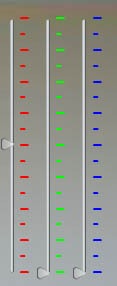
Step 12: This measurement is used to mix the color with the main color for displaying clear look.
Step 13: This scale is used to pin point the color value and range value
Test your Movie (Ctrl+Enter).
Flying Birds On Scenery Using Flash Motion Tweening
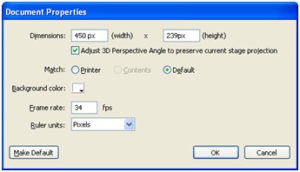
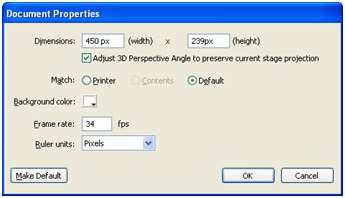
Step 1: Open a new flash file. Set the width to 450 pixels and the height to 239 pixels, set movie’s frame rate as 34 from the properties panel and click ok.
Step 2: Set any background color for the document.
Step 3: To set the background image, choose File -> Import -> Import to stage (ctrl+R) and select the image. Call the current layer background, double click on it to change the layer name as Background.
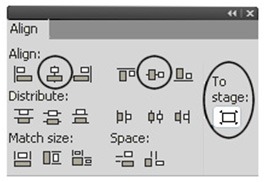
Step 4: While the image is still selected, goto Align panel (ctrl+K) and follow the steps below:
1.Make sure that Align/Distribute to stage button is turned on,
2.Click on the Align horizontal (Center)button and
3.Click the Align vertical button.
Step 5: Now click on Frame 100 and press F5 key.
Step 6: Create a new layer above the background layer and named it as Bird. Now we need to draw an bird body without wings using Line Tool and Paint Bucket Tool as shown below,
After creating the bird body, Select the layer and press F8 key to convert it into Movie clip symbol.
Step 7: Select the bird body layer and double click on it, specify the name as birdbody from the default name (layer 1).
Step 8: Click on the frame 30 and press F5 Key.
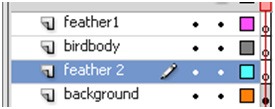
Step 9: Now, we need to create feather animation, so create a new layer above the layer birdbody and named it as feather1.
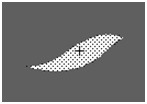
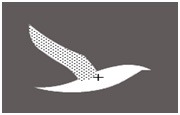
Step 10: Draw a feather of a bird using the Line tool and paint bucket tool.
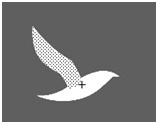
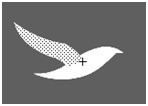
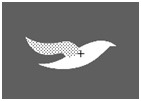
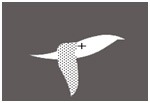
Step 11: Select the frame 2 and press F6 key. After pressing the F6 key set the feather shape as shown below.
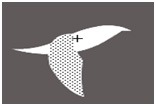
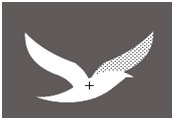
Step 12: Now select the frame 4 and press F6 key. Then set the feather shape on the position like this image as shown below.
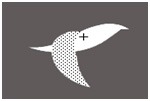
Step 13: Now click on frame 6 and press F6 key. And make the feather shape like this
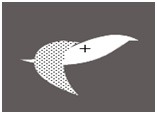
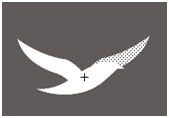
Step 14: Now click on frame 8 and press F6 key. And make the feather shape like this
Step 15: Now click on frame 10 and press F6 key. And make the feather shape like this
Step 16: Now click on frame 12 and press F6 key. And make the feather shape like this
Step 17: Now click on frame 14 and press F6 key. And make the feather shape like this
Step 18: Now click on frame 16 and press F6 key. And make the feather shape like this
Step 19: Now click on frame 18 and press F6 key. And make the feather shape like this
Step 20: Now click on frame 20 and press F6 key. And make the feather shape like this
Step 21: Now click on frame 22 and press F6 key. And make the feather shape like this
Step 22: Now click on frame 24 and press F6 key. And make the feather shape like this
Step 23: Now click on frame 26 and press F6 key. And make the feather shape like this
Step 24: Now click on frame 28 and press F6 key. And make the feather shape like this
Step 25: Now click on frame 30 and press F6 key. And make the feather shape like this
Step 26: We finished the first feather. Now we need to create another feather
Step 27: Now select the feather 2 layer and draw another feather shape as below
Step 28: Now click on frame 2 and press F6 key. And make the feather shape like this
Step 29: Now click on frame 4 and press F6 key. And make the feather shape like this
Step 30: Now click on frame 6 and press F6 key. And make the feather shape like this
Step 31: Now click on frame 8 and press F6 key. And make the feather shape like this
Step 32: Now click on frame 10 and press F6 key. And make the feather shape like this
Step 33: Now click on frame 12 and press F6 key. And make the feather shape like this
Step 34: Now click on frame 14 and press F6 key. And make the feather shape like this
Step 35: Now click on frame 16 and press F6 key. And make the feather shape like this
Step 36: Now click on frame 18 and press F6 key. And make the feather shape like this
Step 37: Now click on frame 20 and press F6 key. And make the feather shape like this
Step 38: Now click on frame 22 and press F6 key. And make the feather shape like this
Step 39: Now click on frame 24 and press F6 key. And make the feather shape like this
Step 40: Now click on frame 26 and press F6 key. And make the feather shape like this
Step 41: Now click on frame 28 and press F6 key. And make the feather shape like this
Step 42: Now click on frame 30 and press F6 key. And make the feather shape like this
Step 43: Now we finished the feather animation and we’ll move on to bird animation.
Step 44: Now come back to frame 70 and place on the position of the bird like below
Step 45: Go back to first frame and place the position of the bird like this
Step 46: Right-click anywhere on the gray area between frame 1 and 70 and frame 70 and 100 on the timeline and choose Right click on the layer and select Create Motion Tween from the menu that appears.
Step 47: Save and publish the file using ctrl+Enter key.
WEB DESIGNING
Everyone in this age of computers adores Web designs. The blank page on screen is created into a live picture with the help of your mind’s eye, keyboard and a mouse. Web designing is a very creative job. In short web design is a lot of fun, but it can also be a source of income.
If you choose web designing as your business then you need to be really careful in using the right process. If you don’t use the right procedure in making the design you effort may be unsuccessful.
How and why your design turns out to be a failure?
Your design may be very beautiful but
- It may not be appropriate for the type of website.
- It may not attract the viewers.
- It may be awful for its purpose.
- It may lack the qualities to create an excitement.
- It may not deliver the correct message of the site.
There are proper steps of web designing…
The basic steps to avoid making worst and awful designs are
- Sketch:
Appropriate planning is a must for a good design. In this the most important thing is to know the answers to the queries.
- Preparing matter:
This is the second step after you have a plan. It is just a rough draft. This will show how and where your content will be.
- Model:
This is an essential step of the process. This will be easy for you as you have already planned the content, instead it would be fun. It is fun also with many key considerations, so don’t get very much excited and make mistakes.
- Improvement:
As soon as you finalize the design, turn it into XHTML/CSS/PHP/MySQL and to whatever your site demands. The improvement naturally refers to the coding and backend matter.
Designing is the site where the designer’s talent shine. But still never jump to it as you may make a mistake by doing that. If you duck the planning and content building then you will not be able to attain the goals of the site.
First
In planning few questions have to be answered, like what is the goal of the site? Who are your visitors? What do you expect from the visitors? Etc. You should know the answers if you are designing the website. When you have the answers to these questions you can start your content building by deciding on color, layout, font size, font type.
Second
The phrase used mostly is that “content is king”. You should know which your target audience is and according to that you will have to frame your content and also keep in mind your goal for the site. You should make it a point that the visitor of your site must get to his destination just by max 3 times. Now when you prepare the sitemap all your contents should have their space.
Third
Do take care of not skipping any of the above steps. Let your imagination show colors here. You will have to design layouts for home page, and also for your transitional pages. Transitional pages are the pages which take the users to more significant things, so do have links to different varieties of the topic. Make sure that your transitional site’s layout tone with the entire site. It is a must that you have a rough draft of the layout to see which would go well with the topic.
Finally
Once you tie up with your design you can improve your site. Depending on the way you want your site to work could draw in complications such as PHP and MySQL programming, or can be simple like HTML and CSS. This is the step that requires the coding of the site.
Thus we see that web designing is interesting, but it can lead to failure if not done according to the steps discussed above.


