Follow the steps to complete the tutorial.
1. Open a new flash file. Choose Window ->Properties from the main menu bar to open the PROPERTIES panel.
2. Expand the Properties section in the panel and choose the Edit… button to enlarge the Document Settings window. Next, set the width to 940px and height to 400px in the
PROPERTIES panel, as shown in Figure below. Choose the Ok button.

3. Now we will import the images to be used in this tutorial. Unzip the bulle.rar file that you downloaded.
4. Choose File > Import > Import to stage from the main menu bar and Import the images.
5. Now, let us distribute these images on different layers. To do so, right click on the images when they are selected and choose Distribute to Layers… from the fly out, the images are distributed in different layers.
6. Next, convert the images into symbols. Select img1.jpg and choose Modify > Convert to Symbol from the main menu bar; the Convert to Symbol window is displayed; as shown in Figure below.

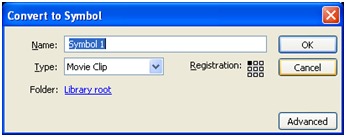
7. Name the movie clip symbol as img1 and choose the OK button. The image is converted to movie clip symbol. Similarly, convert img2.jpg and so on into movie clip symbols.
The movie clip helps to manage an image in a better way. Also, it will help us to apply filters and other effects to the mages in a better way.
8. Next, select the img1 movie clip and choose Modify -> Convert to Symbol from the main menu bar and name the movie clip as masking1.
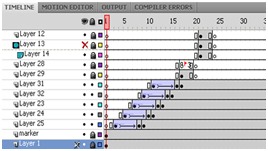
9. Double-click on the movie clip and next create a key frame on frame as much as possible in the timeline, as shown in Figure below.
10. Next set the motion twining between the frames. Select the key frame on zoom and place the movie clip on it and perform action.
11. Select all the frames and right click on them and choose Distribute to Layers to distribute them to different layers. Rename the layers as frame1, frame2, frame3, frame4, and frame5.

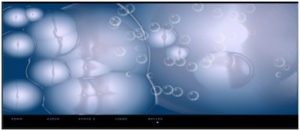
12. Next layer is for creating avoid layer, select the frame and right click on it and choose distribute to layers.

13. Next layer is for avoid 2, select the frame and right click on it and choose distribute to layers.
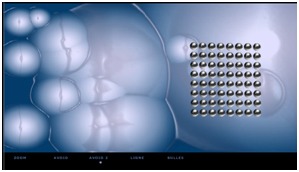
14. Next layer is for Ligne, select the frame and right click on it and choose distribute to layers.
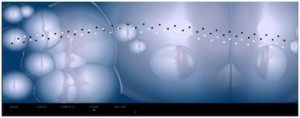

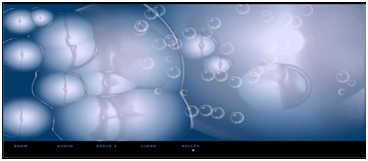
15. The last layer is for creating bubbles, Select the key frame on zoom and place the movie clip on it and perform action.
16. Next, activate the layer named layer1 and rename it to anim1 and select the image movie clip at the first key frame and choose Window > Properties from the main menu bar, the PROPERTIES panel will be displayed.
17. Set the alpha to zero for the movie clip on the first frame.
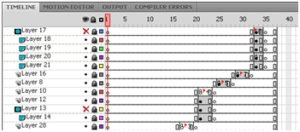
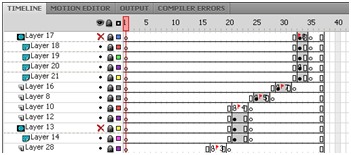
18. Now, right click on the frame1 layer and choose mask from the fly out. Similarly, set mask for frame2, frame3, frame4, and frame5 layers and align the frames in the timeline to as shown in Figure below.
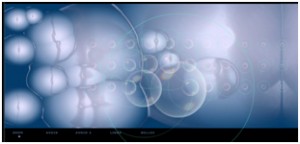
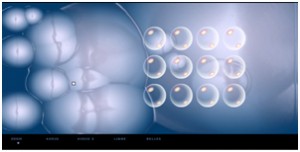
19. Press ENTER and have a look on the frame transition effect. You can tweak the animation as per your needs and requirements.
20. Next, go to the main stage and similar transition effect to the other layers and make a timeline animation to create a layer show transition effect.
Leave a Reply