Illustrators
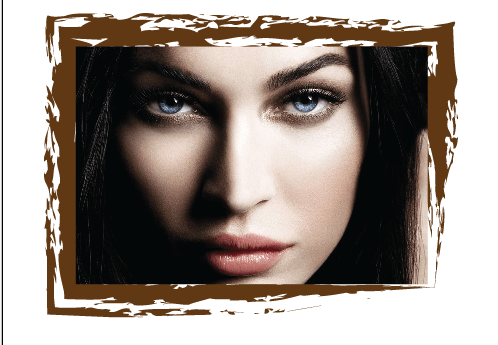
How to create photo frame border
Step:1
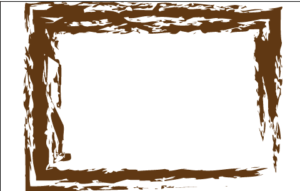
Draw a rectangle with no fill and have a stroke of 16pt and choose a border which you want.
Step:2
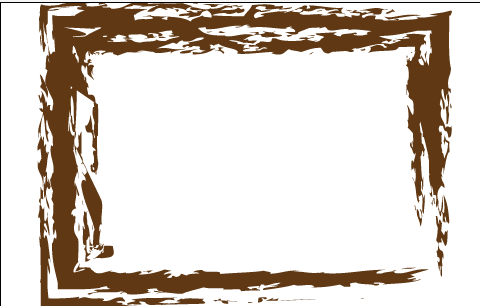
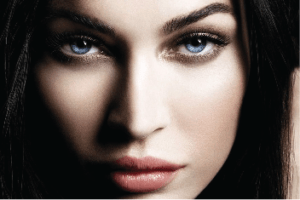
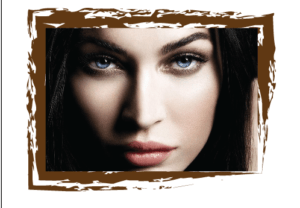
Make a copy of the rectangular border.Then place a image in this document.Now Place the rectangle border in front and image at the bottom. Go to object -> clipping mask.
Step:3
Now we have one more copy of the rectangular border.place it above the clipped image.
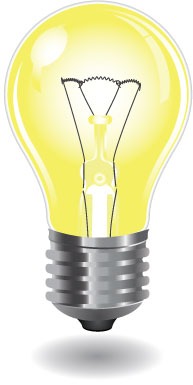
Light Bulb Vector Using Illustrator
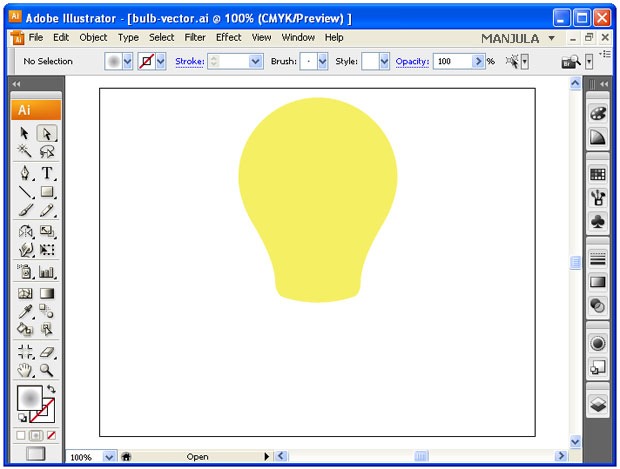
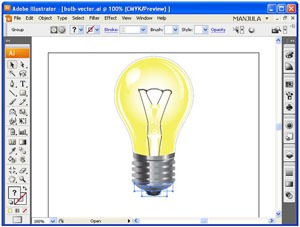
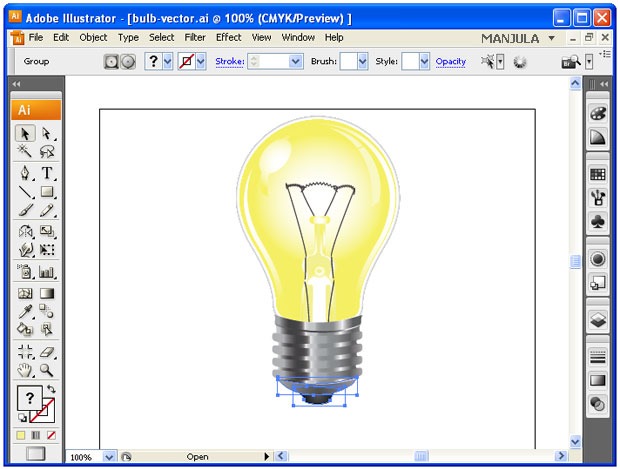
Step-1 Draw a bulb shape and fill with yellow color.
Step-2 Draw a below like arc at the two edges of the bulb sides and fill it with white and yellow gradient (radial).
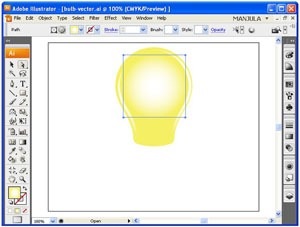
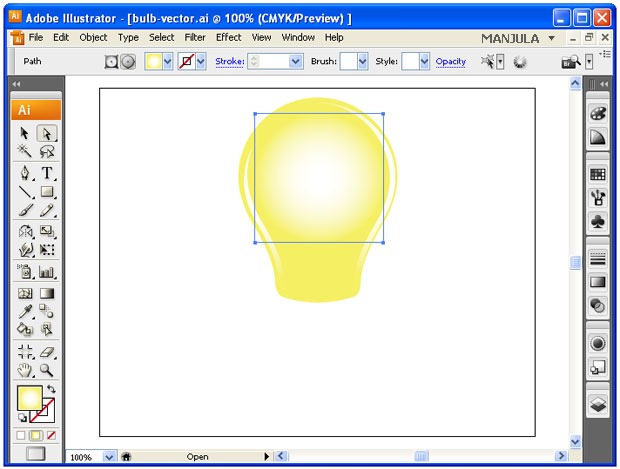
Step-3 Create a circle fills it with white and yellow radial gradient.
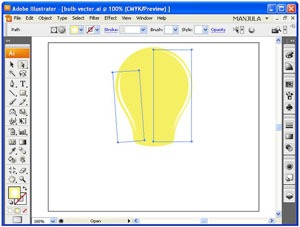
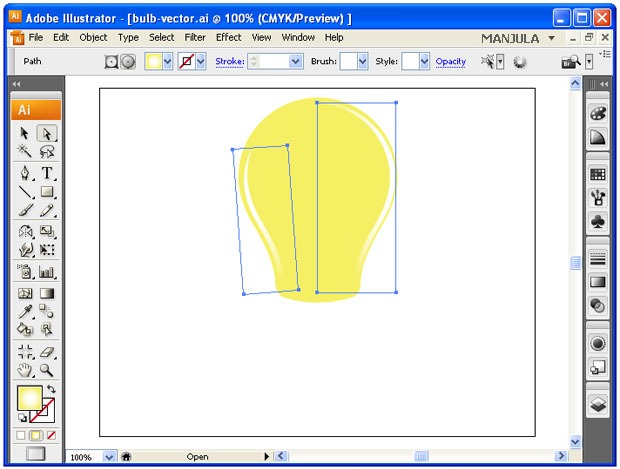
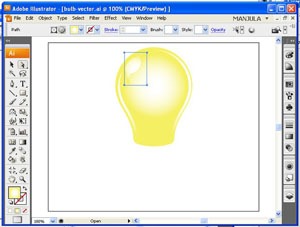
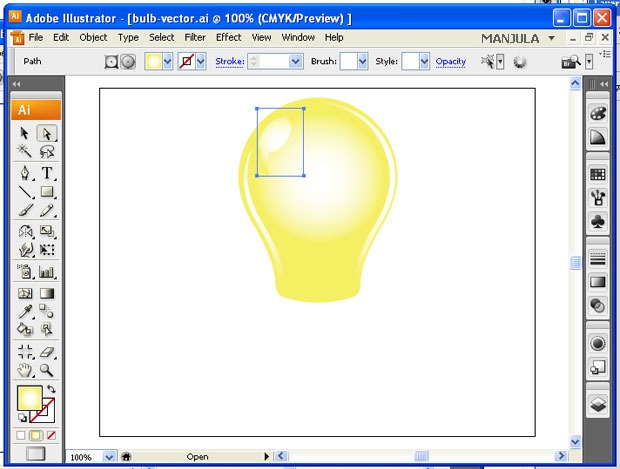
Step-4 To give a realistic effect like reflection of the light, draw below shape and fill it with white and yellow gradient.
Step-5 Create the inner components of bulb by using gradient fill.
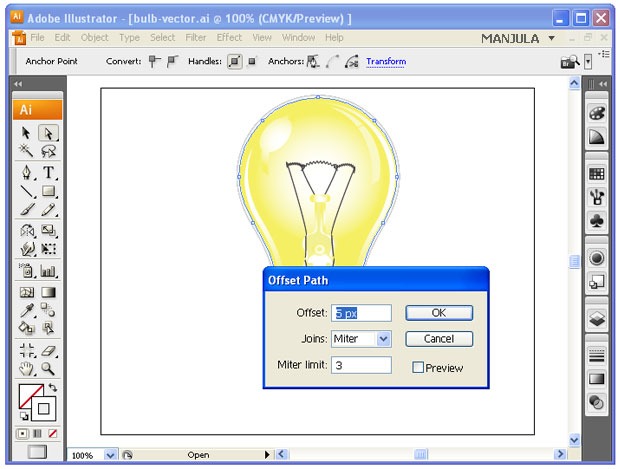
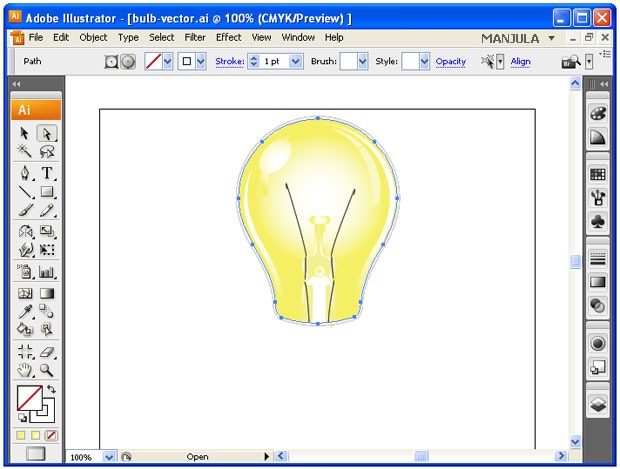
Step-6 Give the outline for the bulb using pen tool. First draw the stroke and go to OBJECT -> PATH -> OFFSET. Set the values as per your requirements.
Step-7 Create the tungsten path using pen tool.
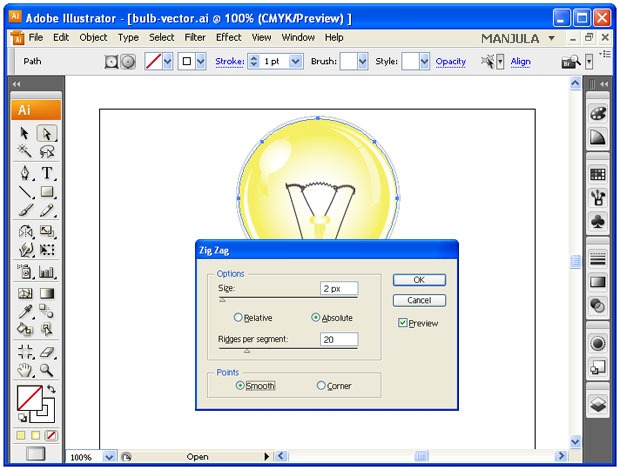
Step-8 For the top part of the tungsten draw three arcs continuously and go to EFFECT -> DISTORT & TRANSFORM -> ZIG ZAG.
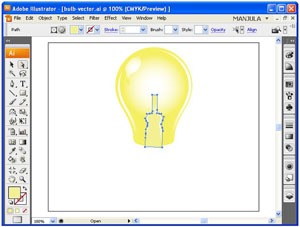
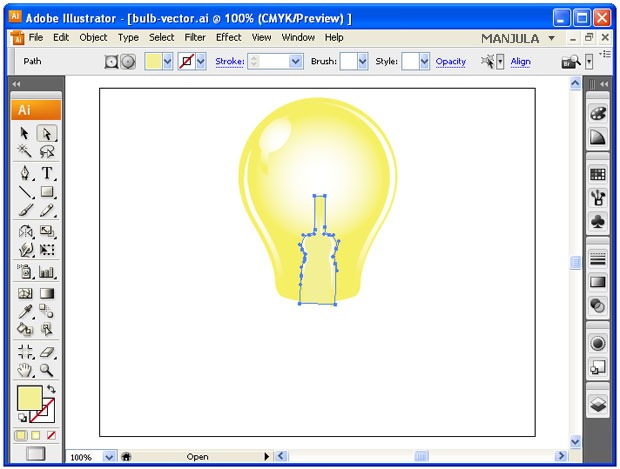
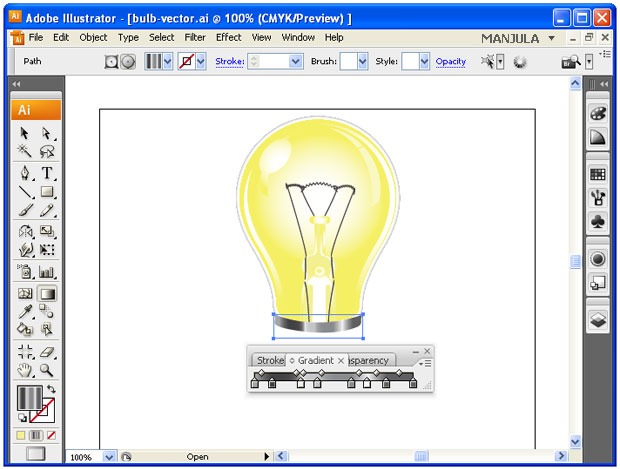
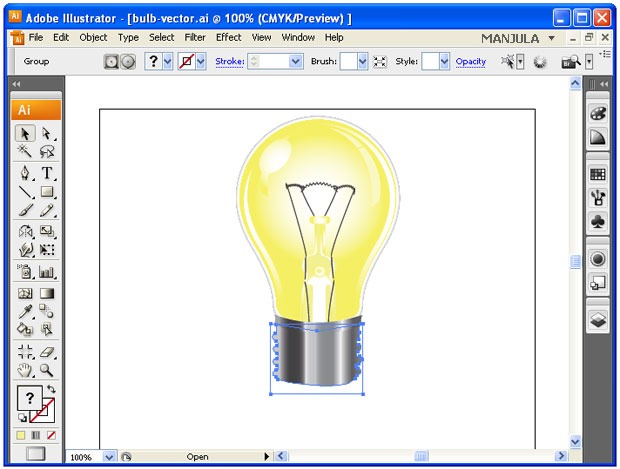
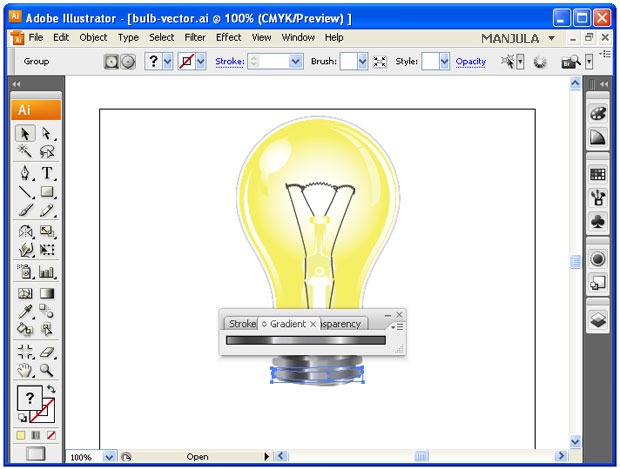
Step-9 Now comes to the bottom part of the light. Apply gradients as like below.
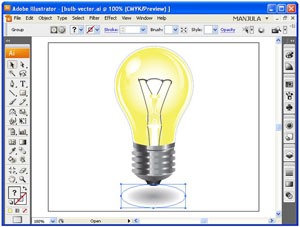
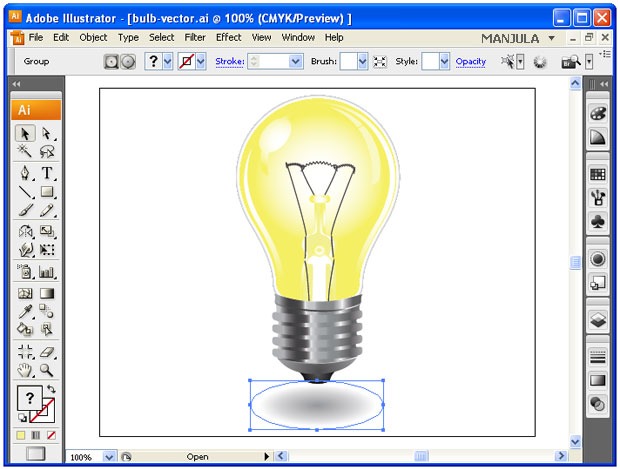
Step-10 For the shadow effect, draw an ellipse and apply white and gray radial gradient.
Enjoy 🙂
Match Stick Flaming Using Illustrator
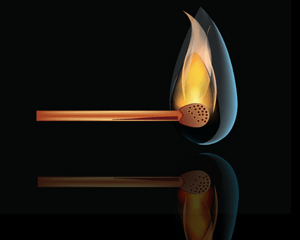
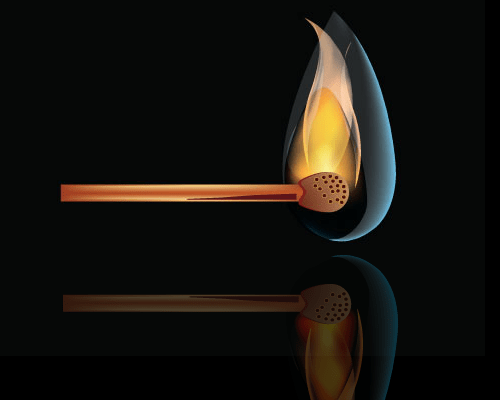
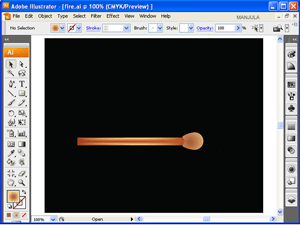
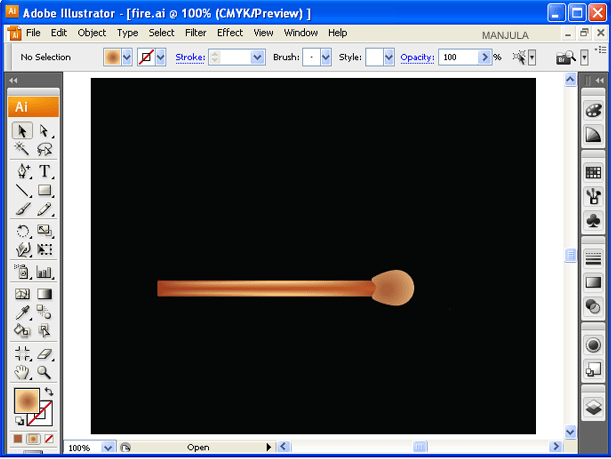
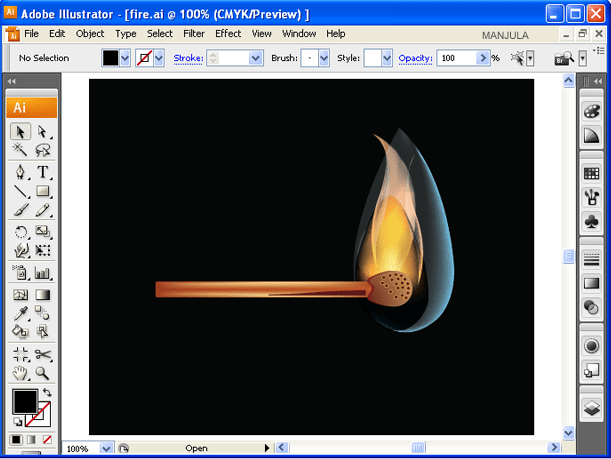
Final Preview
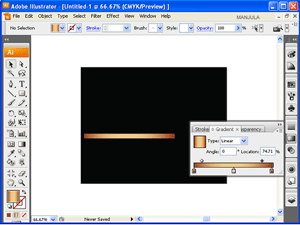
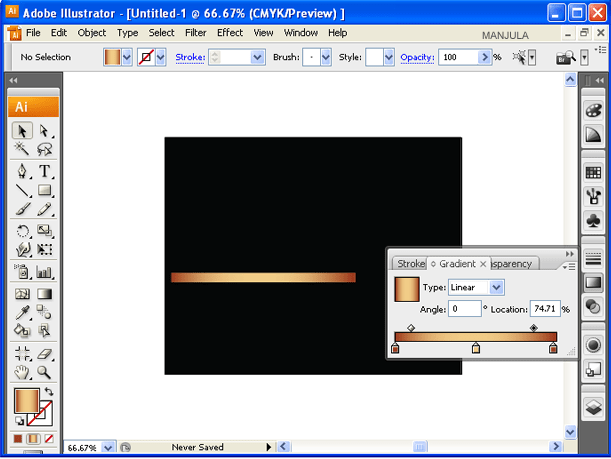
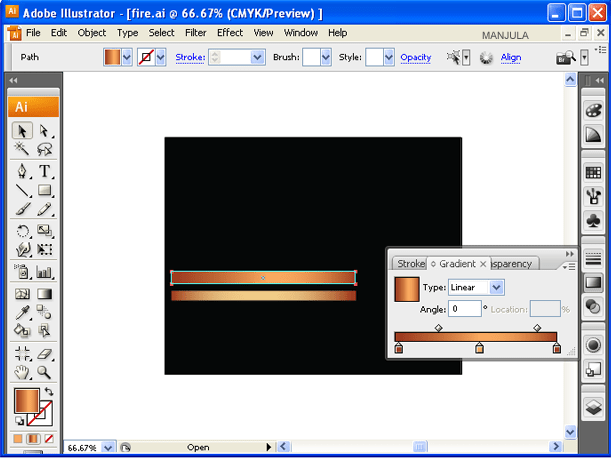
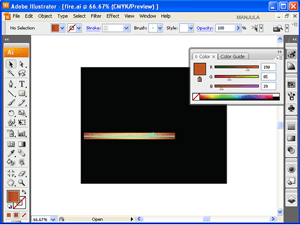
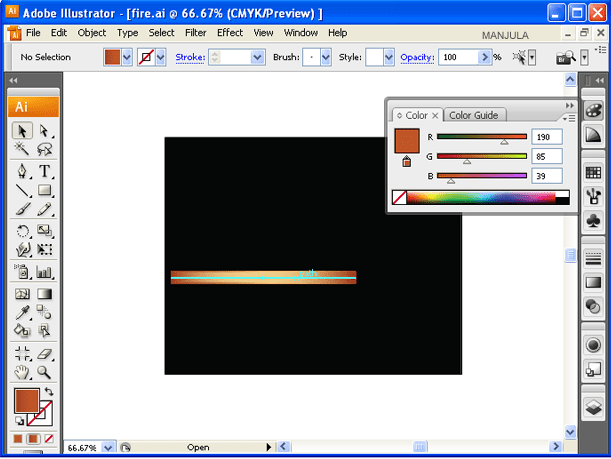
Step-1 Open a new document in illustrator. Draw a rectangle fill with linear gradient in the combination of #a93f23 and f0cc87.
Step-2 Duplicate the rectangle and reduce the height alone.
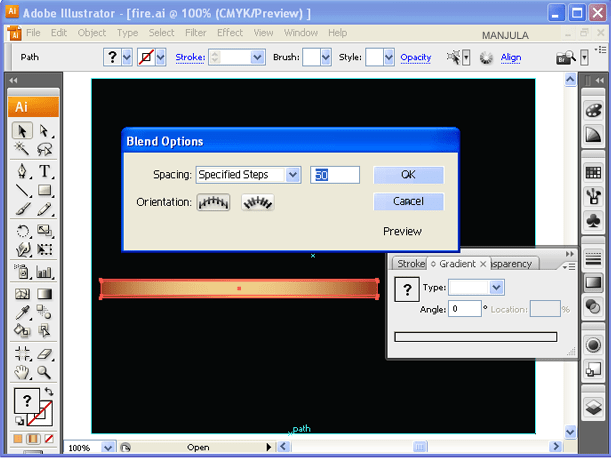
Step-3 Select both rectangle and go to Object –>Blend –> Blend Options. Give spacing as Specified steps and value is 50.
Step-4 creates line on the rectangle.
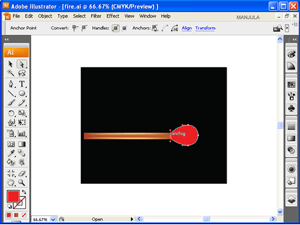
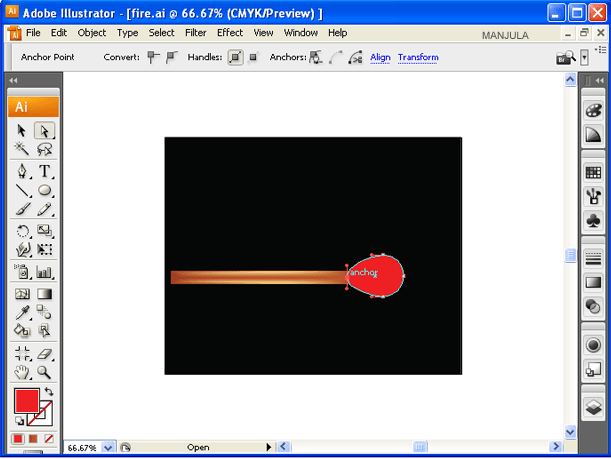
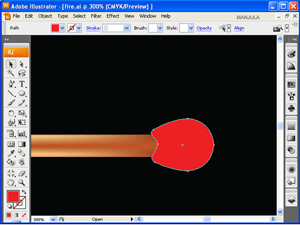
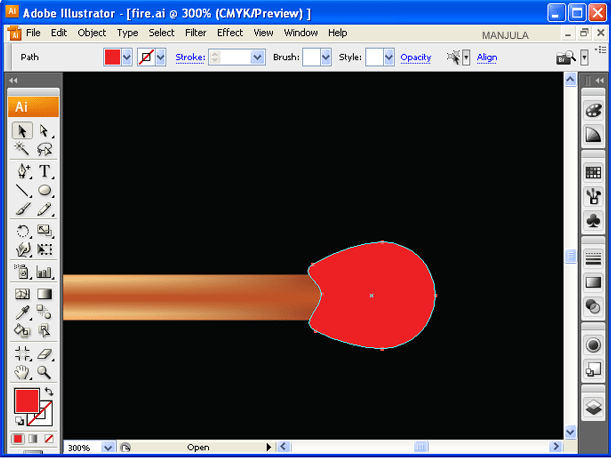
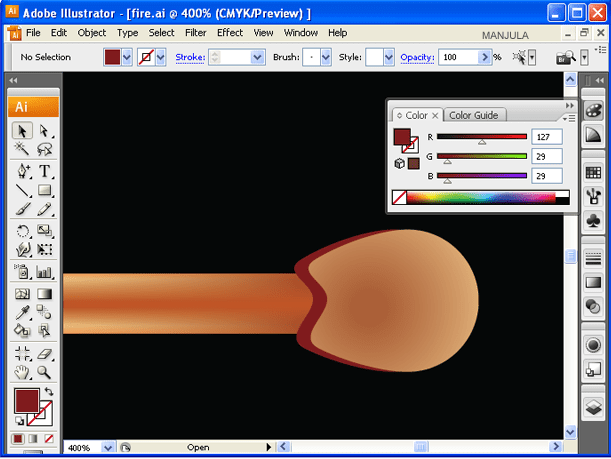
Step-5 Draw a circle and make it like below shape using direct selection tool.
Step-6 Fill with radial gradient in the combination of #d5a16c and #ab6038.
Step-7 Duplicate it and fill with brown color.
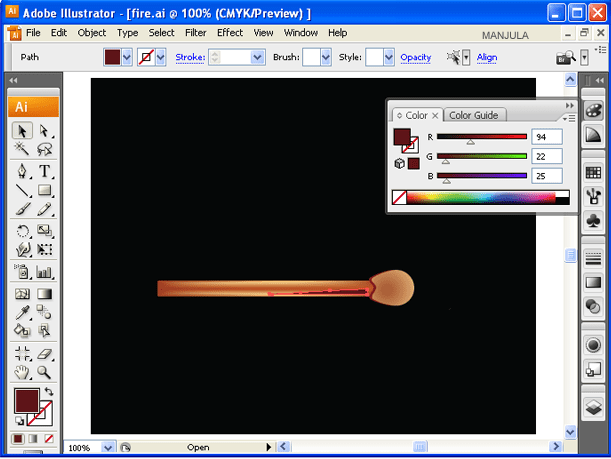
Step-8 Draw a rectangle like box using pen tool to give the real effect to the stick.
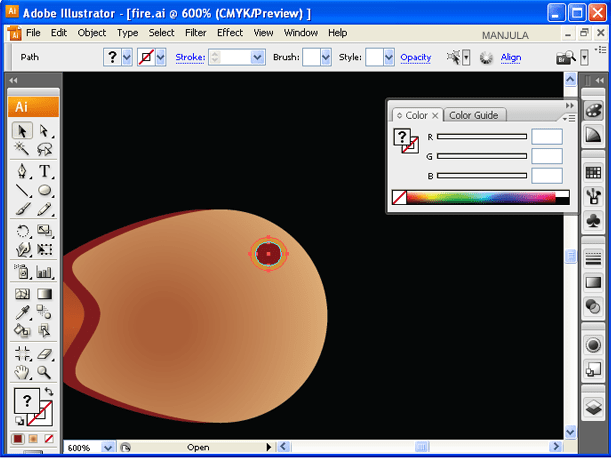
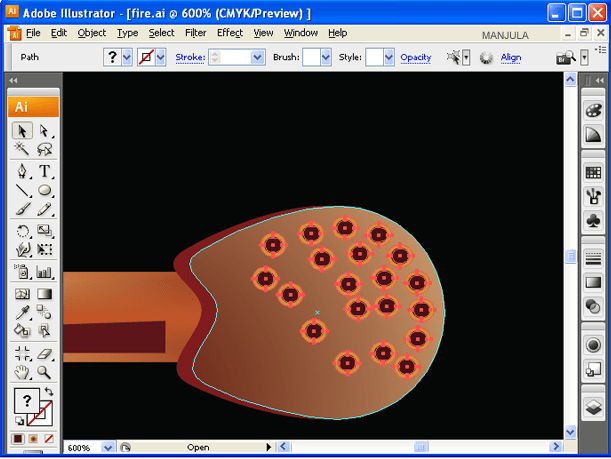
Step-9 Draw a two circles. Fill the below color. One circle should be smaller than another.
Step-10 Duplicate it and place it randomly.
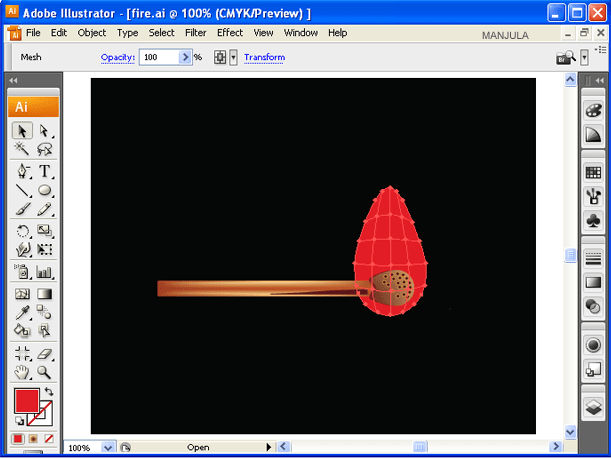
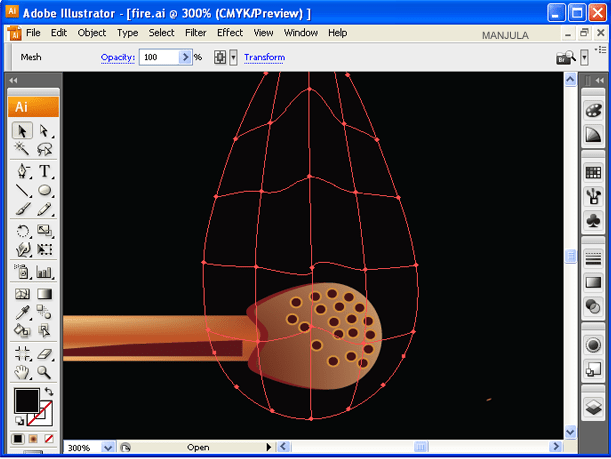
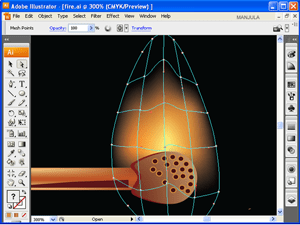
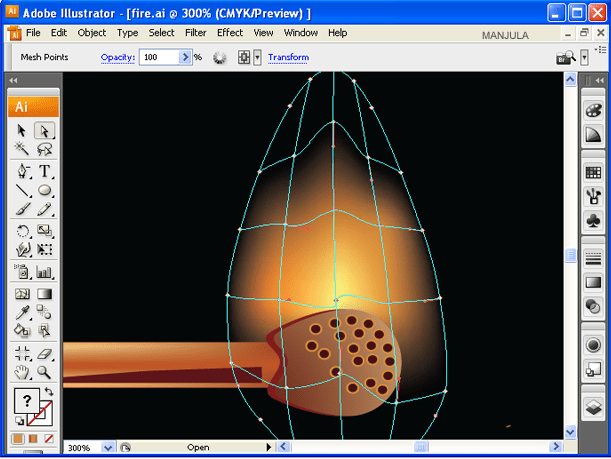
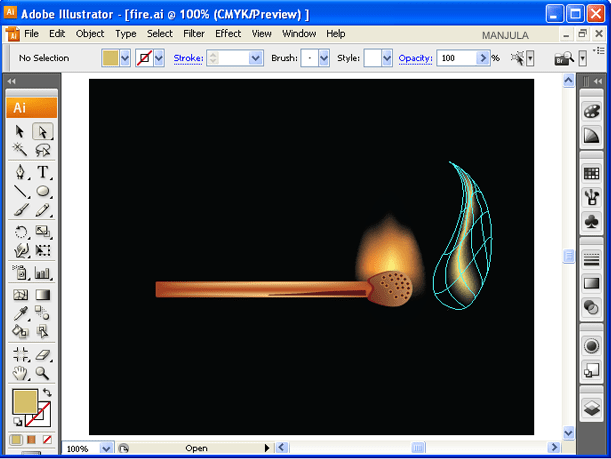
Step-11 Draw a pear like shape and give create gradient Mesh. Give row value as 5 and column value as 4. Fill
Step-12 Fill it with black color.
Step-13 Select the center part nodes of the sphere shape and give yellow and orange color mesh. Go to Transparency and apply screen mode.
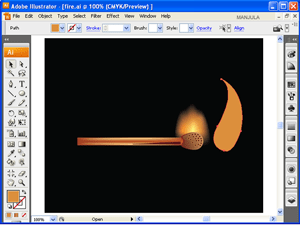
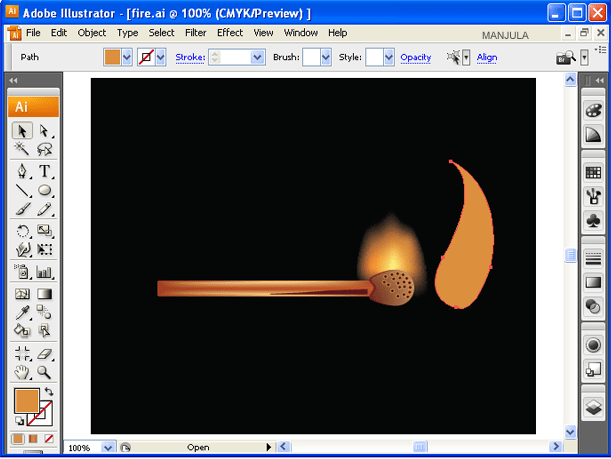
Step-14 Create a below shape and repeat steps 11, 12, 13.
Step-15 Like above creates blue flame.
Enjoy:0)
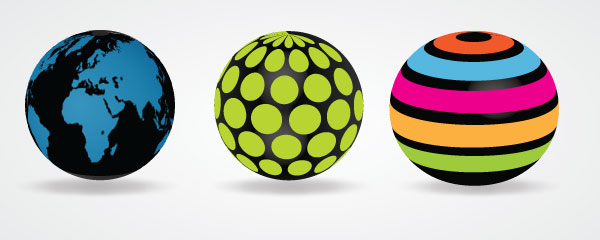
3D Art Map Using Illustrator
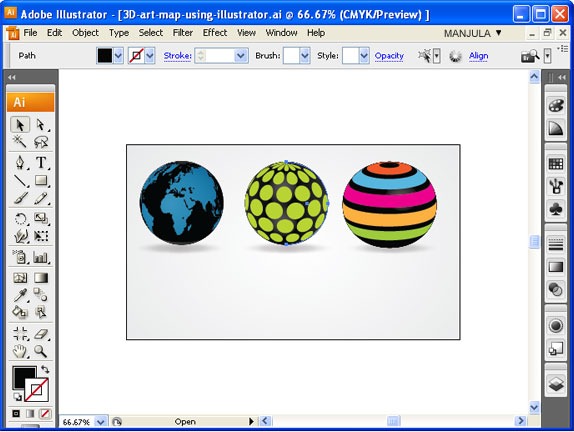
Final Preview:
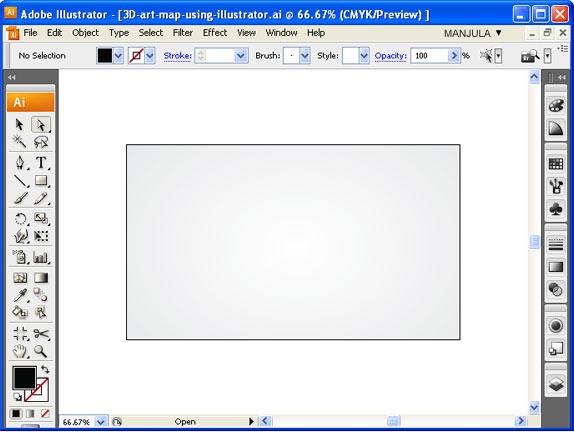
Step-1 Open a new document in Illustrator.
Step-2 Create a RECTANGLE BOX and fill gradient in the combination of Gray and White.
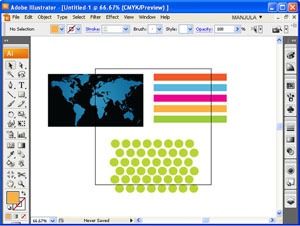
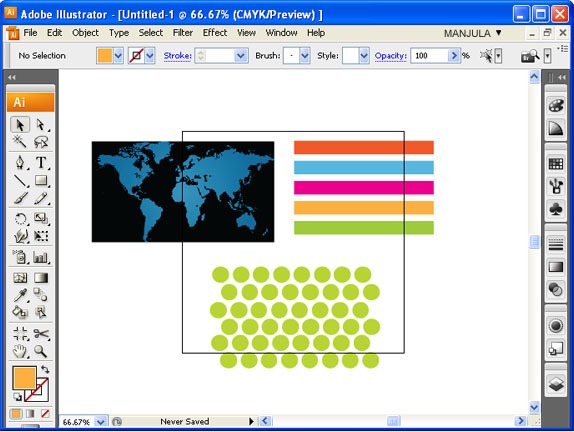
Step-3 Then imports designs which you required to wrap around the 3d globe.
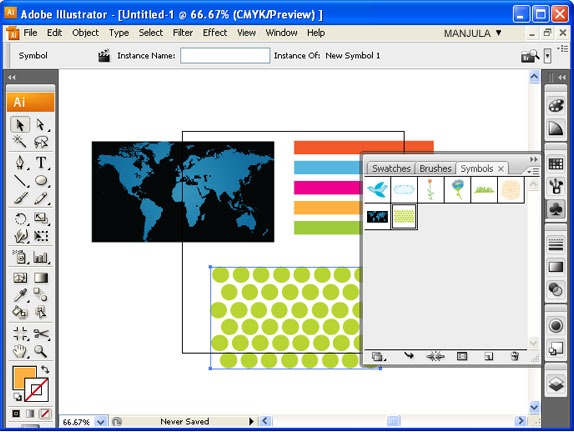
Step-4 Go to WINDOW –> SYMBOLS. Symbol panel will appear. Drag those designs into SYMBOL PANEL.
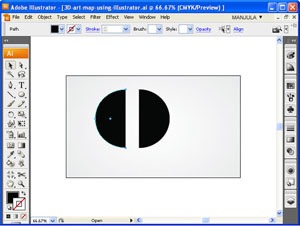
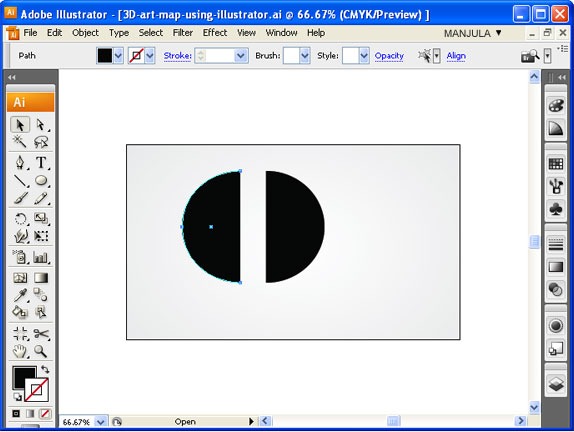
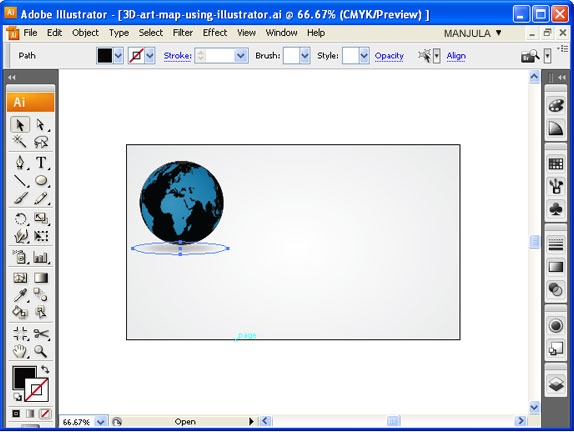
Step-5 Draw a CIRCLE and fill with black color. Cut that circle as semicircle using SCISSOR TOOL at the anchor point.
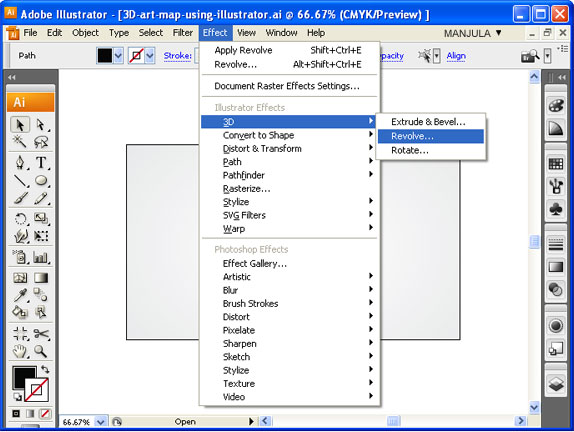
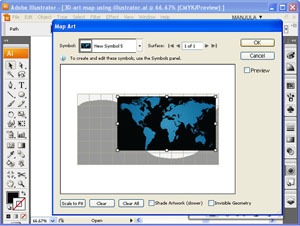
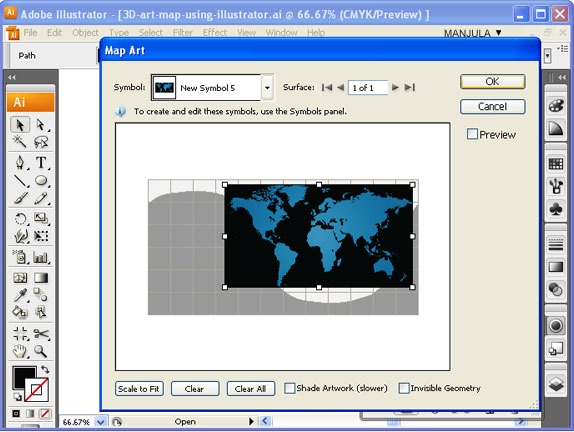
Step-6 Go to EFFECT –> 3D –> REVOLVE. Click MAP ART Option; select the symbol which you dragged into SYMBOL PANEL. Your design will wrap the 3d Sphere.
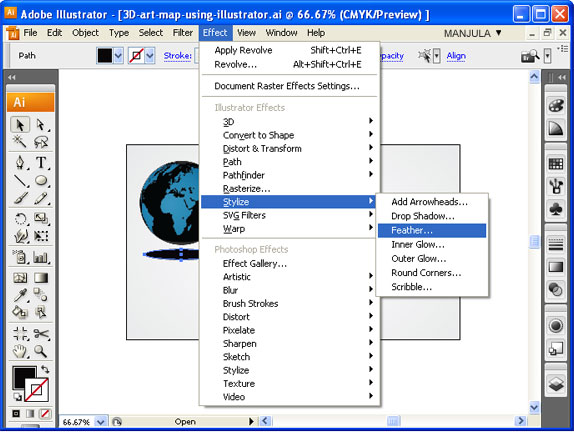
Step-7 Draw an ellipse and go to EFFECT–> STYLIZE –> FEATHER. Give feather radius as 35px.
Step-8 As like above create remaining spheres.
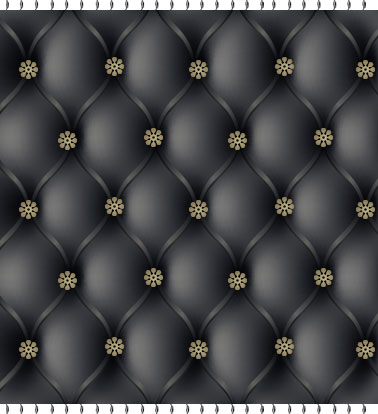
Create an Upholstery Pattern Using Illustrator
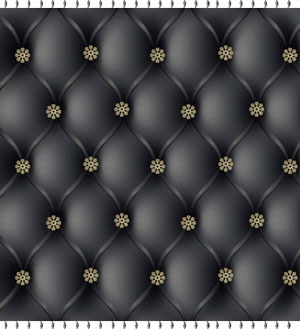
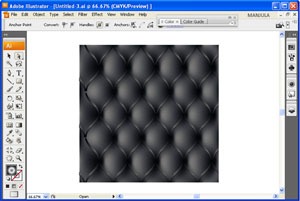
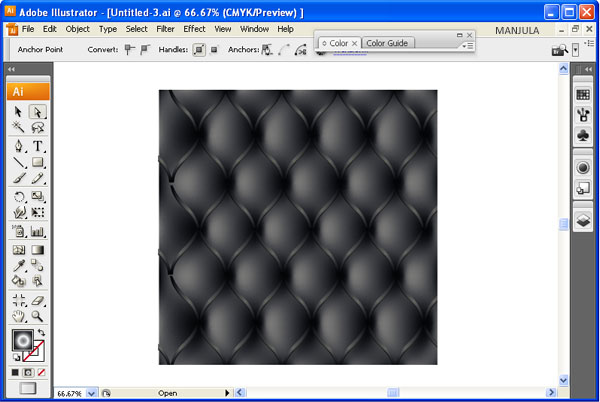
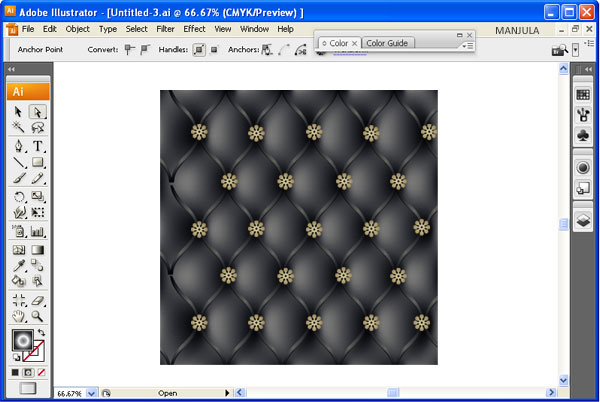
Final preview:
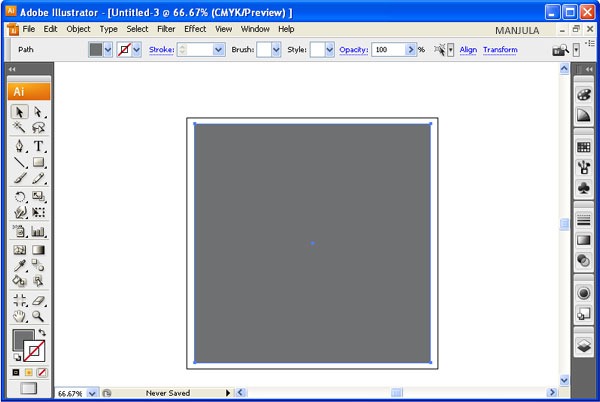
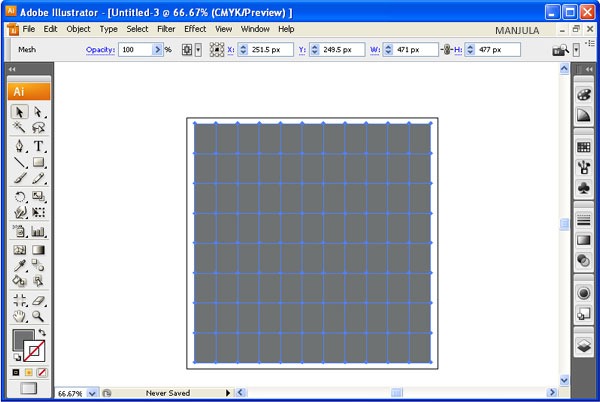
Step-1 Draw a rectangle in an illustrator document and fill gray like color.
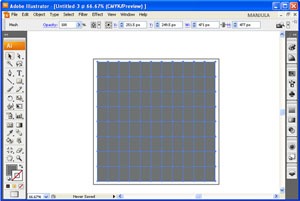
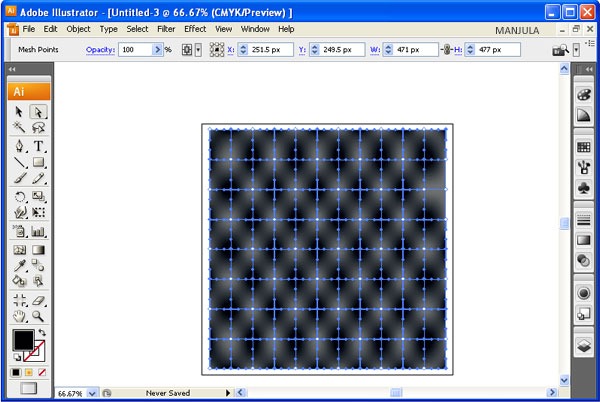
Step-2 Go to Object > Create Gradient Mesh and give the number of rows and columns you required.
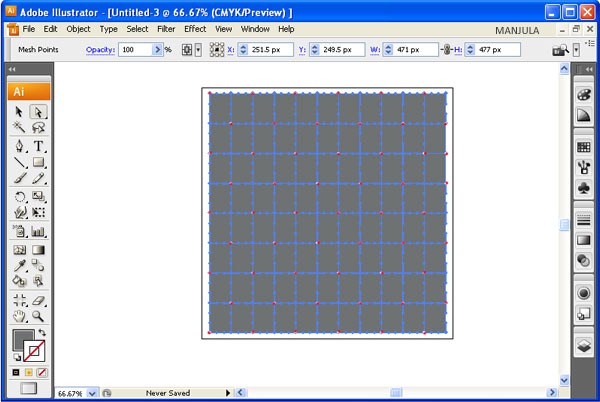
Step-3 Select the nodes of the mesh in checker wise direction using direct selection tool.
Step-4 Change the color of the nodes to dark gray.
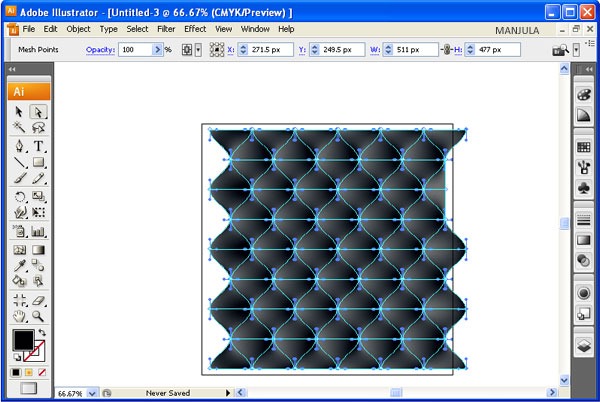
Step-5 Don’t leaves the selection of nodes. Go to Object > Transform > Move.
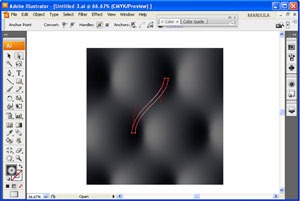
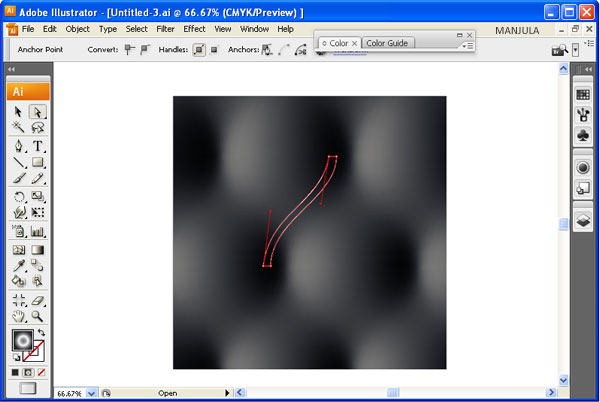
Step-6 Create a line using pen tool as shown below.
Step-7 fills it with gradient colors of black shades.
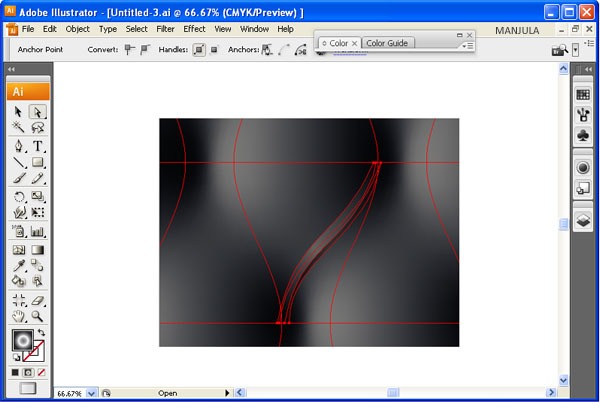
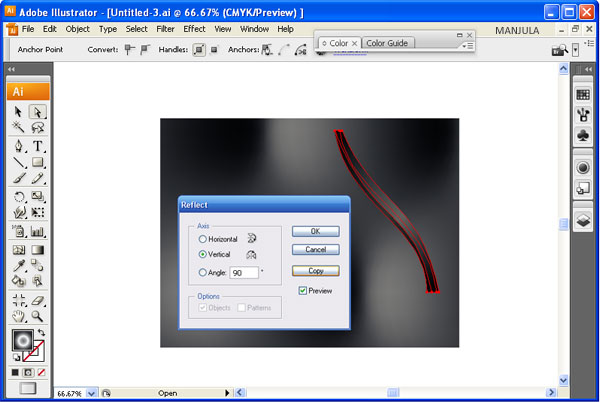
Step-8 Go to Object > Transform > Reflect and hit the Copy button.
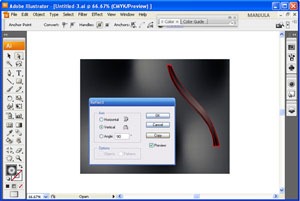
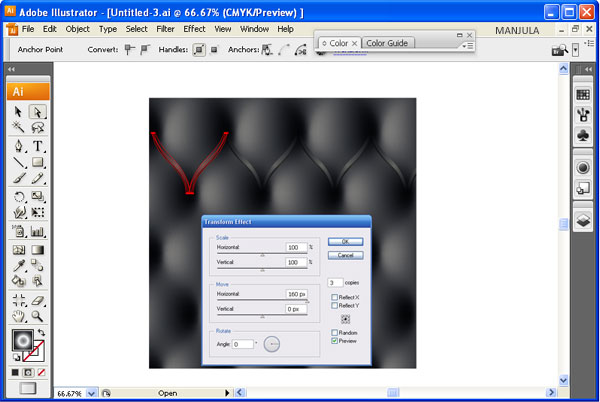
Step-9 Go to Effect > Distort & Transform > Transform and set the parameters as shown below.
Step-10 Duplicate the line and cover the entire upholstery.
Step-11 Draw a rectangle in the size of upholstery. Select all the objects and go to Object > Clipping Mask.
Step-12 Decorate it with ornamental nails.
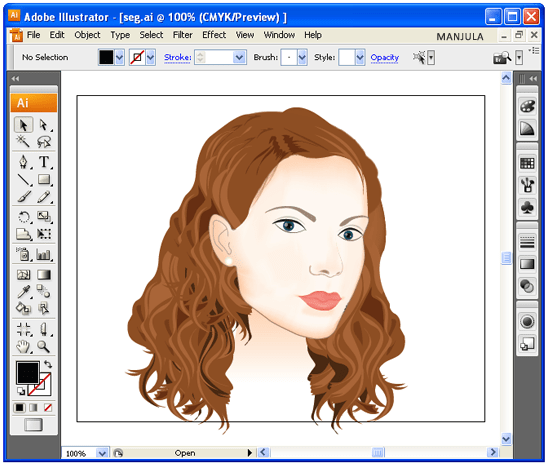
Illustrator Ferocious Girl Vector
Final Preview:
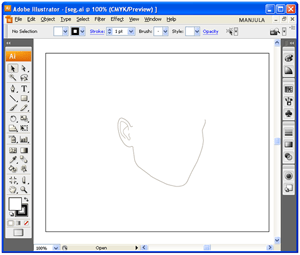
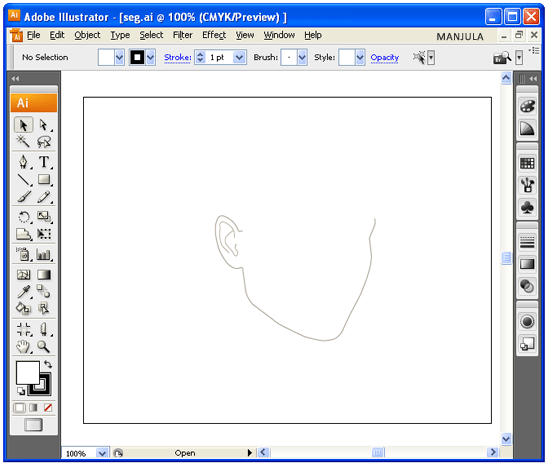
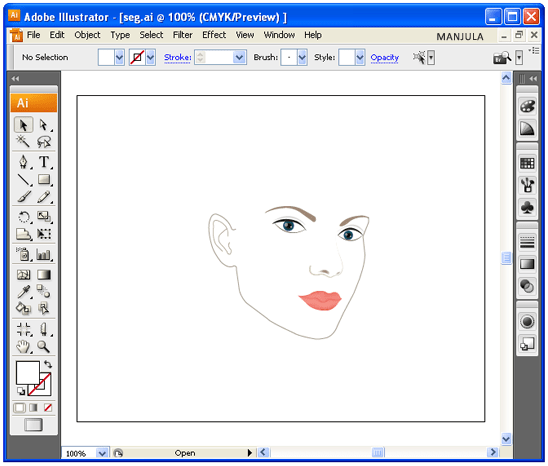
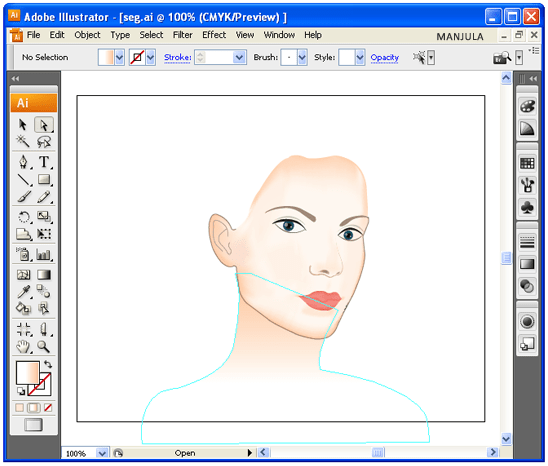
Step-1 Open a new document in illustrator and draw a face outline as like below using pen tool.
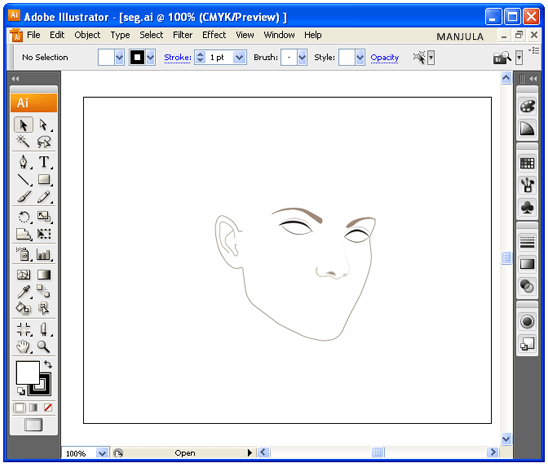
Step-2 Then draws eyes and nose outline.
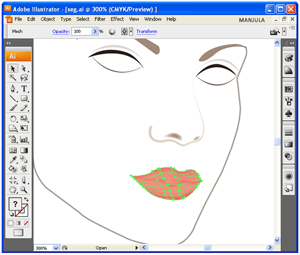
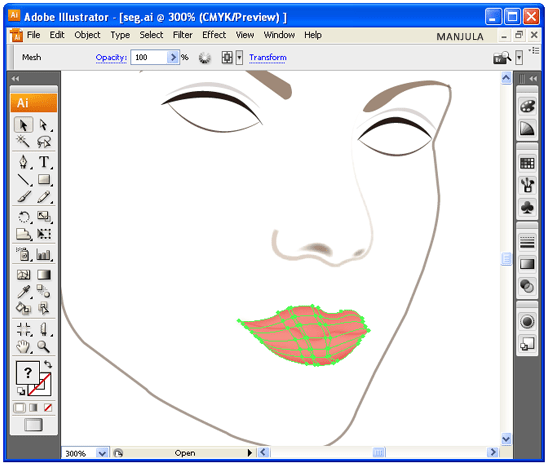
Step-3 Lip is the main thing inside the face. Here I applied mesh gradient. First draw lip shape using pen tool with color fill. Then use mesh tool to show the difference between upper and lower lip.
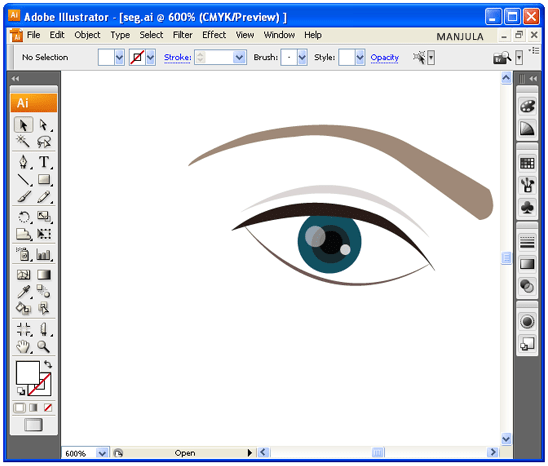
Step-4 Draw an eye ball using Ellipse tool and for eye reflection draw white circle and give opacity.
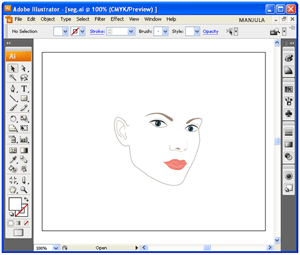
Step-5 Now sees the complete outline of face.
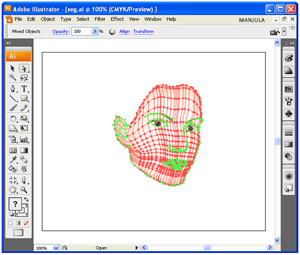
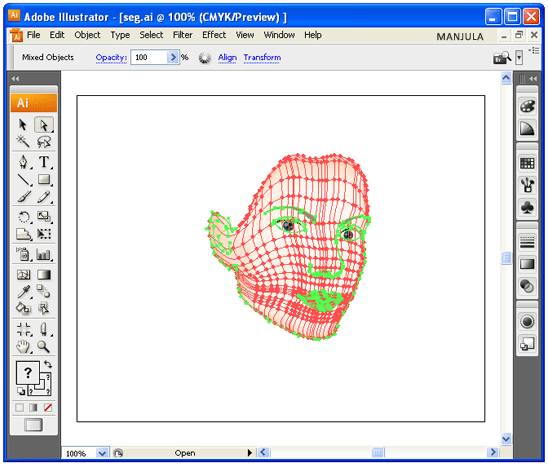
Step-6 Fill face color and draw mesh lines. Select mesh anchor points at the edge of the face and give dark skin tone color.
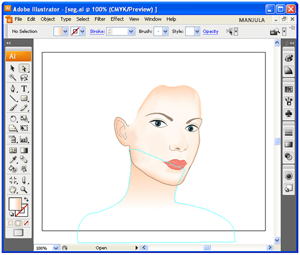
Step-7 Draw neck and shoulder part and apply ordinary gradient effect.
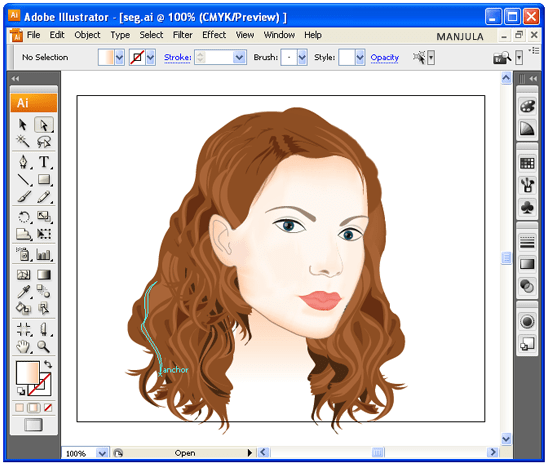
Step-8 Draw a hair texture using pen tool.
Step-9 Just a placed one ear stud. See the completed vector girl.
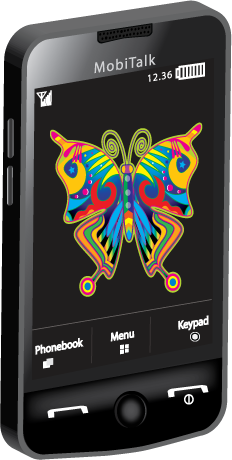
Create Mobile using Illustrator
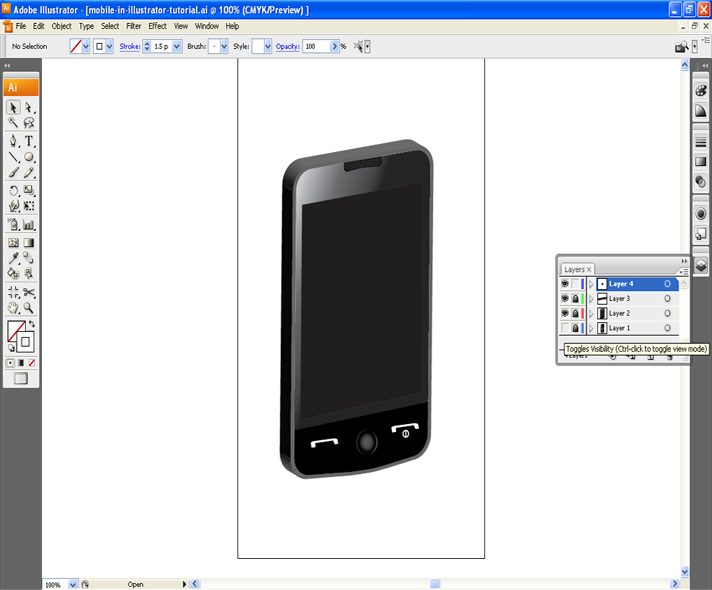
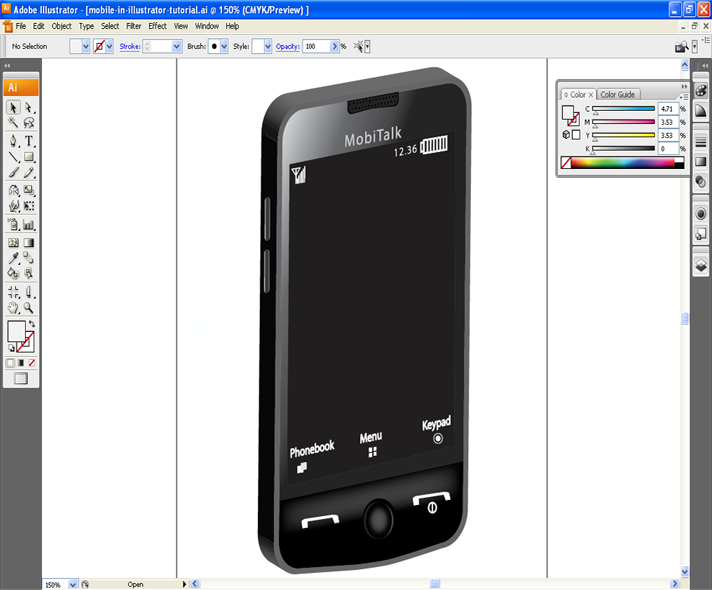
Final Preview:
Step-1 Open a new document in illustrator.
Step-2 Draw a rounded rectangle in the size of 230X460 without filling color that (i.e. only stroke).
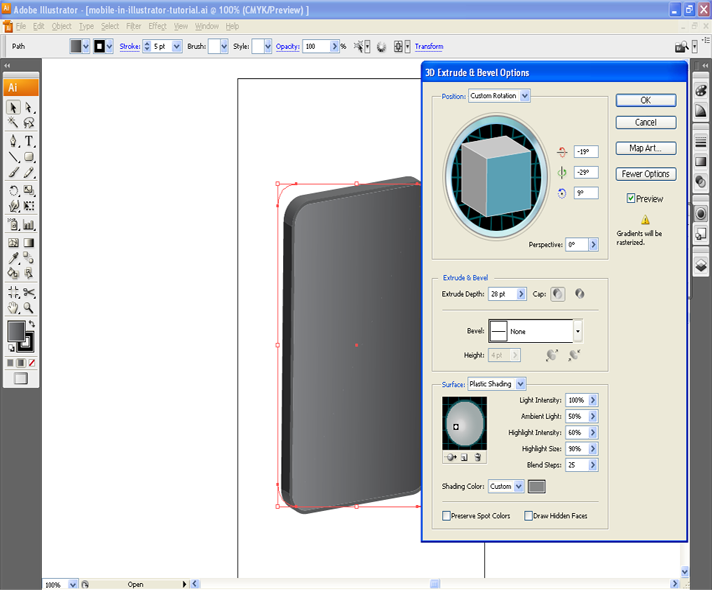
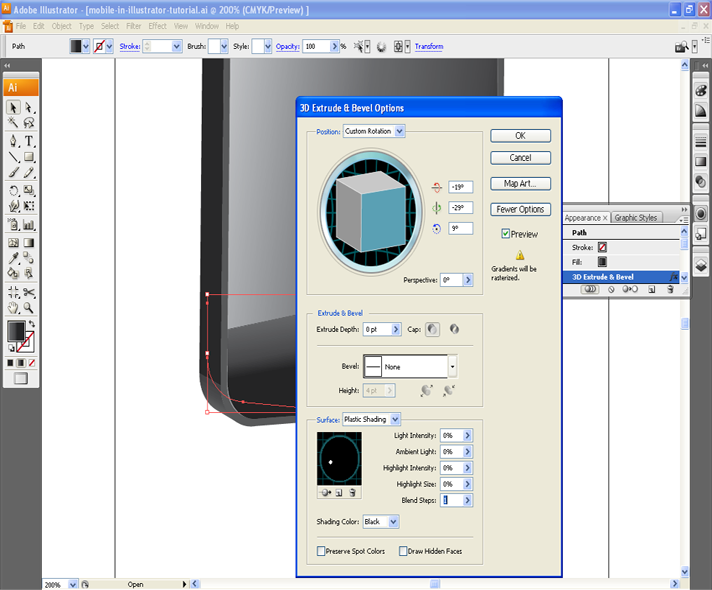
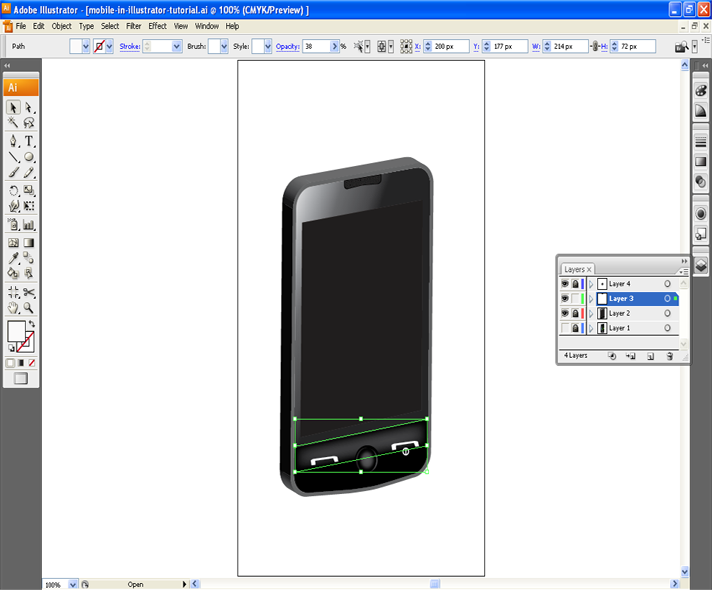
Step-3 Now apply extrude and bevel by go to Effect –> 3D –> Extrude & Bevel as like below ratios then give Effect –> 3D –> Rotate.
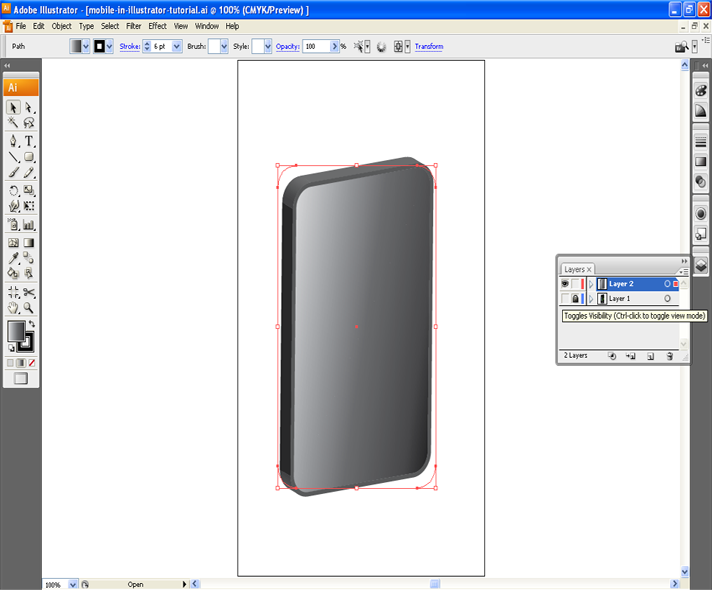
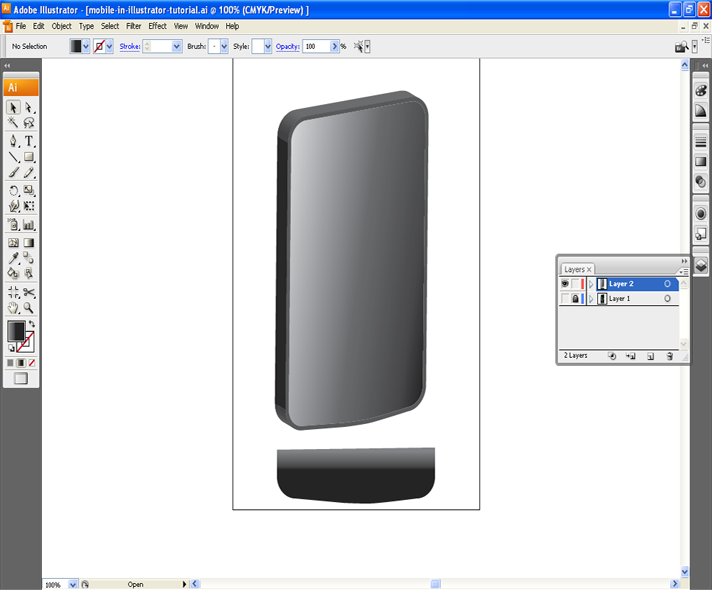
Step-4 Copy (ctrl+c) and paste (ctrl+f) the stroke and go to Appearance (shift+F6) then delete stroke, 3D Extrude & Bevel and fill gradient as follows.
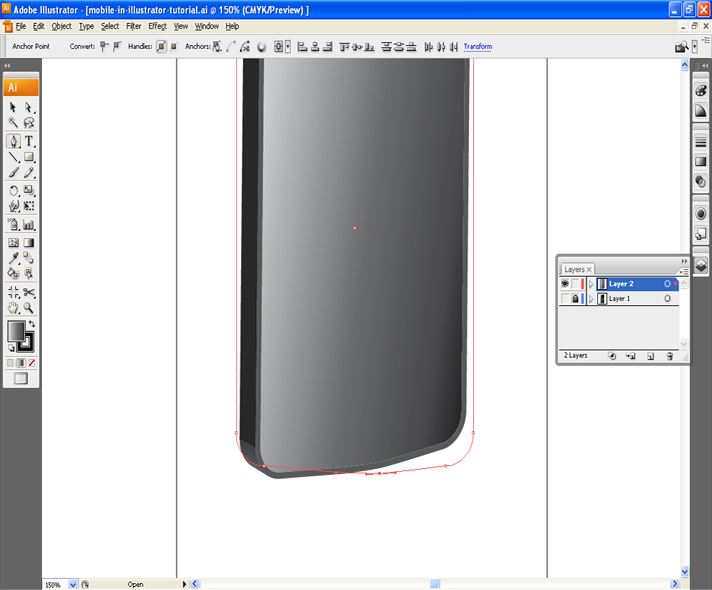
Step-5 At the bottom slightly drag the vertex to bring the round like shape. Then give Effect –> 3D –> Rotate.
Step-6 Copy (ctrl+c) and paste (ctrl+f) the gradient fill and using scissor tool (C) cut image.
Step-7 Apply rotate by go to Effect –> 3D –> Rotate as like below:
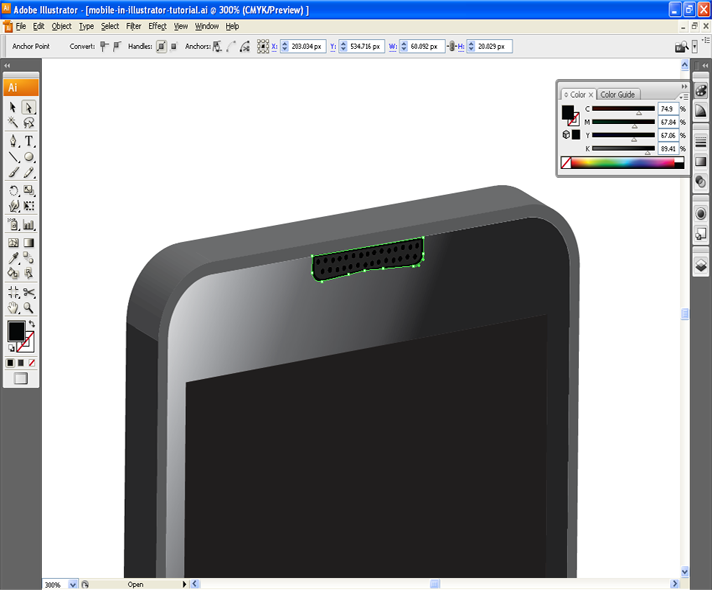
Step-8 See the below to create speaker by creating the shape with black color and take the copy to fill gray color. To give holes effect just draw circles and arrange it horizontally. Select the speaker part alone to group it (ctrl + G) and apply rotate.
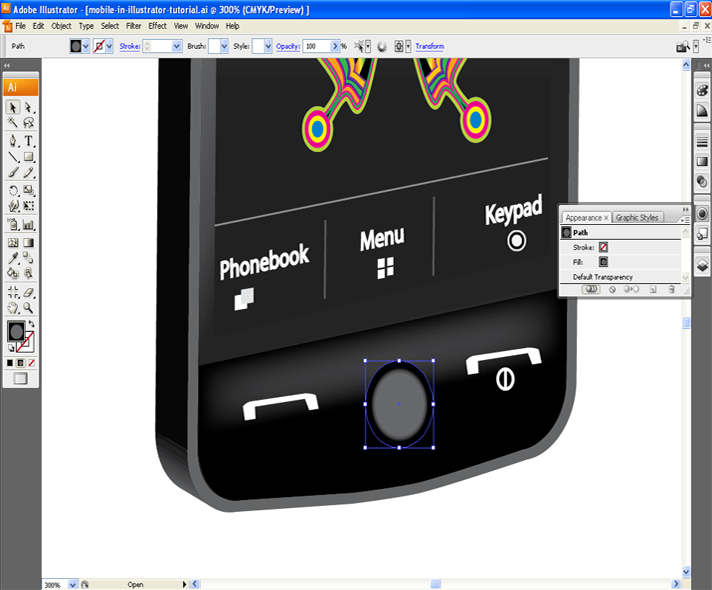
Step-9 Now we are going to create keypad center button. Draw a circle with radial gradient fill.
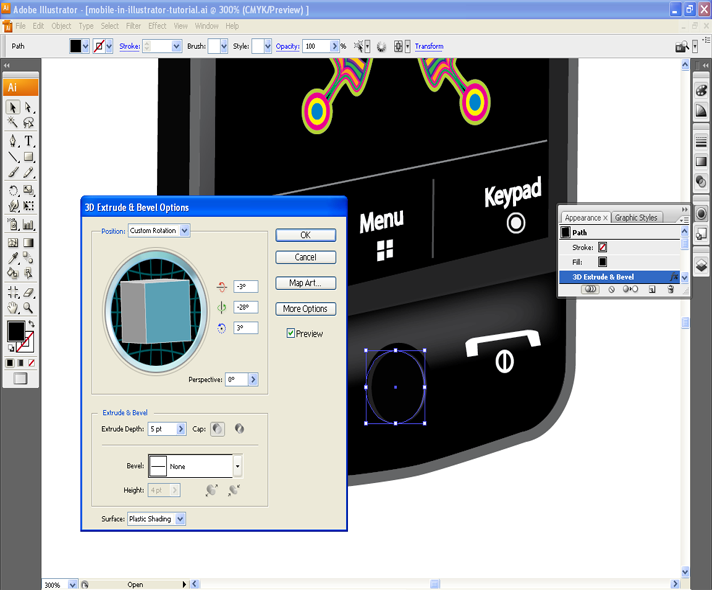
Step- 10 Again draw a circle smaller than previous and Effect –> 3D –> Extrude & Bevel.
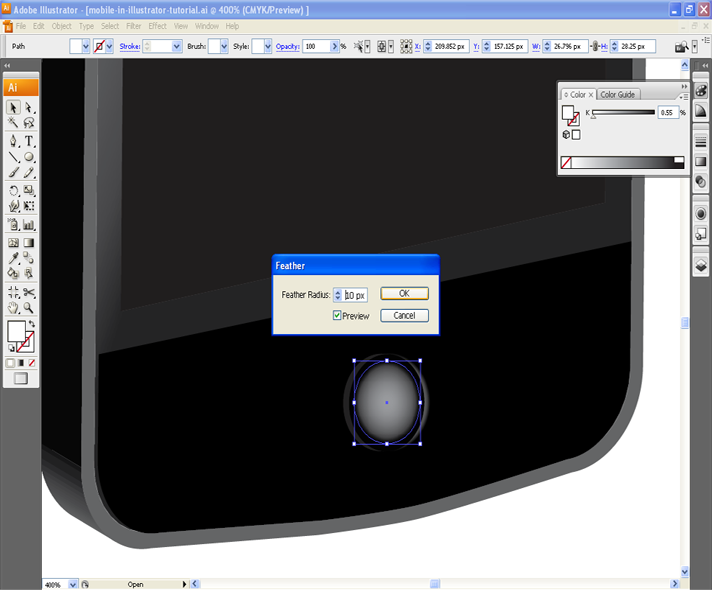
Step-11 Like above draw a circle and fill white color then apply Effect –> Stylize –> Feather up to 10 pixels to the reduce the opacity.
Step-12 Apply rotate by go to Effect –> 3D –> Rotate.
Step-13 Create phone symbols and apply rotate by go to Effect –> 3D –> Rotate .
Step-14 Draw a rounded rectangle in white color then apply Effect –> Stylize –> Feather up to 10 pixels to the reduce the opacity.
Step-15 Draw the network, battery symbols and time and mobile name text.
Create Magazine using illustrator
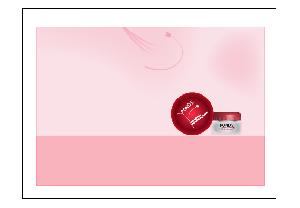
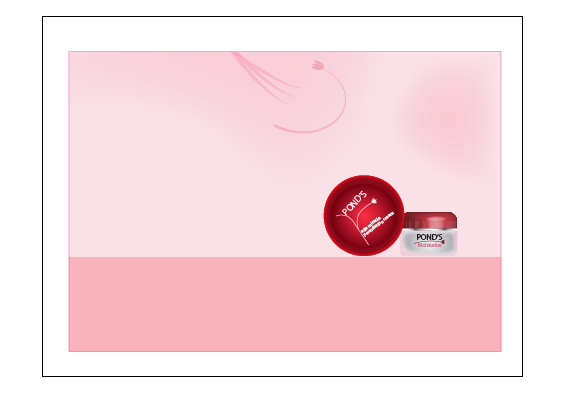
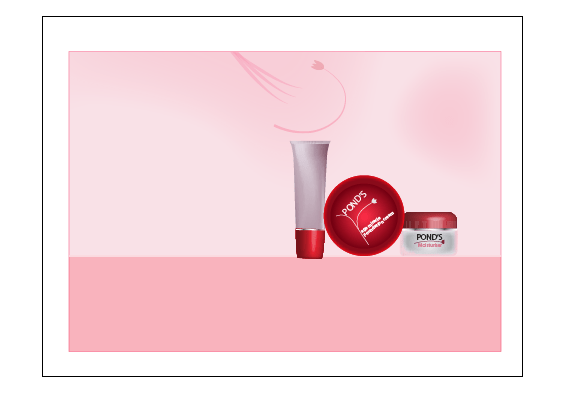
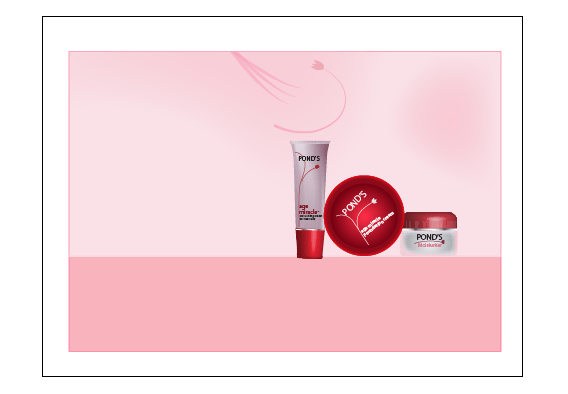
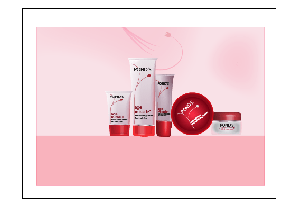
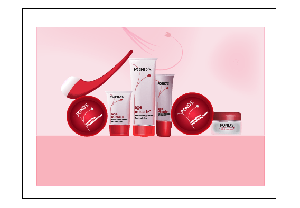
First see the final preview of illustrator image.
1. Open a new document in illustrator. Size of the document is not a matter.
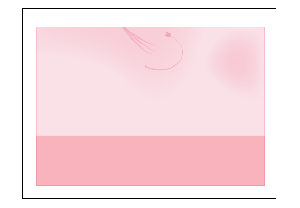
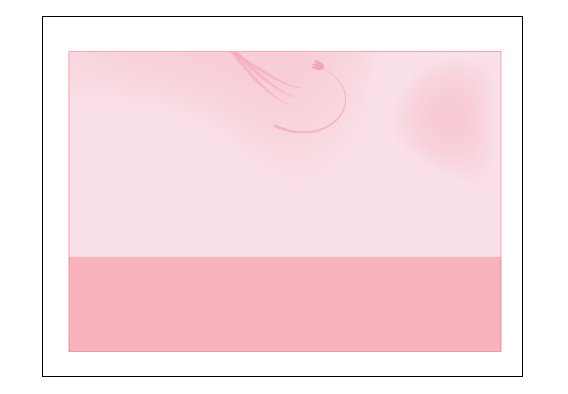
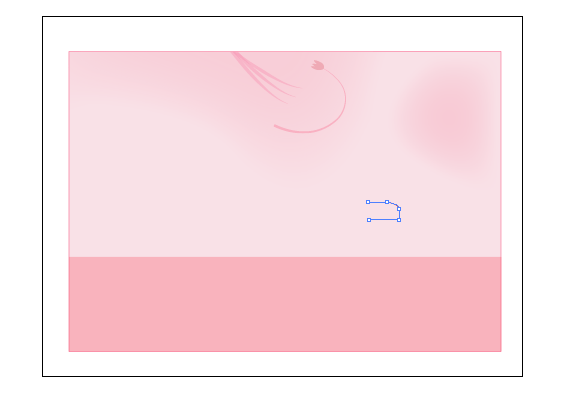
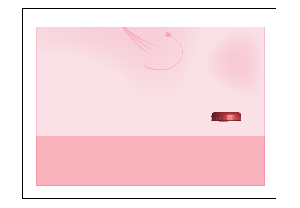
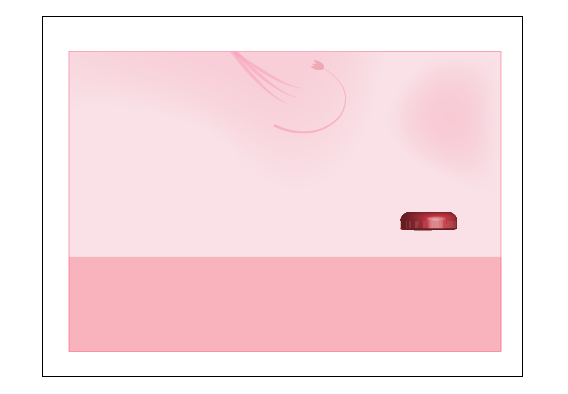
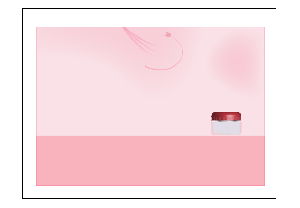
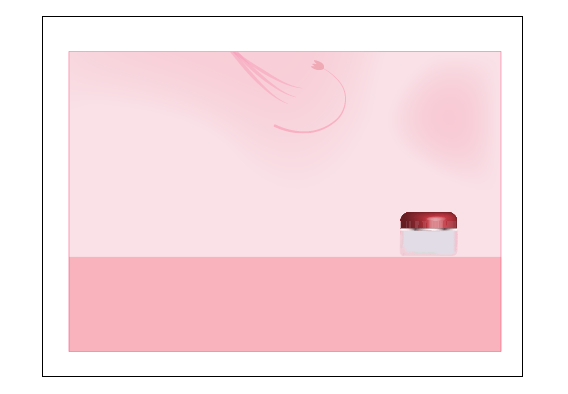
2. I am going to start form background. So pick the color (#f9e1e7) of your background and draw the rectangle box of maximum size which you want.
3. You can see the dark color (#f9b3bd) rectangle box in the bottom. Draw like that. The purpose of this box is to give 2d effect.
4. In the above draw floral designs using pen tool.
6. The main effect of this tutorial is in cream tubes and boxes.
7. We will start from right hand side.
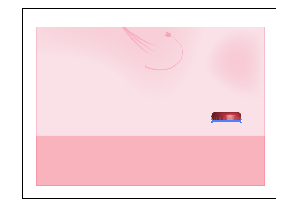
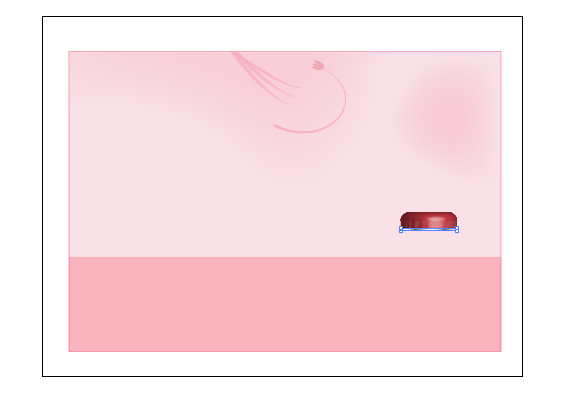
8. Start with small cream box. Select a pen tool and set stroke color as # A42E37 and draw only half side of the cream box cap as like below:
9. Select the stroke which you drawn by pen tool and go to Effect –>3D –> Revolve. Tick out preview check box. Specify the rotation axis of x, y, and z as 1, -28 and 0 degree respectively.
10. The silver like effect can be bringing by gradient. So draw the small rectangle and fill with the gradient in sequence for white, black, white, black, white.
11. Now draw the bottom part of the cream box. It should look like rounded rectangle and fill it with the color #edced7. Again draw one rounded rectangle (size of this rectangle should be smaller than outer rectangle) and fill it with white and light gray gradient effect. Now give the following effect for inner rounded rectangle. Go to Effect –>stylize –> Feather. It will give smooth effect to the edges of the rectangle. Cream box got finish over.
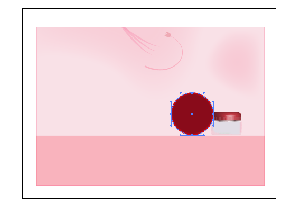
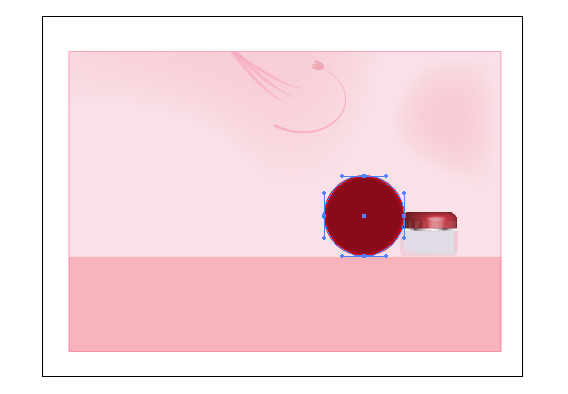
12. Second we are going to start round cream box.
13. Draw one round ellipse and fill it with the color # 890B1A. Add the inner glow effect by go to Effect –> stylize –> inner glow. Select the color # FC0B17c and set the blur point to 7 and check the edge option.
14. Now draw the inner ellipse and fill the radial gradient of colors # 820517 and # f32a42. As like usual draw the floral designs in pen tool and type the text as like below by using text tool. By the side type text for cream box too.
15. Now am going to start first tube design section.
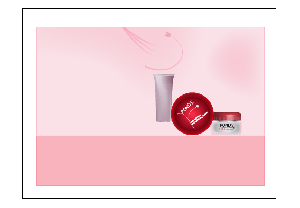
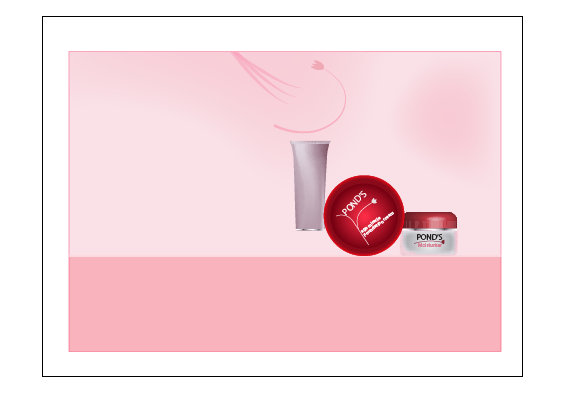
16. Draw the tube like shape then fills it with the color # f8f3f5. Select the mesh tool (shortcut is U). Click the tube anchor point to create the mesh line. Bend the mesh lines according to the tube like effect and pick the direct selection tool to select the anchor points by pressing shift and select the anchor points. See here I used white and gray colors to give the bevel effect to the tube. Also give sliver like effect as already did in step-10.
17. Repeat the step-9 to create the tube cap effect.
18. Type the required text on the tube and draw floral design also as like above.
19. Like the first tube do the remaining tubes also. The only one thing has to add is in the remaining tube see the inner portion is visible. So create the inner part as like tube cap and reduce the opacity to 40%.
20. Take the copy of round cream box and keep it in left hand side.
21. Next step is to create the pipe like tube. Draw the shape of the pipe except that white portion and fill it with # 950b1e. Again draw the inner portion, fill it with # da2738 and give the feather effect. Now draw the end part of the pipe by giving the gradient effect by using the colors # fffeff and # e7d7da.
22. The below shadow image effect can be bring by select the cream boxes and tubes and paste it. Then give transform –> reflect –> horizontal.
23. Type the text of the magazine as like in the image. The final preview would be:
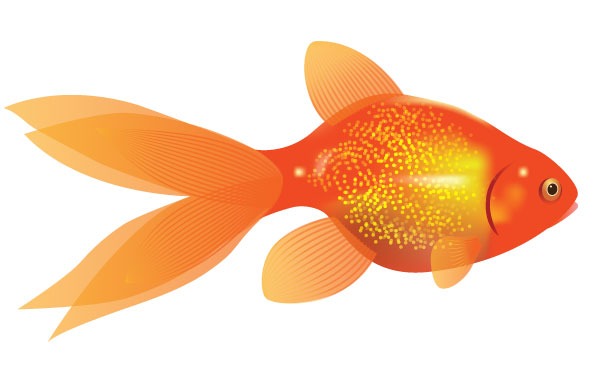
Create a Vector Goldfish
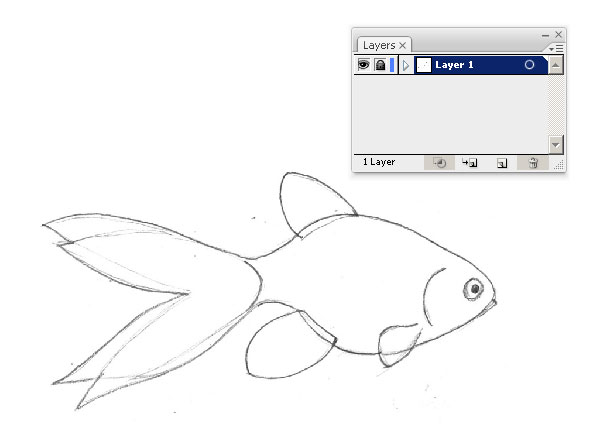
Step 1
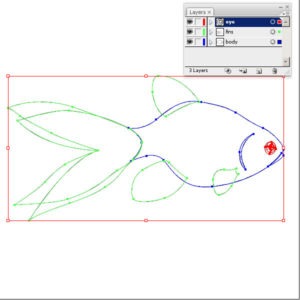
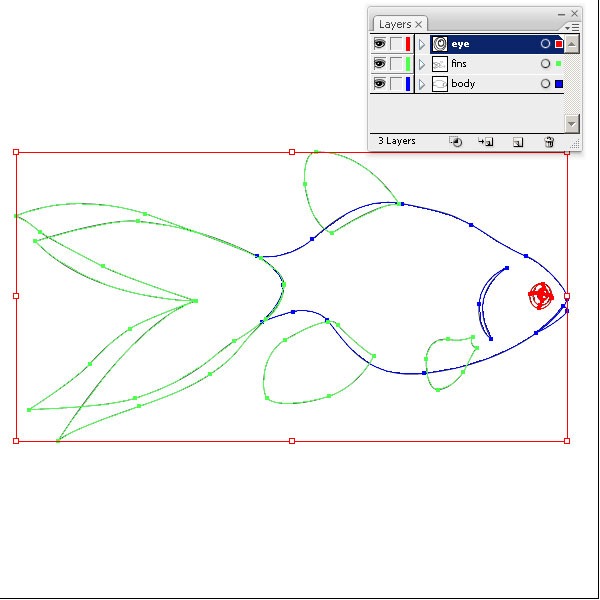
Draw the goldfish and scan the drawing. Now open Adobe Illustrator and create a new document (Command + N) at 600 px by 600 px. place in an image in the document by going to File > Place, then bar the layer with the scanned image of the goldfish drawing.
Step 2
Make a new sheet on top. Start by tracing the outline of the goldfish using the Pen Tool (P). For relieve of work we’ll place different basics in separate layers.
Step 3
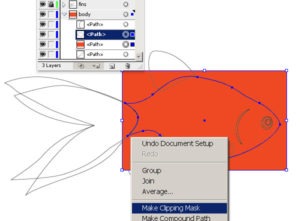
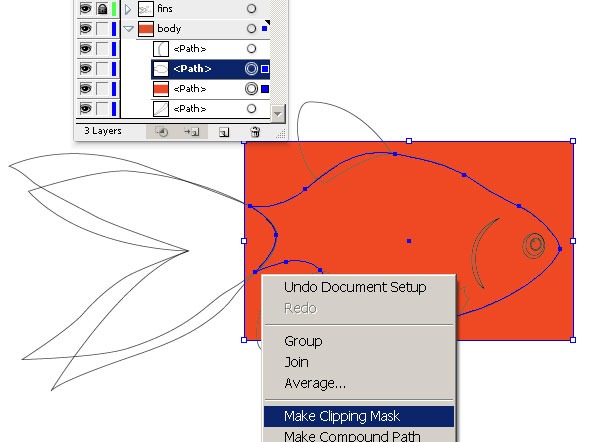
In order that to get a beautiful web under the path of the fish, first create a rectangle (Rectangle Tool (M)) with an orange (C=0; M=87; Y=100; K=0) fill and without stroke. Select the rectangle and path of the fish, and then make Clipping Mask.
Before we move past, I urgently suggest you lock all layers you aren’t currently working with so that nothing gets by mistake moved. In all layers except for a rectangle are noted as locked. We’ll make this rectangle into a Mesh shortly.
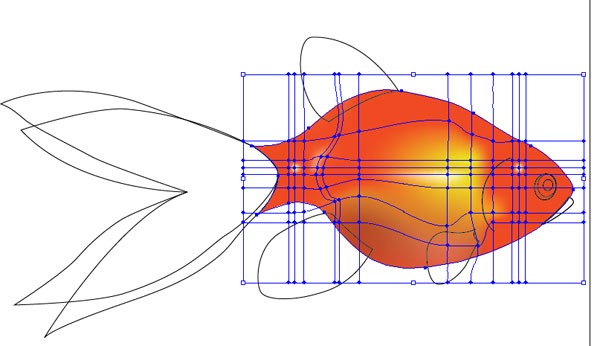
Create the specks of light on the body of the fish. Add a point to the mesh by using the Mesh Tool (U) and clicking anywhere in the shape’s area. After converting a shape into a mesh, you can select points with three tools: Mesh Tool, Direct Selection Tool, and the Lasso Tool.
All you have to do now is to add color to the mesh by selecting a color from the swatches palette. I took colors from the Swatch library > Metal. Get creative with color in this stage to get an excellent result.
Step 4
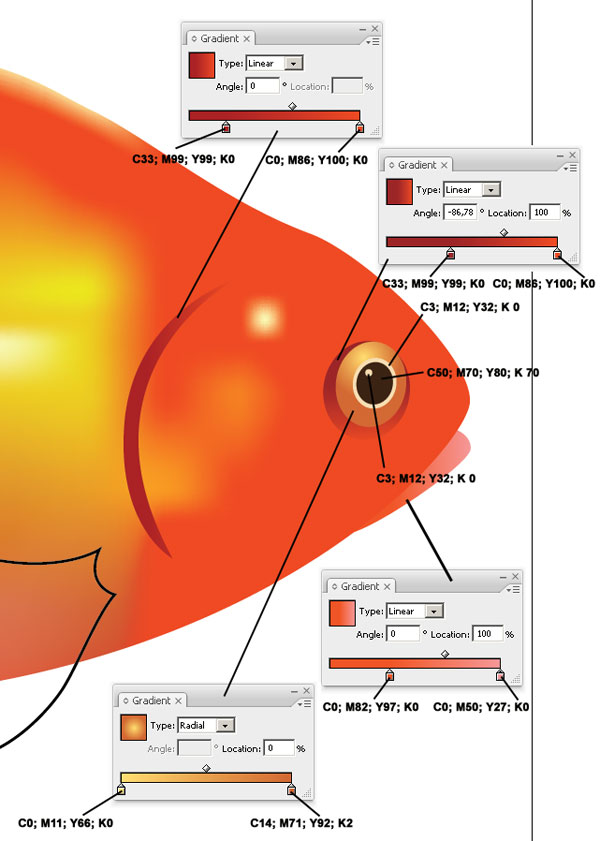
Now we’ll create an eye, gill and lips of the fish. The eye consists of five ellipses located one over another, below the biggest and further in each ellipse decreases in size. The ellipses are filled in by various kinds of gradient and solid colors as shown below. The mouth and gill is filled in by a linear gradient.
Step 5
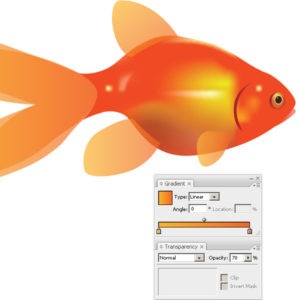
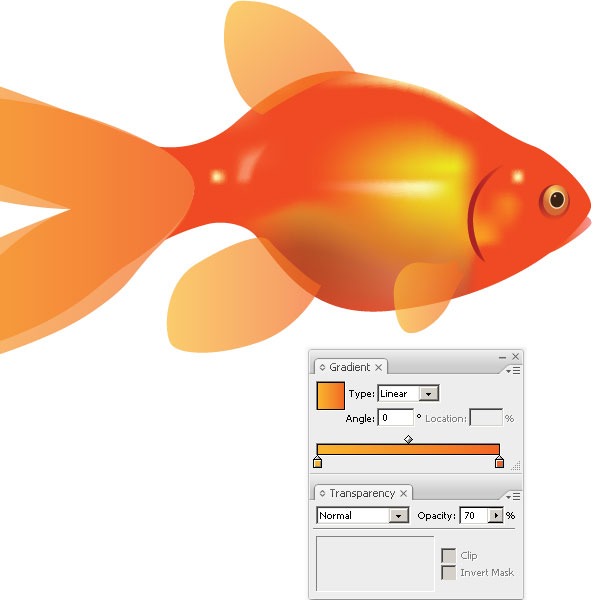
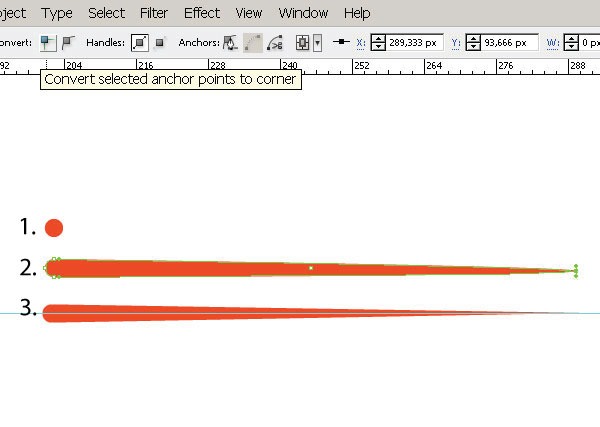
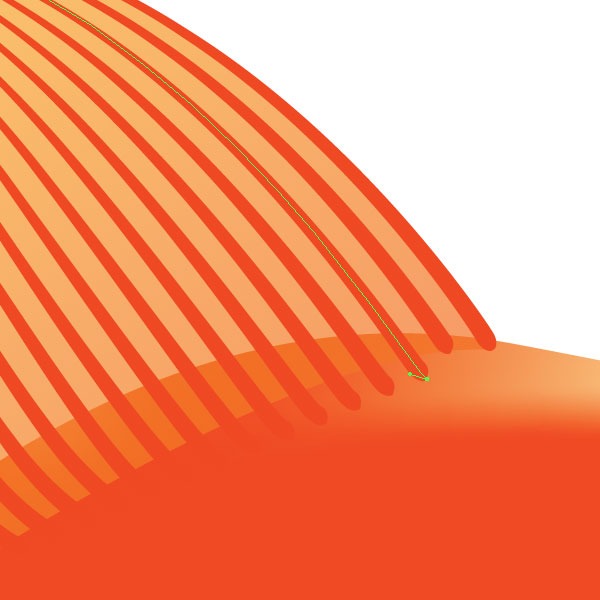
Now we’ll work on the fins. Fill them in with a linear gradient and Opacity of 70% (picture 5a). Let’s place lines in the fins. Create a brush by first using the Ellipse Tool (L) to make a circle 3px by 3px in any color and without stroke. Drag the right fix point to the right by means of the straight Selection Tool (A), while holding Shift to limit. Convert the selected anchor point to a spot (picture 5b). Transfer the created shape to the Brushes palette and select New Art Brush. Along the edges of a fin drawn two curves (Pen Tool (P) and apply to them the just created brush.
Select both curves and make a Blend, by going to Object > Blend > Blend Options Spacing: specified Steps set to 16, then Object > Blend > Make (Alt + Command + B) (picture 5c). Make Object > Blend > Expand and ungroup our curves. Now let’s correct the bottom ends of the fin edges (picture 5d). Correct this using the Direct Selection Tool (A), moving the bottom anchor points.
Now select all the curves and go to Object > increase Appearance, Object > Path > Clean Up. Now fill it in with a linear gradient, Opacity set to 70% (picture 5e). Use a similar workflow to make our other fins.
Step 6
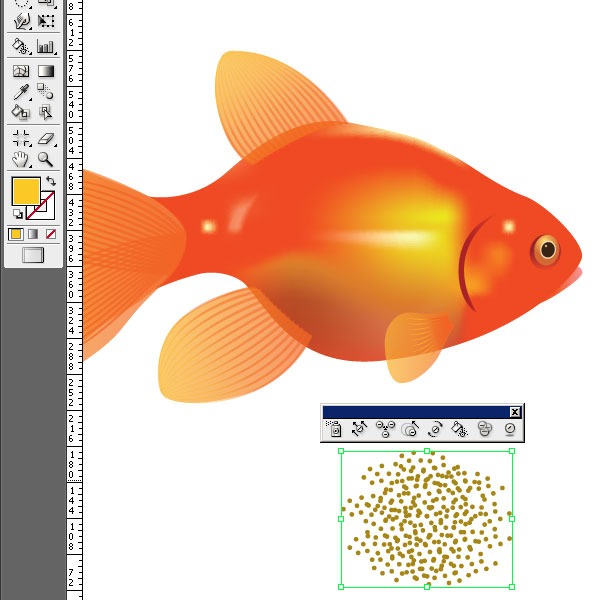
Now let’s make the scales. Make a new layer on top. Open our Symbols palette, in the library search for Artistic Textures and select Stipple large. Grab the Symbol Sprayer Tool (Shift + S), spray a texture (in our case we’ll be 5-6 clicks will be enough).
Take the tool mark Steiner Tool from the Symbol Sprayer Tool submenu, choose a color and paint a texture (picture 6a). Now use the excellent Symbol Screener Tool, select the texture, and very gently in the corners we’ll click with this tool.
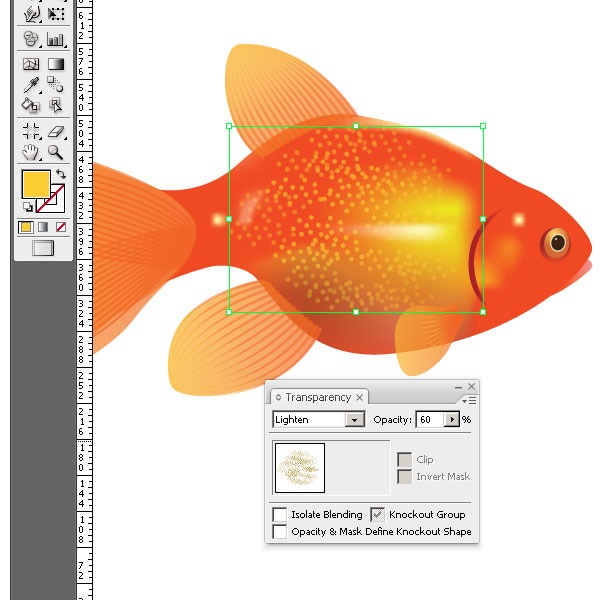
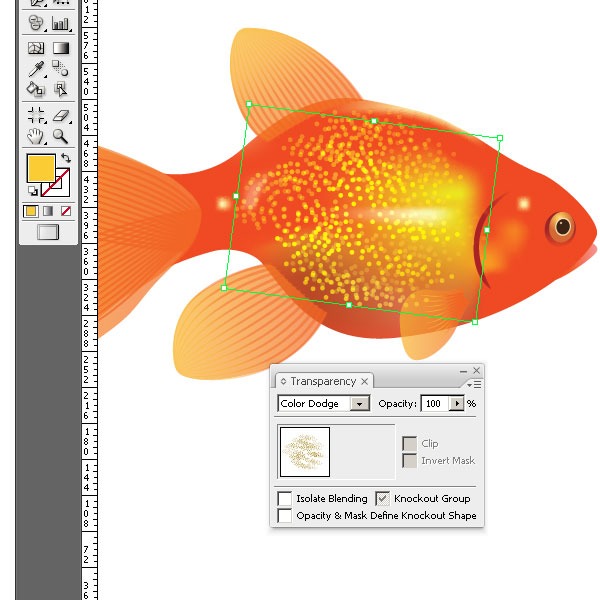
In the center the texture has turned out non-transparent and along the edges it is hardly visible. Now change the merger mode of the texture we just put on the fish to Lighten and Opacity to 60% (picture 6b). Copy the texture, change blending mode to Color Dodge, set the Opacity to 100% and slightly rotate it (picture 6c).


