Step 1:Add the new layer and text
Add the new blank document and unlock the layer. Add your text for example lights effects.
Step 2: Rasterice the text
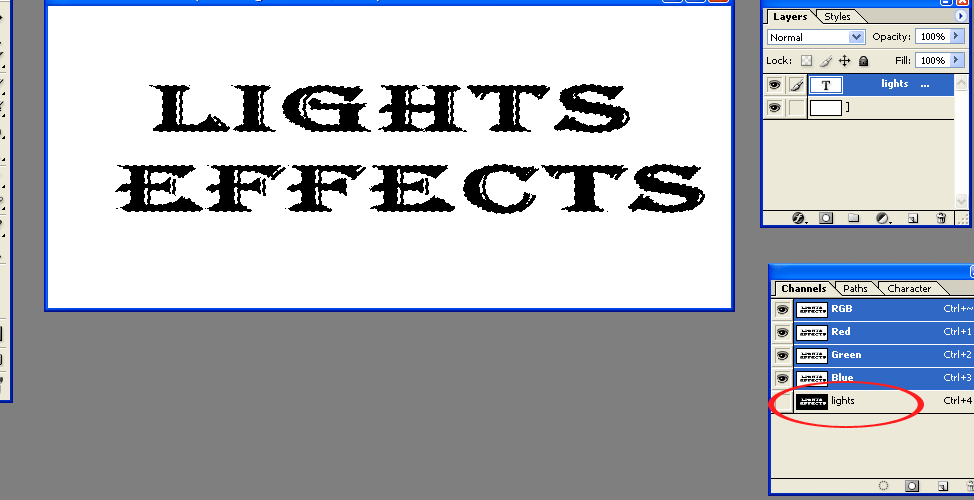
Go to the layer menu and select the Rasterice and then select the type. After the rasterice the text you will press the “ ctrl ” and then click the text layer after you will get selected around the text.
Next go to the select menu and choose the save selection and create a new channel.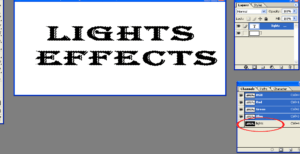
After the save selection you will deselect “ ctrl + d ” the text.
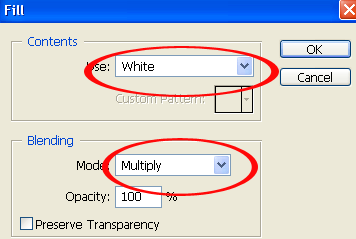
Step 3: using fill option
Go to the edit menu and select fill option and select the
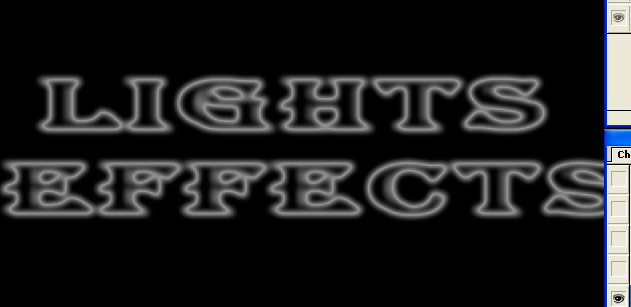
“White” and “multiply”. Next go to the filter menu and select the blur and also select the Gaussian blur.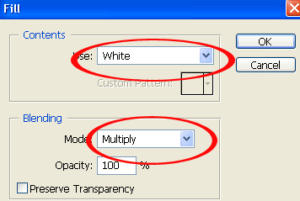
Step 4: Apply the Solarize
First go to the filter option and select the stylize and then select the solarize.and you will get given below the image.
Next adjust the levels press the “ctrl +shift+ L”. auto adjust the leval, your text is brighter.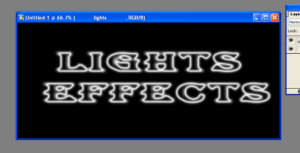
Next copy the layer.
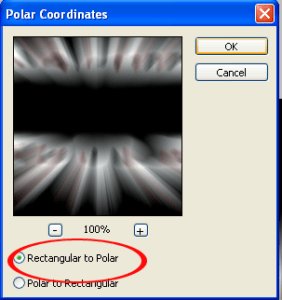
Step 5: Apply The “Polar Coordinates”
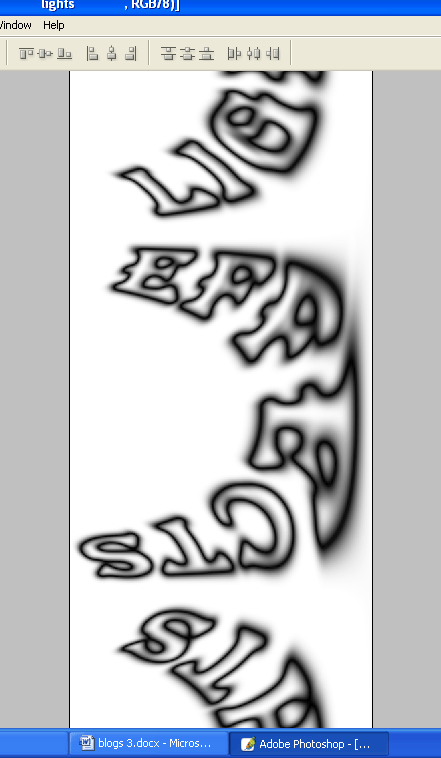
Go to the filter select the Distort and then select the polar Coordinates.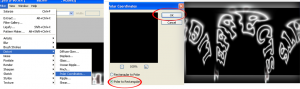

Step 6: Rotate The Image 90 Degrees Clockwise
Go to the image menu select the rotate canvas and then select the 90 degree CW.
After invert the image “ctrl + I”.
Step 7: apply the wind option
Go to the filter menu and select the stylize and also select the wind option.
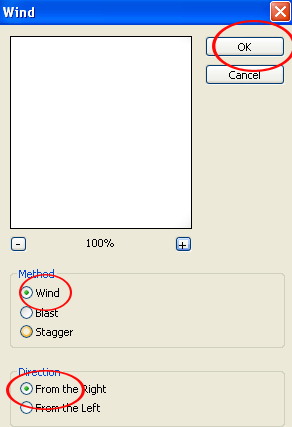
Apply the wind option again two times.
Next invert the image again.


Step 8: Apply the Wind option more then three times
Go to the filter menu select the stylize and select the wind option more then three times.
Next again select the auto levels( Shift +Ctrl+L).
Step 9: Rotate the image 90 degree ccw.
Go to the image menu and select the canvas and also select the 90 degree CCW.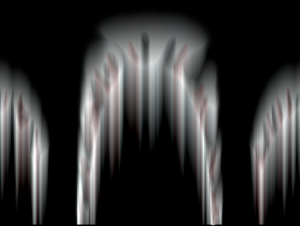

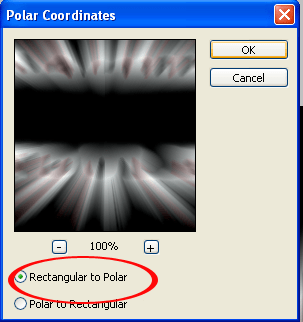
Step 10: Apply the polar coordinates
Go to the filter menu select the distort and also select the polar coordinates.
Next copy the layer and select blend mode to screen.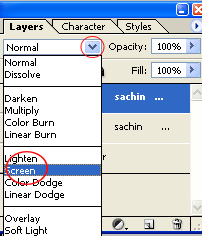
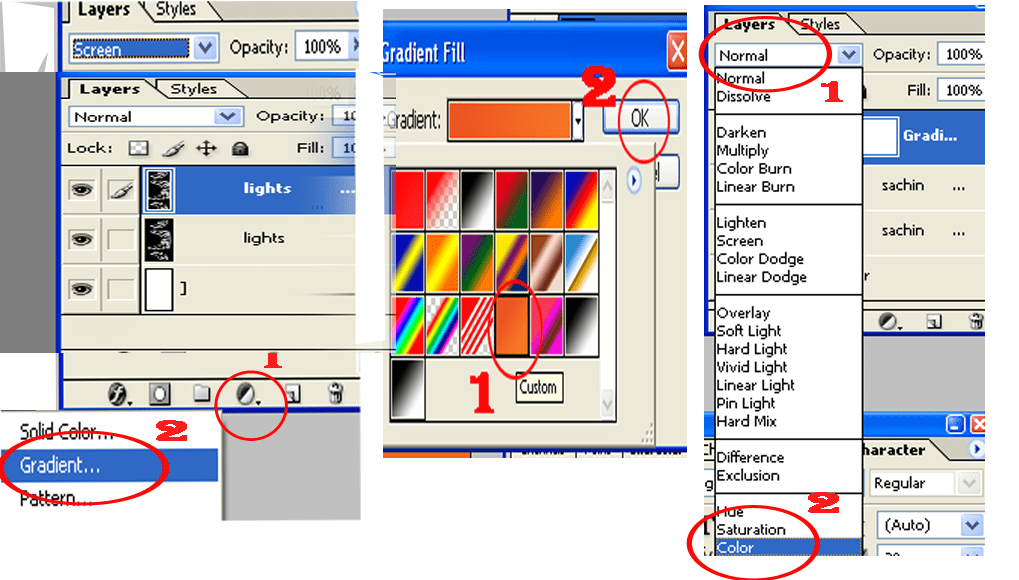
Next apply the Gradient fill

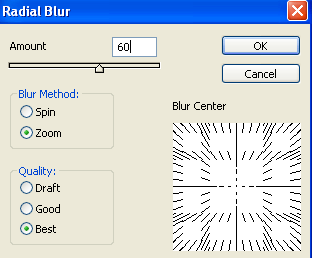
Step 11: Apply The Radial Blur
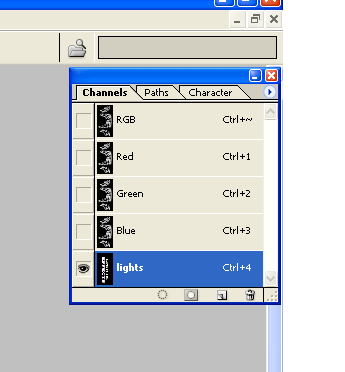
Next select the channel path and right-click (Win) / Control-click (Mac) anywhere on the lights channel and selection is saved now the selection is loaded in the image.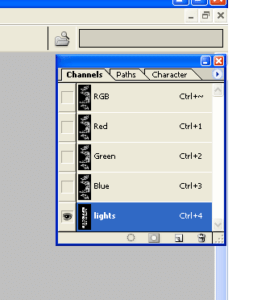
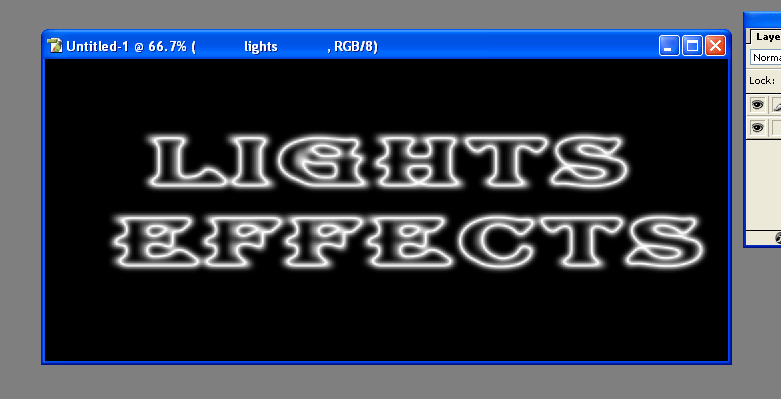
Next select the color and fill the selection (alt+back space).after finish the effect.
Now you will get the final image. 

Leave a Reply