Rainbow Effects in Photoshop
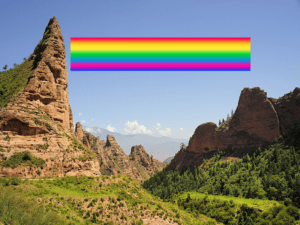
Before image: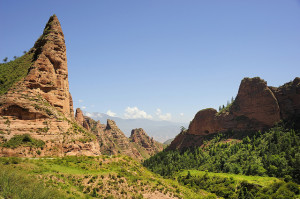

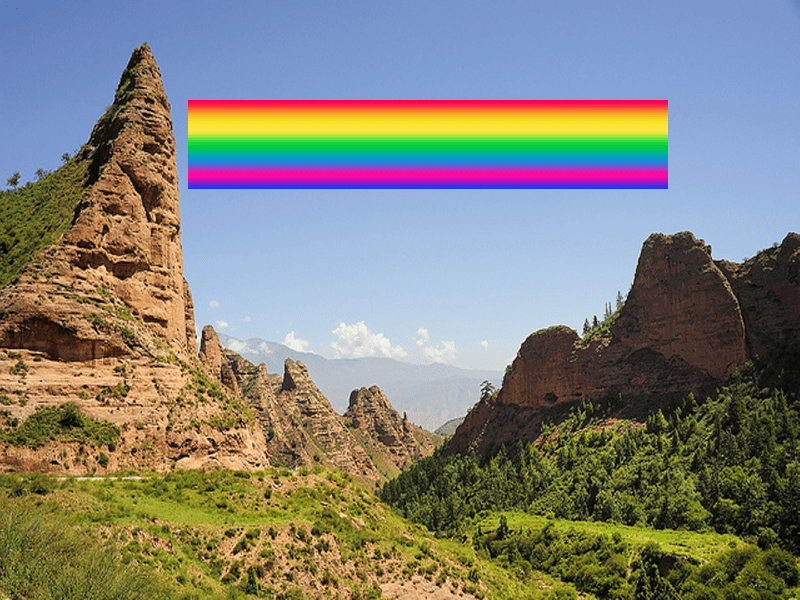
After image: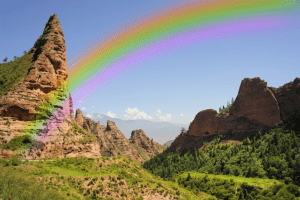

Step 1:
Open the new image(background “sky”) .
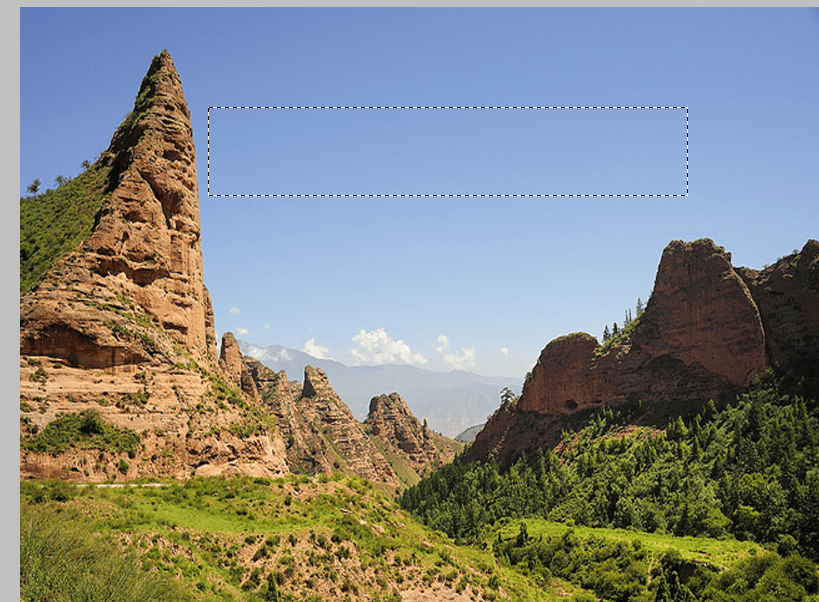
Create a new layer.
Now select the rectangular marquee tool and create a selection for below the image.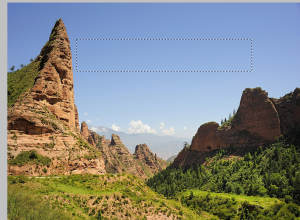
Step 2:
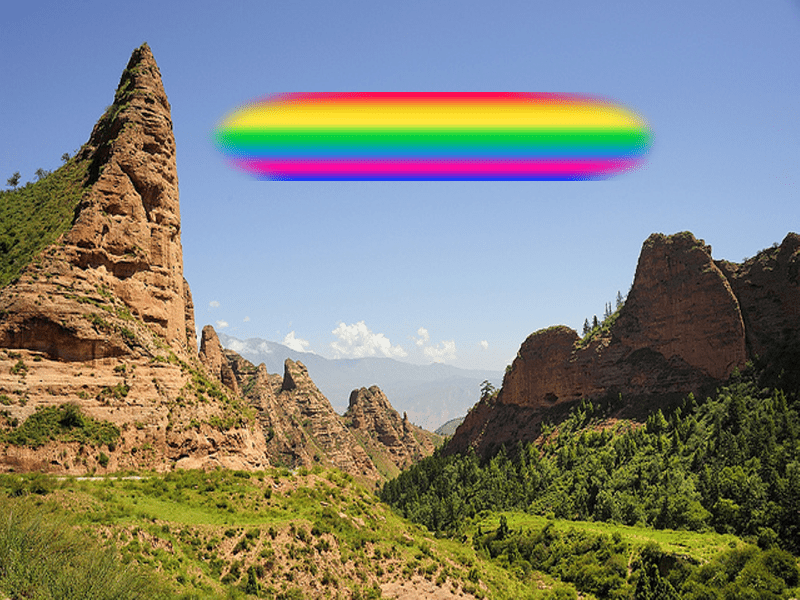
Next select the gradient tool and set the color from below the image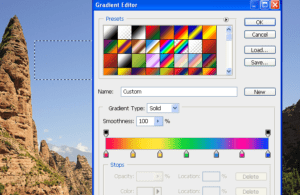
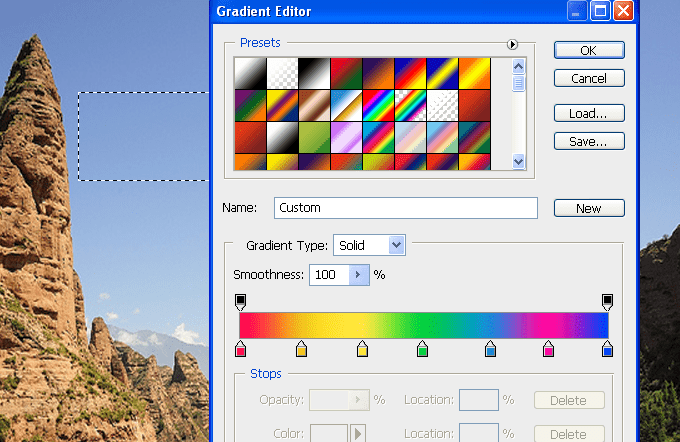
After apply drag the selection to apply the gradient shows from below the image. Next copy the duplicate(ctrl + J) layer and original layer eye icon is turn off the visibility.
Step 3:
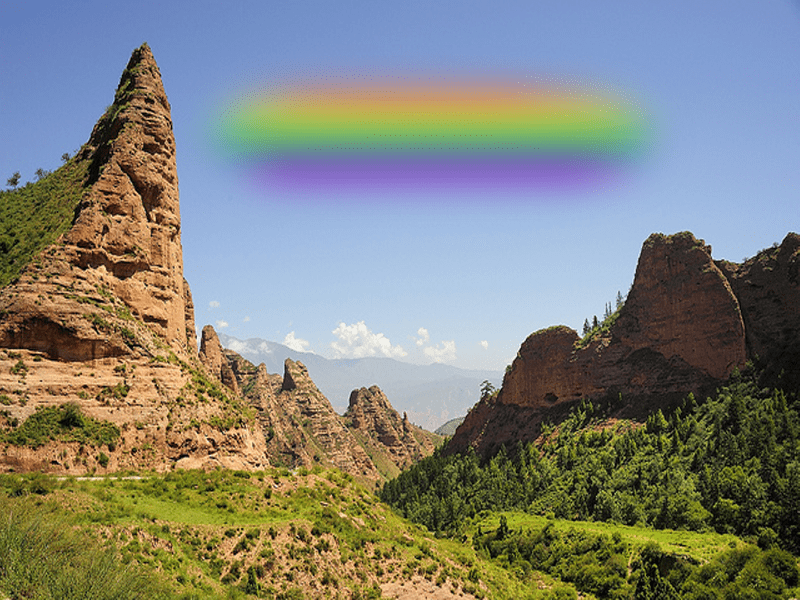
Select the Erase tool and also select the soft round erase tool after erase the right and
left Corners shoes below the image.
Step 4:
Now apply the blur, first select the filter and select the blur and also select the Gaussian blur and enter the radius value is 18 px.
Next select the Rainbow gradient layer and press the [ Ctrl + T ] and right click and select the warp option and arrange to following to below the image.

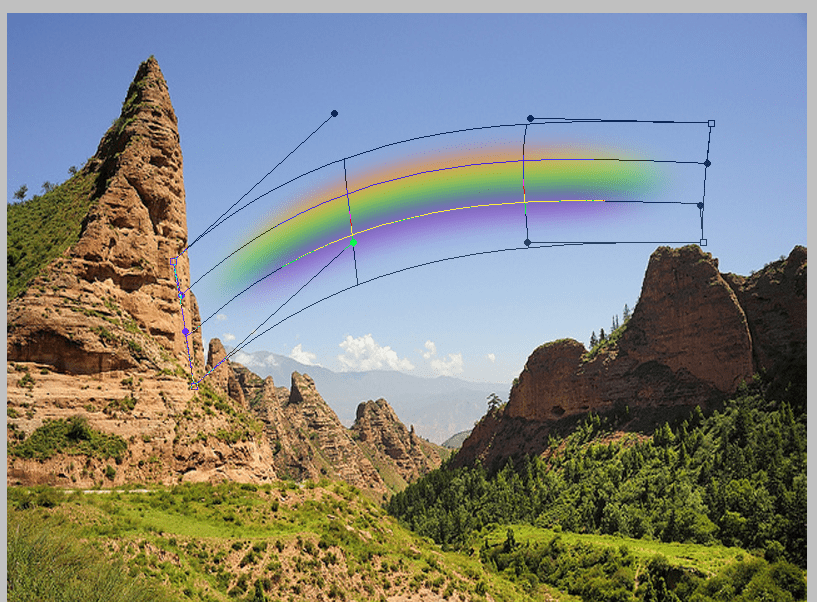
After Modify the size and position using the free transform[ Ctrl + T ]. And finally blending mode change to the “color” and decrees the opacity range is 70% after you will get the final image .
Final image
Leave a Reply