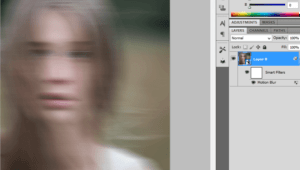
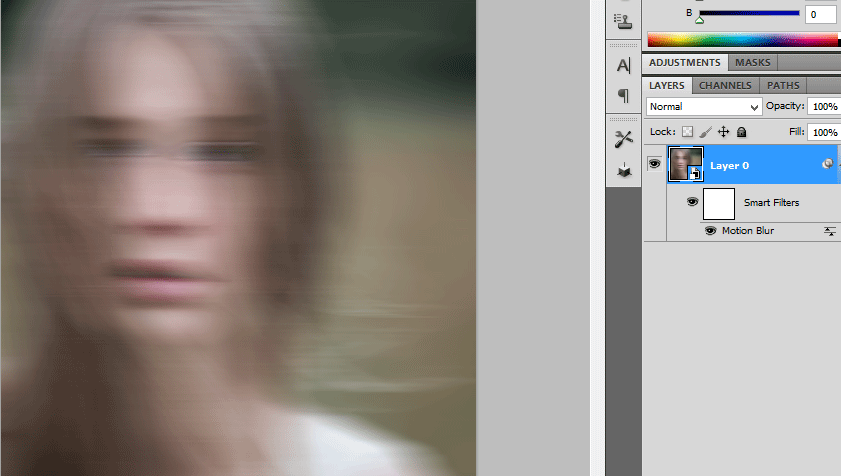
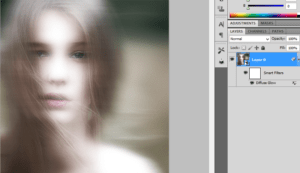
Step:1
Open a photo document in Photoshop. Convert this layer in to Smart object.Apply the Motion blur.Go to filter -> blur -> motion blur by adding the distance value as 64pixels.
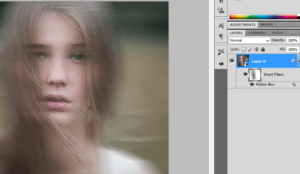
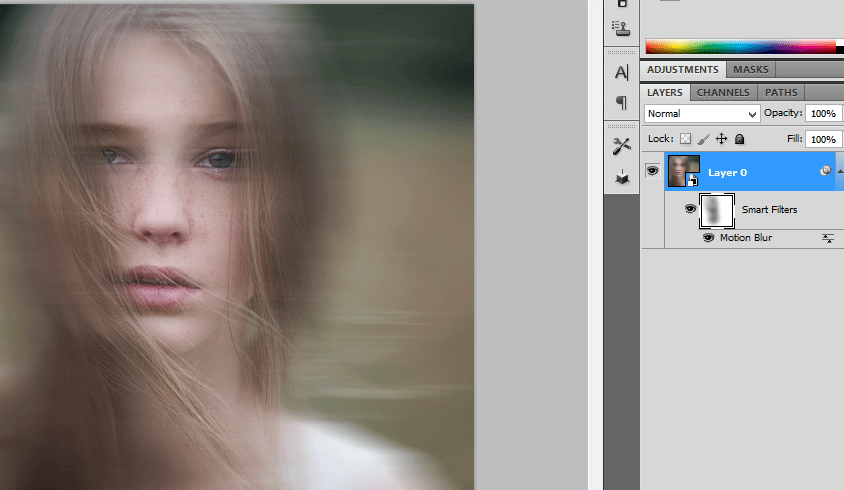
Step:2
The layer mask is added along with this.Now we want to erase the portion which we need.It can be done by choosing soft brush with black color.
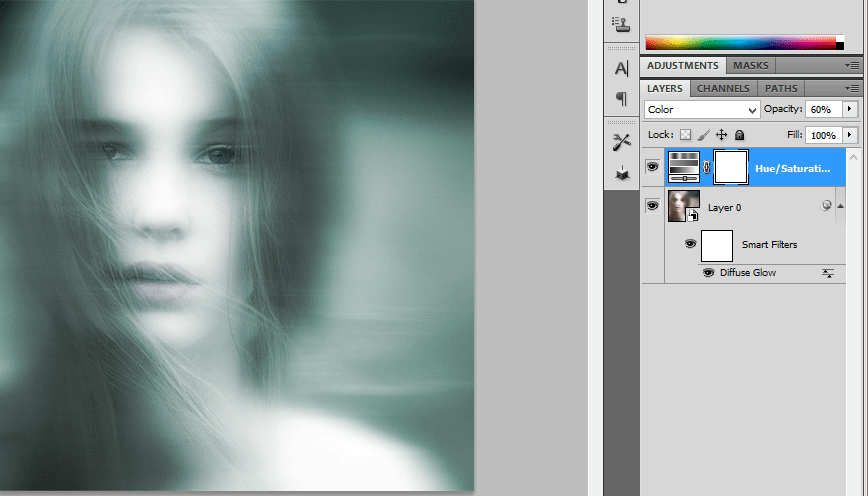
Step:3
Now convert this in to smart object.Then apply the diffuse glow filter. Go to filter ->Distort -> Diffuse glow filter.

Step:4
Add a hue/saturation layer above it.Hue value is 180 and the saturation is 25.Then change the blending mode from normal to color and reduces the opacity to 60%

Leave a Reply