Photoshop
Motion Blur Effect and Bourne Ultimatum Color – Photoshop
Step1:
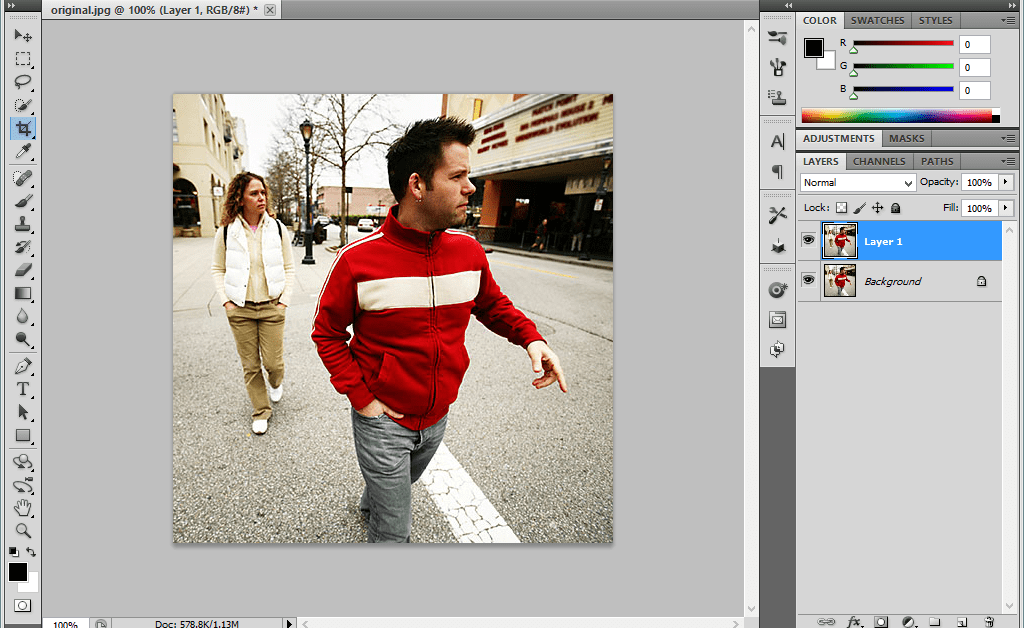
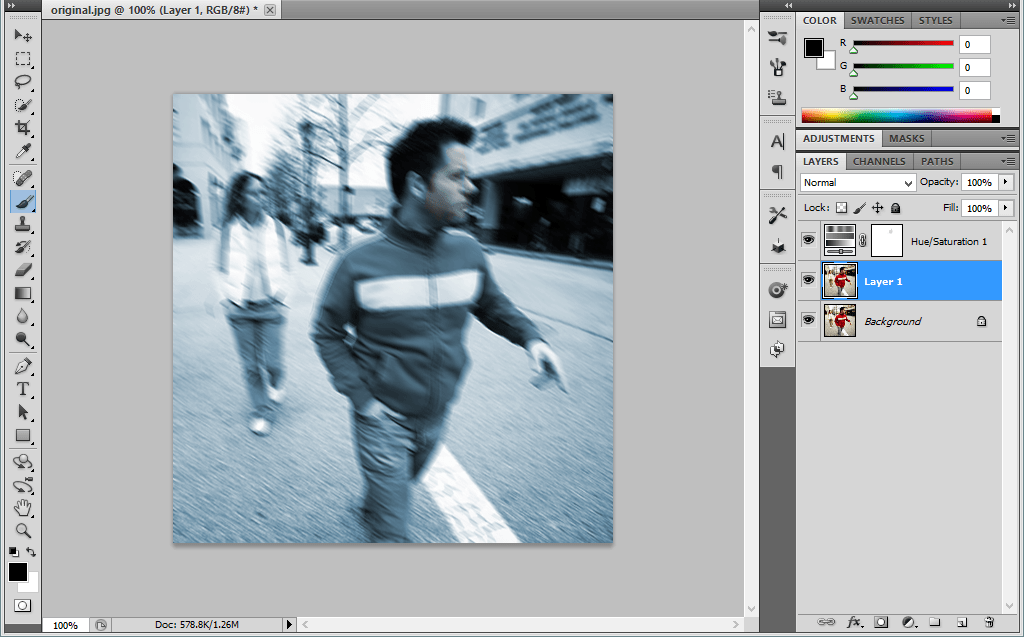
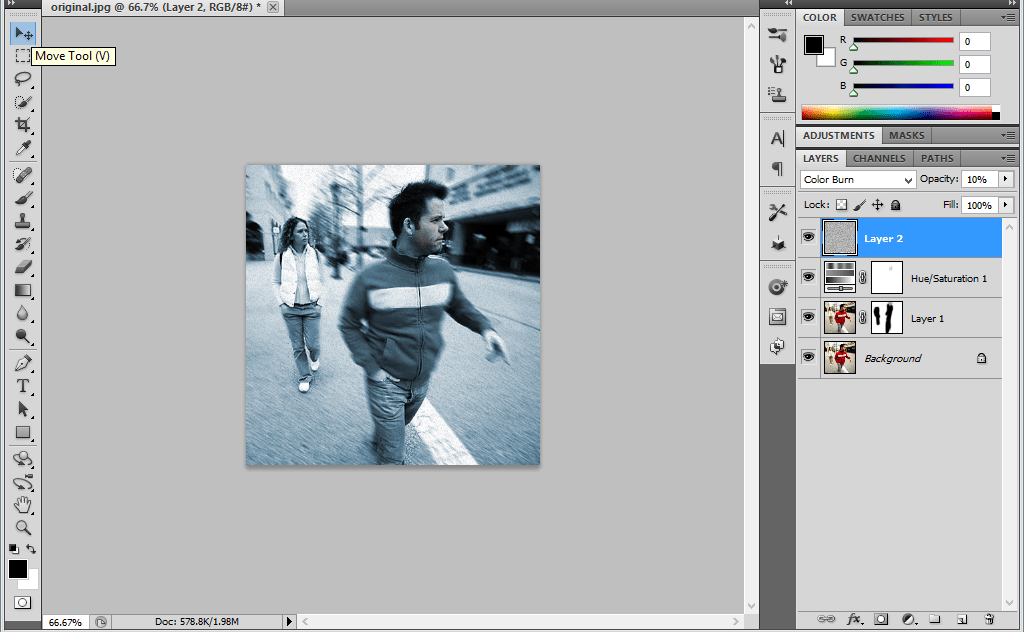
Open a Photo Document in Photoshop.Make a copy of that background layer.Choose the Foreground color as black.
Step2:
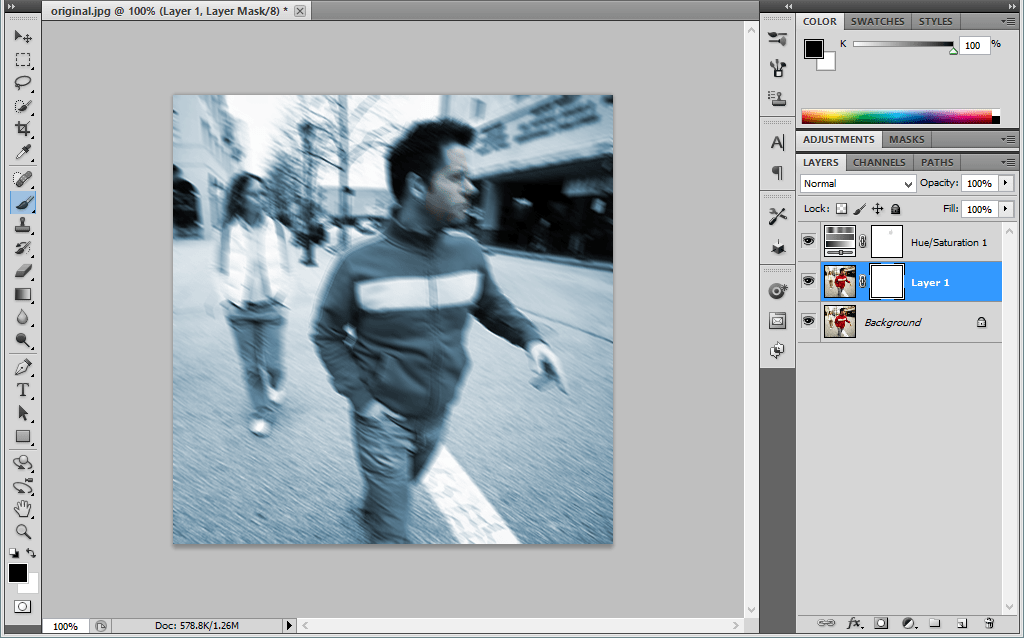
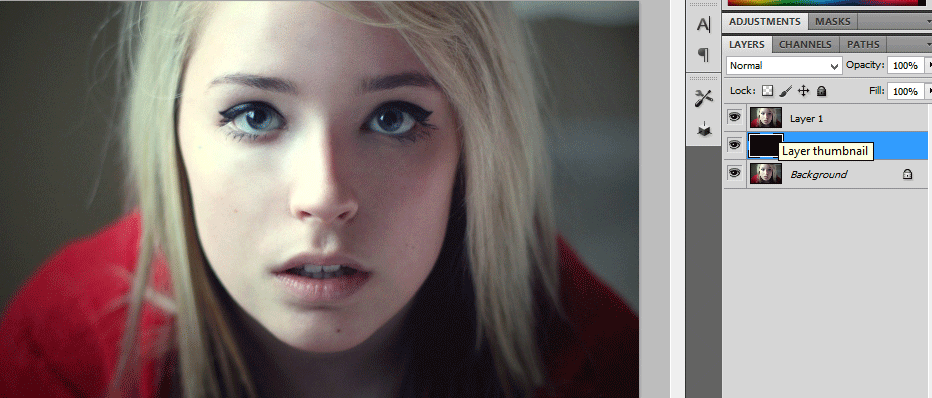
Add a hue/saturation above it.Make the hue value as 199 and saturation value as 25.Then choose the brush size and color the face of the man to make as a Original Face.
Step:3
Then go to Layer1 image.Make a Motion blur of that image.Go to blur -> Motion blur.
Step:4
Add a Layer Mask above it.Using the brush paint over the Mask. Add a New Layer above it.
Step:5
Add a Noise filter to it.Go to Filter-> Noise -> Add noise.Then Change the Blending Mode From normal to Color burn and reduces the Opacity to 10%.
Wedding Couples in Wine Glass-Photoshop
Step!:
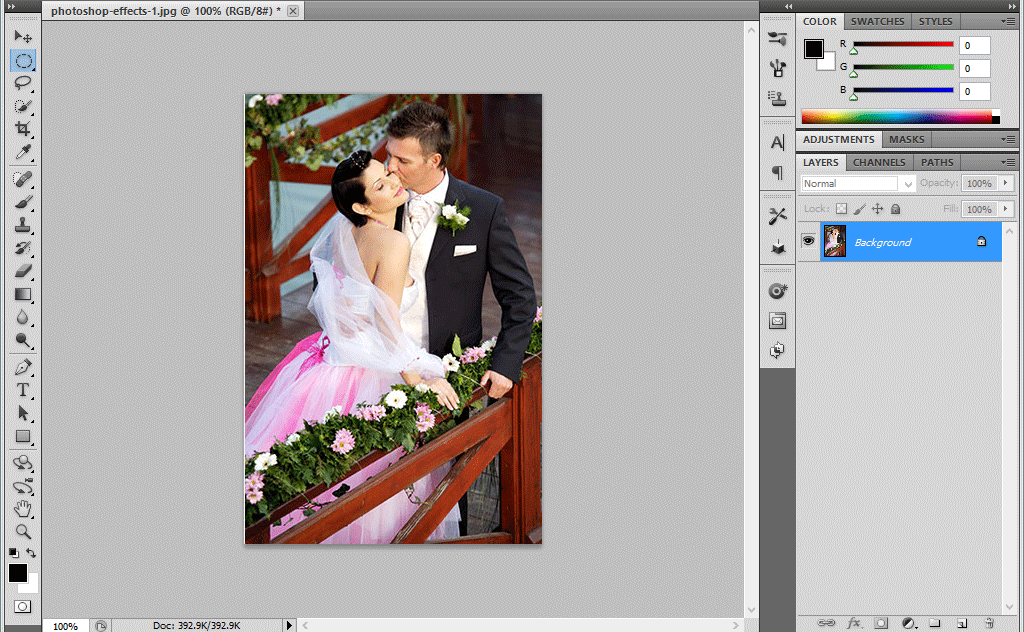
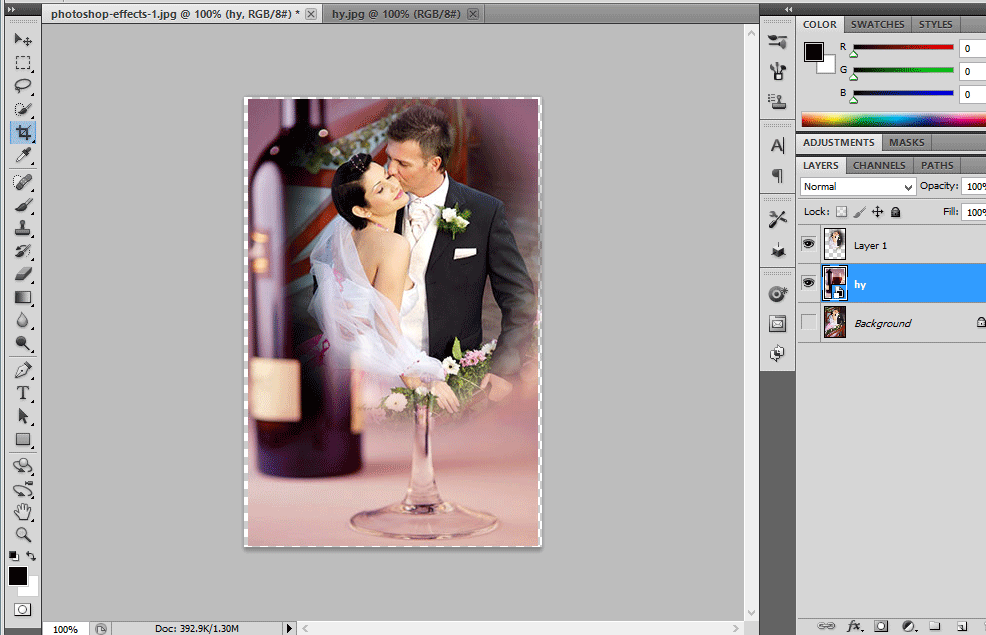
Open the Photo Document in Photoshop.Using the Elliptical tool Select a Portion Of that Couple.Go to Select-> Modify -> Feather->20 and copy that Particular Portion.
Step:2
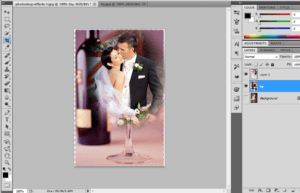
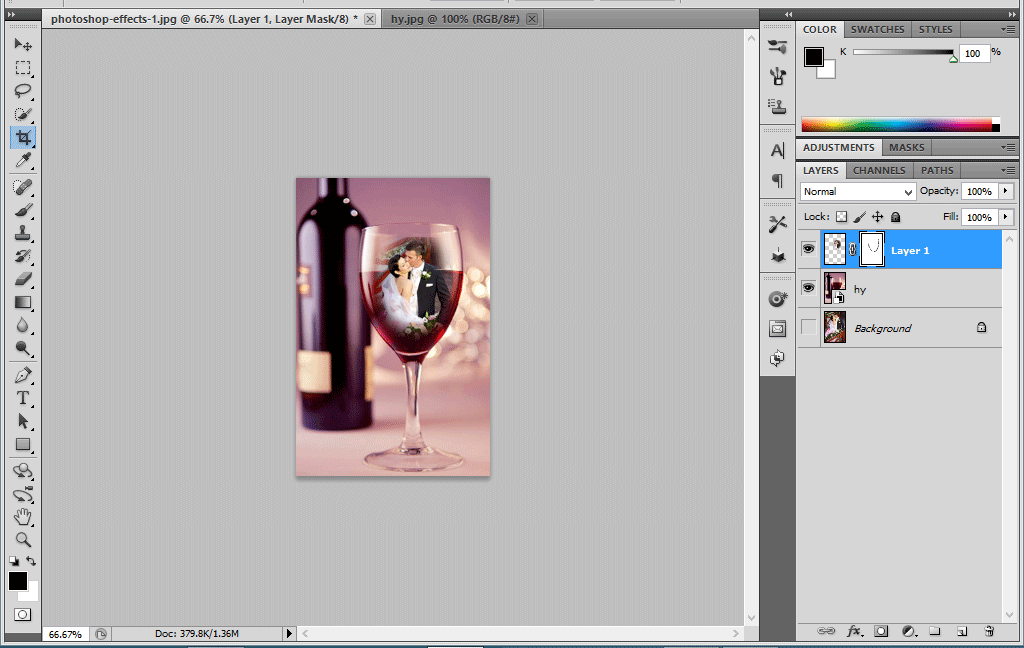
Then hide the Background layer and now place the wine bottle image.Place the couple image in the wine glass.
Step:3
Then adjust the image to be placed in the wine bottle.Then apply the Layer mask in the Couple image.Use the Foreground color as black.Using the brush just Paint over the Layer mask
Step:4
Then go to Blending Options and change the underlying layer as 177/235. Now the image will be blended with the wine glass.
Realistic water painting effect
Step:1
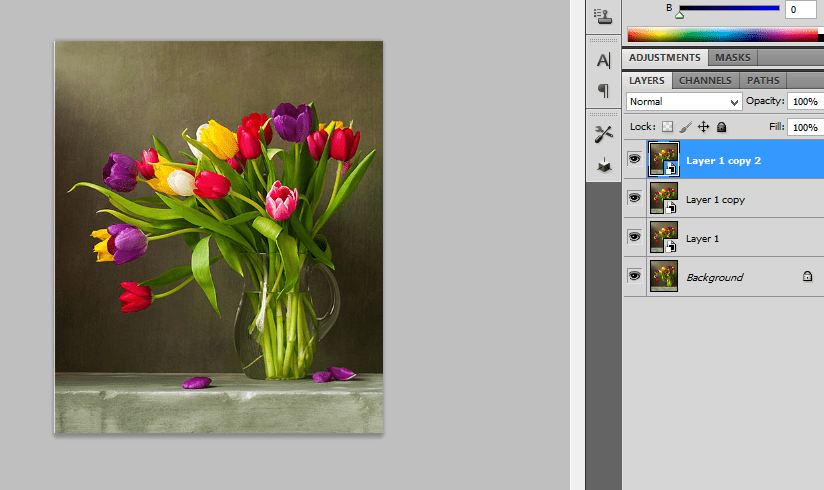
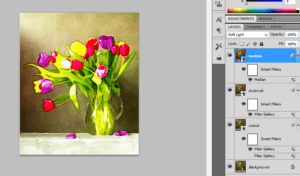
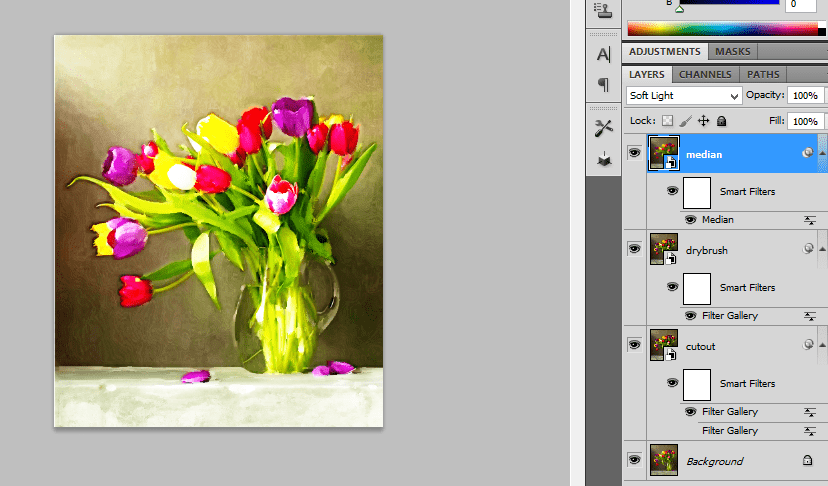
Open a photo document in Photoshop. Make a copy of the background layer and convert into smart object.Then make a couple of copy from this layer.
Step:2
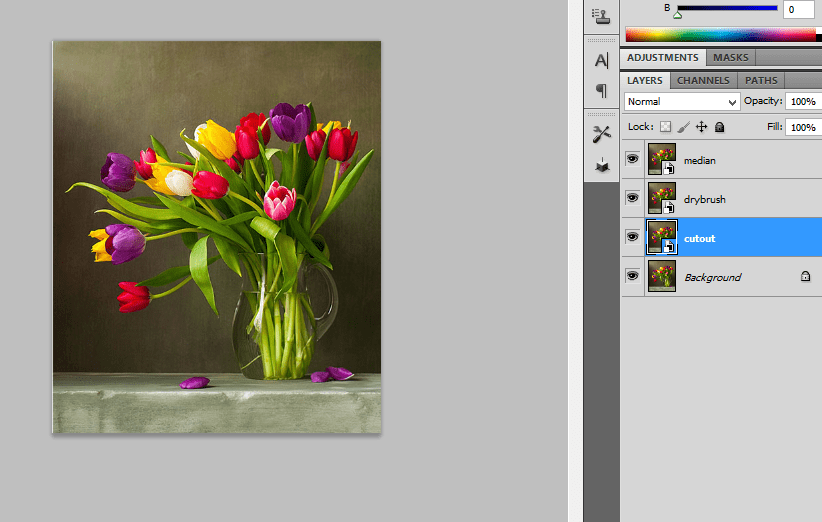
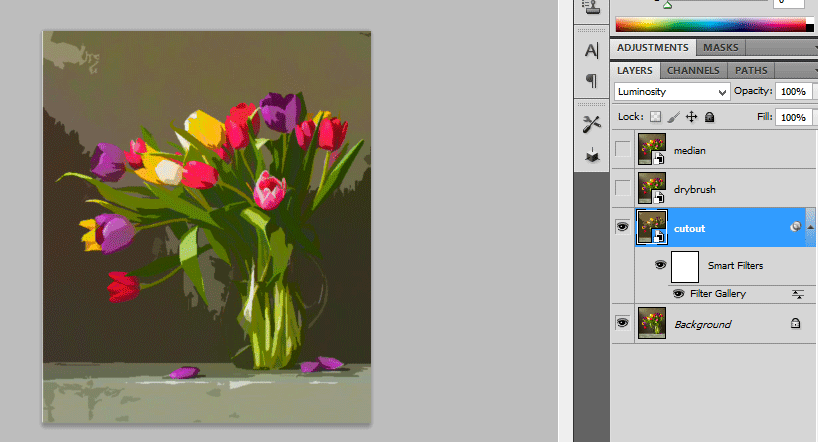
Then rename all the three layers as cutout, dry brush, Median.Hide the dry brush and median layer.
Step:3
In cutout layer add a filter effect. Go to filter ->Artistic -> Cutout Filter. Then chane the blending mode from normal to luminosity
Step:4
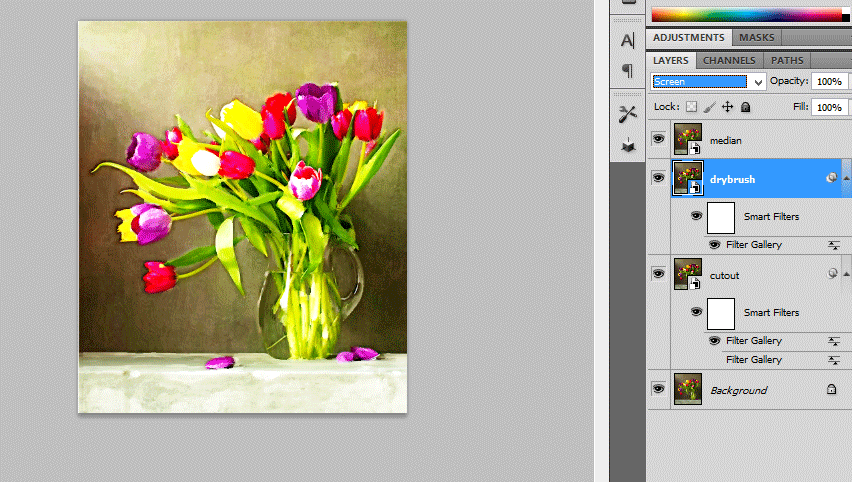
Then turn on the dry brush layer and add a dry brush filter. Go to Filter -> Artistic -> dry brush filter and change the blending mode from Normal to Screen.
Step:5
Turn on the Median filter and add a filter. Go to Filter -> Noise -> Median and change the blending mode from normal to soft light.
Realistic water droplets photoshop effect
Step:1
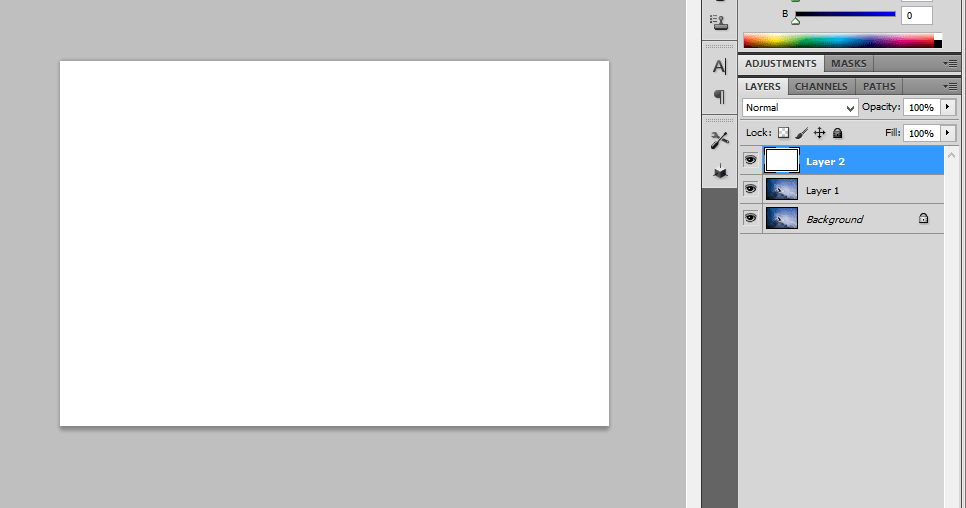
Open a document in Photoshop.Duplicate this layer by pressing ctrl+j.Then create a new layer and fill with white color above this layer.
Step:2
Add a noise filter. Go to Filter -> Noise -> Add noise -> amount 400%. Then apply the Gaussian blur filter. Then have a threshold adjustment
Step:3
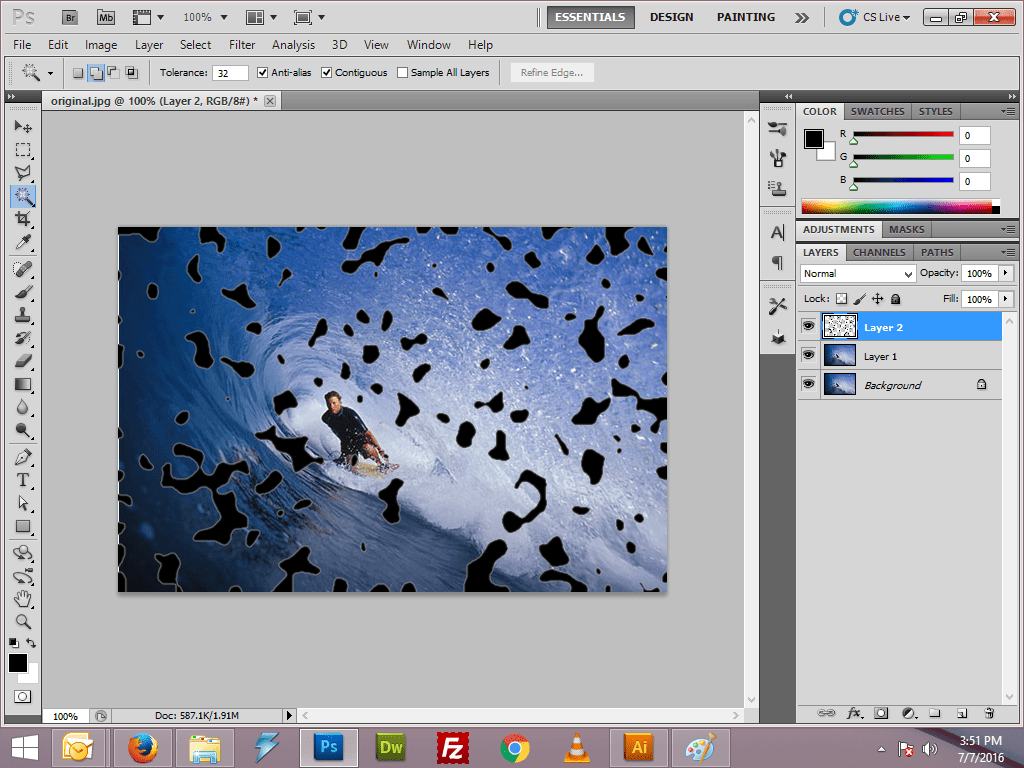
Select all the black areas and invert the selection. Then lower the fill of the black shape to 0%.
Step:4
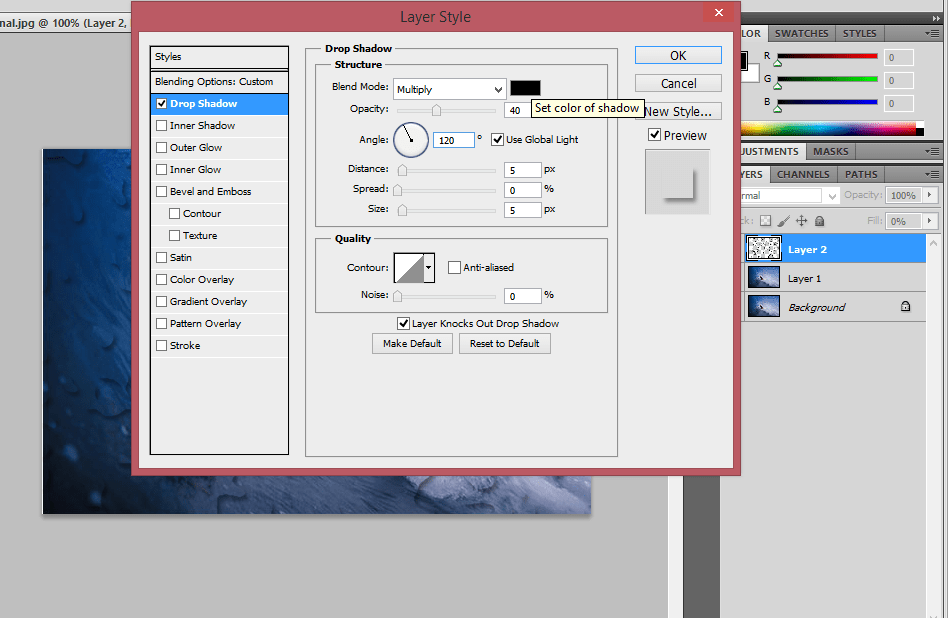
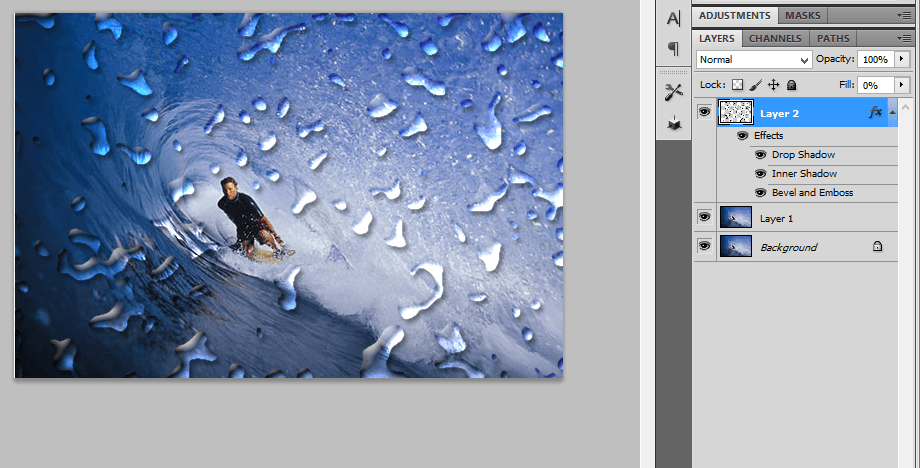
Then add a drop shadow for this layer by adding the suitable values.Erase the remaining portion whichever u don’t want.
Step:5
Then have the border selection and feather selection. Go to Select -> Modify -> Border/Feather.
Ghost image effect-Photoshop filter
Step:1
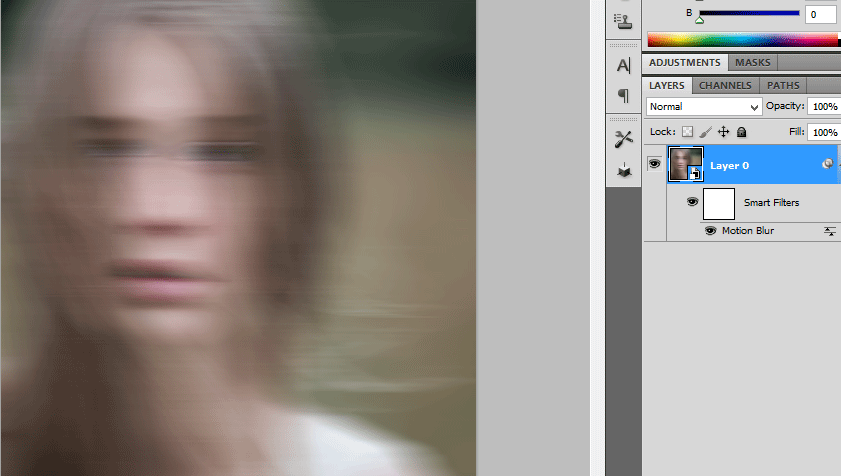
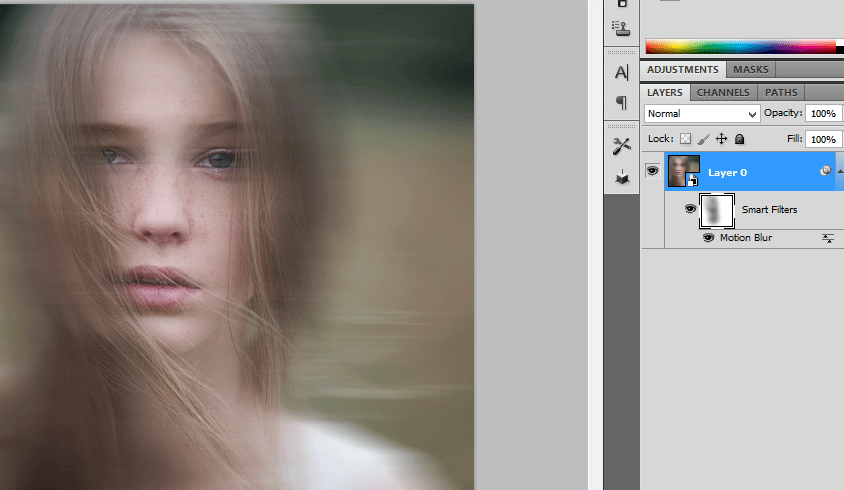
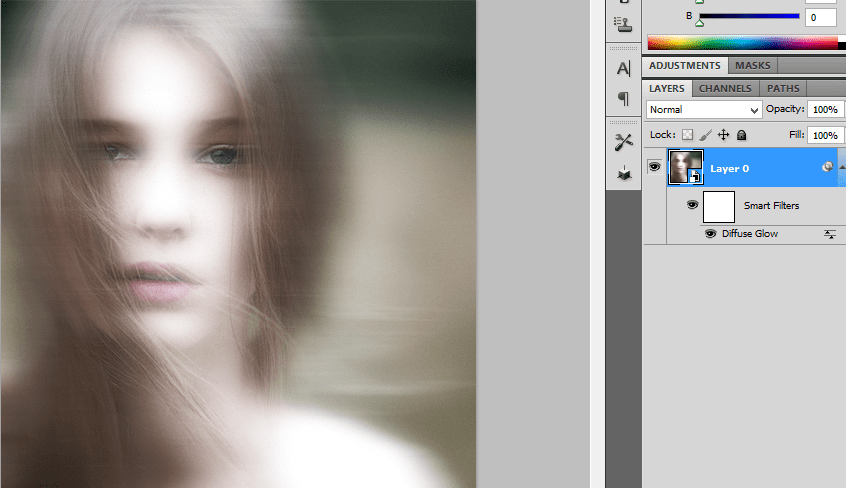
Open a photo document in Photoshop. Convert this layer in to Smart object.Apply the Motion blur.Go to filter -> blur -> motion blur by adding the distance value as 64pixels.
Step:2
The layer mask is added along with this.Now we want to erase the portion which we need.It can be done by choosing soft brush with black color.
Step:3
Now convert this in to smart object.Then apply the diffuse glow filter. Go to filter ->Distort -> Diffuse glow filter.
Step:4
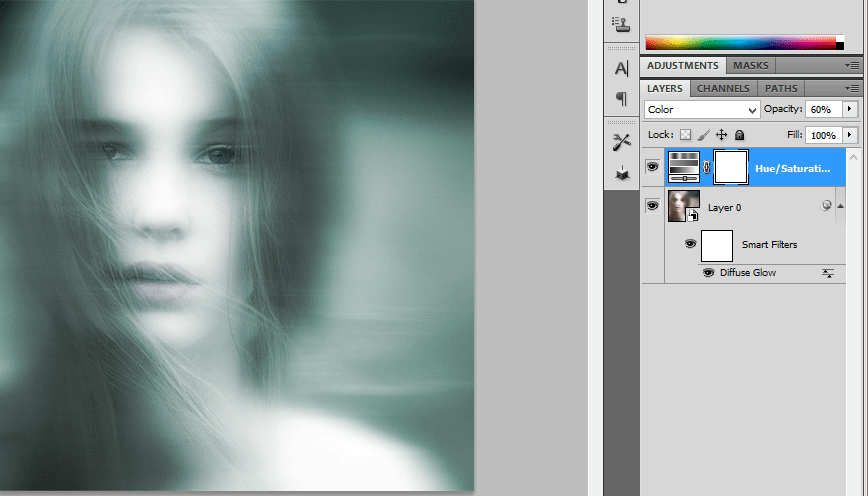
Add a hue/saturation layer above it.Hue value is 180 and the saturation is 25.Then change the blending mode from normal to color and reduces the opacity to 60%
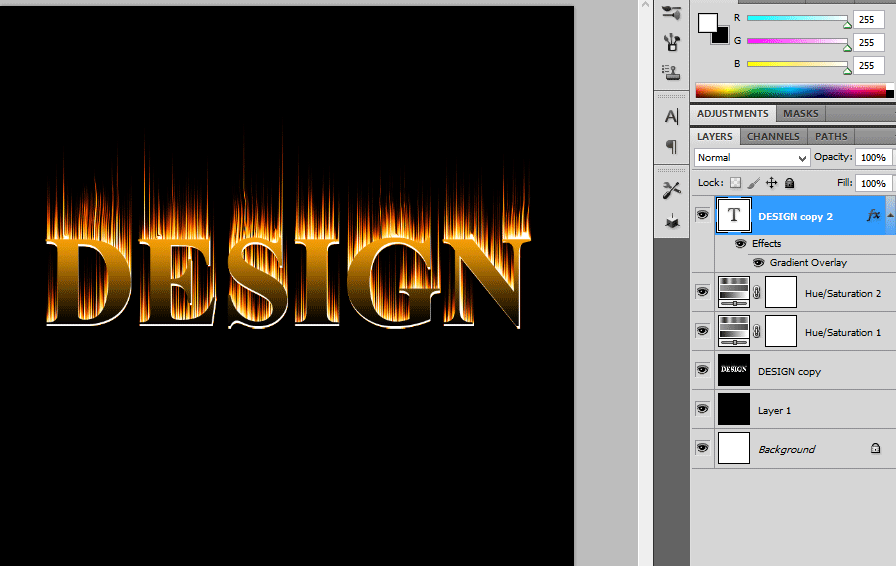
Flaming hot fire text – photoshop effect
Step:1
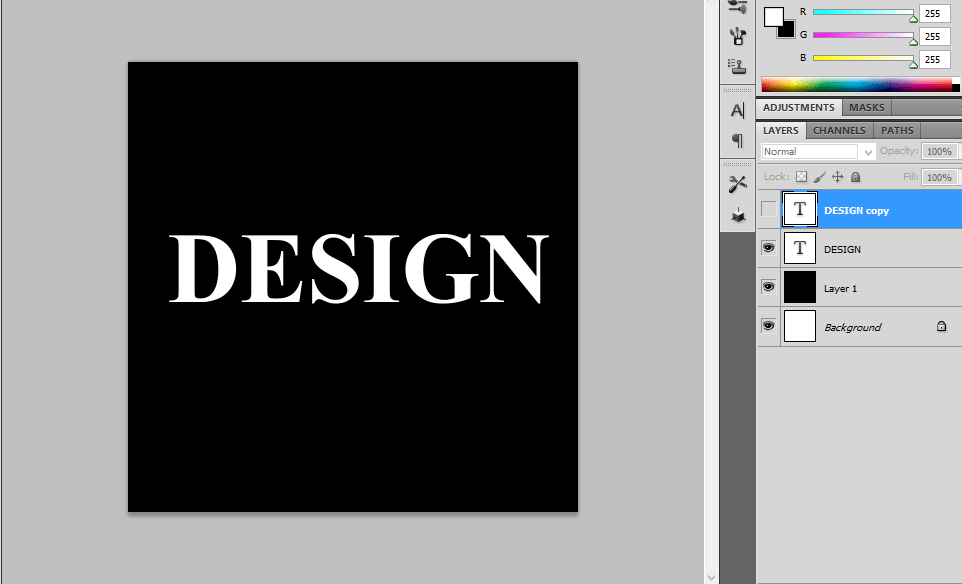
Create a new document with width 3 inch and height 3 inch.Then create a new layer above it and filled with black color.
Step:2
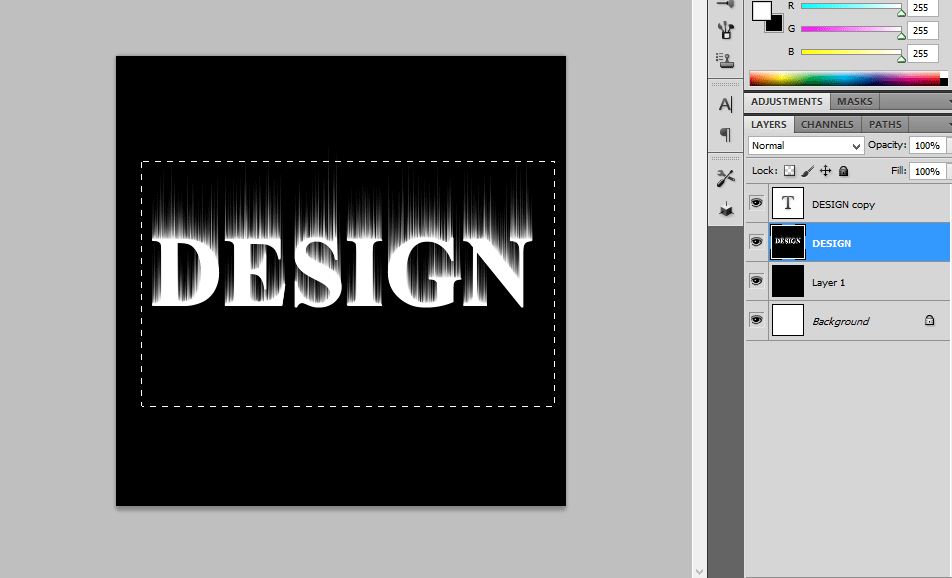
Then type the text as DESIGN .Iam using Times new roman text here.Then enlarge the text by clicking ctr+t.Duplicate the text layer.
Step:3
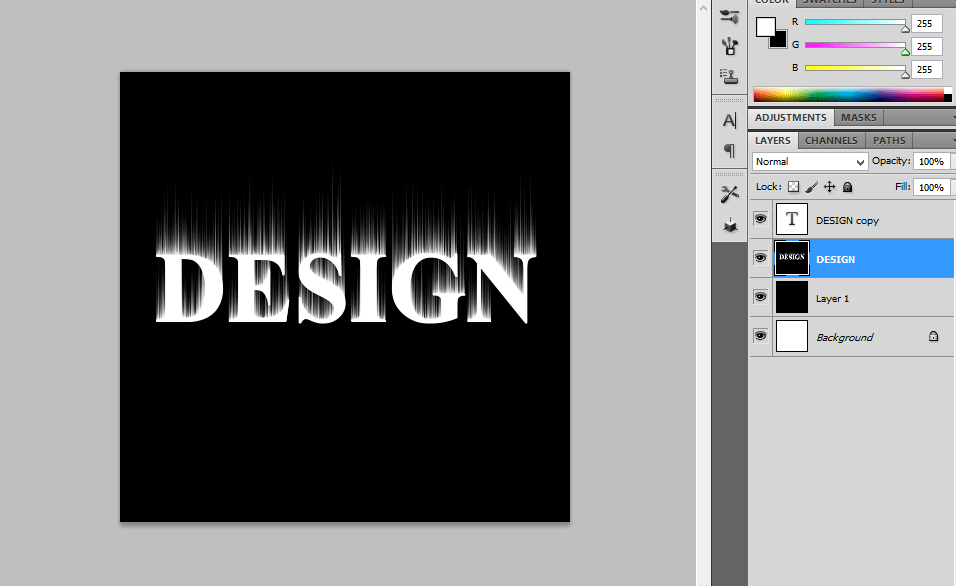
Hide the duplicate text layer.Then rotate the text layer in to 90cw.Then go to Filter-> stylize->wind.Repeat this for more than couple of times.Then again rotate to 90ccw.
Step:4
Create a new layer and fill with black color.Merge the text layer and the black color layer.
Step:5
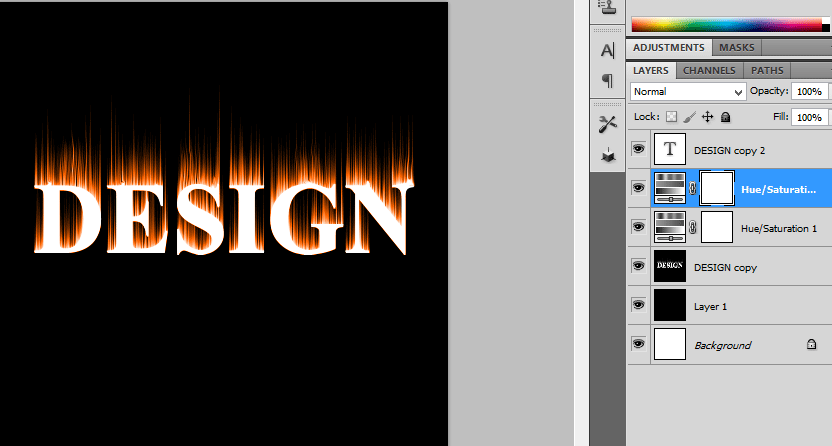
Next step is go to filter->Liquify.Using different values of brush size liquify it.Then add a hue/saturation above it.The values are hue 40 and saturation 100.
Step:6
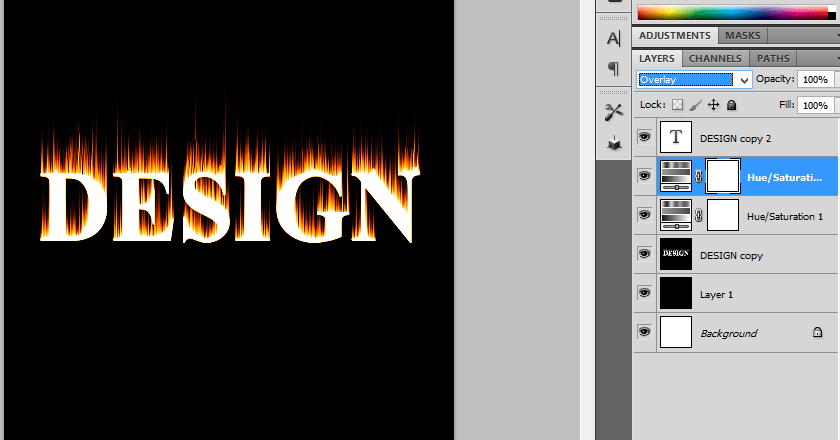
Again add hue/ saturation by adding hue value as-15.then change the blending mode to overlay. Then unlock the hide button from the text layer which we hided before.
Step:7
Than add a gradient overlay by adding gradient as black and yellow.Now it looks like a flaming fire hot text.
Turning photo – colored dot pattern photoshop effect
Step:1
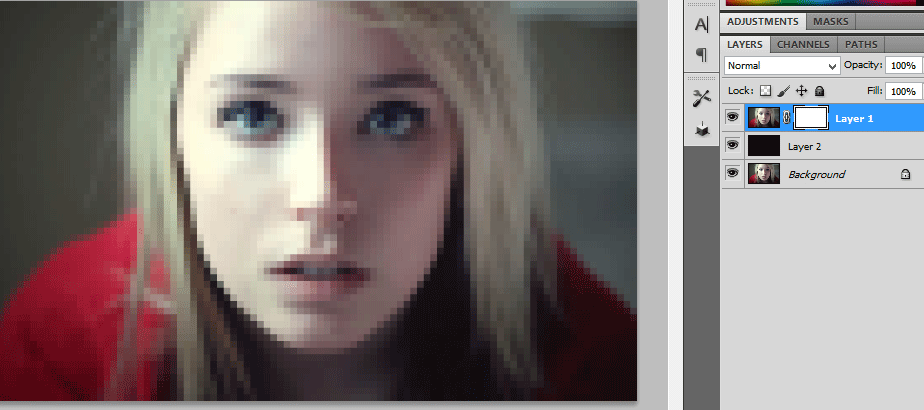
Open a document in Photoshop.Duplicate the background layer.Add a new layer above it and fill with black color.
Step:2
Add a Mosaic filter with the value of 20 cells in Photoshop.Add a Layer mask in it.
Step:3
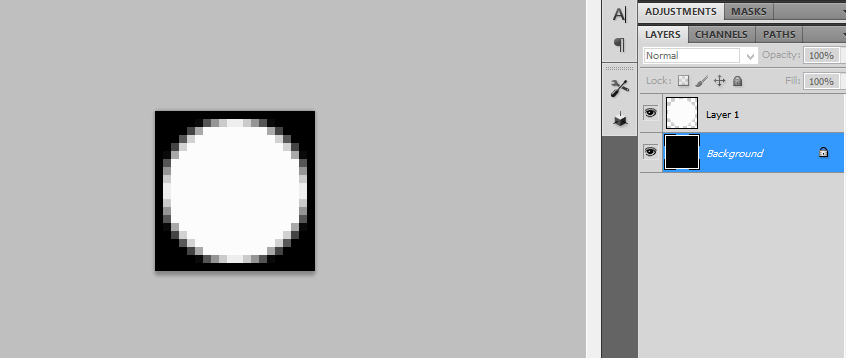
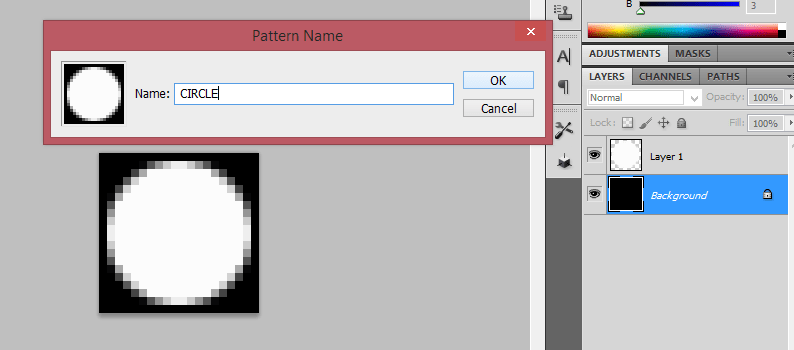
Open a new document with height and width of 20 pixels.Draw a circle and fill with black color. Then invert the colors.Now the background will be in black color and circle will be in white.
Step:4
Then go to edit -> define pattern and define as circle.then close this document.
Step:5
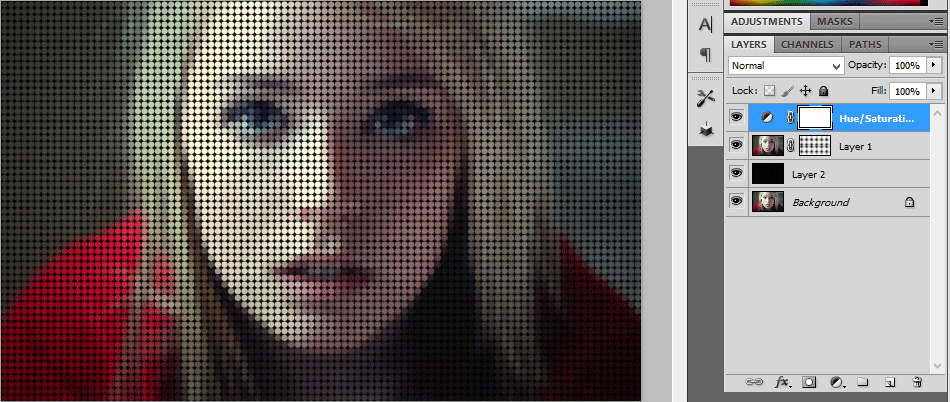
Coming to the photo document go to edit and fill the layer mask with circle pattern. Add a hue/saturation above this layer.
Shooting the Missiles Using Action Script on Flash 3.0
Step 1: Open a new document in flash. Set the stage color as black.
Step 2: Choose Window > Properties from the main menu bar to open the PROPERTIES panel.
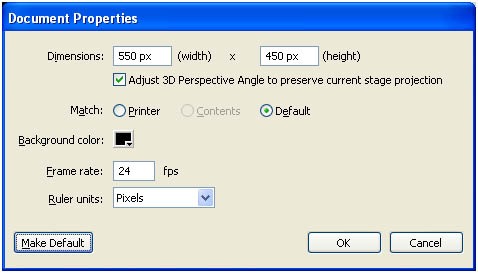
Step 3: Expand the Properties section in the panel and choose the Edit button to enlarge the Document Settings window. Next, set the width to 550 px and height to 450 px in the PROPERTIES panel, as shown in Figure below. Choose the Ok button.
Step 4: import an image to perform the action script. Choose File > Import > Import to stage from the main menu bar and Import the unzipped images file. The three files will be imported to the stage, as shown in Figure below.
Step 5: Perform some actions to this image. From the timeline create new layer to the name them as figure follows
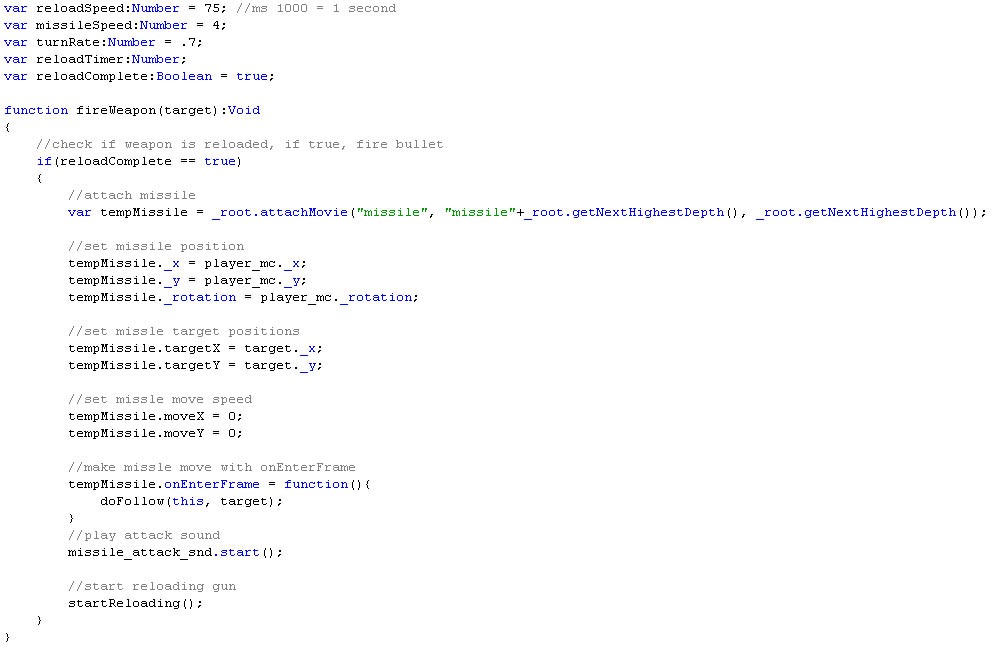
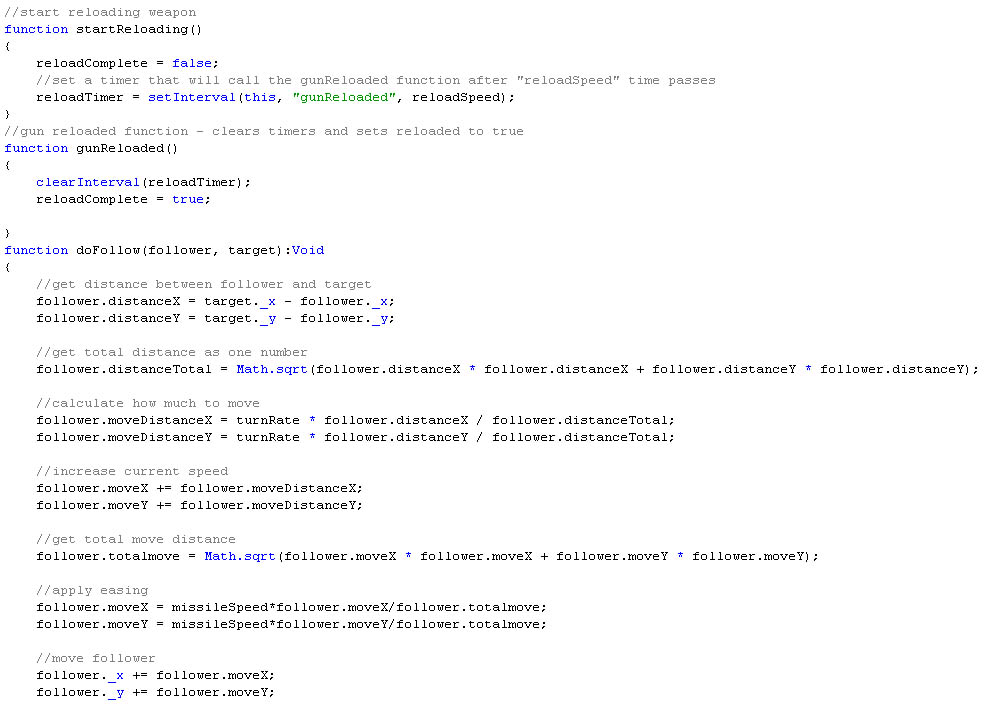
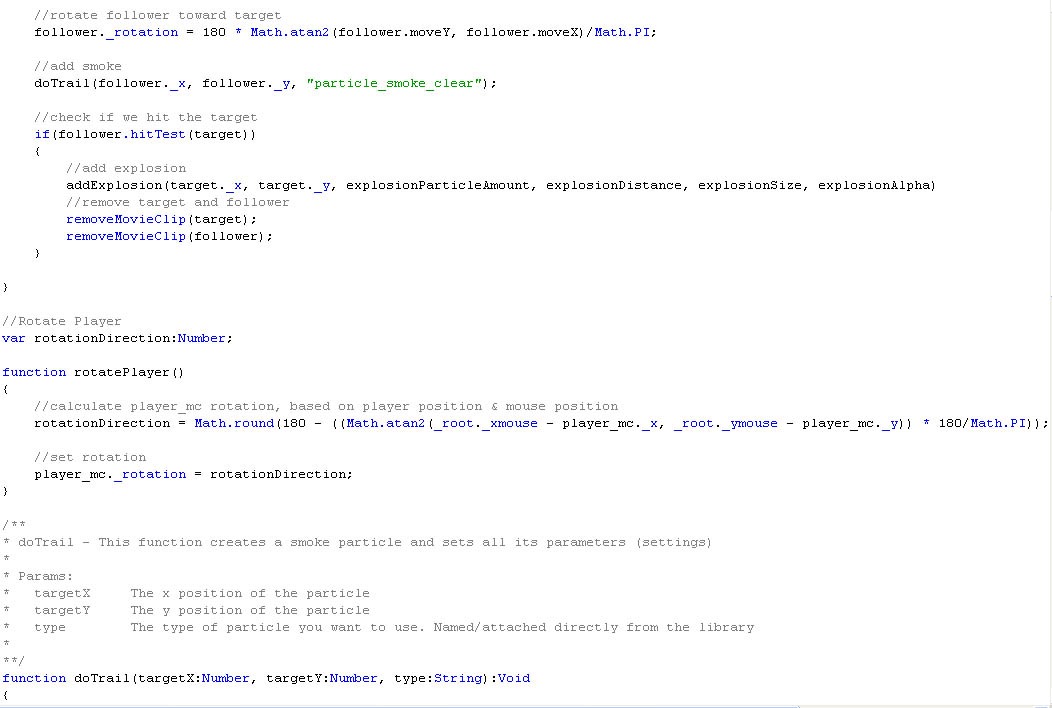
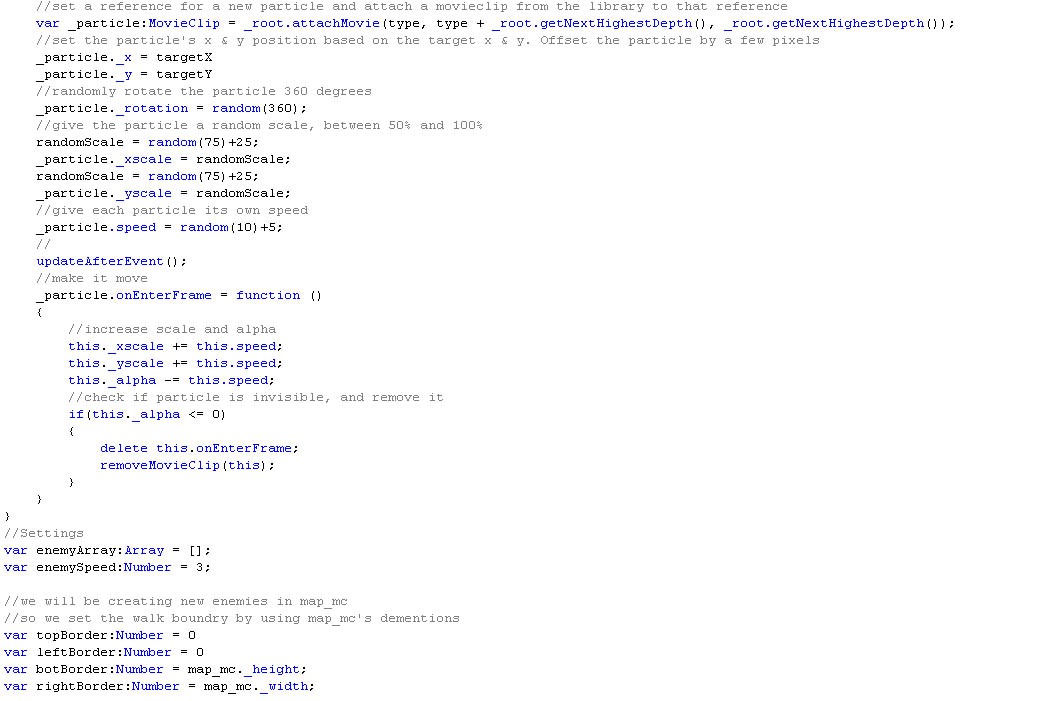
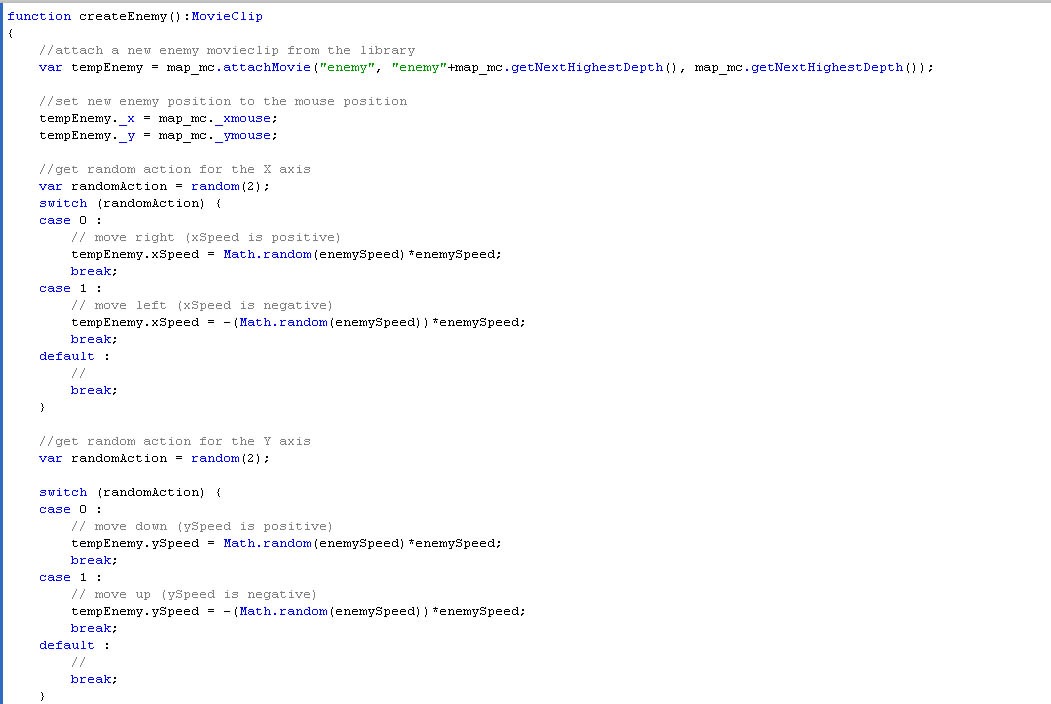
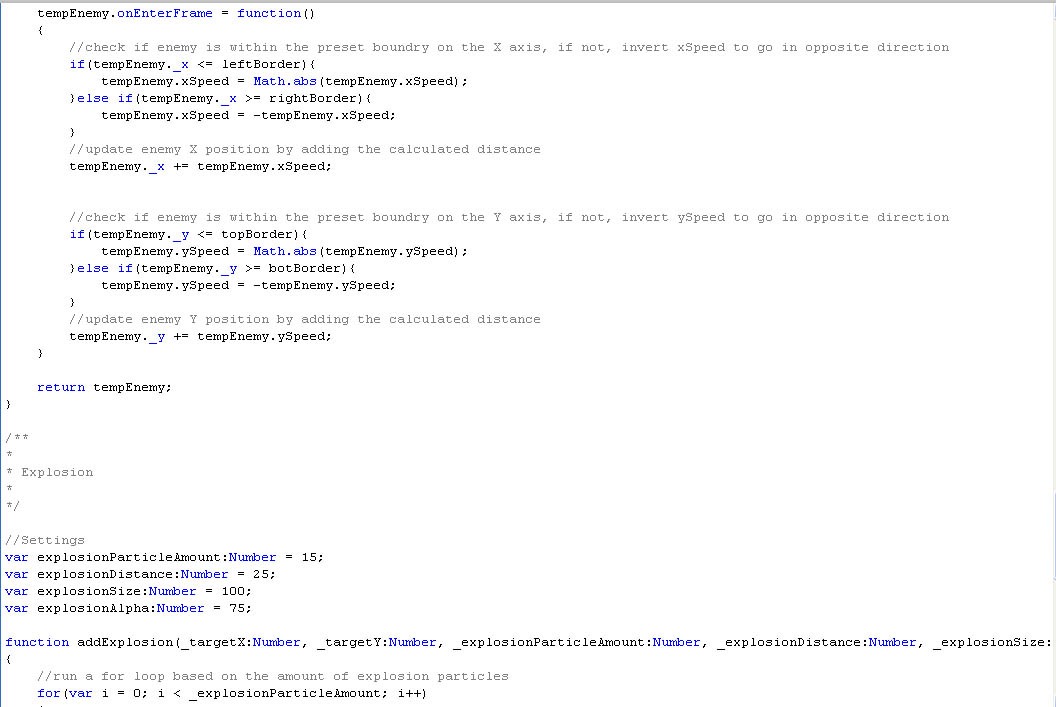
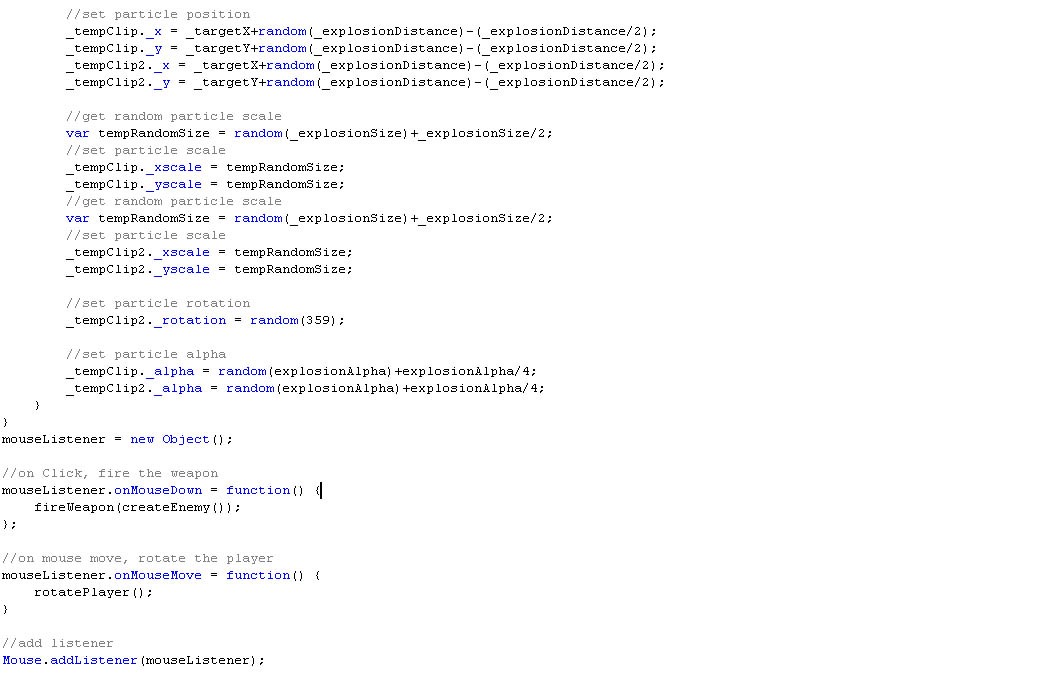
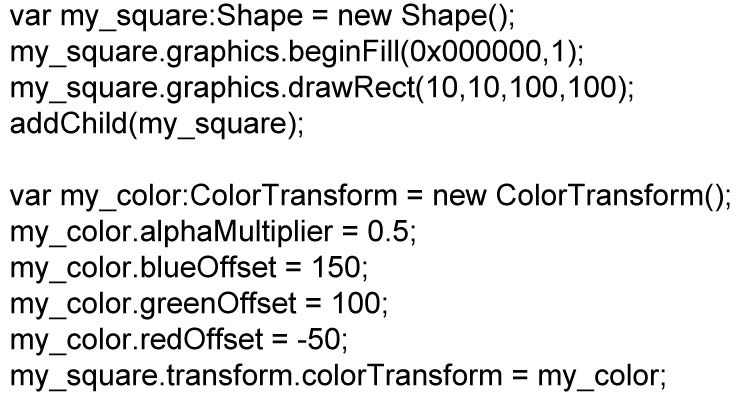
Step 6: Now we will use some action script. To make the thumbnails function and to rotate them around the main image.
Code 1:
Various Color changing on Single Object Using Flash 3.0
Step 1: Open a new flash file. Choose Window > Properties from the main menu bar to open the PROPERTIES panel.
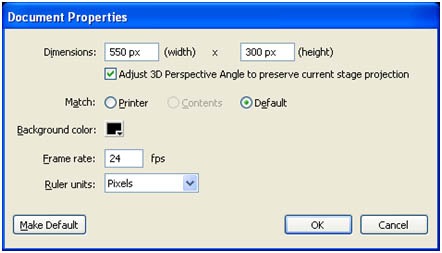
Step 2: Expand the Properties section in the panel and choose the Edit button to enlarge the Document Settings window. Next, set the width to 500 pixels and height to 358 pixels in the
PROPERTIES panel, as shown in Figure below. Choose the Ok button.
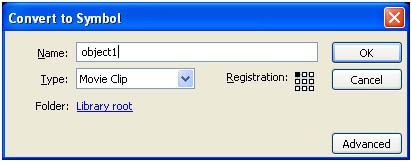
Step 3: Draw or import an object from the file. Then select the car and press F8(To convert into symbol) to convert into movie clip.
Step 4: While the object is still selected, go to the Properties Panel (Ctrl+F3) below the stage. On the left side, You will find the Instance name input field there. Call this Movie Clip as whatever you like. For this example, I will call my movie clip object1. See the picture below.
Step 5: Create a new layer above the objects layer and name it button.
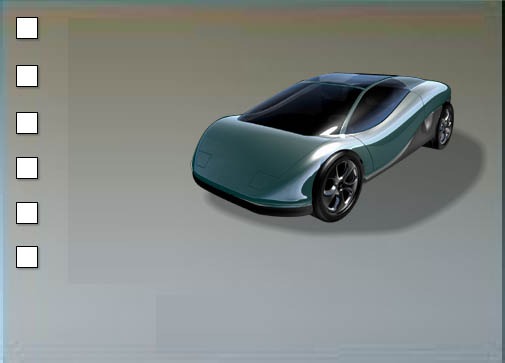
Step 6: After that, create a four buttons (red, blue, brown and yellow, etc…). See the picture below.
Step 7: Take the selection tool (V) and click on the red button. Then, go again to the Properties Panel (Ctrl+F3) below the stage. On the left side, You will find the Instance name input field there. Call this button swatch1_btn. See the picture below.
Step 8: Do this also for every other button, but for red, type blue, brown….
Step 9: Create a new layer above the buttons layer and name it action.
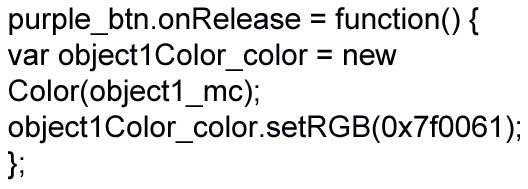
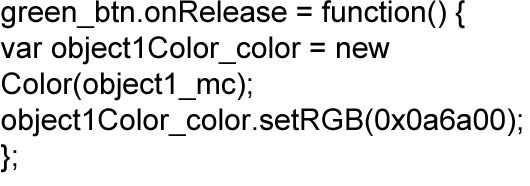
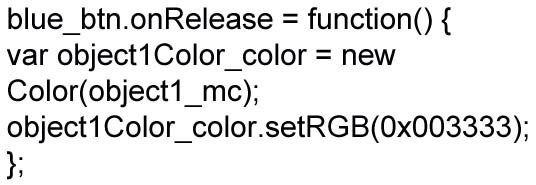
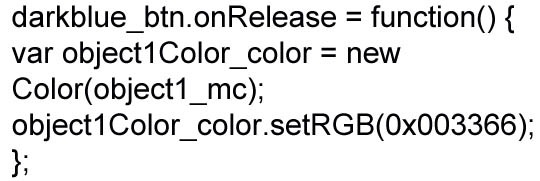
Step 10: Click on the first frame of layer action and go to the action script panel (F9). Then, enter this code inside the actions panel:
Code 1: this code is for purple color button
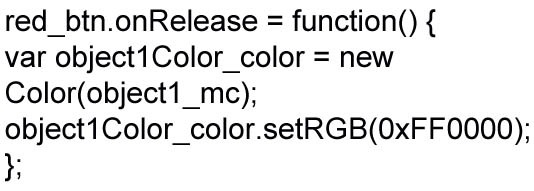
Code 2: this code is for red color button
Code 3: this code is for green color button
Code 4: this code is for blue color button
Code 5: this code is for dark blue color button
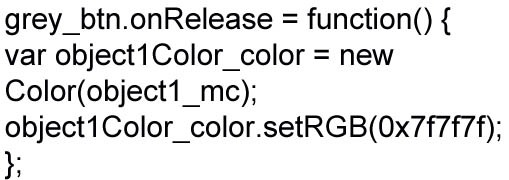
Code 6: this code is for grey color button
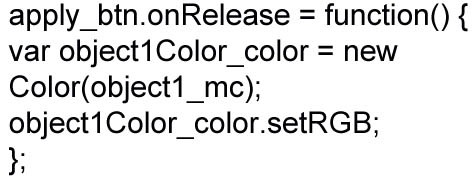
Step 11: This main button is for applying color to the car.
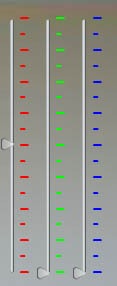
Step 12: This measurement is used to mix the color with the main color for displaying clear look.
Step 13: This scale is used to pin point the color value and range value
Test your Movie (Ctrl+Enter).
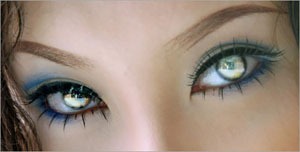
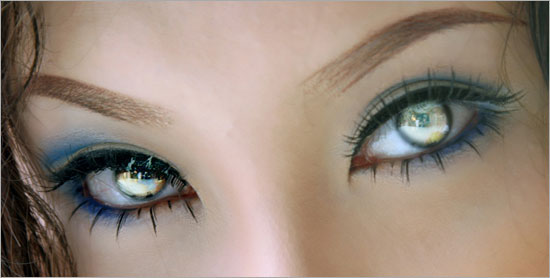
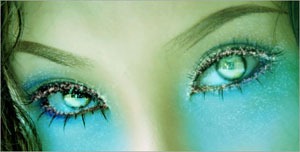
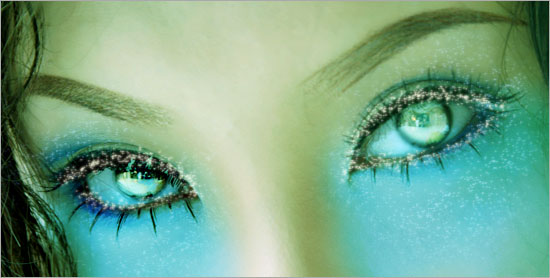
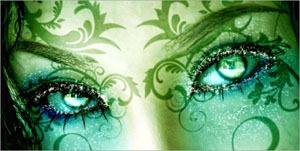
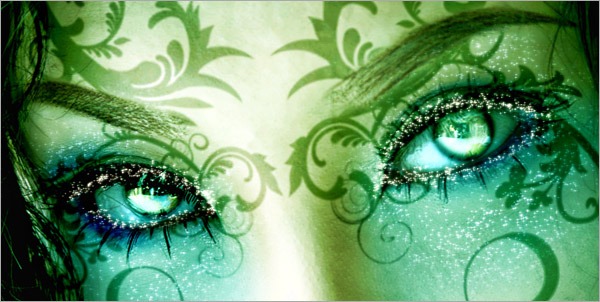
Beautiful Fantasy Eyes
Today we shall explore the basics on how we can create Fantasy Eyes effects in Photo shop.
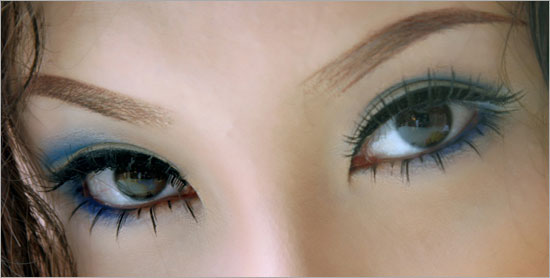
Now Download the image and open up in Photo shop.
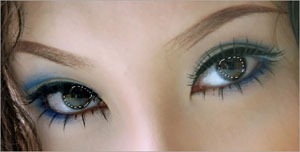
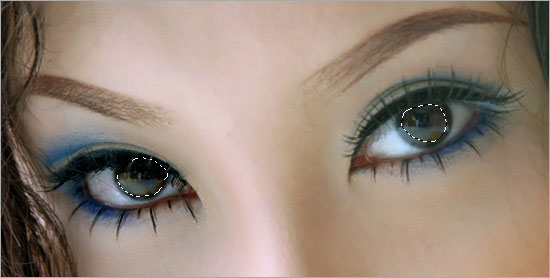
Let us start off with glowing the eyes. Make selections around the 2 black eyes with the Elliptical Marquee tool. Go to Select > Modify > Feather. Set the Radius to 20px.
Press Ctrl+C (to copy) and Ctrl+V (to paste). You will get a new layer with just the selected area. Rename this new layer as “Eyes Glow”. Set the Blend Mode of this layer to Screen. Then duplicate the “Eyes Glow” layer for another 3 times and you will get something similar to mine below.
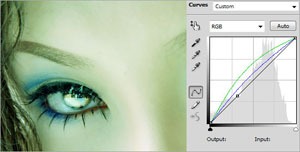
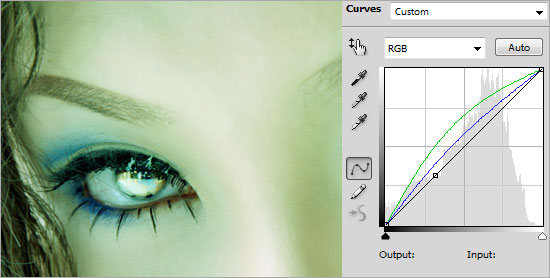
Create a Curves Adjustment Layer. Go to the Green and Blue channels and set the curves to the ones below.
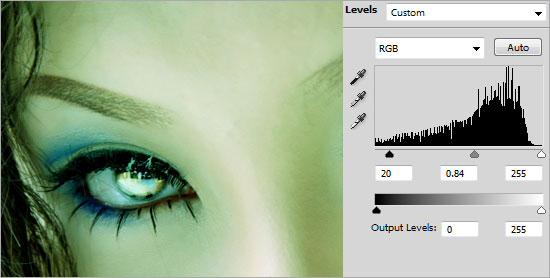
Create a Levels Adjustment Layer and set the values to 20, 0.84, 255.
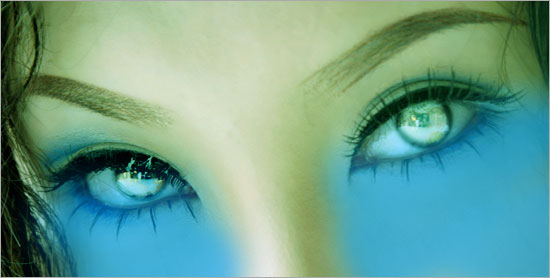
Create a new layer and name it as “Face Color”. Set the foreground color to #45ADCA. Using the Soft Rounded Brush with size 200px, paint the face below both eyes. Set the Blend Mode of this layer to Soft Light when you are done.
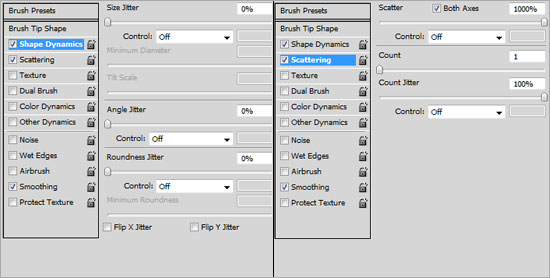
Open up the Brush panel and key in the settings as shown below.
Create a new layer and name it as “Glitter”. Using the Brush tool with size 3px and color #FFFFFF, brush around the bluish area to add the glittering effect. Right-click on the “Glitter” layer and go to Blending Options. Choose Outer Glow with its default settings.
Repeat the earlier step for the border around the big pair of eyes.
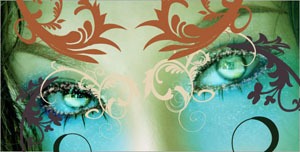
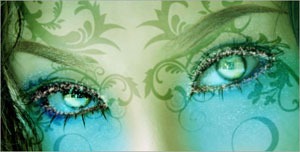
This step is really random. You can start designing how you want to add some patterns to the face. For mine, I downloaded the Swirl Curls from CreateSk8. Place the floral patterns around the eyes area.
Merge all the pattern together in a single area. Go to Image > Adjustment > Hue/Saturation. Make the Lightness to -100. This will turn the pattern in to black. Set the Blend Mode of this layer to Soft Light. Go to Filter > Blur > Gaussian Blur. Set the Radius to 2px.
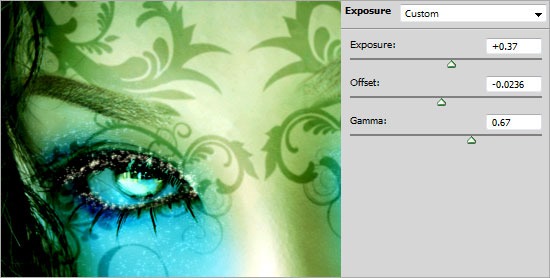
Create an Exposure Adjustment Layer and key in the settings below.
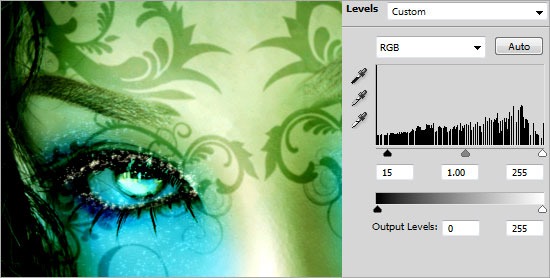
Create a Levels Adjustment Layer and set the values to 15, 1, 255.
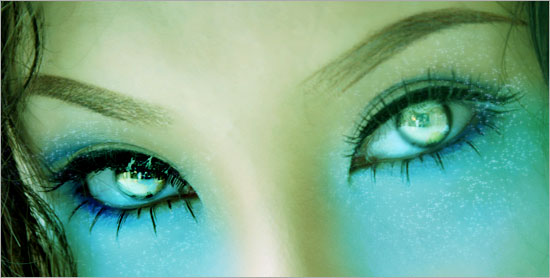
And there you have it! Thanks for reading.


