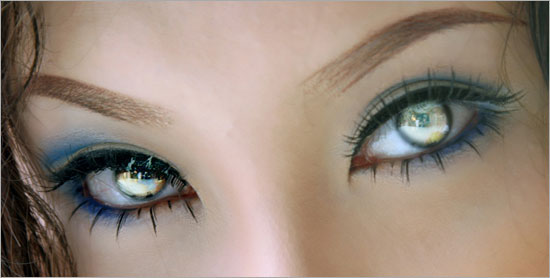
Today we shall explore the basics on how we can create Fantasy Eyes effects in Photo shop.
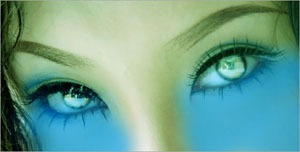
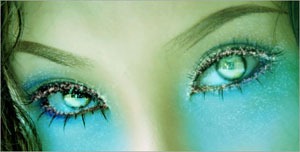
Now Download the image and open up in Photo shop.

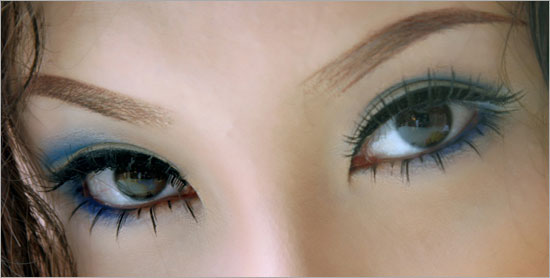
Let us start off with glowing the eyes. Make selections around the 2 black eyes with the Elliptical Marquee tool. Go to Select > Modify > Feather. Set the Radius to 20px.
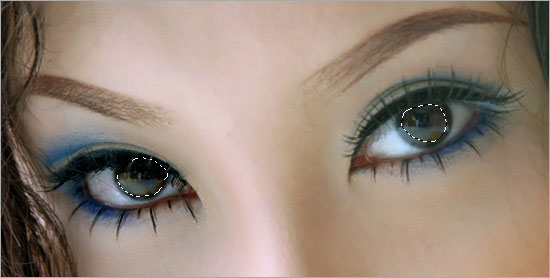
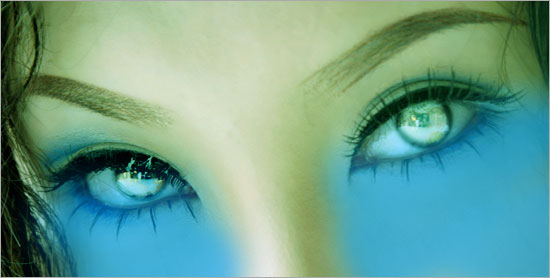
Press Ctrl+C (to copy) and Ctrl+V (to paste). You will get a new layer with just the selected area. Rename this new layer as “Eyes Glow”. Set the Blend Mode of this layer to Screen. Then duplicate the “Eyes Glow” layer for another 3 times and you will get something similar to mine below.
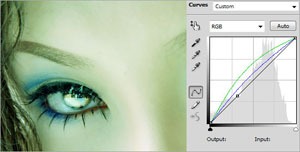
Create a Curves Adjustment Layer. Go to the Green and Blue channels and set the curves to the ones below.

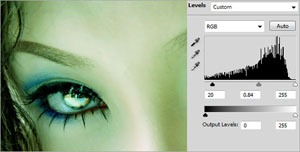
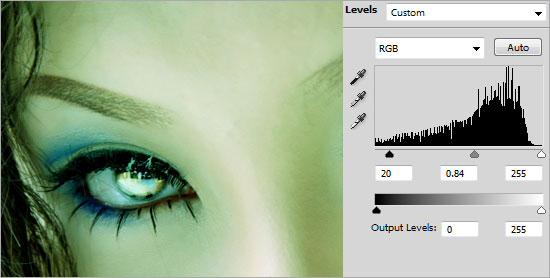
Create a Levels Adjustment Layer and set the values to 20, 0.84, 255.
Create a new layer and name it as “Face Color”. Set the foreground color to #45ADCA. Using the Soft Rounded Brush with size 200px, paint the face below both eyes. Set the Blend Mode of this layer to Soft Light when you are done.
Open up the Brush panel and key in the settings as shown below.
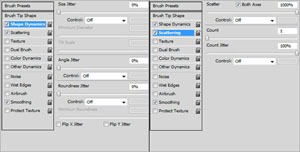

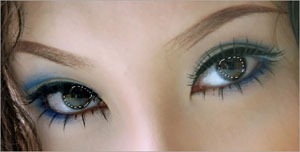
Create a new layer and name it as “Glitter”. Using the Brush tool with size 3px and color #FFFFFF, brush around the bluish area to add the glittering effect. Right-click on the “Glitter” layer and go to Blending Options. Choose Outer Glow with its default settings.

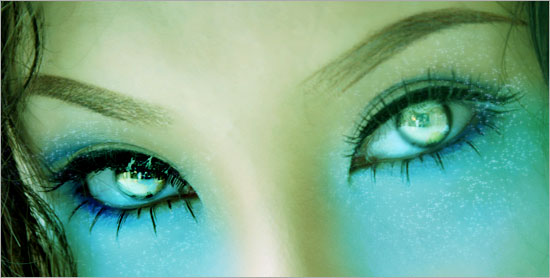
Repeat the earlier step for the border around the big pair of eyes.

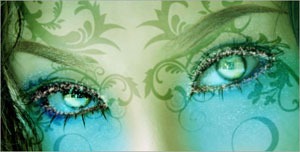
This step is really random. You can start designing how you want to add some patterns to the face. For mine, I downloaded the Swirl Curls from CreateSk8. Place the floral patterns around the eyes area.


Merge all the pattern together in a single area. Go to Image > Adjustment > Hue/Saturation. Make the Lightness to -100. This will turn the pattern in to black. Set the Blend Mode of this layer to Soft Light. Go to Filter > Blur > Gaussian Blur. Set the Radius to 2px.

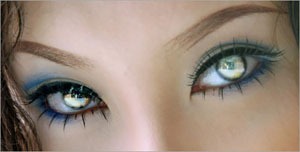
Create an Exposure Adjustment Layer and key in the settings below.


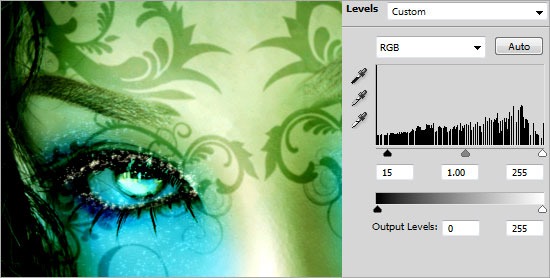
Create a Levels Adjustment Layer and set the values to 15, 1, 255.

And there you have it! Thanks for reading.


Leave a Reply