


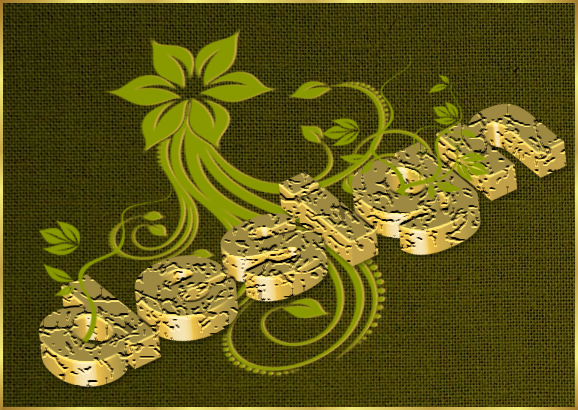
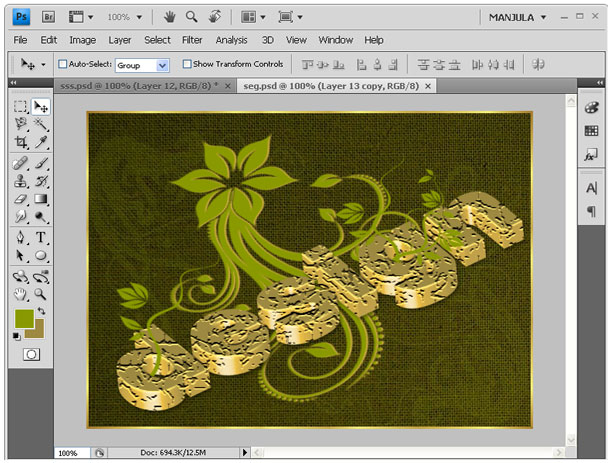
Rock pattern text with floral design using Photoshop
Final Preview:
Step-1 open a new document in Illustrator, type the required text and go to Effect –> 3D –> Extrude & Bevel to get 3d text effect.
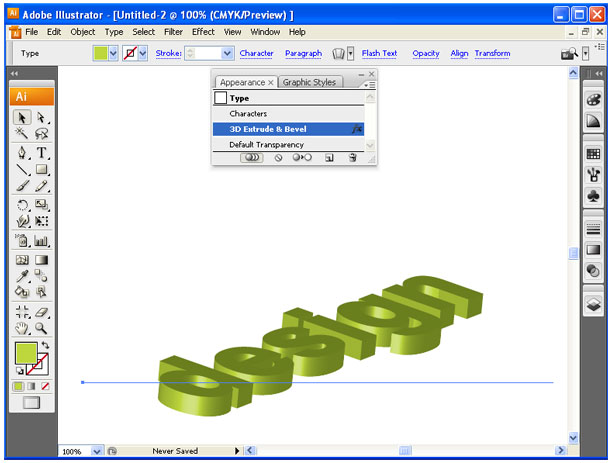
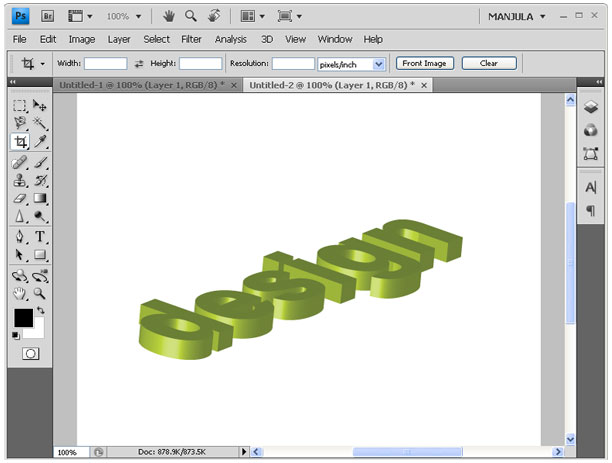
Step-2 Copy and paste that 3D text in Photoshop.
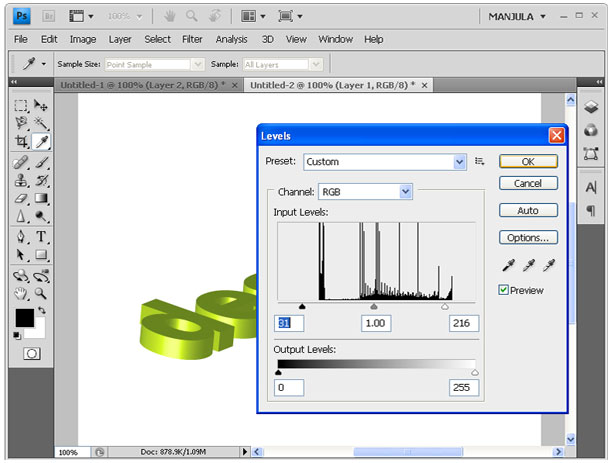
Step-3 Now go to Image –> Adjustments –> Level and give the below value.
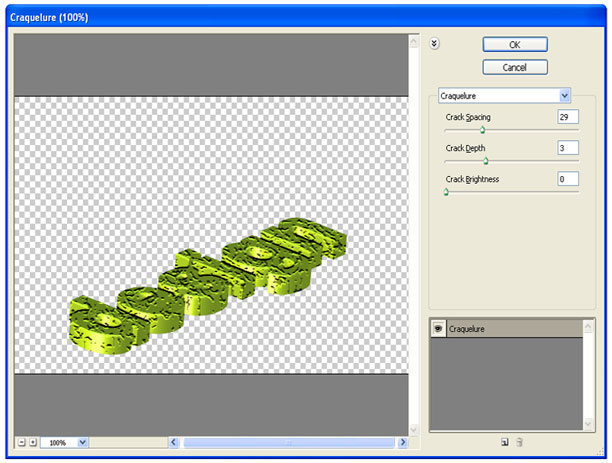
Step-4 Then select Filter –> Filter gallery –> Texture –> Craquelure and give the below value.
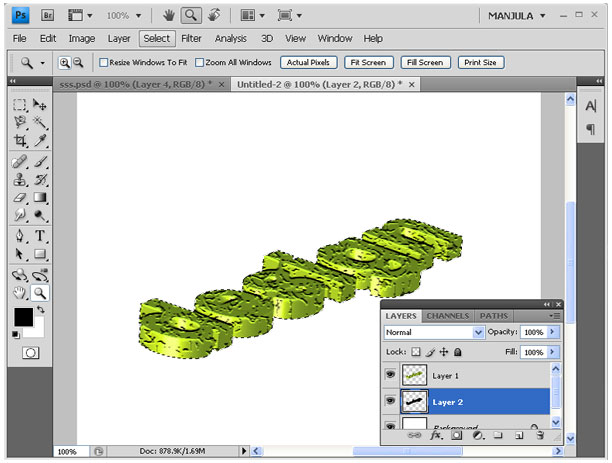
Step-5 Press Ctrl + click on layer thumbnail and create new layer above the background layer then fill black color.
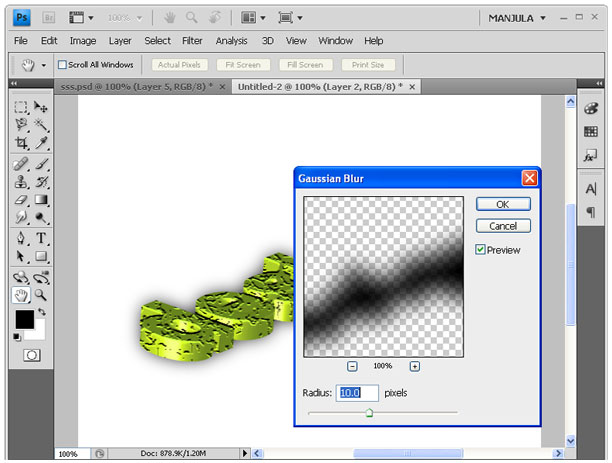
Step-6 Apply Blur –> Gaussian Blur to black filled layer with the radius of 10px.
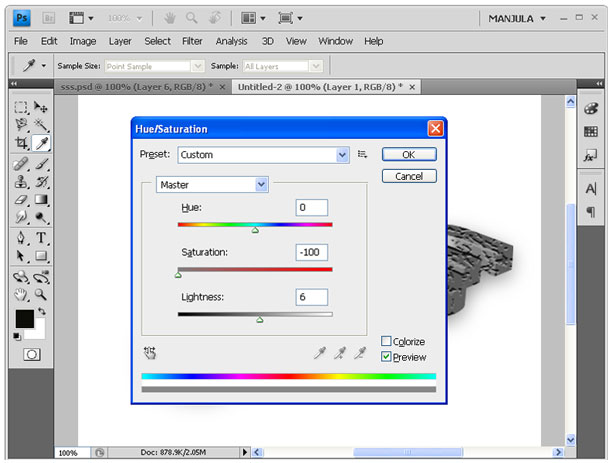
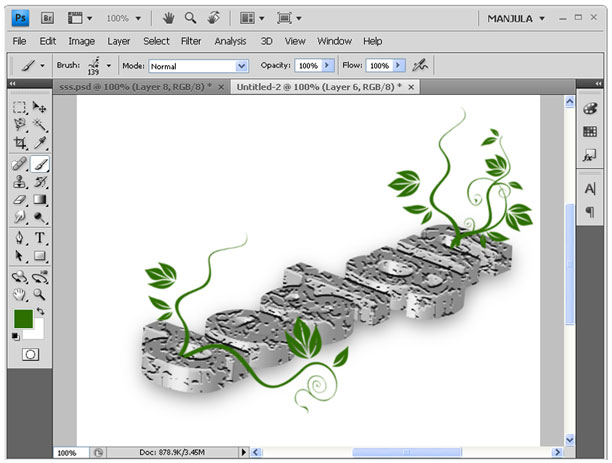
Step-7 You can change the color of text by giving Image –> Adjustments –> Hue/Saturation.
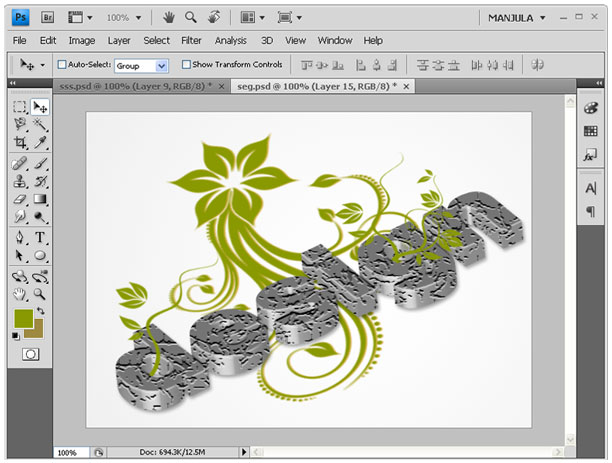
Step-8 Using brush tool create floral designs like below in new layer.
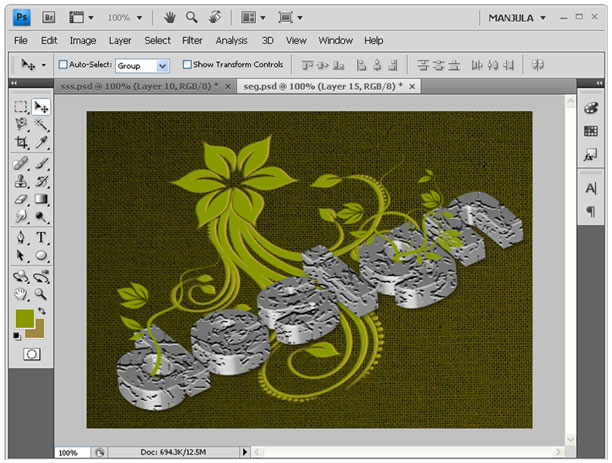
Step-9 creates a background by like below using filter gallery. First set the background and foreground color in green shades. Then go to Filter –> Filter gallery –> Rough Pastels. Give values as like follows:
Stroke Detail: 15; Stroke Length: 7; Scaling: 109; Relief: 13; Light: top left.
Step-10 Set stroke using gradient overlay in blending options.
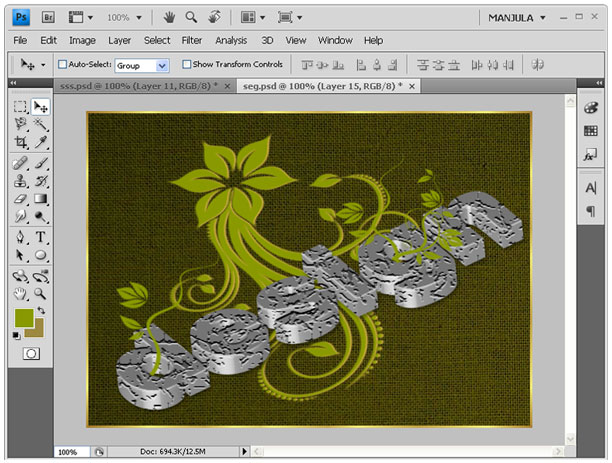
Step-11 Now I changed the text color to golden brown.
No comments yet.
Leave a comment
Quick Search
Blogroll
Categories
| M | T | W | T | F | S | S |
|---|---|---|---|---|---|---|
| 1 | 2 | 3 | 4 | 5 | 6 | |
| 7 | 8 | 9 | 10 | 11 | 12 | 13 |
| 14 | 15 | 16 | 17 | 18 | 19 | 20 |
| 21 | 22 | 23 | 24 | 25 | 26 | 27 |
| 28 | ||||||