Archive for February, 2012
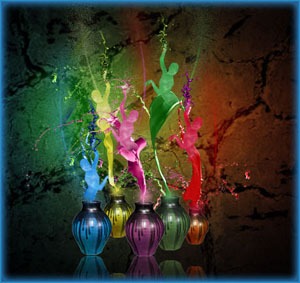
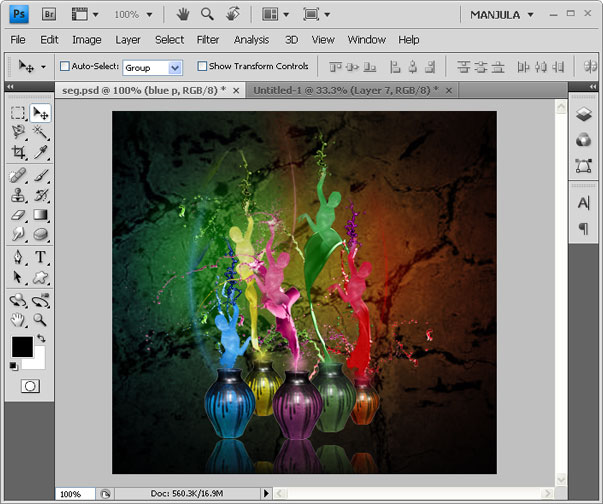
Makeup of Pot Paint Dancers using Photoshop
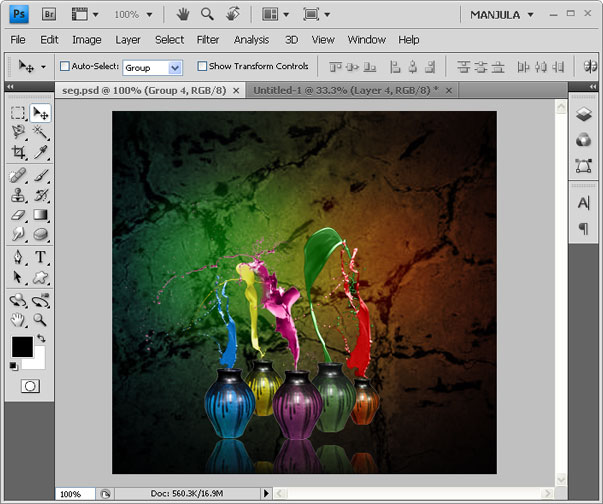
Final Preview:

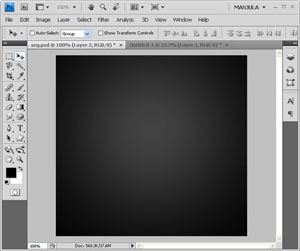
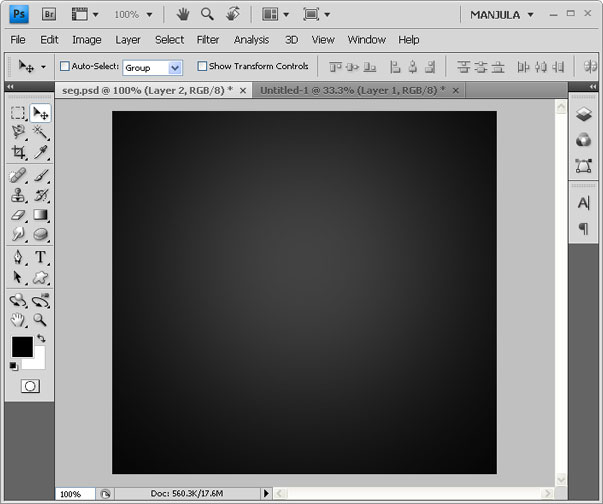
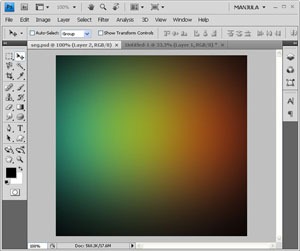
Step-1 Open a new document in Photoshop. Set background color as black. Use 300 size radius sponge brush and set grey as foreground color then click at the center of the document to bring the below effect.
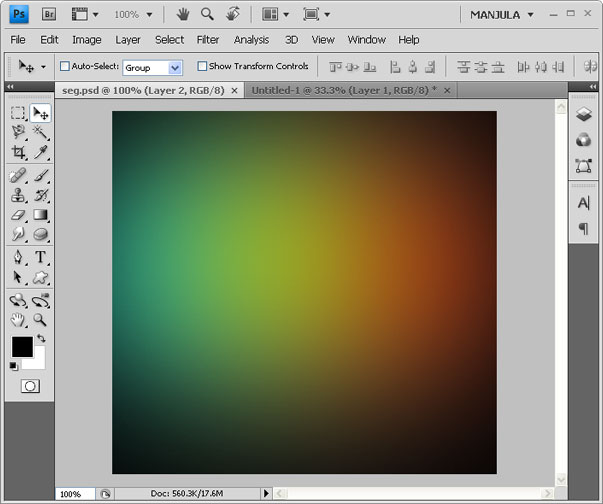
Step-2 Like above uses the 300 size radius sponge brush, click with few different colors which you like. Here I used green, blue, and red.
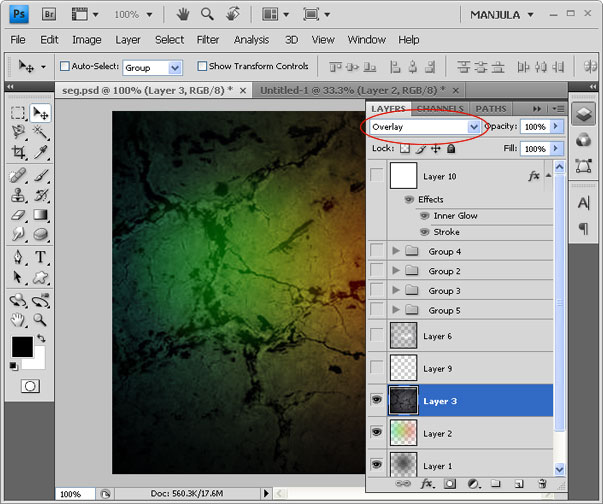
Step-3 Place the grunge texture above the colors and set the blend mode to Overlay.

Step-4 Place the few colors pot as like below. Here I took a pot and gave Hue/saturation for remaining pot to change its color.


Step-5 Browse Paint tossing images and download it and place it above the pots.
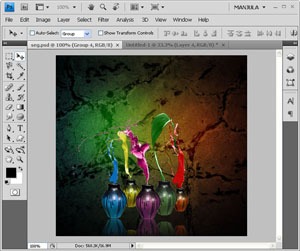
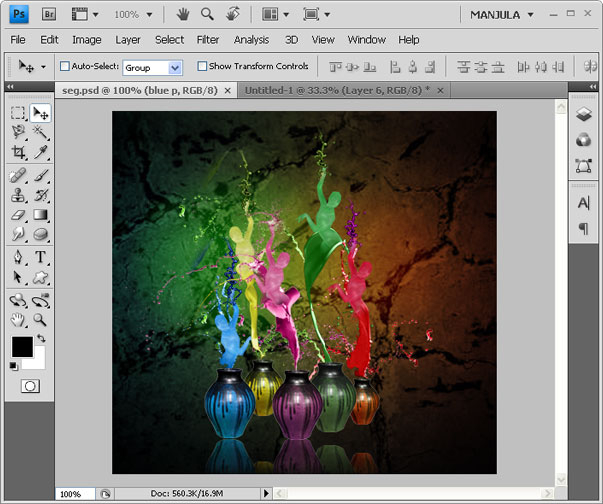
Step-6 Like above, browse zentai dancers images and download it. Go to Filter –> Filter gallery –> Plastic Wrap. Then erase the bottom of the dancers using sponge brush. Place it overlap to the paint tossing.
Step-7 At the background pattern it with few brush styles.
Hope you like this….
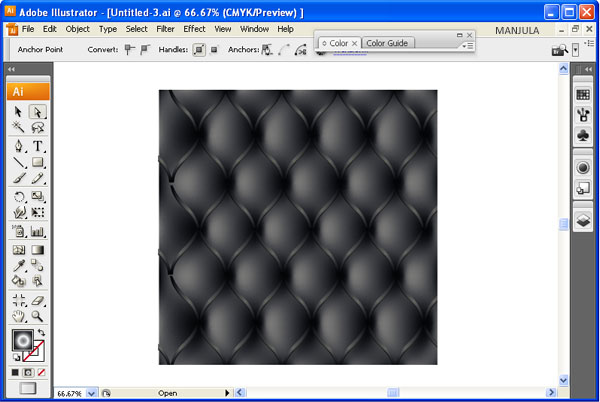
Create an Upholstery Pattern Using Illustrator
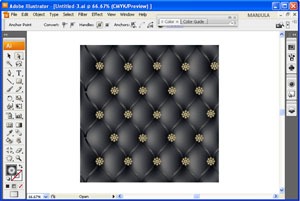
Final preview:
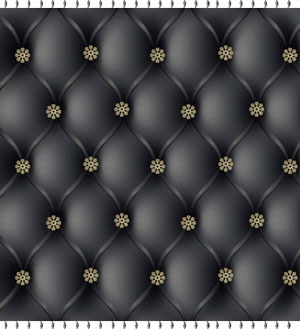
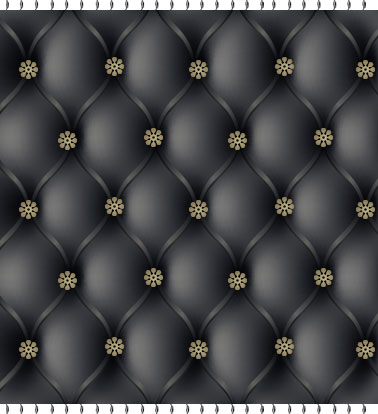
Step-1 Draw a rectangle in an illustrator document and fill gray like color.
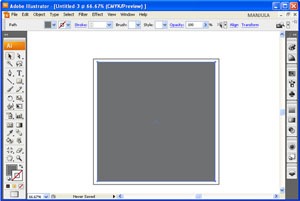

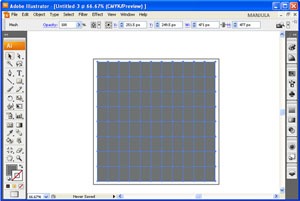
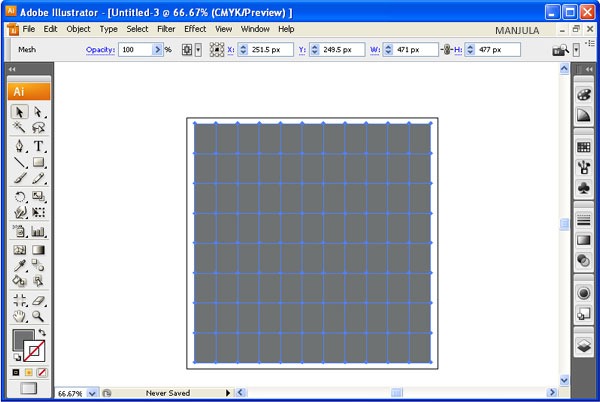
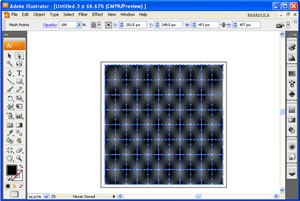
Step-2 Go to Object > Create Gradient Mesh and give the number of rows and columns you required.
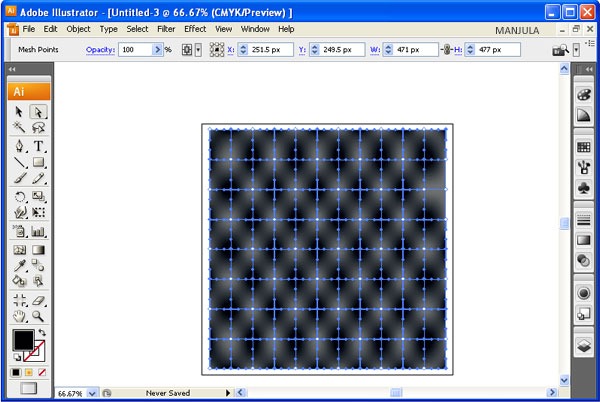
Step-3 Select the nodes of the mesh in checker wise direction using direct selection tool.
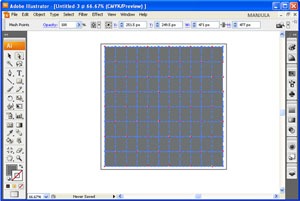
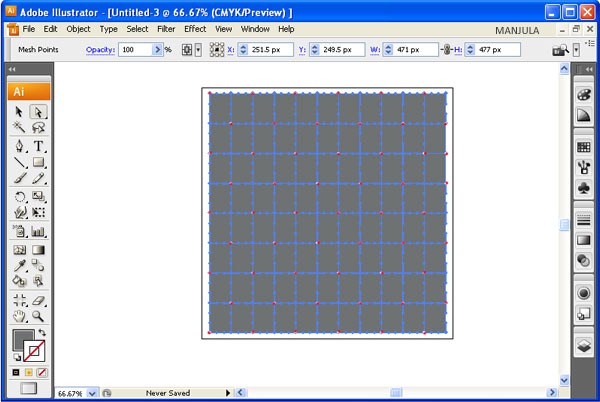
Step-4 Change the color of the nodes to dark gray.
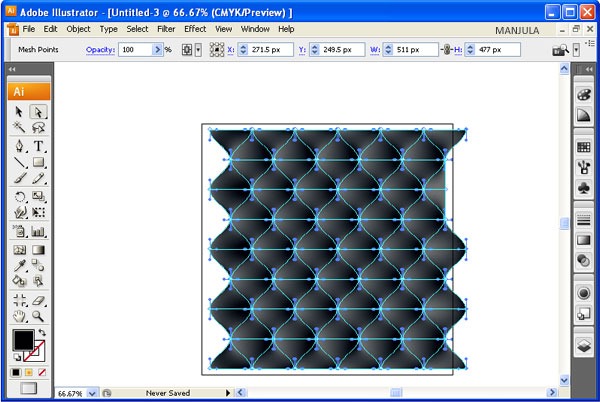
Step-5 Don’t leaves the selection of nodes. Go to Object > Transform > Move.

Step-6 Create a line using pen tool as shown below.
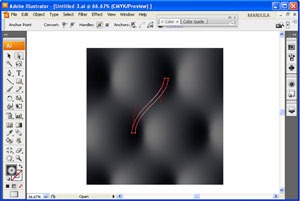
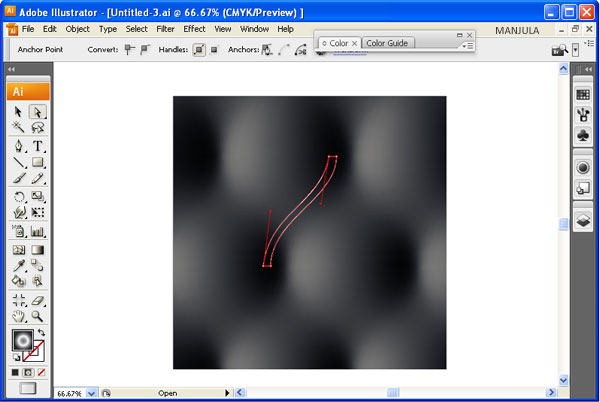
Step-7 fills it with gradient colors of black shades.

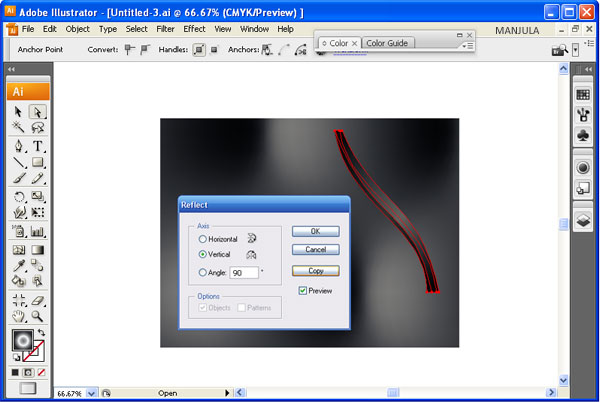
Step-8 Go to Object > Transform > Reflect and hit the Copy button.

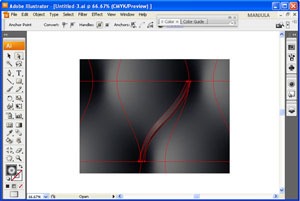
Step-9 Go to Effect > Distort & Transform > Transform and set the parameters as shown below.


Step-10 Duplicate the line and cover the entire upholstery.
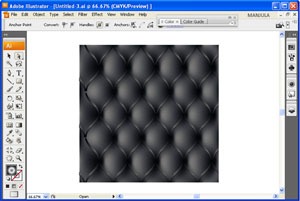
Step-11 Draw a rectangle in the size of upholstery. Select all the objects and go to Object > Clipping Mask.
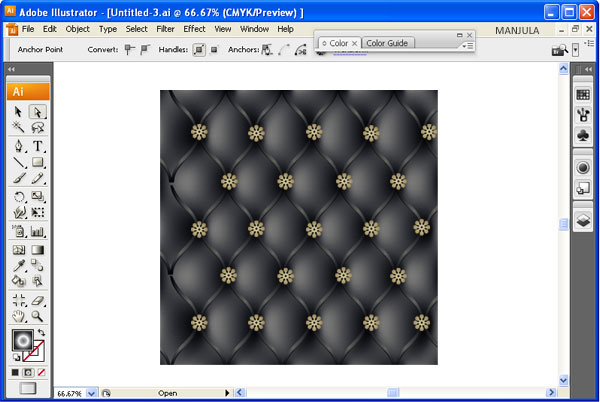
Step-12 Decorate it with ornamental nails.
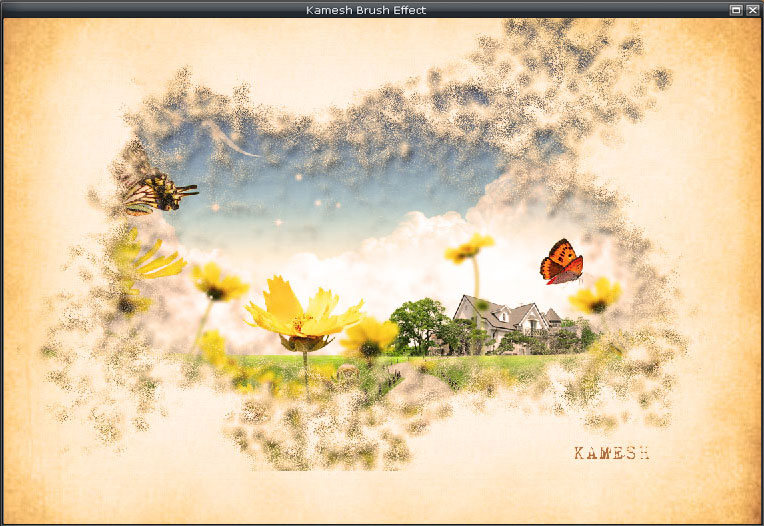
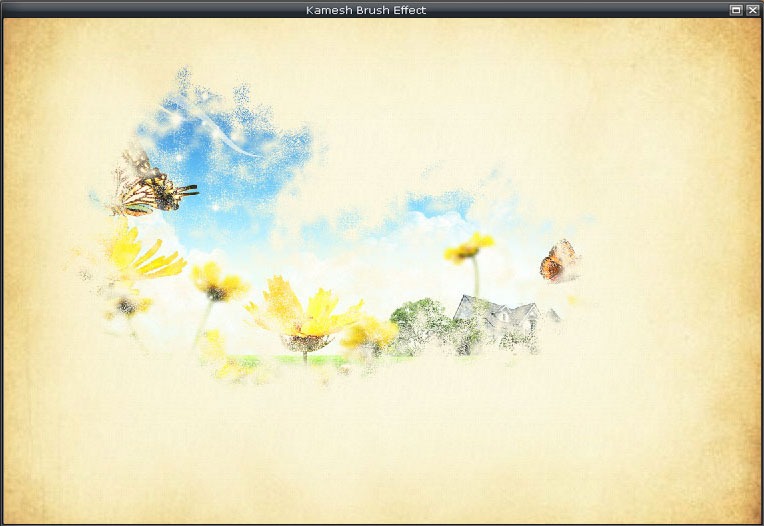
how to use water color in photoshop cs5
Step 1
Open Photoshop and create a new document, I’m using 1920×1200 pixels.


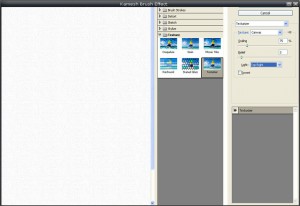
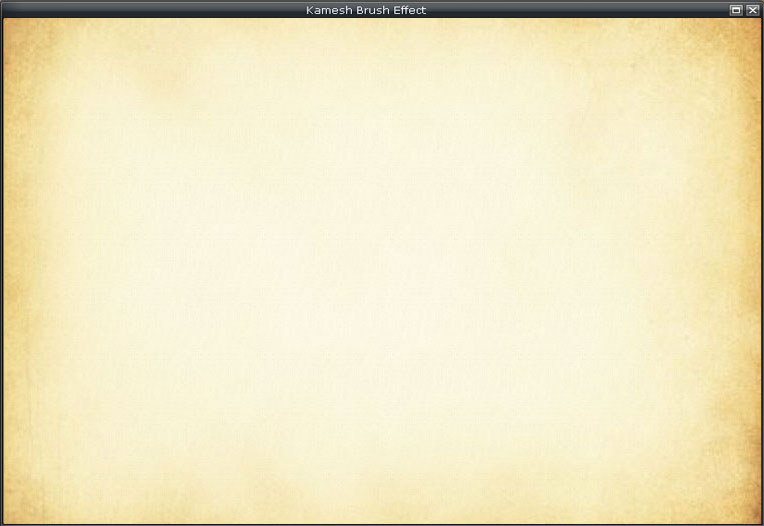
Step 2
Add a new layer, fill it with white then make sure you have black and white for the foreground and background colors. Then go to Filter>Texture>Texturizer. Use Canvas for the Texture, 75% for the Scaling, 3 for the Relief and for the Light choose Top Right.

Step 3
Let’s add a nice texture. You can use the image of your choice. Place the image in the document on top of the other layers. After that, change the Opacity to 75%.

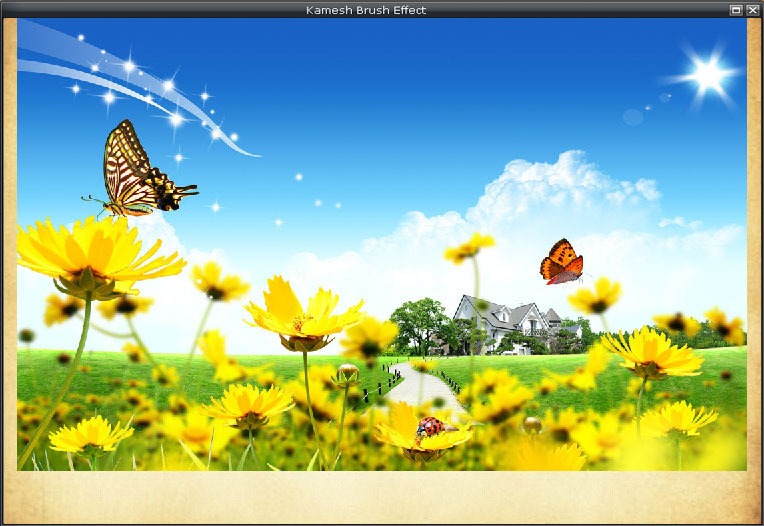
Step 4
Now let’s place an image in our document. I’m using a photo of a guy walking in the field . The image has to go beneath the texture layer. After that go to Layer>Group Layer. The layer of the image will be inside a folder in the Layer Palette. Select the folder and go to Layer>Layer Mask>Hide all.
Step 5
The image is hiding because of the mask. So now, let’s use some Watercolor Brushes. So select one of the watercolor brushes and them white for the color and paint on the layer mask of the group. You will notice that the image will start showing.

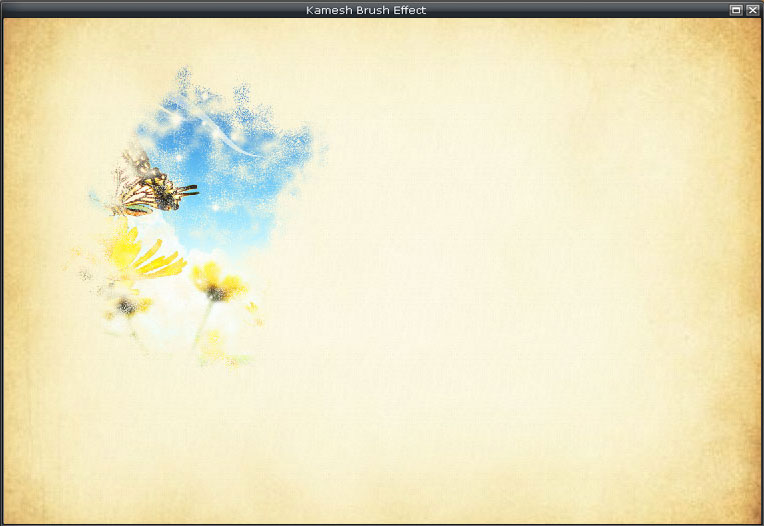
Step 6
Pick another Brush and paint again.

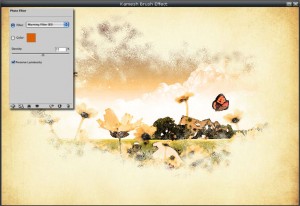
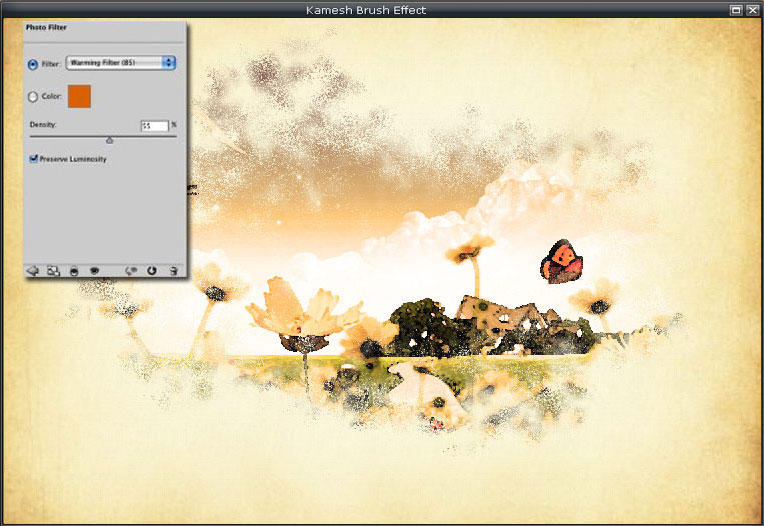
Step 7
Let’s just adjust the color of the image. Select the image and go to Image>Adjustment>Photo Filter. Select Warning Filter (85) and 55% for the Density. Also select the Preserve Luminosity option
Conclusion
Just place your logo and that it you will have a really cool effect and super simple to achieve. That can be used for website headers to create a simply awesome design, and, of course to create posters. Also you can reduce the opacity of the paper texture. I reduced to 50%, that way we can drive the viewer’s attention to the watercolor effect.