


Archive for January, 2015
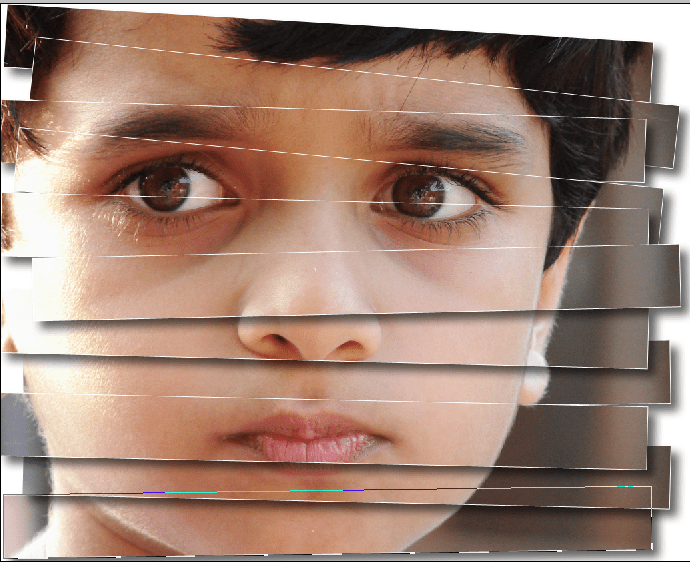
Photo Panel Effects in Horizontal Using Photoshop


Step: 1
New image opened on Photoshop, next adding a solid color fill layer using background for the effect. Click new fill icon button choose solid color adjustment layers. Choose picker is by entering 255 for the RGB value.
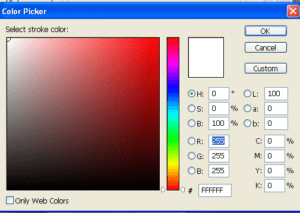
Click ok button your document will appear filled with white.
Close color fill layer.
Step: 2
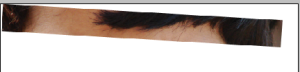
Select the rectangle tool, Next Draw first horizontal panel top to bottom, so start over the top.
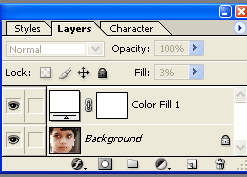
Double-click on the layer name “Rectangle 1”Rename it “panel” Press enter to accept the name change. Rotate the panel with free transform path (ctrl+t).
Now that added your first horizontal panel, opened color fill layer.
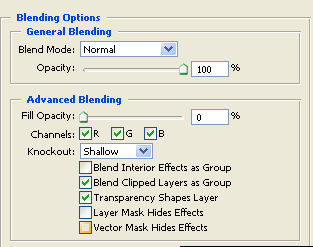
Next choose blending options from the menu.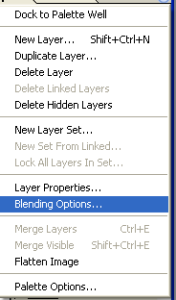

Open the layer style dialog box set to the blending option in advanced blending, change the knockout option selection from shallow, and then lower the fill opacity down 0%.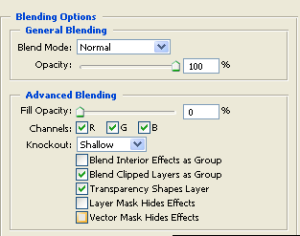
Step: 3
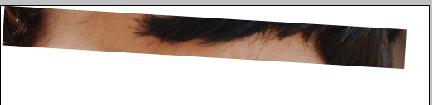
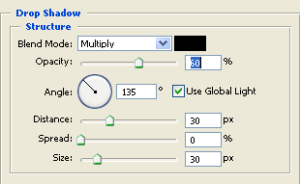
Add a drop shadow to panel, lower the opacity shadow 60%, then set angle to 130% select use global light. Finally increase the distance and size around 30px.

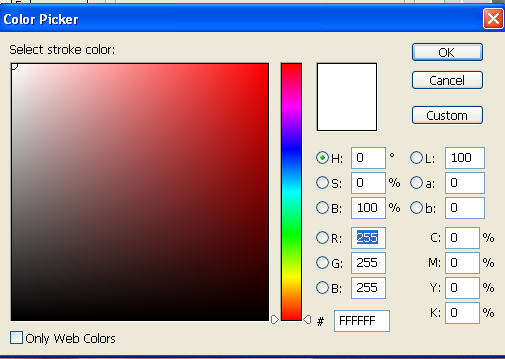
Add a stroke; choose new color by entering 255 for the RGB value. Then change structure size 12px and select position “inside”.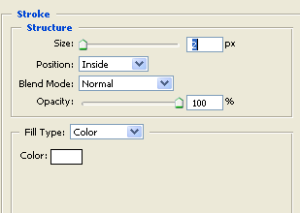

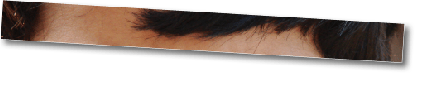
Drop shadow and stroke applied in panel.
Step: 4
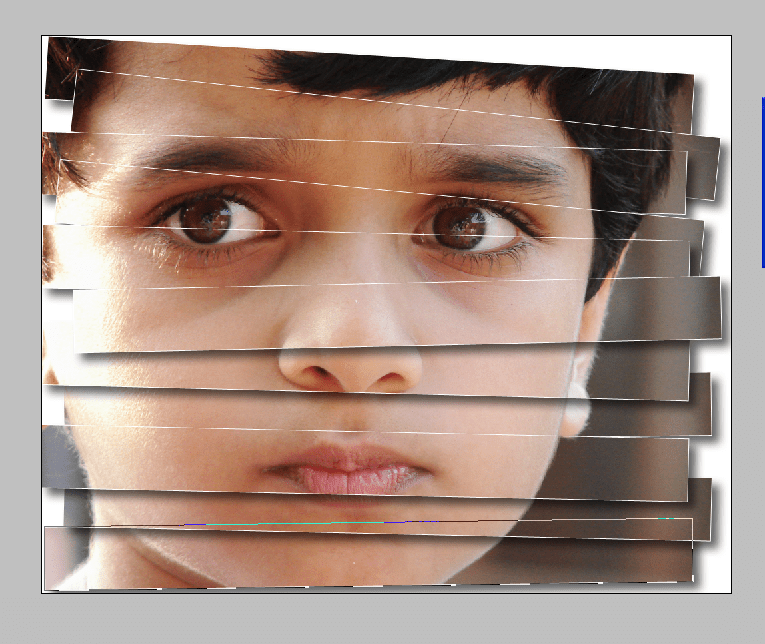
Now ready to add our next all panels. Make select duplicate panel, or simple pressing Ctrl+j on your keyboard.
“All horizontal panel style follows in first panel style “

Step: 5
Finally Select the Crop Tool from the Tools panel make sure you select Delete Cropped Pixels in the Options Bar. Select option original image inside the cropped, press enter button to crop the image. The photo inside the panels will reappear, giving us our finally “Horizontal photo panels” effect.
Quick Search
Blogroll
Categories
| M | T | W | T | F | S | S |
|---|---|---|---|---|---|---|
| 1 | 2 | 3 | 4 | |||
| 5 | 6 | 7 | 8 | 9 | 10 | 11 |
| 12 | 13 | 14 | 15 | 16 | 17 | 18 |
| 19 | 20 | 21 | 22 | 23 | 24 | 25 |
| 26 | 27 | 28 | 29 | 30 | 31 | |