


How to create a Nashville filter from Instagram using Photoshop
Step1:
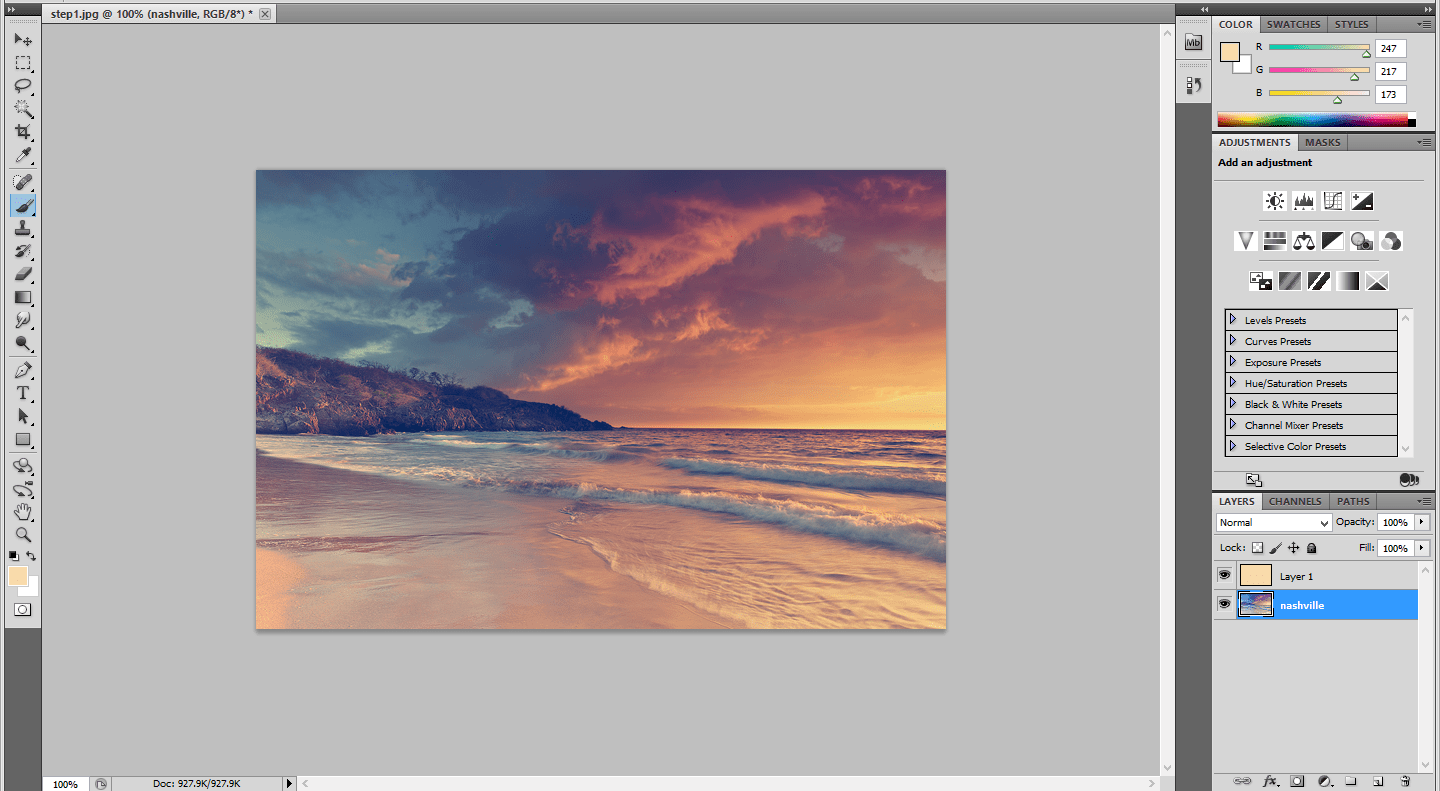
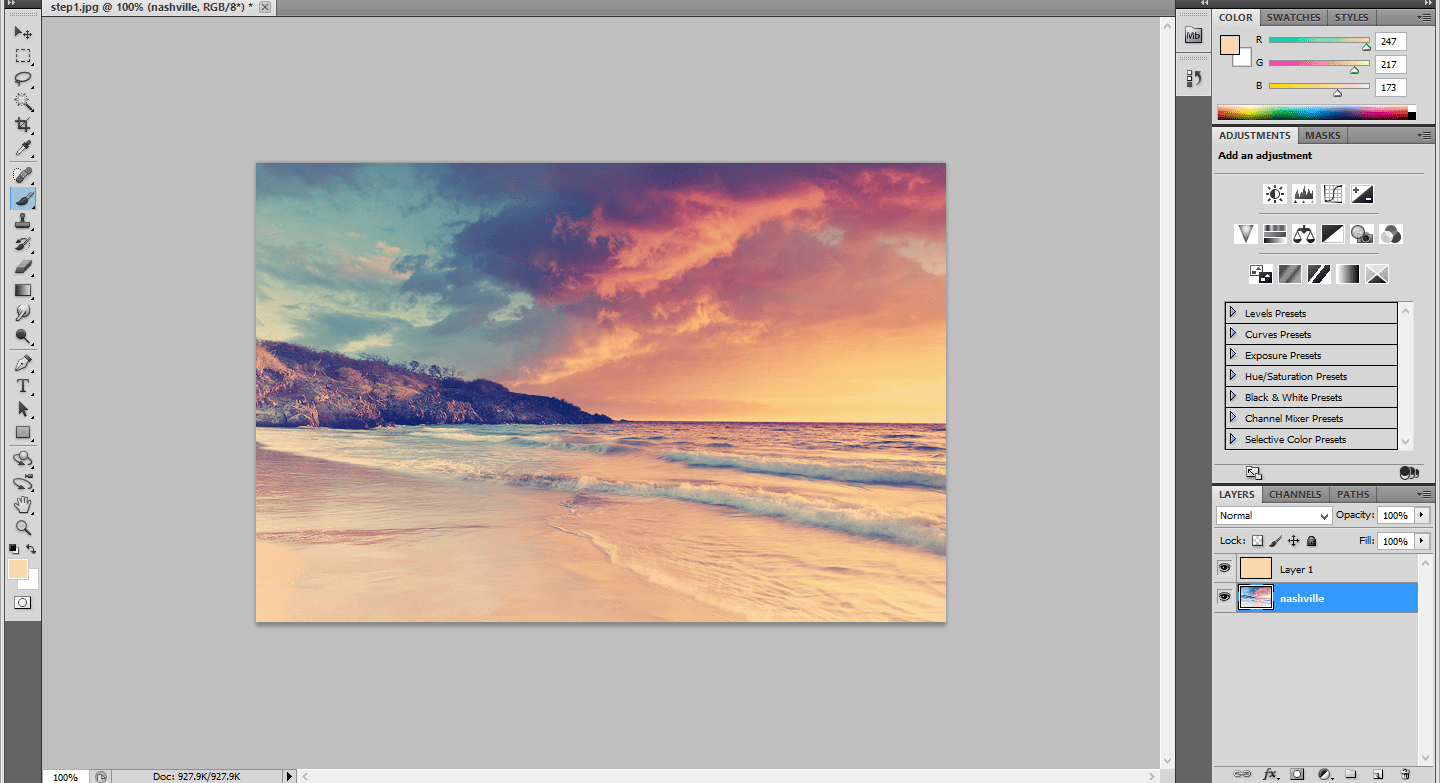
Open the Photo document in Photoshop and Edit the layer name as Nashville. Create a New layer above this layer.
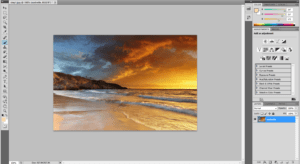
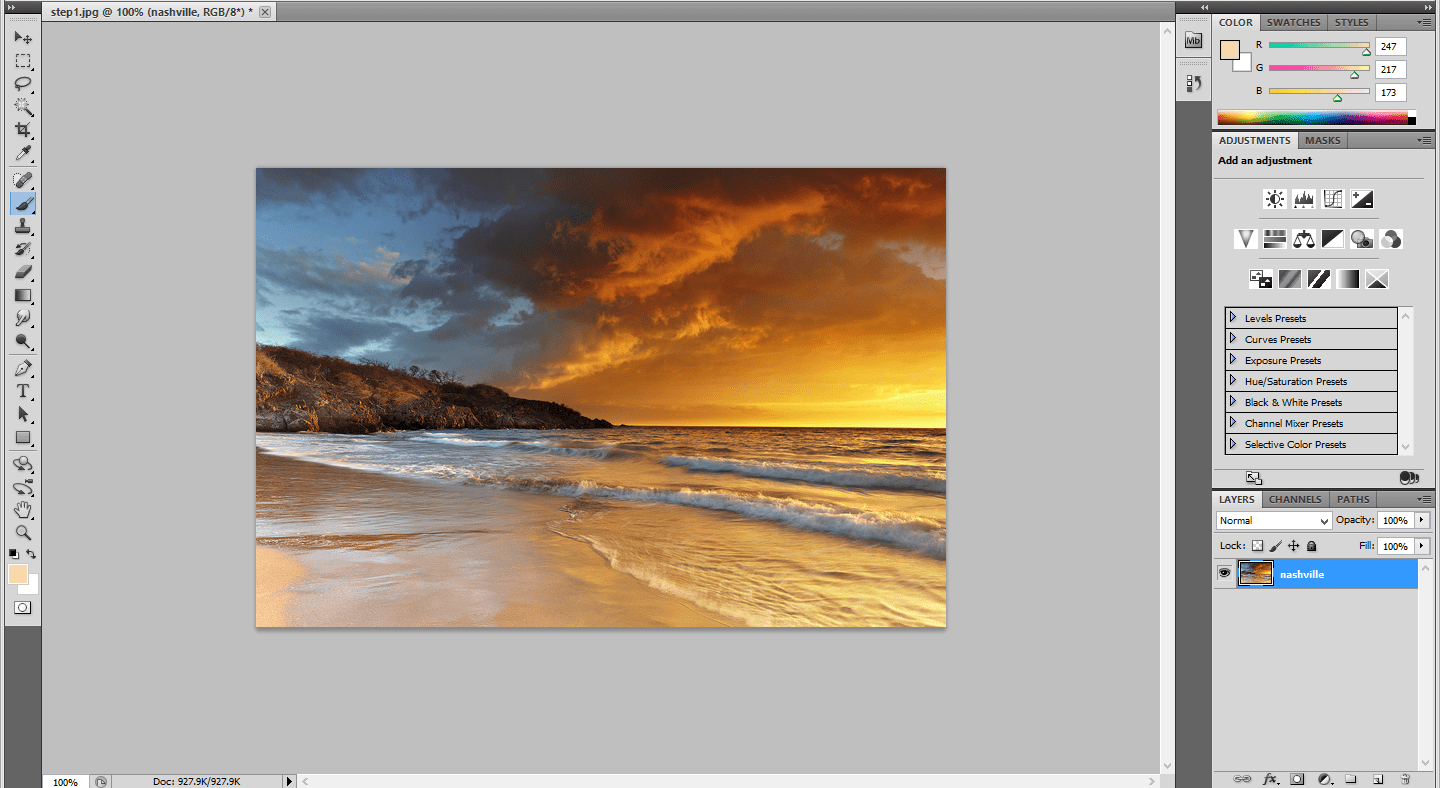
Beautiful Scenery of sun set in sea
Step:2
Fill the Color in the new layer. The color should be as follows: Red-247, Green- 217, Blue- 173.Change the blending modes from normal to multiply.

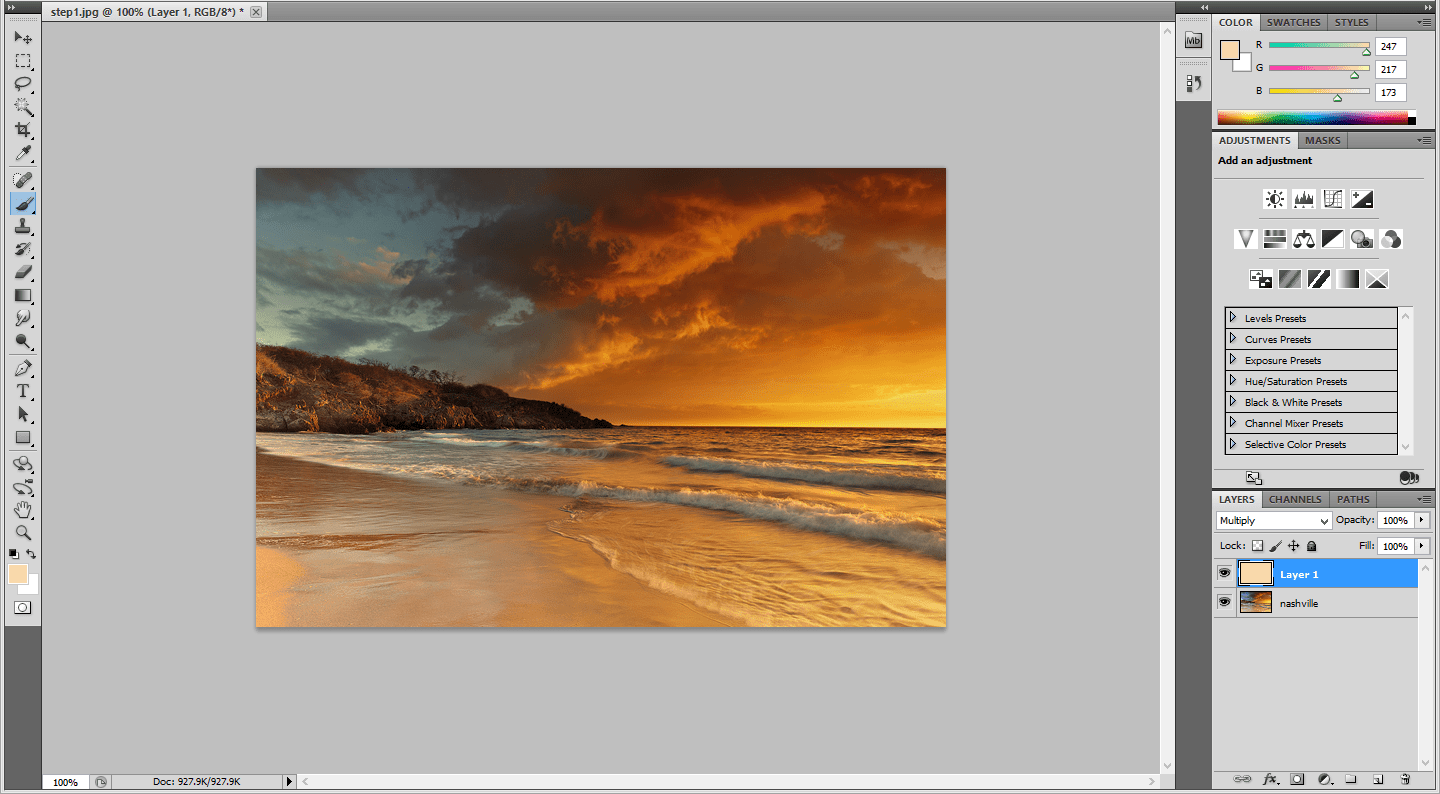
Mixture of colors
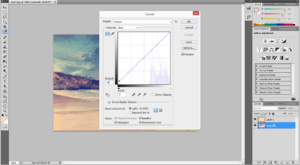
Step:3
Click on the Nashville Layer and go to image-> adjustments-> Curves.Change the Values as follows. Change the green channel output to 37 and blue channel output to 133.
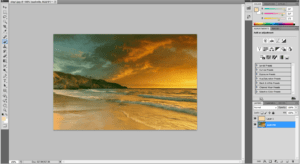

Changes in curves
Filter effects
Step:4
Again go to Image -> Adjustments -> Levels.Change the Middle value to 1.36 and input to 236.

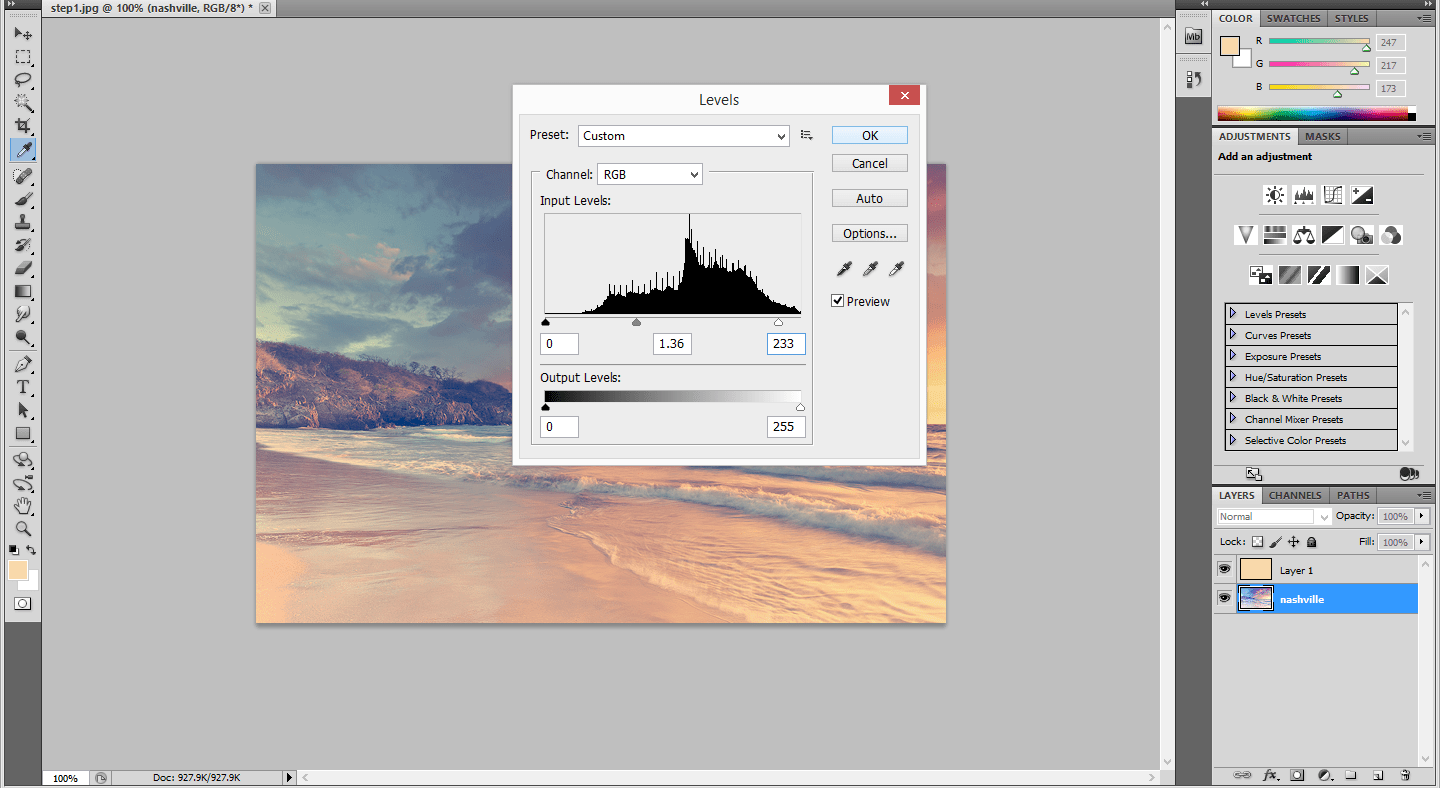
Brightness in the sea view
Step:5
Go to Image-> adjustments-> Brightness/Contrast and change the brightness value as 6 and contrast value to 51.
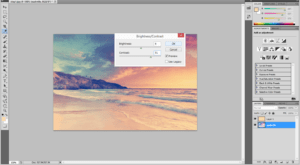

Fantastic Sea view
Step:6
Again go to image-> adjustments-> Curves. Change the green channel input to 13 and blue channel input to 88.

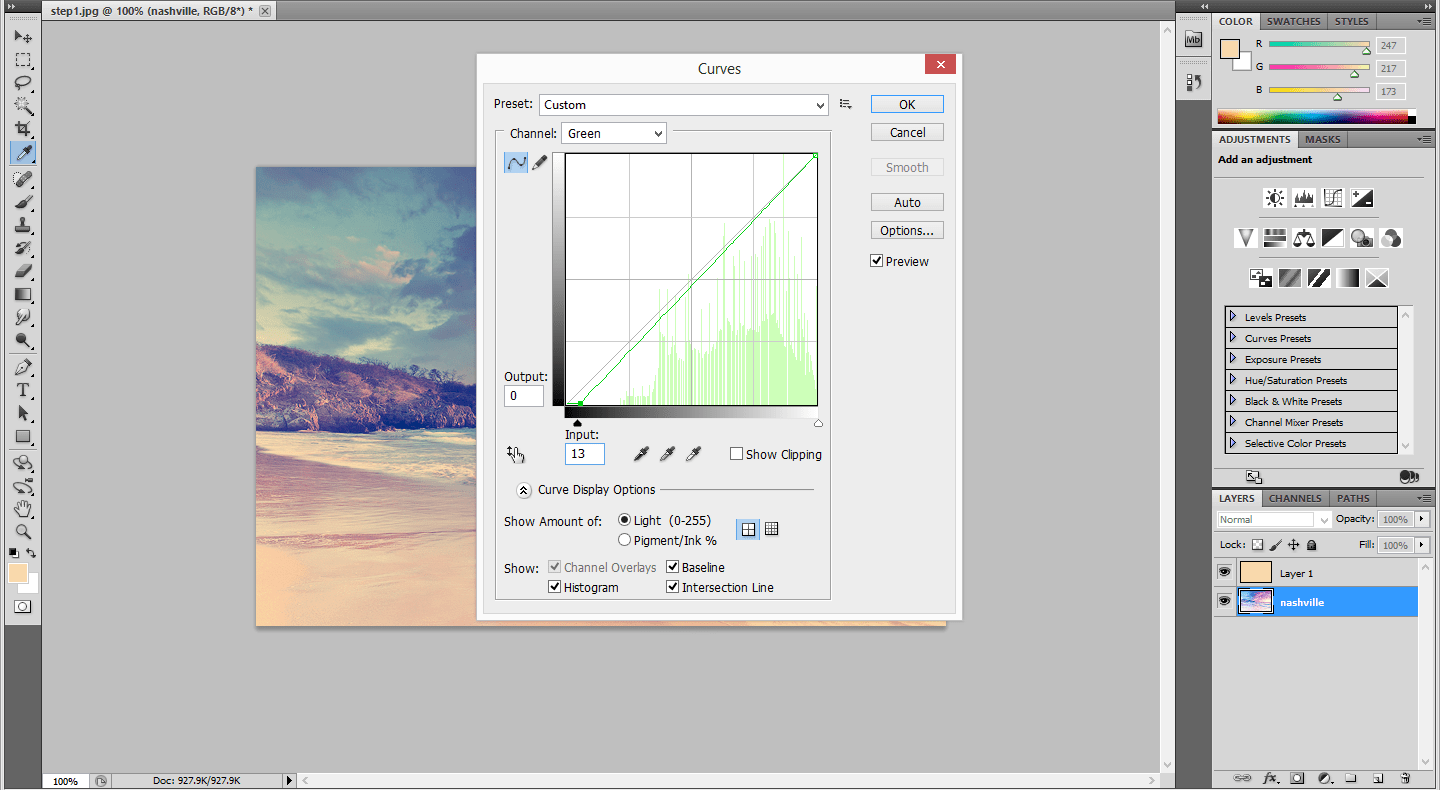
Depth in the Filter effect

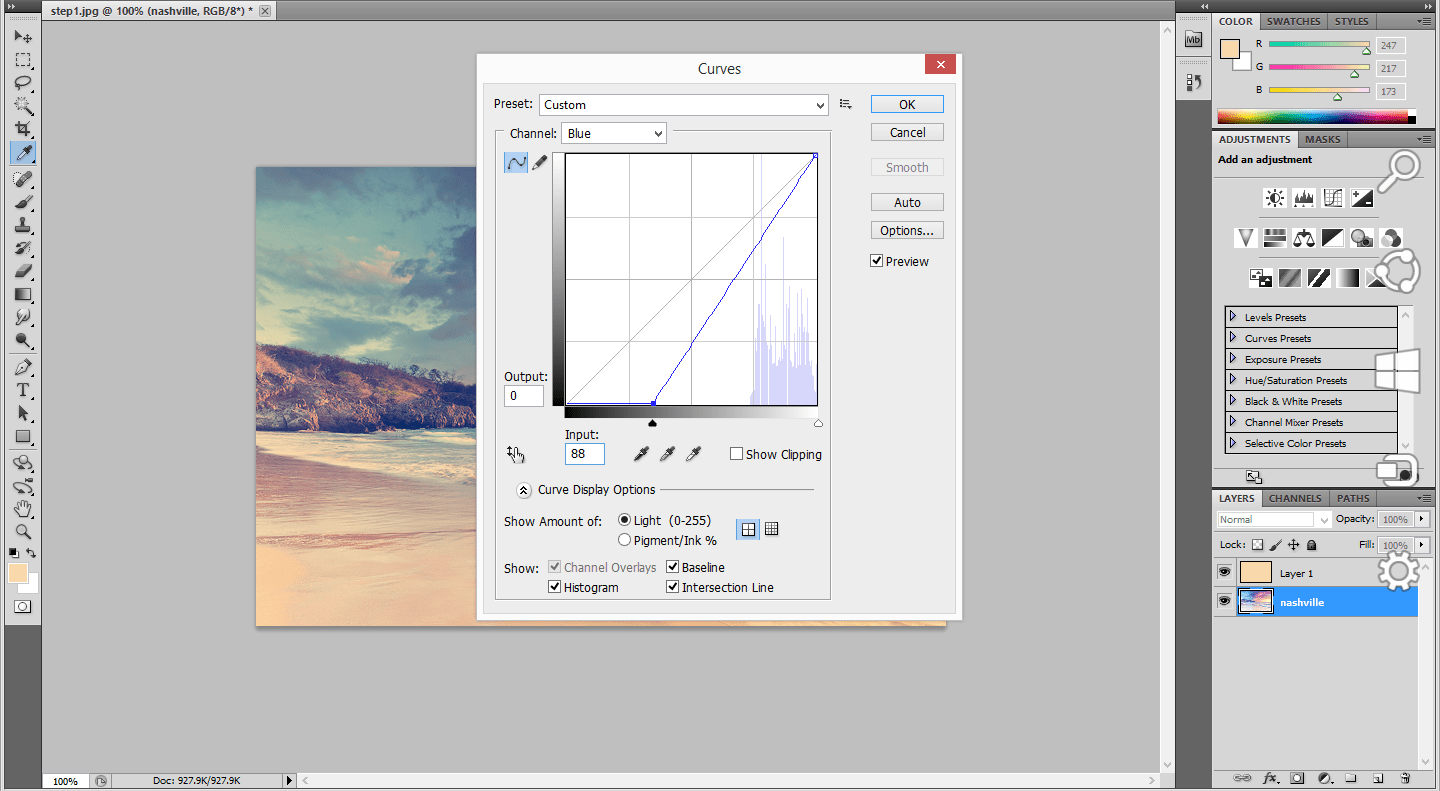
Excellent sun set in sky
Step:7
To give a more depth go to image ->adjustments-> Brightness/Contrast.Change the brightness value as -6 and Contrast value as 33.

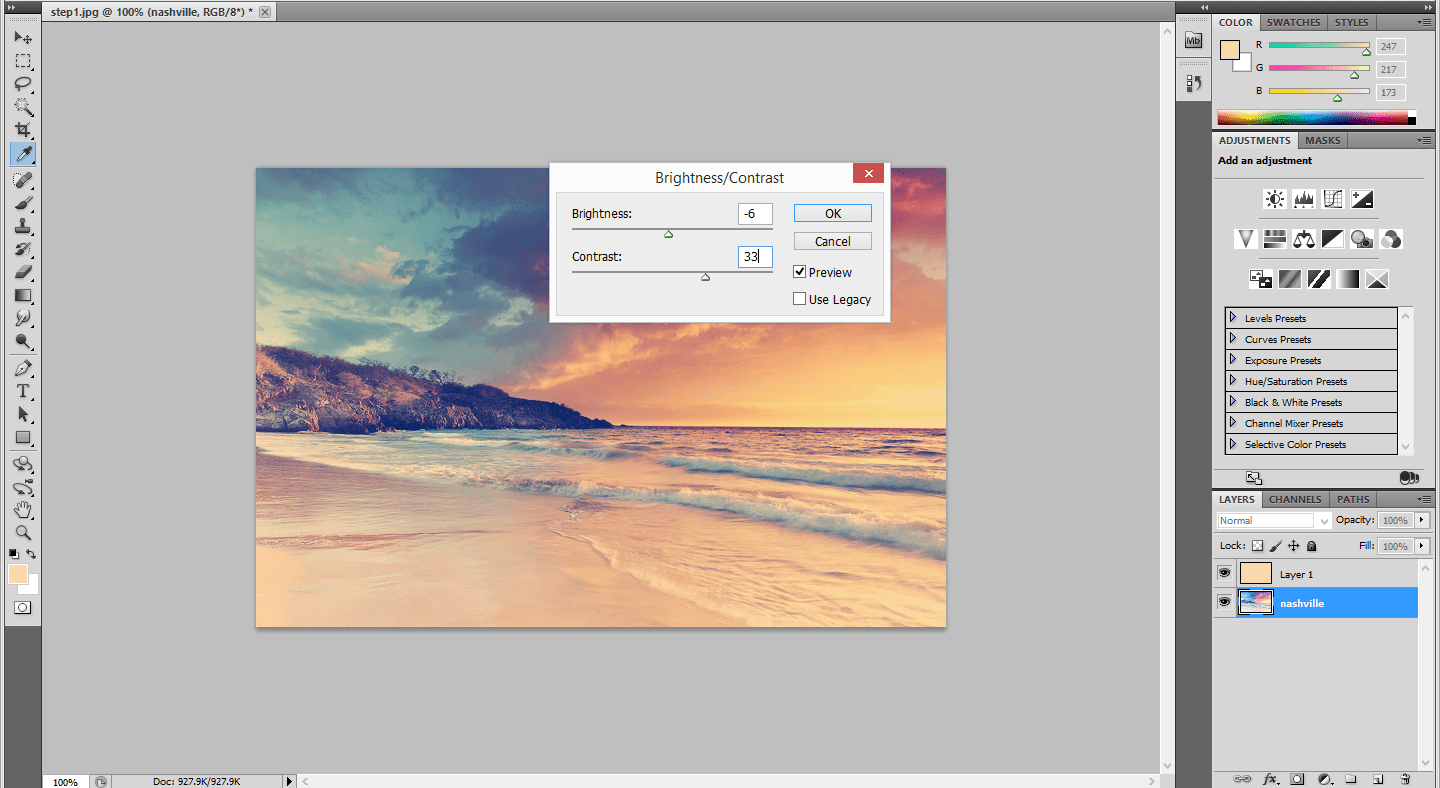
scenery view
Step:8
Then again go to Image->adjustments-> Curves. Change the red channel output to 4 and blue channel output to 14.

Filter effect in Photoshop

Best filter effects
Step:9
Now the normal image turns in to Nashville filter effect.
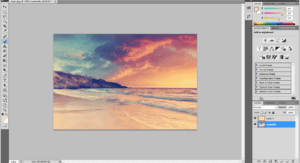
Nashville filter effect in Photoshop
No comments yet.