


Archive for May, 2014
CREATE A DOWNLOAD FOLDER ICON IN PHOTOSHOP CS5
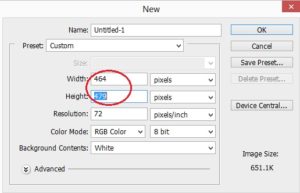
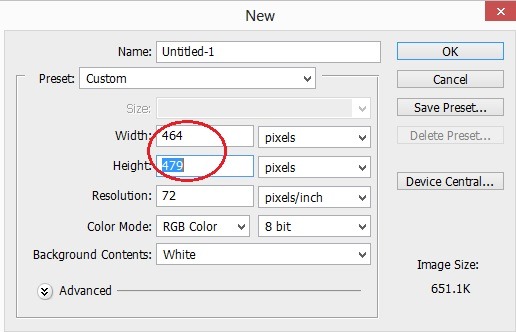
Step 1 : Create a new document
Create a document with preferred size. Set the background to transparent.
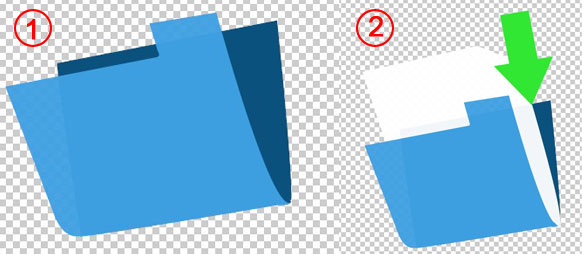
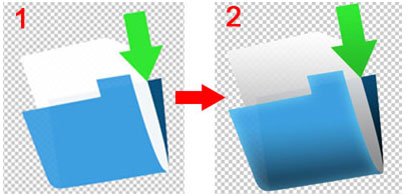
Step 2 : Create Shape
Draw the dark and light shape using pen tool.
Then draw a white paper and arrow.

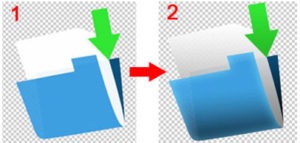
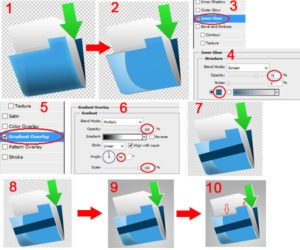
Step 3 : Adding layer style
Apply the following layer style to that shape
Decrease the opacity around 90-95%
Inner Glow
Gradient Overlay


After applying the layer style the shape will be look like this
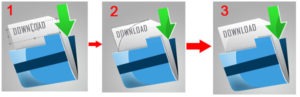
Step 4 : Adding Reflection Margin and Shadows
Using pen tool draw a shape like this below image.
Select brush tool set diameter as 450 and reduce opacity to 63%.
To create stroke lines around corners use pen tool.

Step 5 : Type the text and add reflection
Type Download using Agency FB font style and font size is 60
Using pen tool add shape for some reflection.
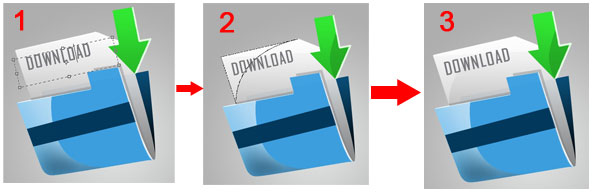
Finally the output will be like this.


Strips Effects using Photoshop CS4
Step1:
Open the new image and rename the layer. For example baby layer. Crop the image.

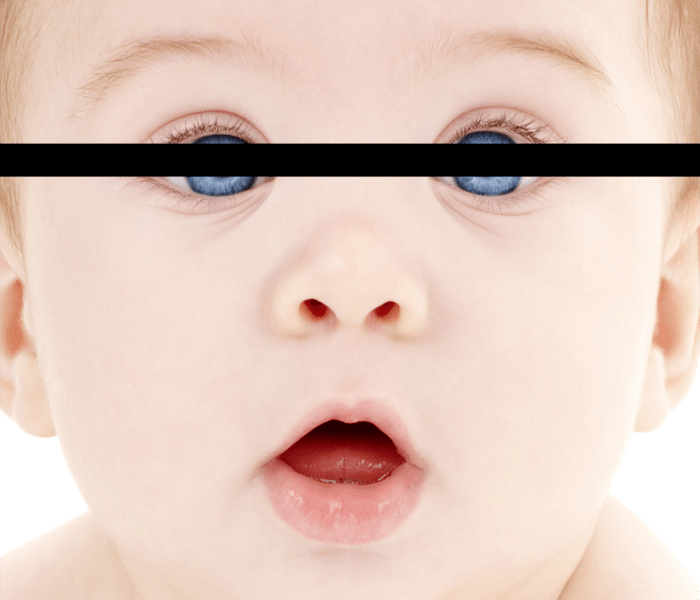
Step2:
Create a new layer above the baby layer. Change the new layer name for example strip layer.
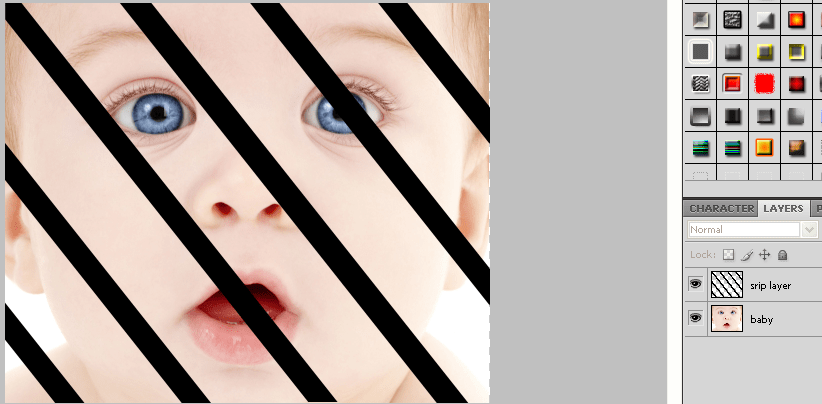
Step 3:
Select the strip layer and select the rectangular selection using the marquee tool. After fill the selection for the black color ( press Alt + Back space). 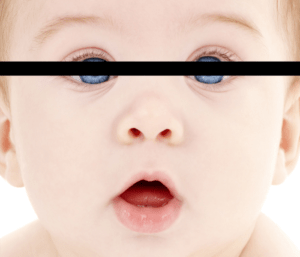
after change the direction for the strip layer for below the image. After merge the strip layers.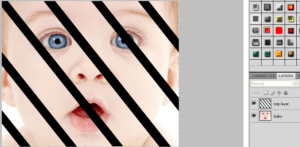
Step 4:
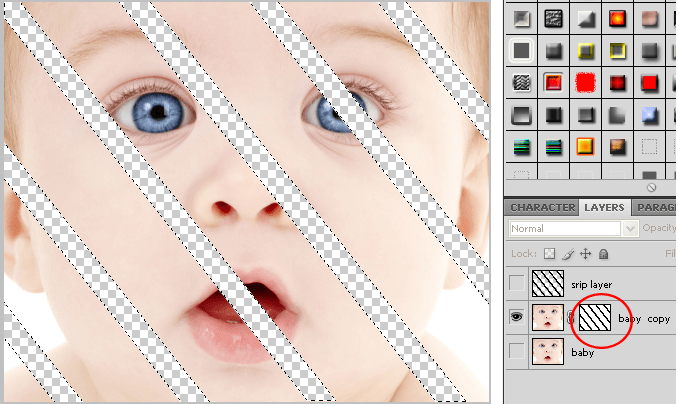
Hide the strip layer eye icon. After copy the baby layer(Ctrl+j ) and hide the original baby layer.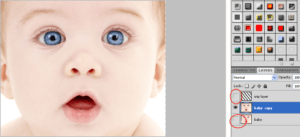

Select the baby copy layer and add the mask.
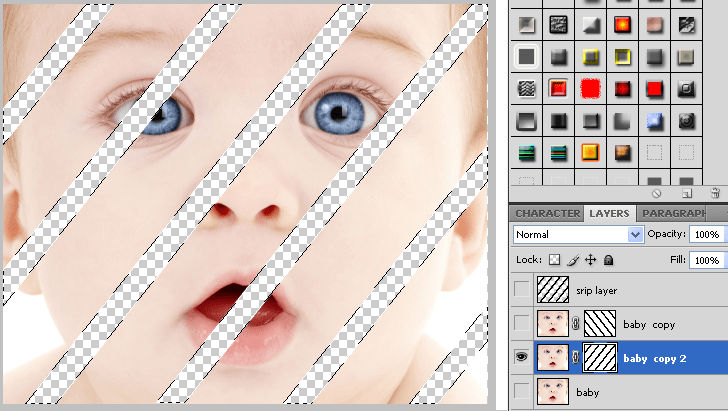
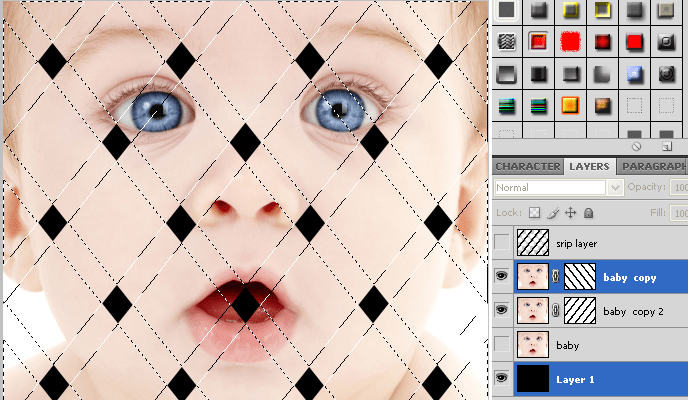
Step5:
First select the Layer mask thumbnail for baby copy layer. Next ctrl+ click the strip layer after press the Alt + back space. You will get below the image. 
Hide the baby layer and unhide the strip layer and select. After crop the strip layer in Selection around the complete layer.
Again copy the original baby layer and add the mask.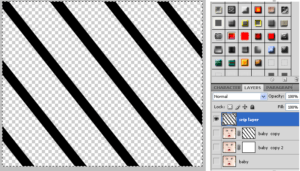
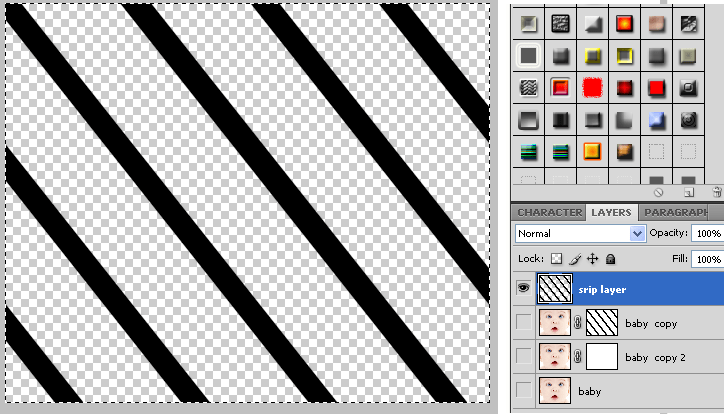
Press the ctrl + t and right click to select the flip horizontal and press enter.
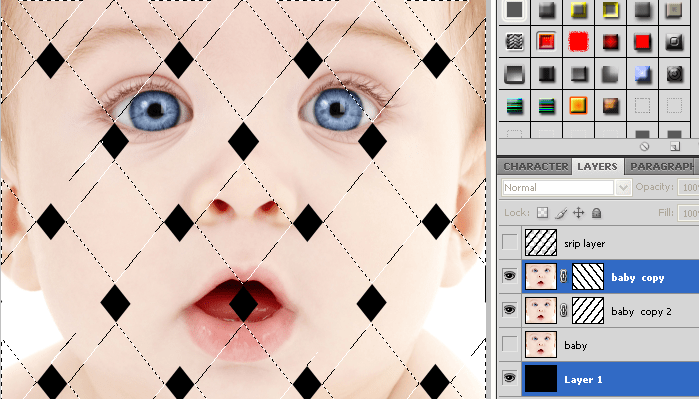
Step 6:
Hide the strip layer and select the baby copy 2 layer and select layer mask thumbnail for baby copy2 layer. Next ctrl+ click the strip layer after press the Alt + back space. You will get below the image.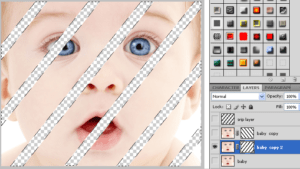
Step7:
Deselect the selection and add the new layer below the all the layer and also fill the black color. Unhide the baby copy layer and you get below the image. 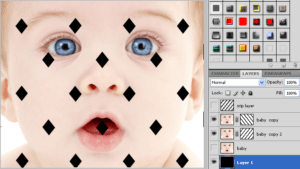

Next press the ctrl + click on baby copy layer mask thumbnail and you will get below the image.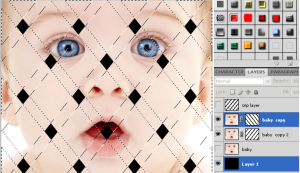
Step 8:
Select the baby copy layer and deselect the alternate boxes using lasso tool and select the original baby layer and press the Ctrl + j. 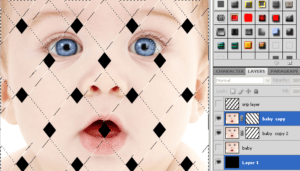
Next you will get the new layer after change the layer name for example shape1.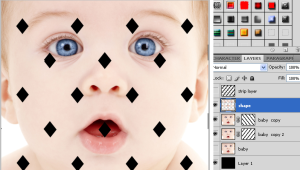

Step 9:
Next select the baby copy layer.
Next follow the step 8
This time deselect the other alternate selection boxes. New layer name is shape2.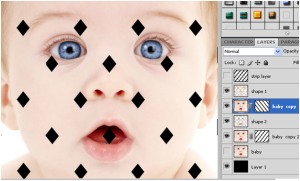

Next select the shape1 layer and right click after press create clipping mask.
This time select the shape2 layer and right click after press create clipping mask.
Step10:
Double click the shape1 layer and change the blend mode screen to normal.
Choose the color black and size is 60, range is 55 and opacity 75. Other values are set 0.
Next same as the shape2. Finally you will get below the Final image.
Final strips effect image.

PLASTIC LETTERS USING PHOTOSHOP
Step 1:Add the new layer and fill the color
Open the new document. And background fills the black color.

Next add the Text Document. Types the word that time creates a layer in layer panel. Rename the layer name. For example “plastic”. 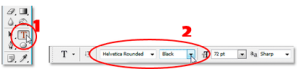

Step 2: Apply the Color Overlay
Select the plastic layer
Next click to add a layer style select the color overlay and choose the color and apply.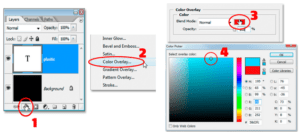

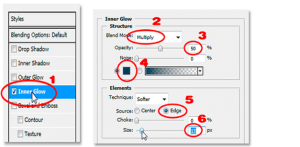
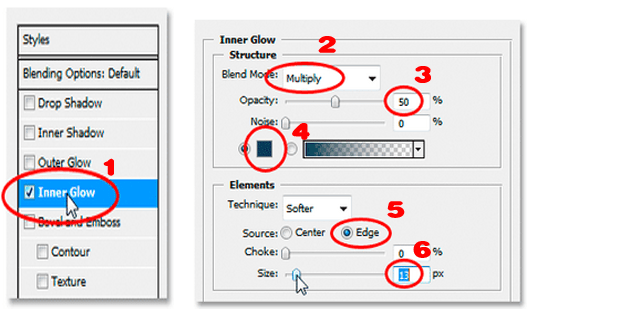
Step 3 Apply Inner Glow
First click to add a layer style and select the Inner Glow and changes the size, blend mode, opacity, source, and color. And you get the below image.
v
Step 4: Apply Bevel Emboss
Select the Bevel Emboss and changes below the image representation and after you will get the result. 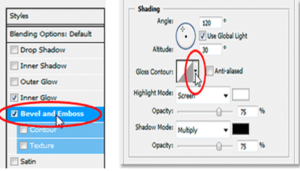

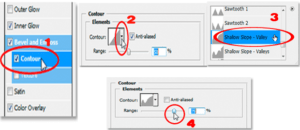
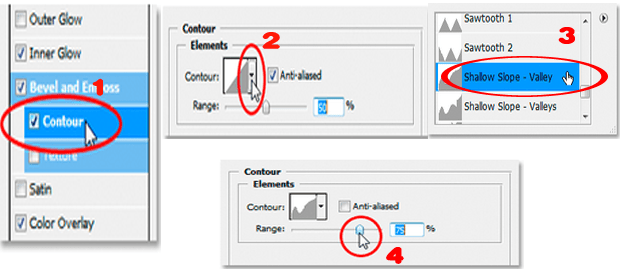
Step 4: Apply Contour And Stroke.
First Select the contour and apply below the changes and you will get the image. After apply the stroke for the same color or any other matching color.
Finally you will get the plastic letters image.
¬
Final Image is given below.

Light effects text in photoshop
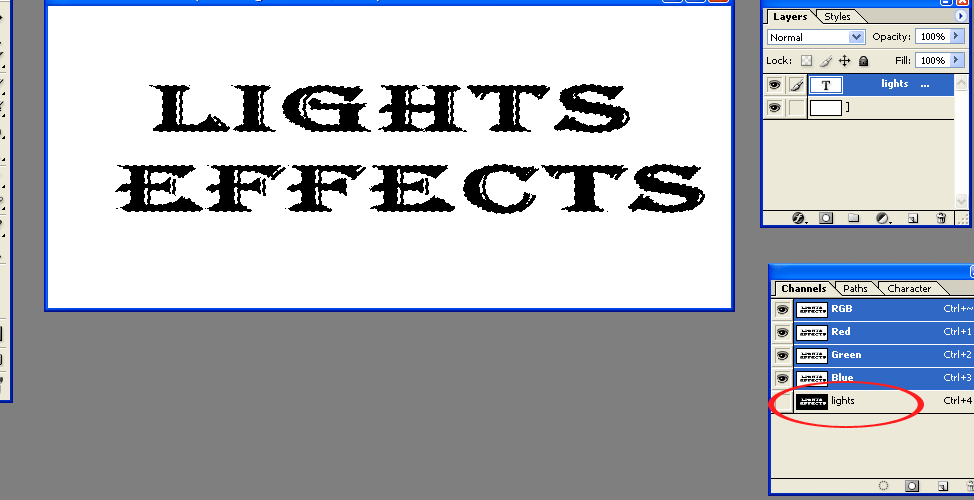
Step 1:Add the new layer and text
Add the new blank document and unlock the layer. Add your text for example lights effects.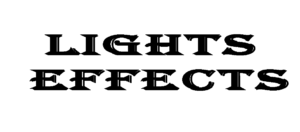
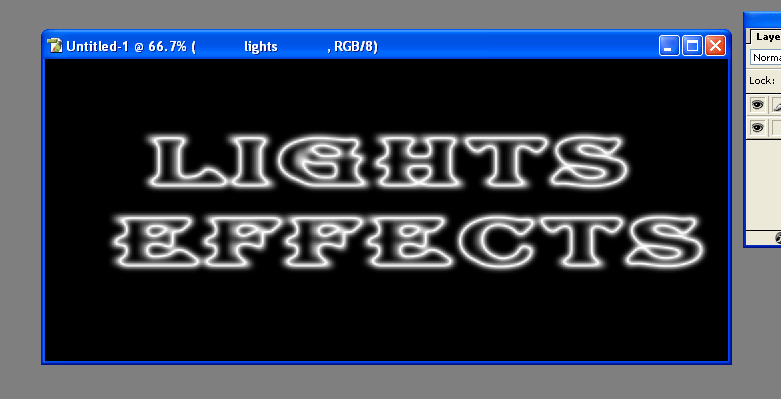
Step 2: Rasterice the text
Go to the layer menu and select the Rasterice and then select the type. After the rasterice the text you will press the “ ctrl ” and then click the text layer after you will get selected around the text.
Next go to the select menu and choose the save selection and create a new channel.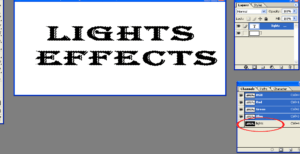
After the save selection you will deselect “ ctrl + d ” the text.
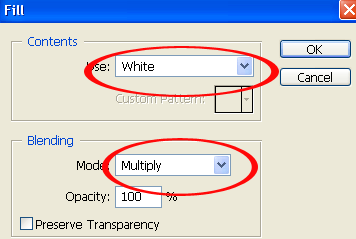
Step 3: using fill option
Go to the edit menu and select fill option and select the
“White” and “multiply”. Next go to the filter menu and select the blur and also select the Gaussian blur.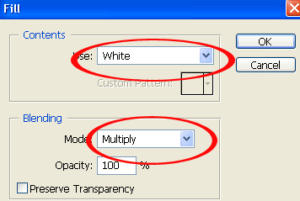
Step 4: Apply the Solarize
First go to the filter option and select the stylize and then select the solarize.and you will get given below the image.
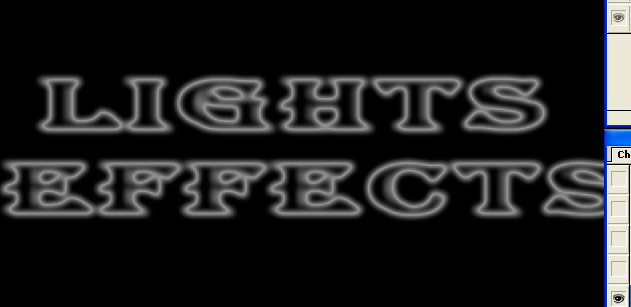
Next adjust the levels press the “ctrl +shift+ L”. auto adjust the leval, your text is brighter.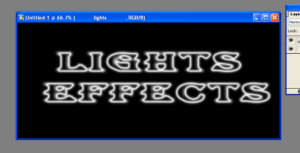
Next copy the layer.
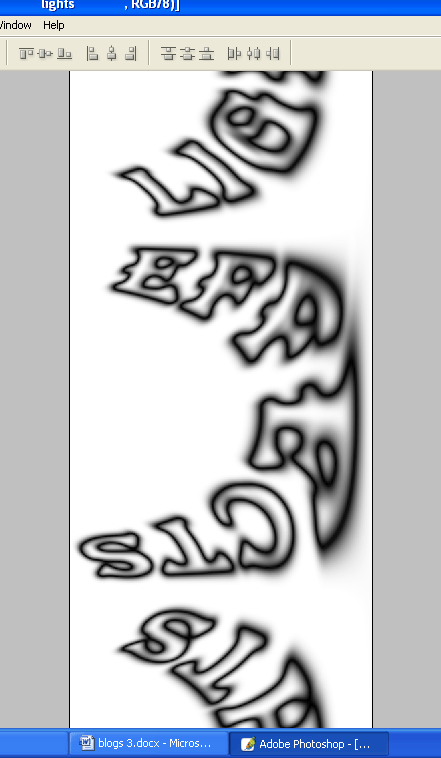
Step 5: Apply The “Polar Coordinates”
Go to the filter select the Distort and then select the polar Coordinates.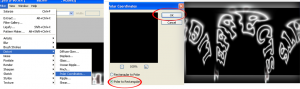

Step 6: Rotate The Image 90 Degrees Clockwise
Go to the image menu select the rotate canvas and then select the 90 degree CW.
After invert the image “ctrl + I”.
Step 7: apply the wind option
Go to the filter menu and select the stylize and also select the wind option.
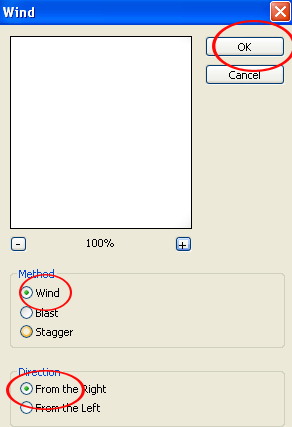
Apply the wind option again two times.
Next invert the image again.


Step 8: Apply the Wind option more then three times
Go to the filter menu select the stylize and select the wind option more then three times.
Next again select the auto levels( Shift +Ctrl+L).
Step 9: Rotate the image 90 degree ccw.
Go to the image menu and select the canvas and also select the 90 degree CCW.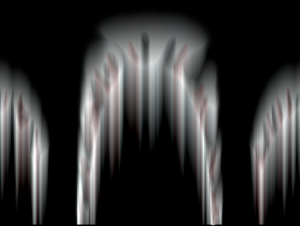

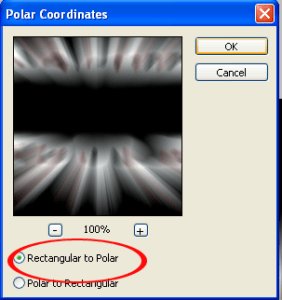
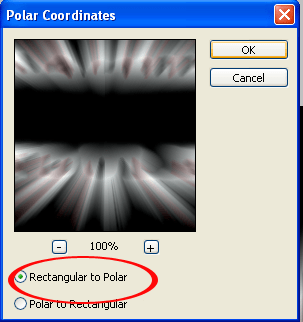
Step 10: Apply the polar coordinates
Go to the filter menu select the distort and also select the polar coordinates.
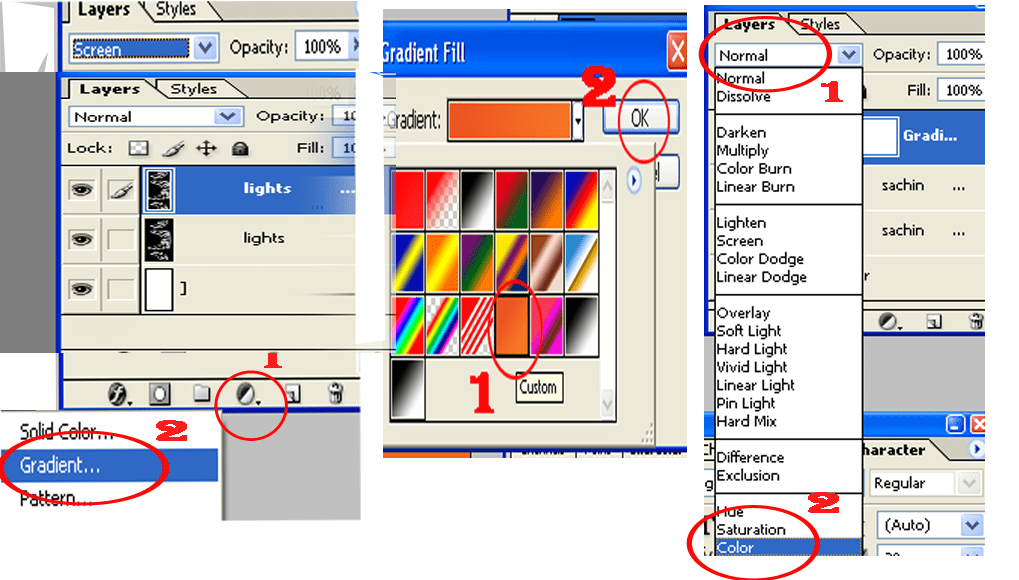
Next copy the layer and select blend mode to screen.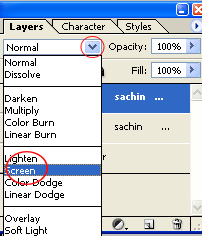
Next apply the Gradient fill

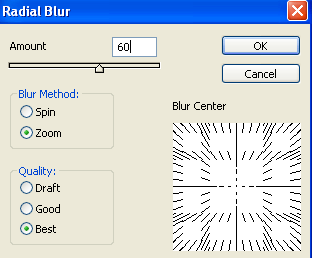
Step 11: Apply The Radial Blur
Next select the channel path and right-click (Win) / Control-click (Mac) anywhere on the lights channel and selection is saved now the selection is loaded in the image.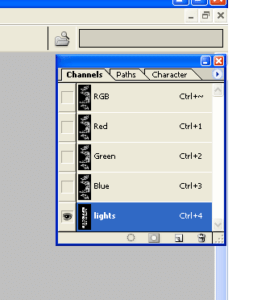
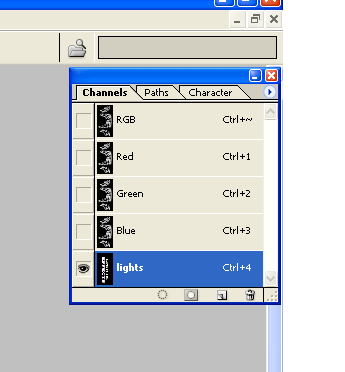
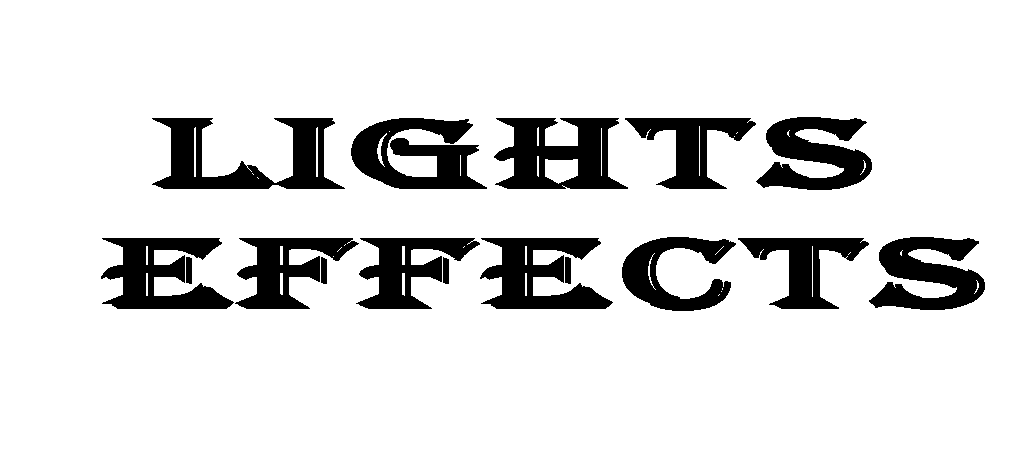
Next select the color and fill the selection (alt+back space).after finish the effect.
Now you will get the final image. 
