1. Open a new document about 400X350 pixels.
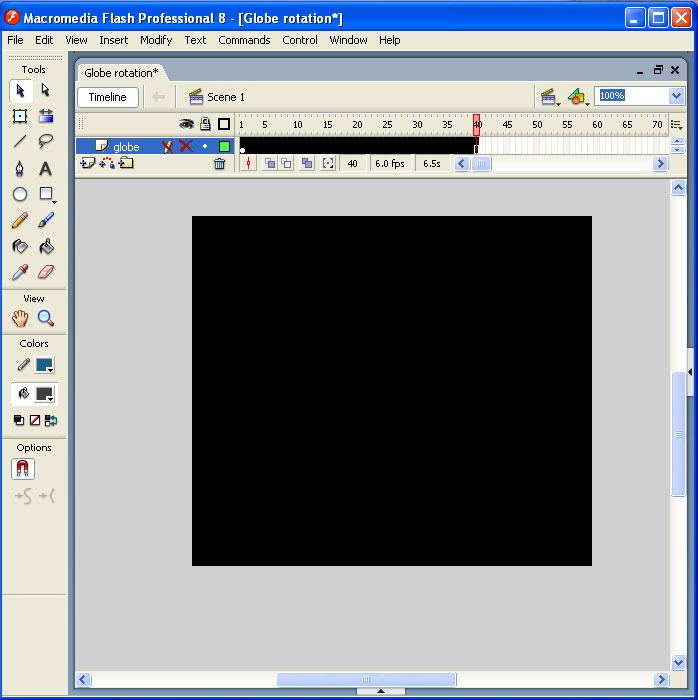
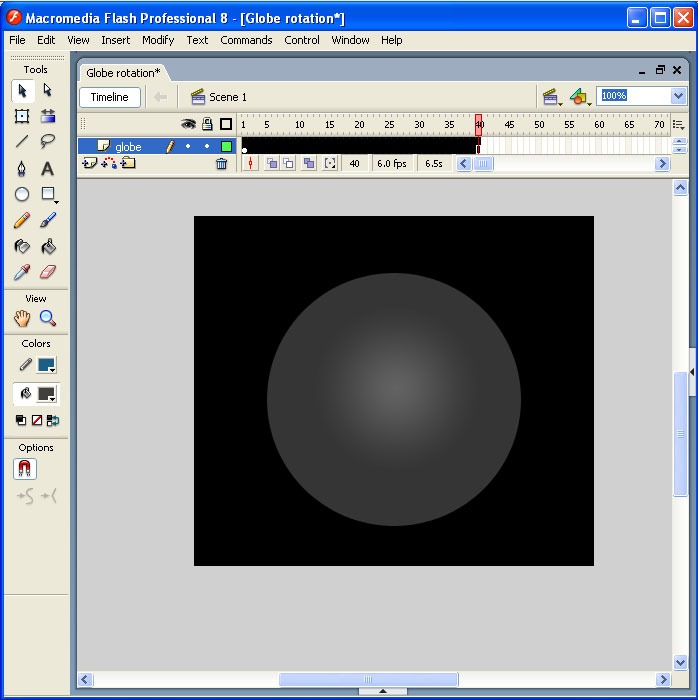
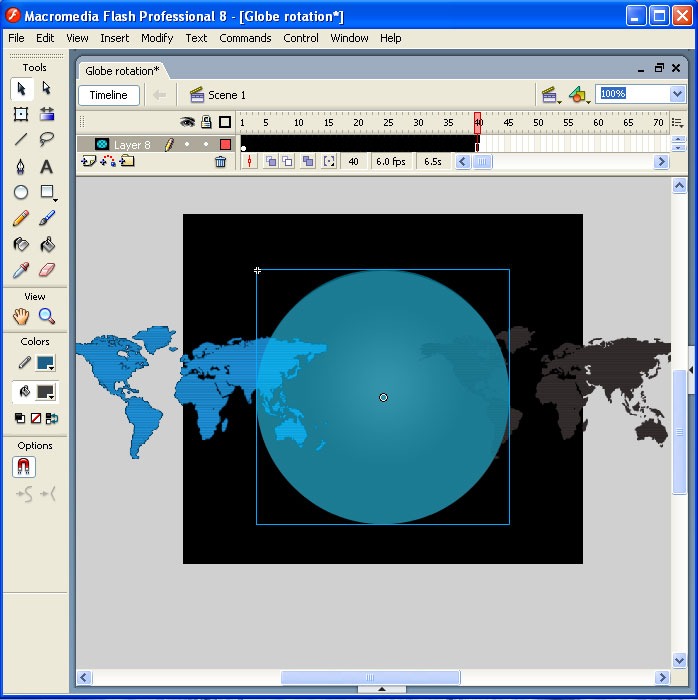
2. Import (ctrl+r) a globe image or draw by your own in flash using gradient effects as like below in Layer-1(name it as globe). Select 30th Keyframe and give F5
3. Create Layer-2 , name it as map and import world map. The below world map I have created here by the following steps:
A) Go to Start –> All Programs –> Accessories –> System Tools –> Character Map –> Select font from font drop down box –> webdings –> Select map and respective code is 0xFB –> Click on select button and click copy button.
B) Open Photoshop pick text tool then select webdings font and paste it.
C) Adjust the color and size of map by increasing the font color and font size. Here I set 200 point.
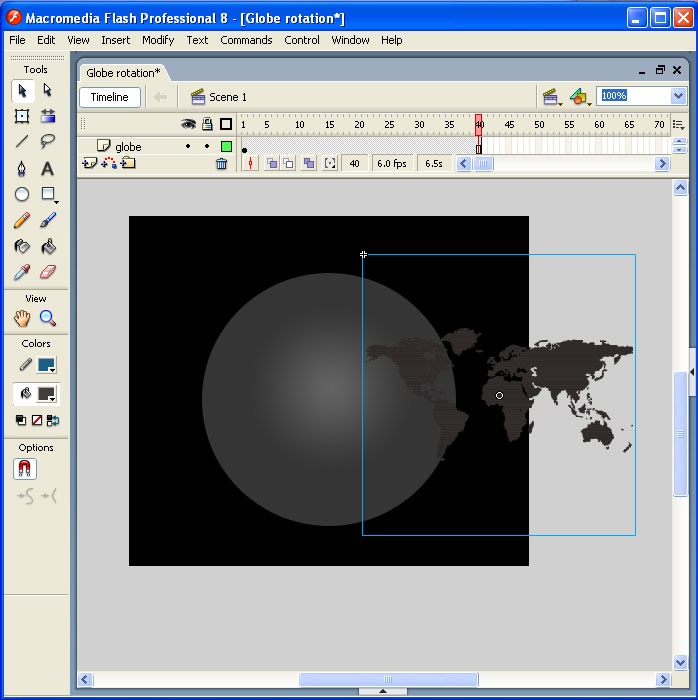
4. Change the map into movieclip and select 15th Keyframe, then press F6. Now copy the map layer frames by selecting the Keyframe from 1 to 15 then paste it on 16th frame. So the frame end at 30th frame.
5. Now create third layer name it as shadow, and repeat 3rd and 4th step. Note that your shadow layer map should be in black or gray color.
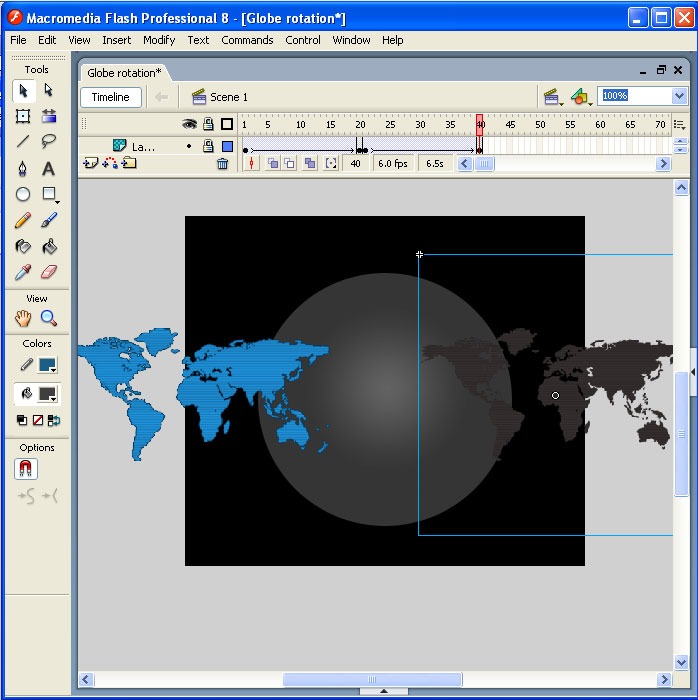
6. Create another layer (name it as mask) for masking and draw the circle to the respective size of globe image.
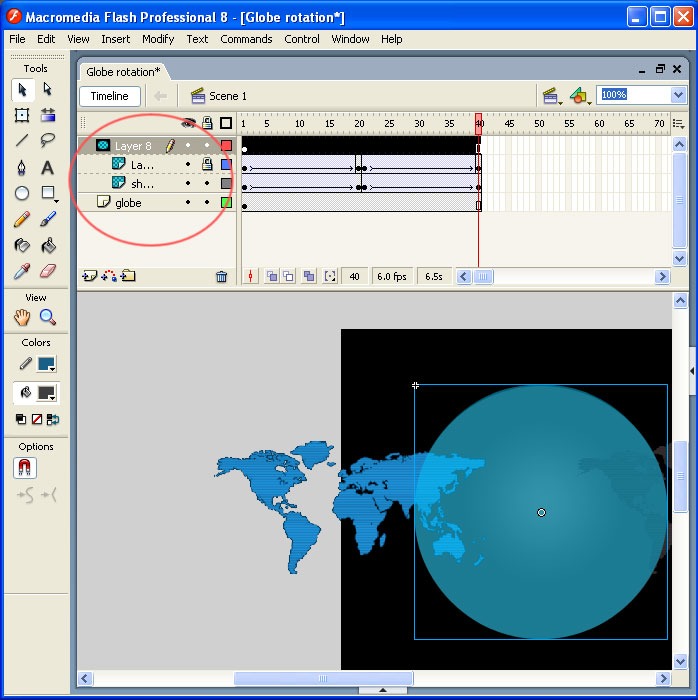
7. Just check that you have 4 layers in the order of globe, map, shadow, mask (bottom to top).
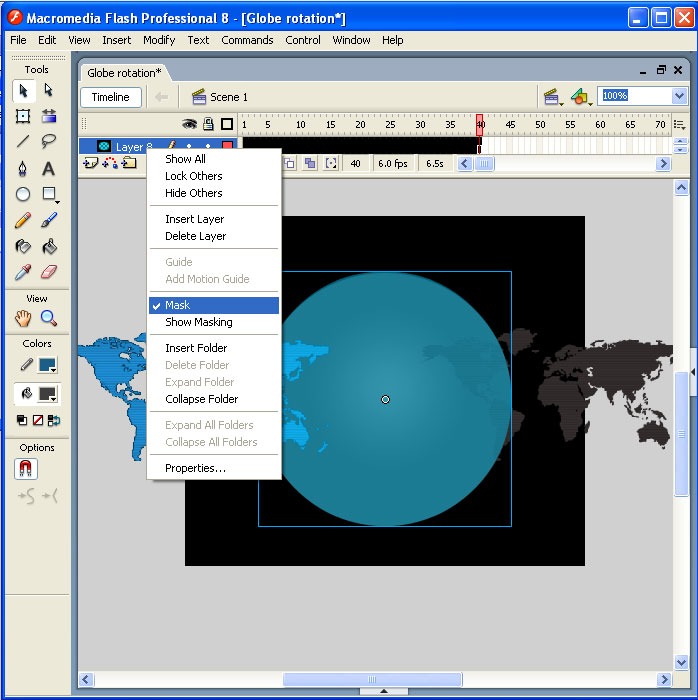
8. Right click on mask layer and select mask option. We should mask both map and shadow layers. See the below masked layers.
9. Set the frame rate according to the speed you want.
10. Give Ctrl+Enter to run the program.
Click here to download the source Globe rotation
Leave a Reply