

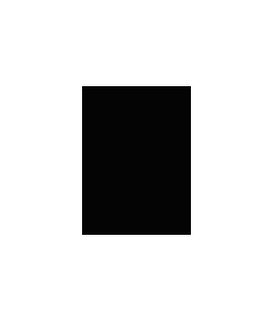
1. Create a new rectangle box
Create a new file in Photoshop. Let the foreground and the background layer be the default values of black and white. Select the rectangle tool and draw a rectangle in black color.The layer name will be 'Shape 1'
 2. Make a duplicate copy of the rectangle.
Select the move tool. The rectangle gets selected.
Select 'Alt' and Mouse click, and when the mouse pointer changes, drag the duplicate copy of the rectangle. The layer name will be 'Shape 1 copy'
3. Change the color of the duplicate copy.
Select the layer 'Shape 1 copy'. Click on the thumbnail icon of the layer
and select the color 'CCCCCC'. The color of the layer changes.
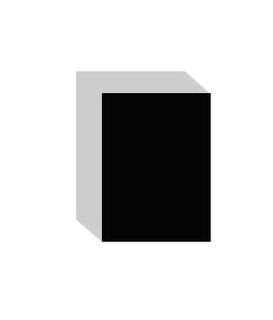
 4. Combining the edges of both the images.
Using the pen tool, join the 3 points as shown in the picture. A new layer 'Shape 2'
will be created.
Repeat the same procedure for joining the edges in the top also. A new year layer 'Shape 3' will be created.
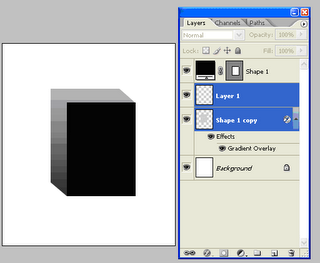
 5. Apply the Gradient Effect
Select the layers 'Shape 2', 'Shape 3' and 'Shape 1 copy' by clicking the "Shift" key. Right click and select option 'Merge Layers'.
Click on the thumbnail of the merged Layers 'Shape 1 Copy'. The screen Layer Style will appear. Double click on Gradient Overlay. Click on gradient option. From the Gradient Editor, choose the color of the gradient by moving the Color Stop. The gradient change will be applied in the Layer.
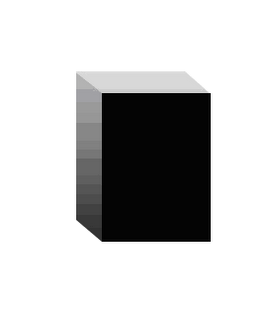
6. Apply the brightness to the picture
Note : Since the gradient effect is already applied to the layers, in order to add brightness to the 3d picture, we need to add a new layer.
Add a new layer 'Layer 1'. Merge the layers 'Layer 1' and 'Shape 1 Copy.
Using the Lasso Tool , select the top portion
 Select Image->Adjustments-Brightness/Contrast. Give the Brightness value as 40.
We get the final picture.
Create a new file in Photoshop. Let the foreground and the background layer be the default values of black and white. Select the rectangle tool and draw a rectangle in black color.The layer name will be 'Shape 1'
 2. Make a duplicate copy of the rectangle.
Select the move tool. The rectangle gets selected.
Select 'Alt' and Mouse click, and when the mouse pointer changes, drag the duplicate copy of the rectangle. The layer name will be 'Shape 1 copy'
Select the layer 'Shape 1 copy'. Click on the thumbnail icon of the layer
and select the color 'CCCCCC'. The color of the layer changes.
 4. Combining the edges of both the images.
Using the pen tool, join the 3 points as shown in the picture. A new layer 'Shape 2'
will be created.

Repeat the same procedure for joining the edges in the top also. A new year layer 'Shape 3' will be created.
 5. Apply the Gradient Effect
Select the layers 'Shape 2', 'Shape 3' and 'Shape 1 copy' by clicking the "Shift" key. Right click and select option 'Merge Layers'.

Click on the thumbnail of the merged Layers 'Shape 1 Copy'. The screen Layer Style will appear. Double click on Gradient Overlay. Click on gradient option. From the Gradient Editor, choose the color of the gradient by moving the Color Stop. The gradient change will be applied in the Layer.
6. Apply the brightness to the picture
Note : Since the gradient effect is already applied to the layers, in order to add brightness to the 3d picture, we need to add a new layer.
Add a new layer 'Layer 1'. Merge the layers 'Layer 1' and 'Shape 1 Copy.

Using the Lasso Tool , select the top portion
 Select Image->Adjustments-Brightness/Contrast. Give the Brightness value as 40.
We get the final picture.
Labels: Photoshop
posted by power @ 5:52 AM permanent link | |


Post a Comment