


Archive for June, 2014
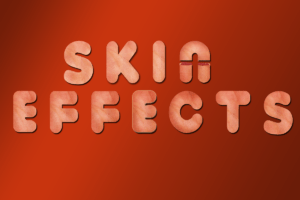
Skin text effects using photoshop
Skin text effects using photoshop
Step 1:
Open new document and apply the gradient for red and light red color effects below the image to follow.

Step 2:
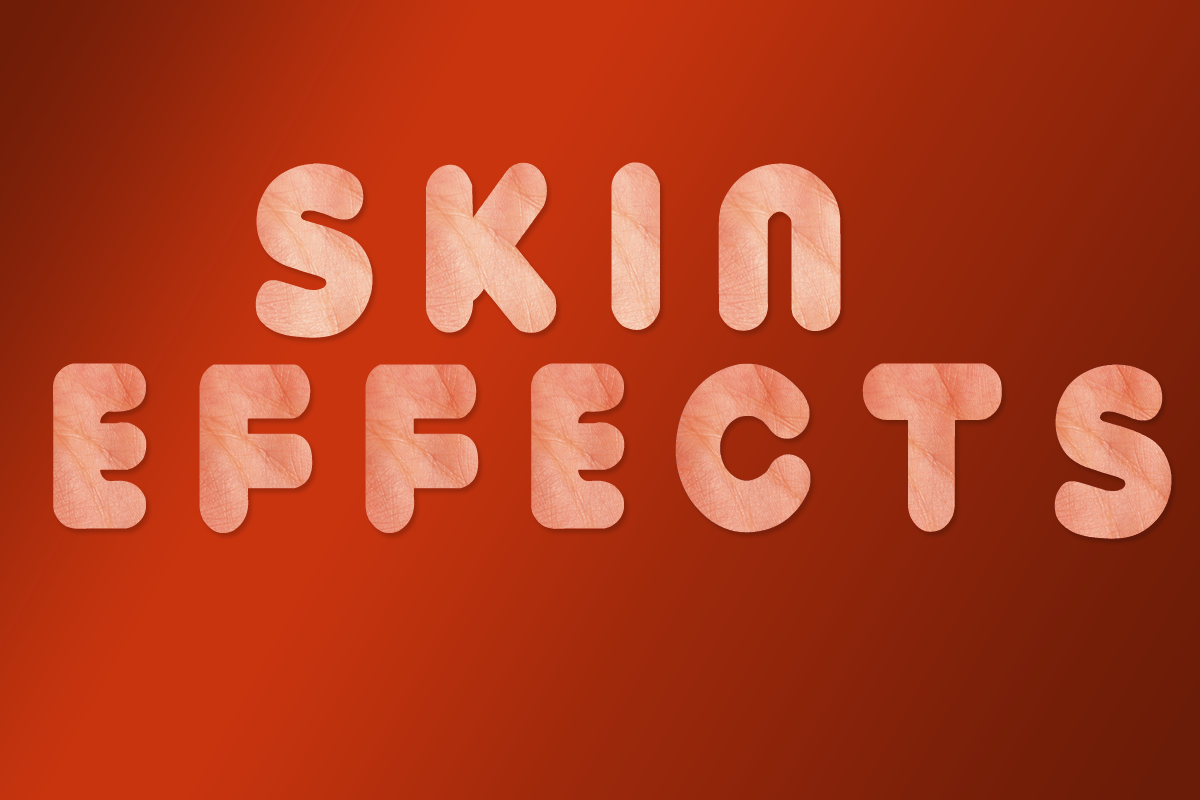
Choose text tool and type any letters for example “Skin Effects” and set the text size is large size follow below the image.

Step 3:
Next choose the any skin image placed above the image.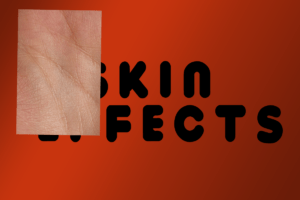

After resize (using Ctrl + t ) the skin image in place by the letter “s”
following below the image.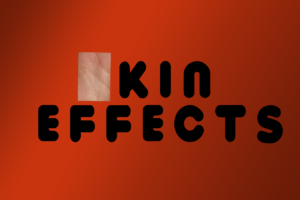

Step 4:
after change the blending mode to “Overlay” mode.
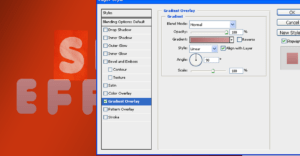
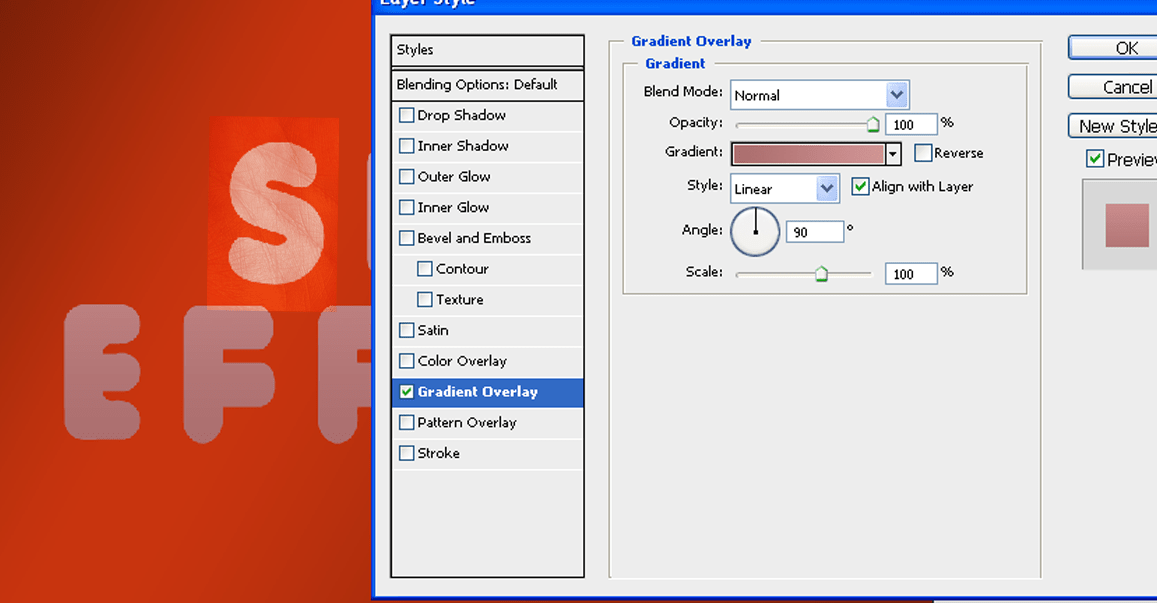
After change the all text color will be apply the gradient following below the color.
Step 5:
After remove by the other parts and you will get below the image.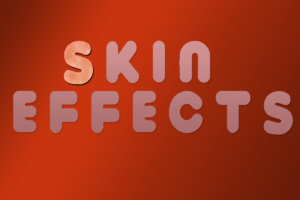

Same procedure to copy the skin layer and apply the remaining text areas you will get below the image. 
Step 6:
After cut by the “n” letter. After placed above the image. 
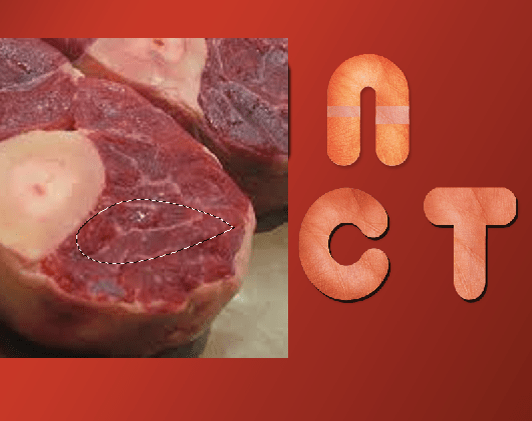
This image selection part will be cut and place by the “n” letter following below the image. After you will get final image.

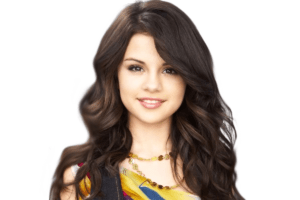
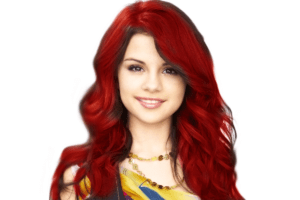
Hair color change using photoshop
Hair color change using photoshop
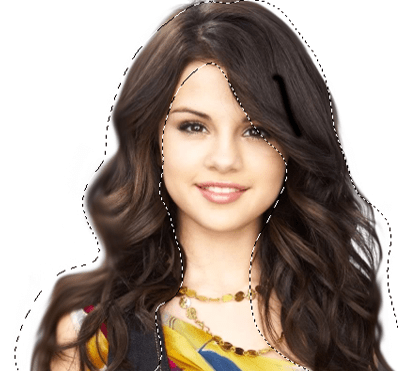
Before image
After image

Step 1:
first open your image after press “ D ”.
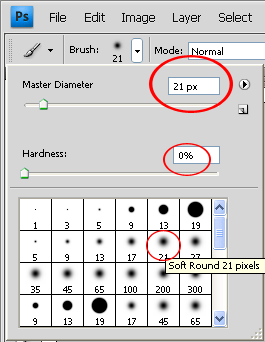
step 2:
next select the soft edge brush tool and follow below the image.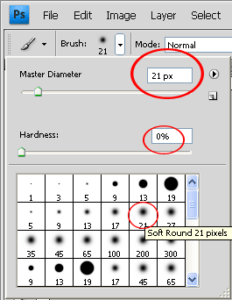
Step 3:
Next you will press “ Q ”. after mark for the hair area with using brush( don’t mark for the accurate air area). 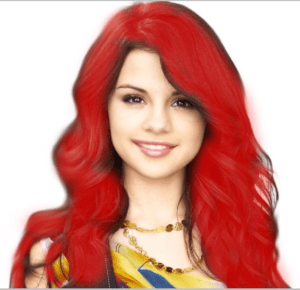

Step 4:
Again press “ Q ” after selection for around the air.
Step 5:
After go to select the layer and select the new fill layer and also select the solid color and you will choose any color after change the air color.
Finally you will get the below the image.
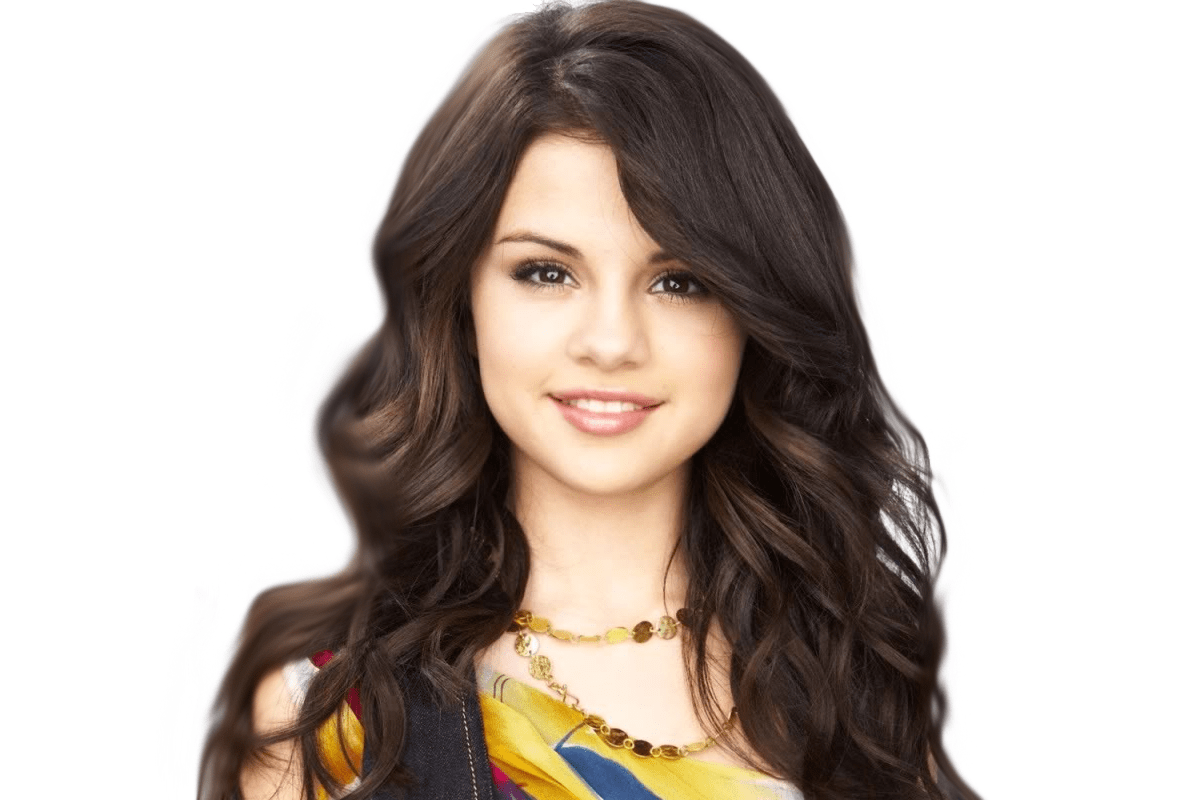
Young girl image in to old girl image using Photoshop
Young girl image in to old girl image using Photoshop
Before image: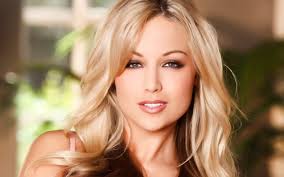
After image :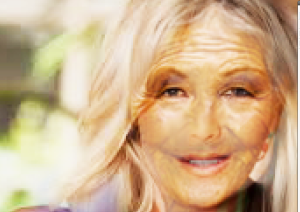

Step 1:
open your image and create the duplicate image [ctrl + j]. after off the original image eye icon.
Step 2:
Next vertical rulers is both the centre of the eye is placed and another one ruler is placed in centre of the nose and following below the image.
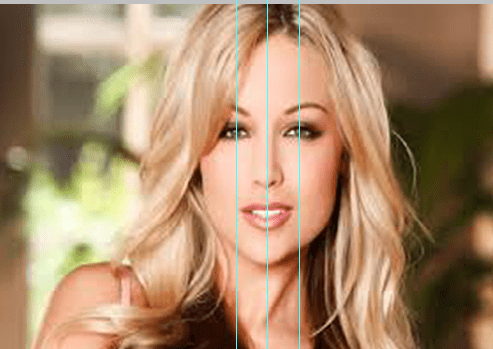
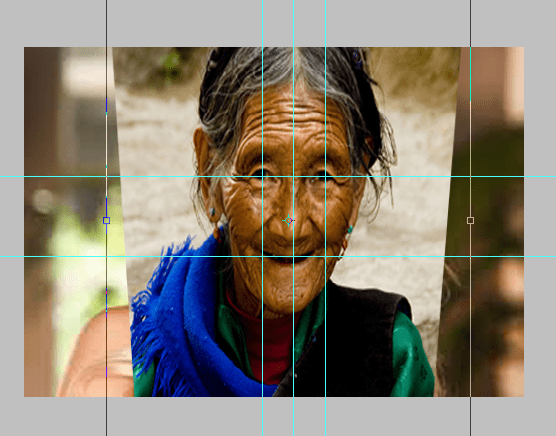
Step 3: same for the Horizontal side in the centre of the eyes and centre of the mouth following to below the image.
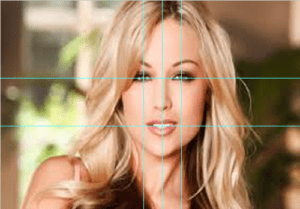

Step 4:
after using the move tool and track the old image photo above the young lady image given below the image.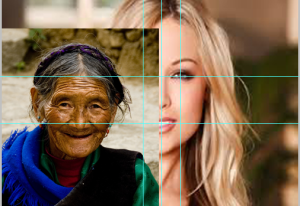

Step 5:
old image and young image is combine to the same image and old image eye,mouse and mouth is arranged by same for the young girl image (ctrl + t and right click and also select the Distort) shows below the image.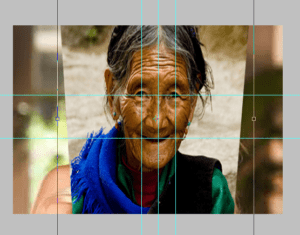
Step 6: Now old image opacity is decrease 55% or your image convenient to decrease the opacity range. 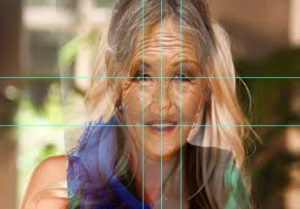
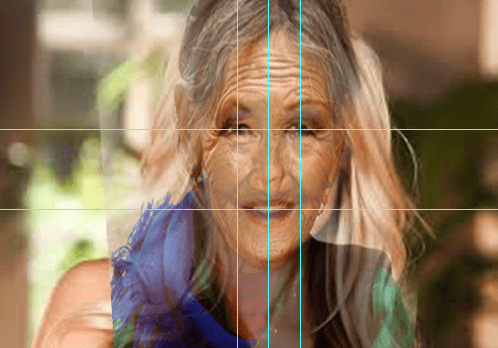
Step 6: after erase tool use to erase the unwanted areas. Now you will get the final image.
Rainbow Effects in Photoshop
Rainbow Effects in Photoshop
Before image: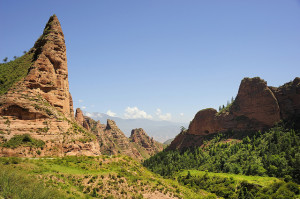

After image: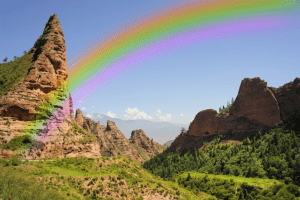

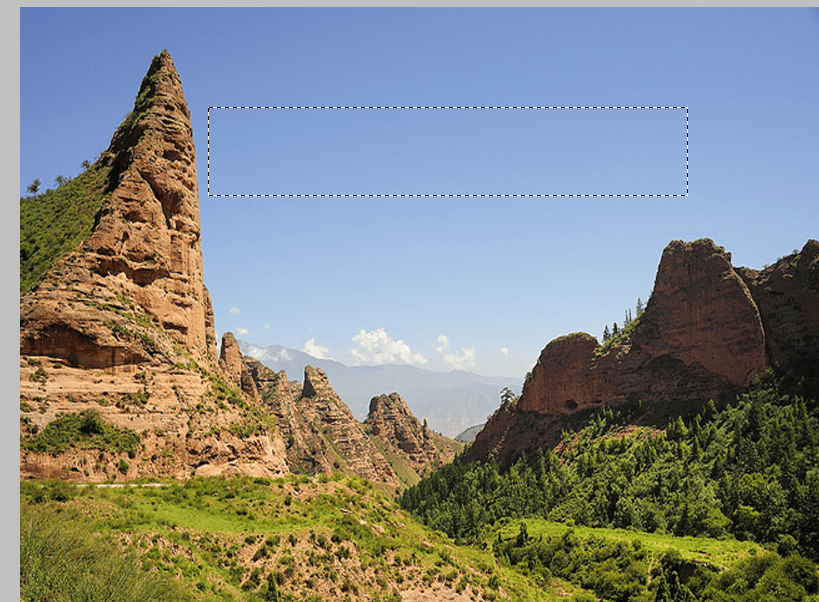
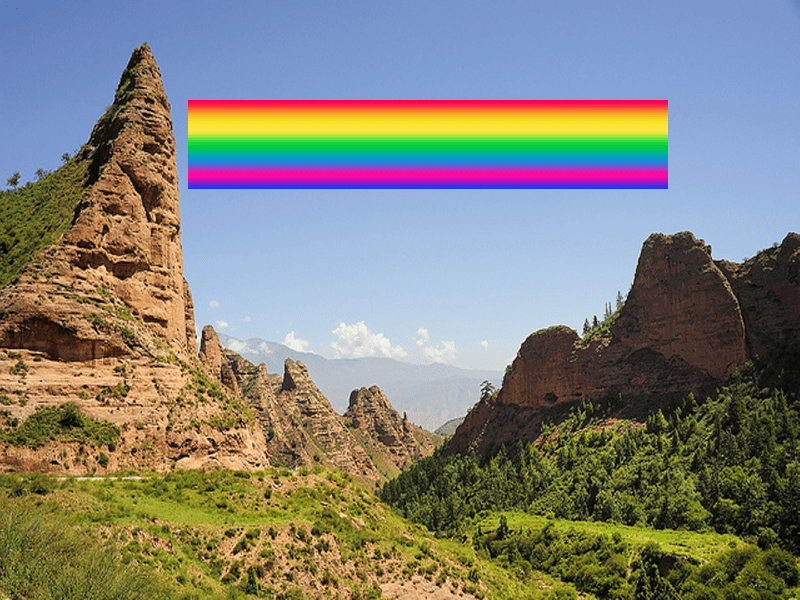
Step 1:
Open the new image(background “sky”) .
Create a new layer.
Now select the rectangular marquee tool and create a selection for below the image.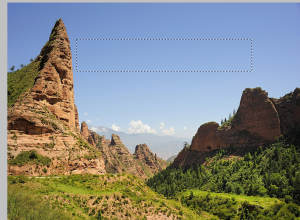
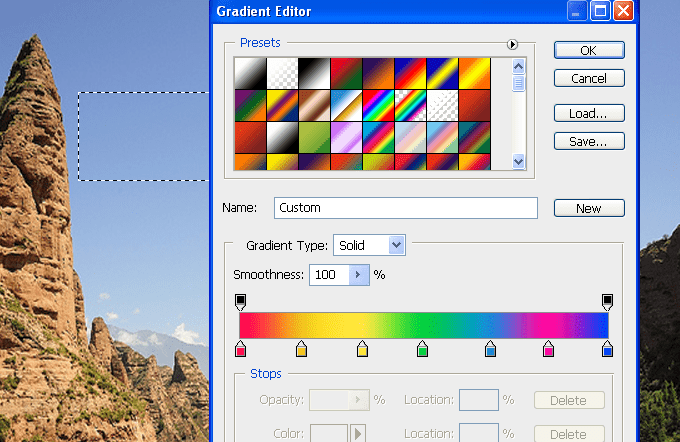
Step 2:
Next select the gradient tool and set the color from below the image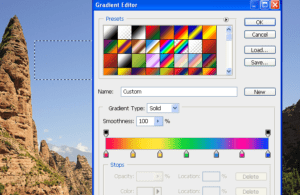
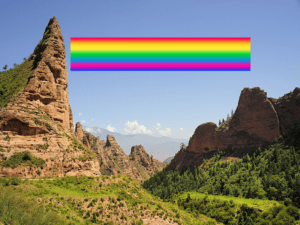
After apply drag the selection to apply the gradient shows from below the image. Next copy the duplicate(ctrl + J) layer and original layer eye icon is turn off the visibility.
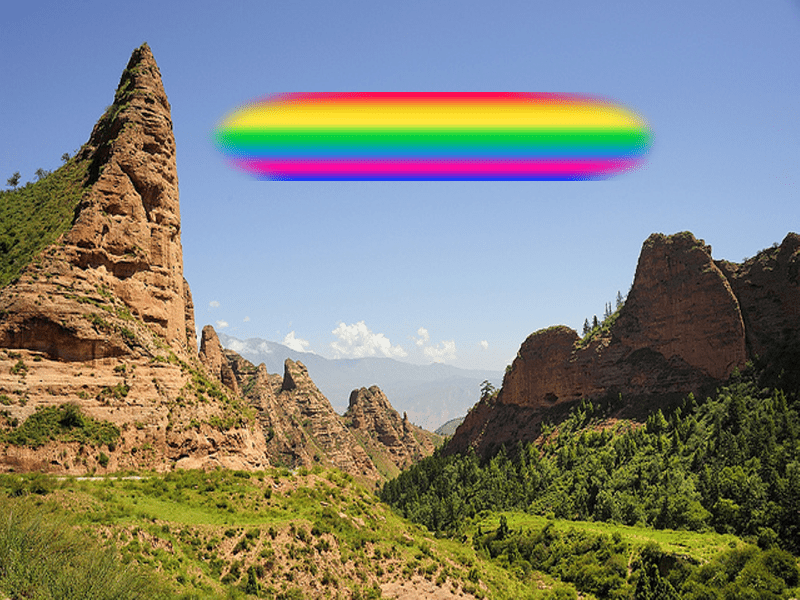
Step 3:
Select the Erase tool and also select the soft round erase tool after erase the right and
left Corners shoes below the image.
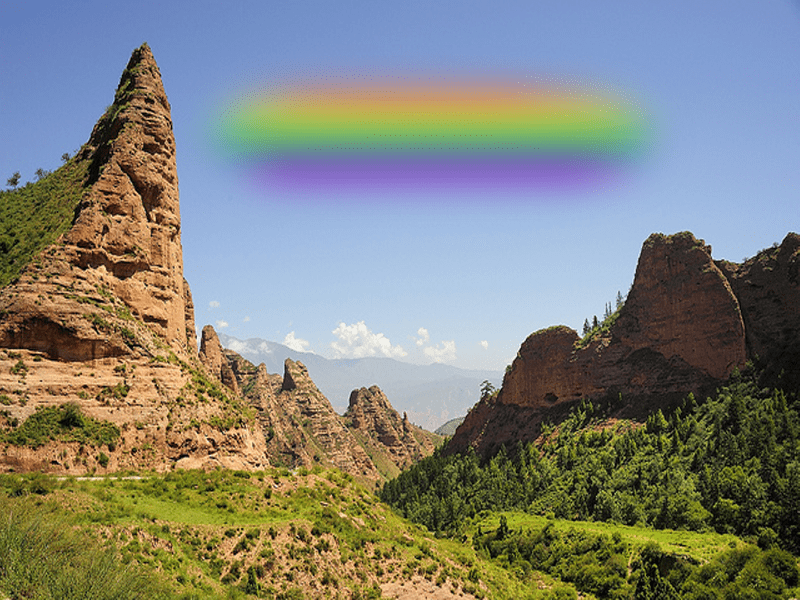
Step 4:
Now apply the blur, first select the filter and select the blur and also select the Gaussian blur and enter the radius value is 18 px.
Next select the Rainbow gradient layer and press the [ Ctrl + T ] and right click and select the warp option and arrange to following to below the image.

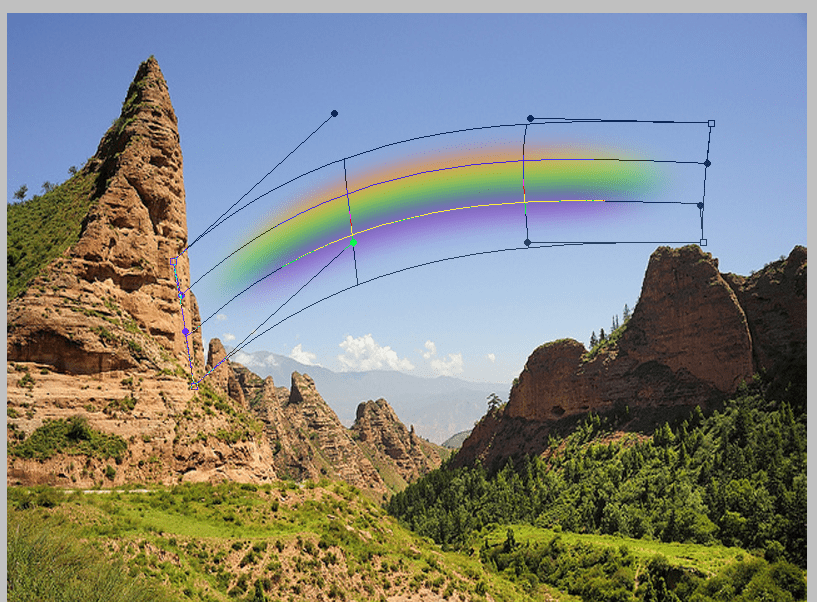
After Modify the size and position using the free transform[ Ctrl + T ]. And finally blending mode change to the “color” and decrees the opacity range is 70% after you will get the final image .
Final image