Photoshop
Ghost image effect-Photoshop filter
Step:1
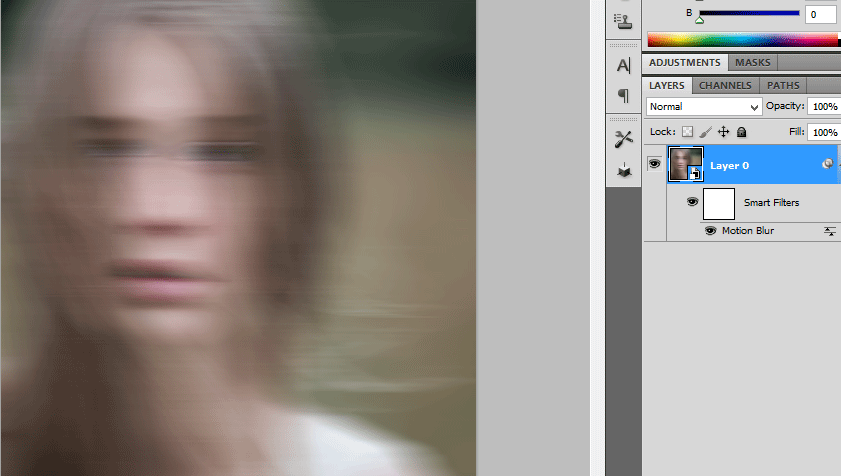
Open a photo document in Photoshop. Convert this layer in to Smart object.Apply the Motion blur.Go to filter -> blur -> motion blur by adding the distance value as 64pixels.
Step:2
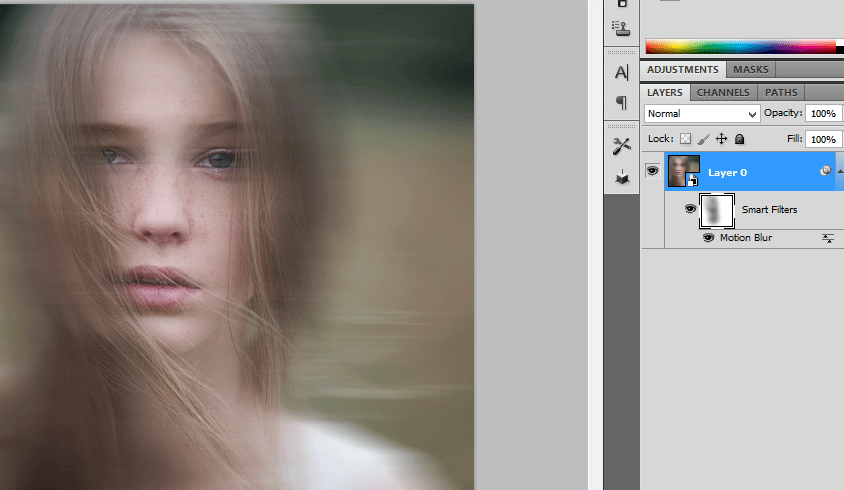
The layer mask is added along with this.Now we want to erase the portion which we need.It can be done by choosing soft brush with black color.
Step:3
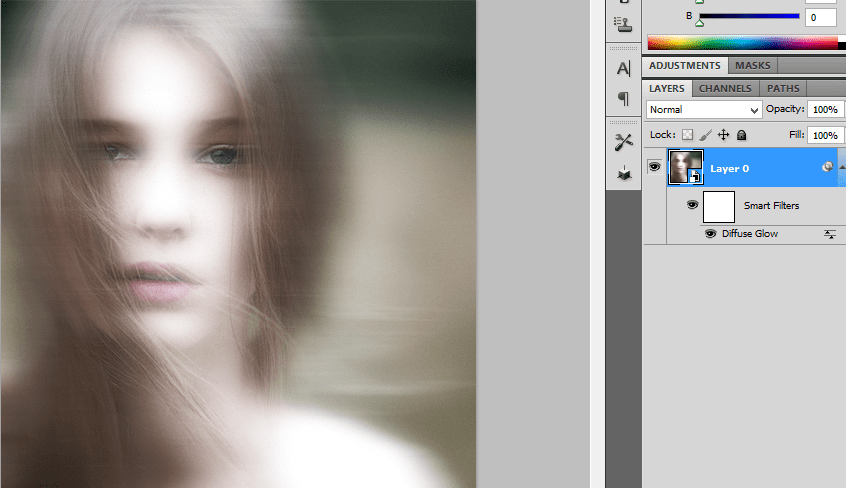
Now convert this in to smart object.Then apply the diffuse glow filter. Go to filter ->Distort -> Diffuse glow filter.
Step:4
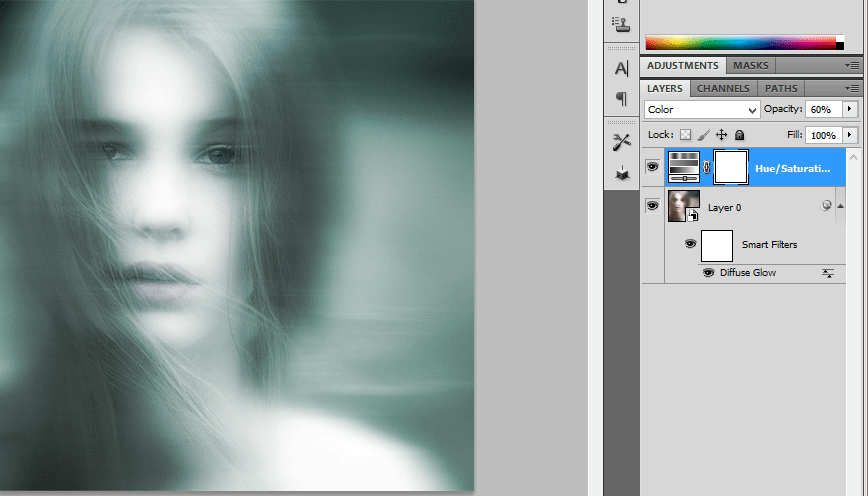
Add a hue/saturation layer above it.Hue value is 180 and the saturation is 25.Then change the blending mode from normal to color and reduces the opacity to 60%
Flaming hot fire text – photoshop effect
Step:1
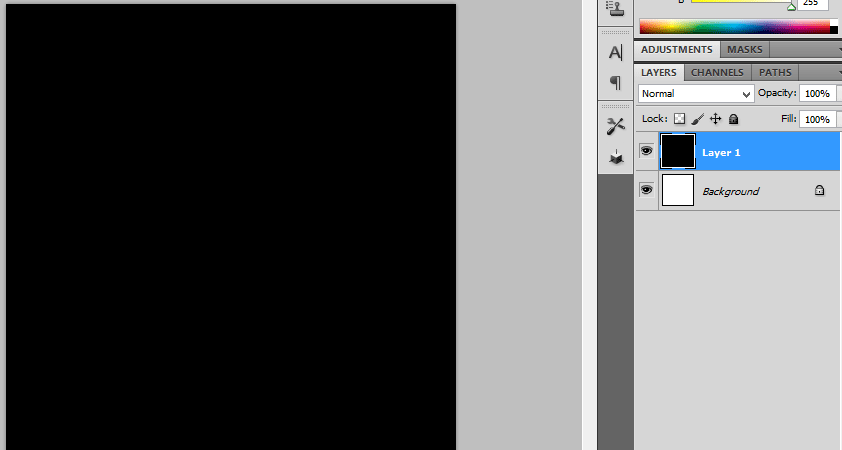
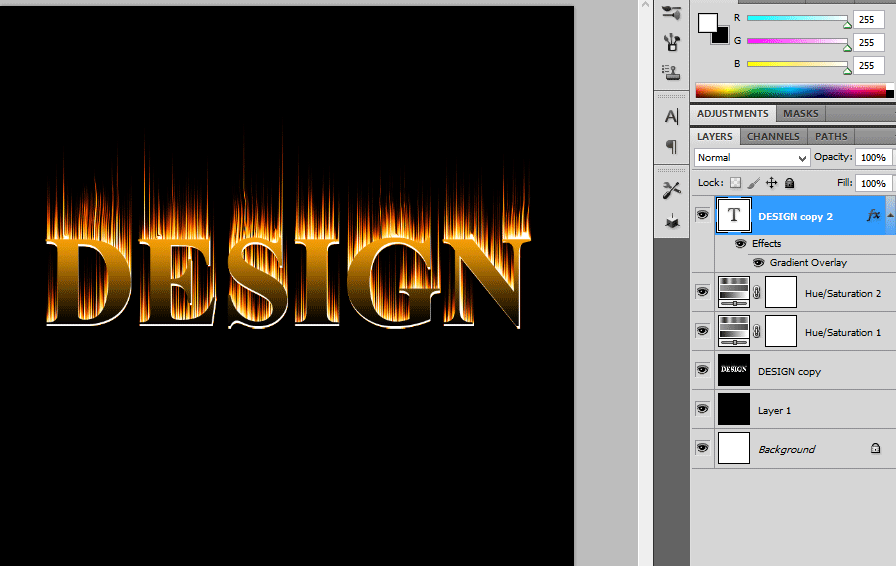
Create a new document with width 3 inch and height 3 inch.Then create a new layer above it and filled with black color.
Step:2
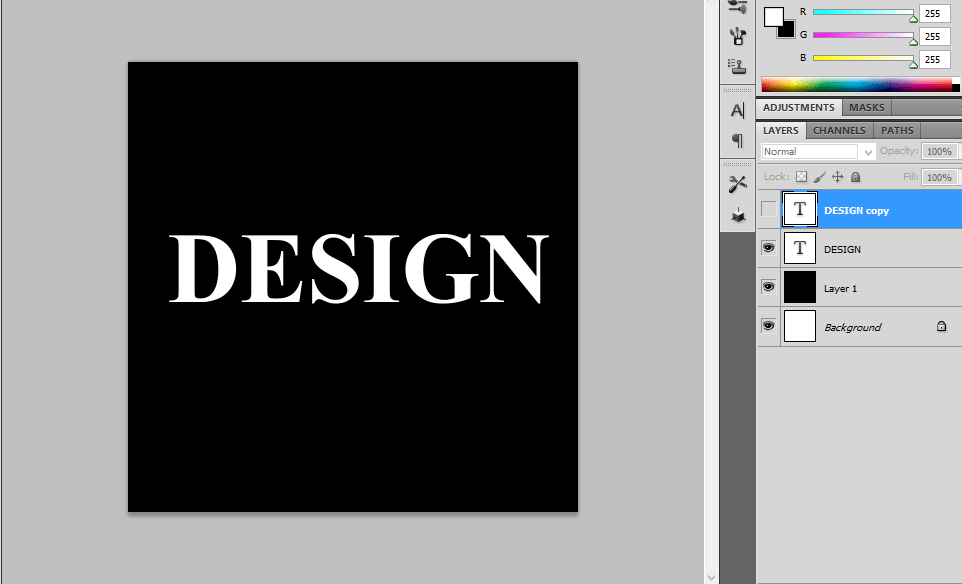
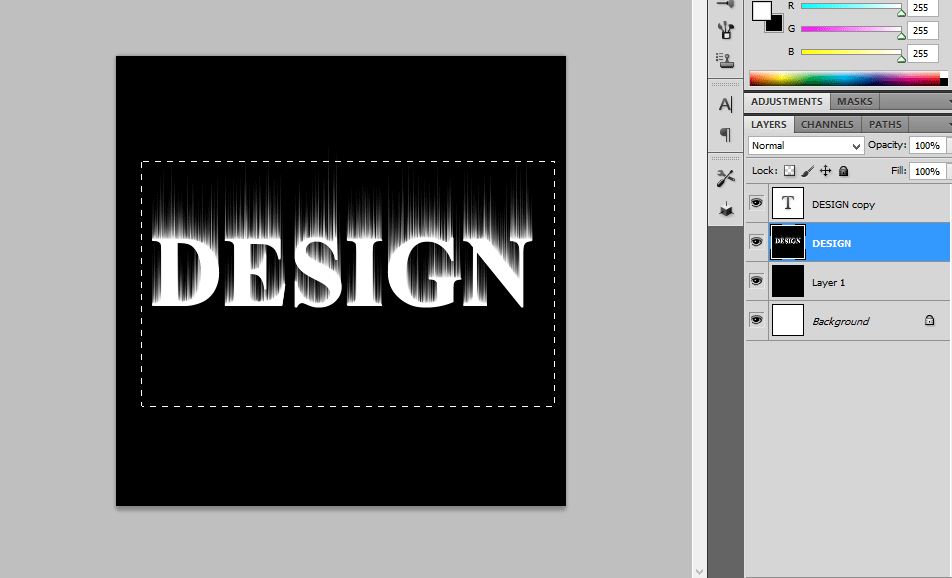
Then type the text as DESIGN .Iam using Times new roman text here.Then enlarge the text by clicking ctr+t.Duplicate the text layer.
Step:3
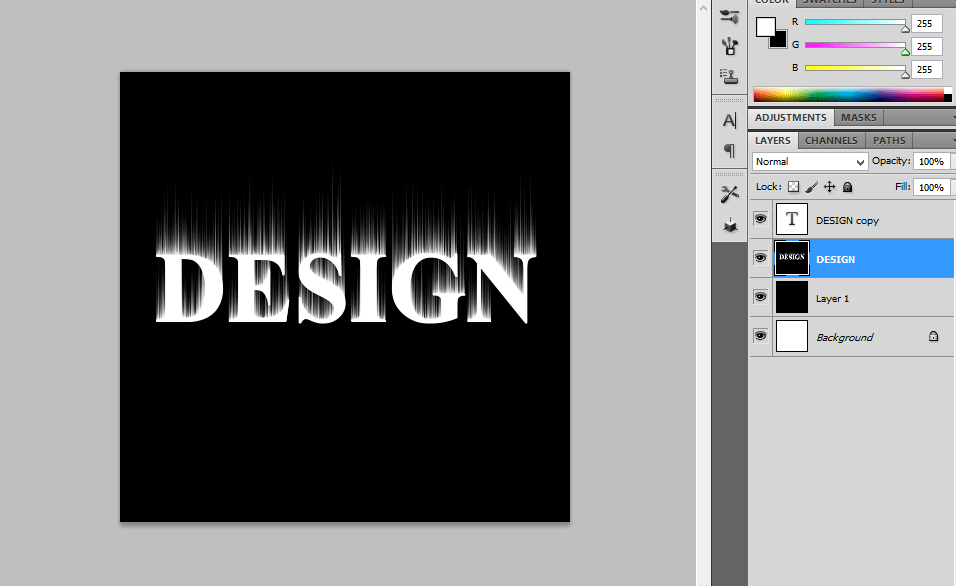
Hide the duplicate text layer.Then rotate the text layer in to 90cw.Then go to Filter-> stylize->wind.Repeat this for more than couple of times.Then again rotate to 90ccw.
Step:4
Create a new layer and fill with black color.Merge the text layer and the black color layer.
Step:5
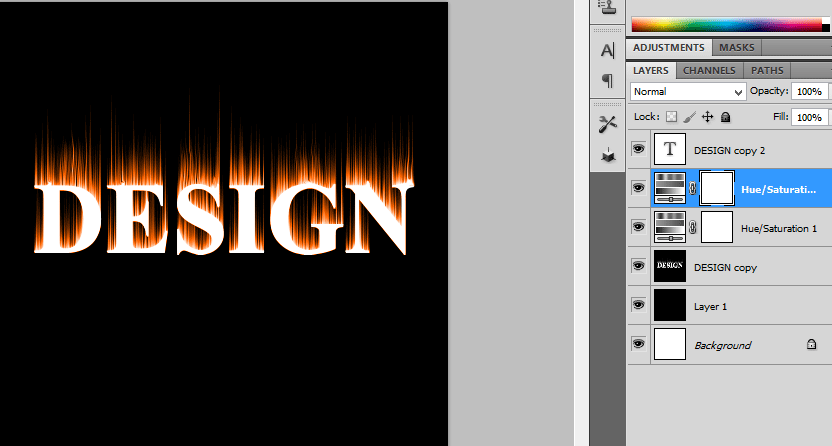
Next step is go to filter->Liquify.Using different values of brush size liquify it.Then add a hue/saturation above it.The values are hue 40 and saturation 100.
Step:6
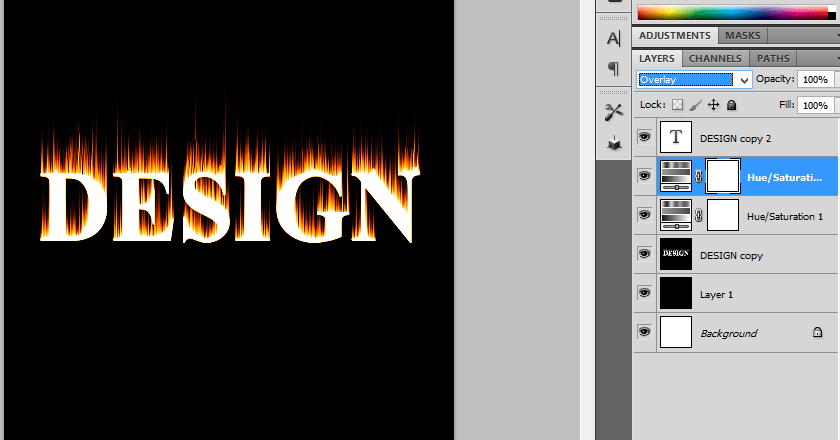
Again add hue/ saturation by adding hue value as-15.then change the blending mode to overlay. Then unlock the hide button from the text layer which we hided before.
Step:7
Than add a gradient overlay by adding gradient as black and yellow.Now it looks like a flaming fire hot text.
Turning photo – colored dot pattern photoshop effect
Step:1
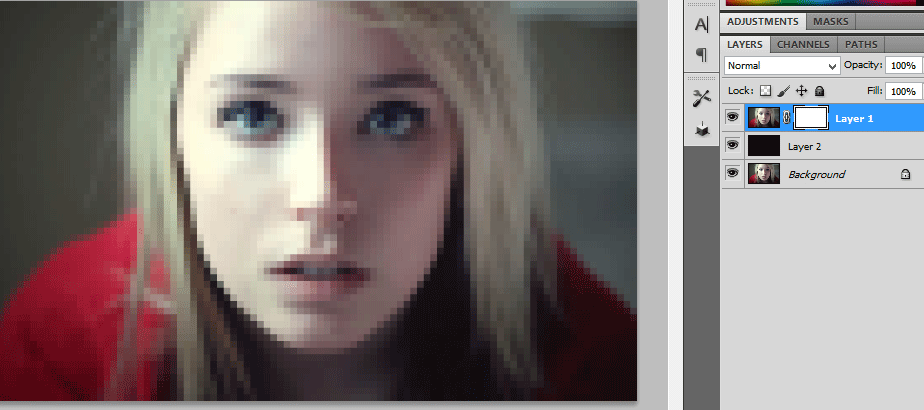
Open a document in Photoshop.Duplicate the background layer.Add a new layer above it and fill with black color.
Step:2
Add a Mosaic filter with the value of 20 cells in Photoshop.Add a Layer mask in it.
Step:3
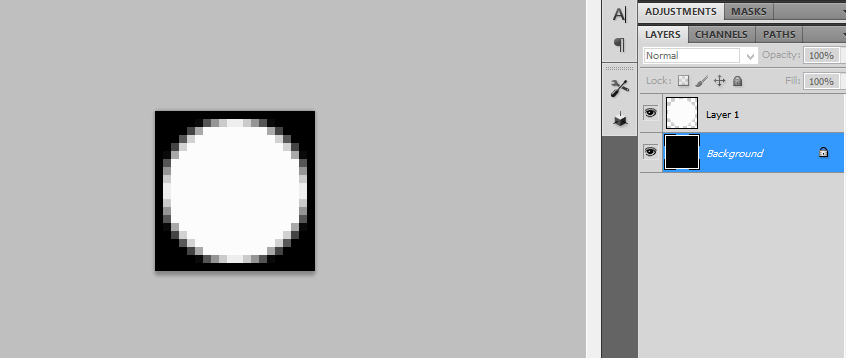
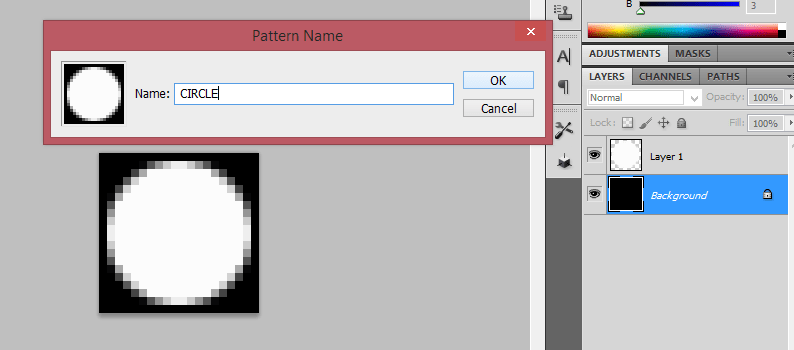
Open a new document with height and width of 20 pixels.Draw a circle and fill with black color. Then invert the colors.Now the background will be in black color and circle will be in white.
Step:4
Then go to edit -> define pattern and define as circle.then close this document.
Step:5
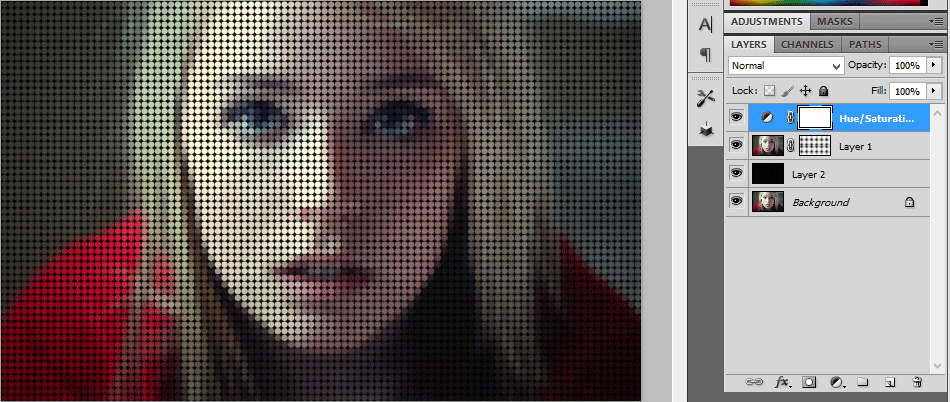
Coming to the photo document go to edit and fill the layer mask with circle pattern. Add a hue/saturation above this layer.
Water Reflection Effect Photoshop design image
Step:1
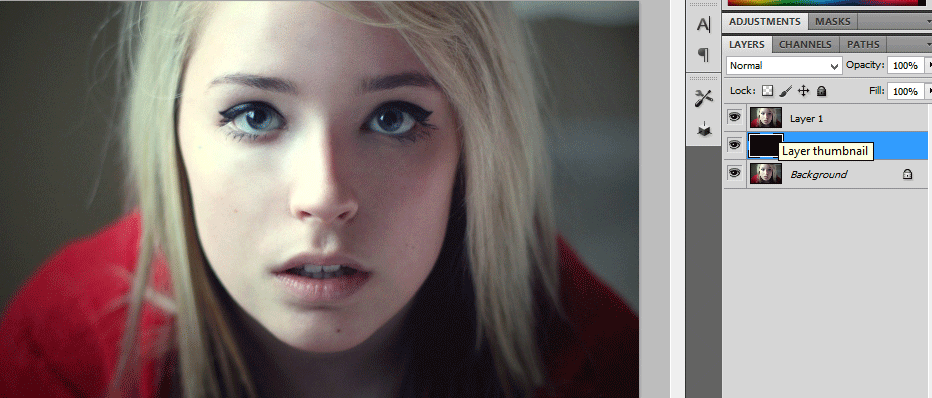
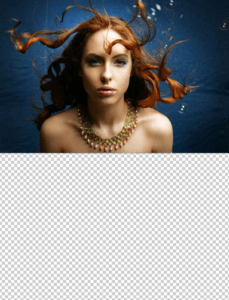
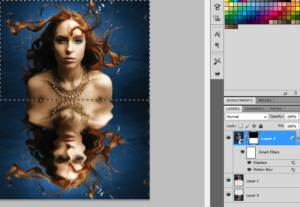
A New image is opened in Photoshop. Next step is to make a copy of the Background layer. We Can make a copy by pressing Ctrl+j.
Step:2
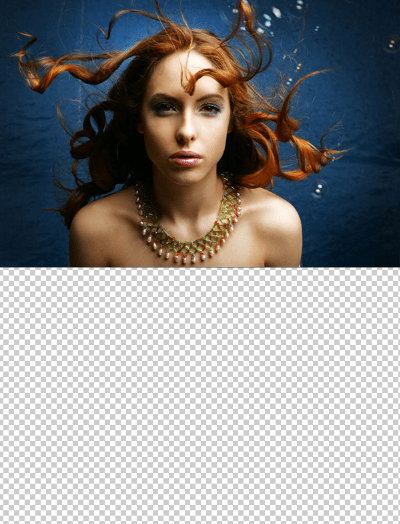
Next, let’s add some additional canvas space below our image to make room for the water reflection. Go to the Image menu at the top of the screen and choose Canvas Size
Step:3
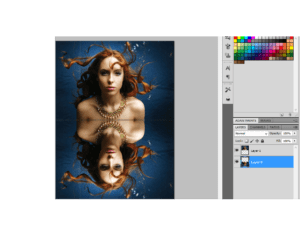
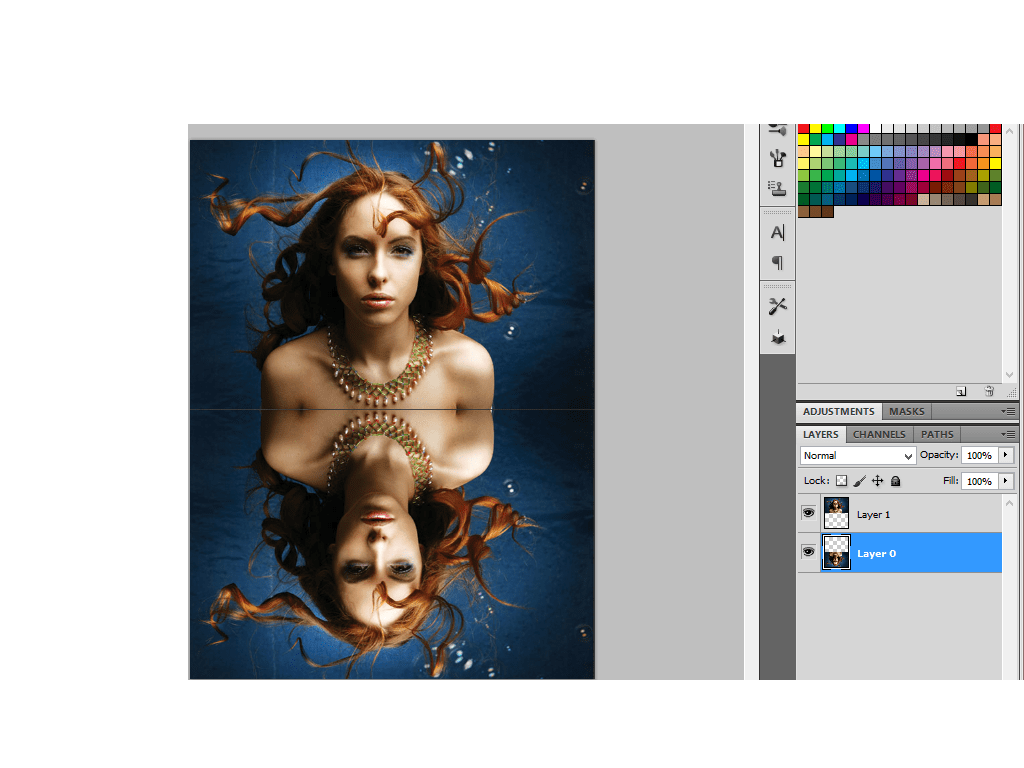
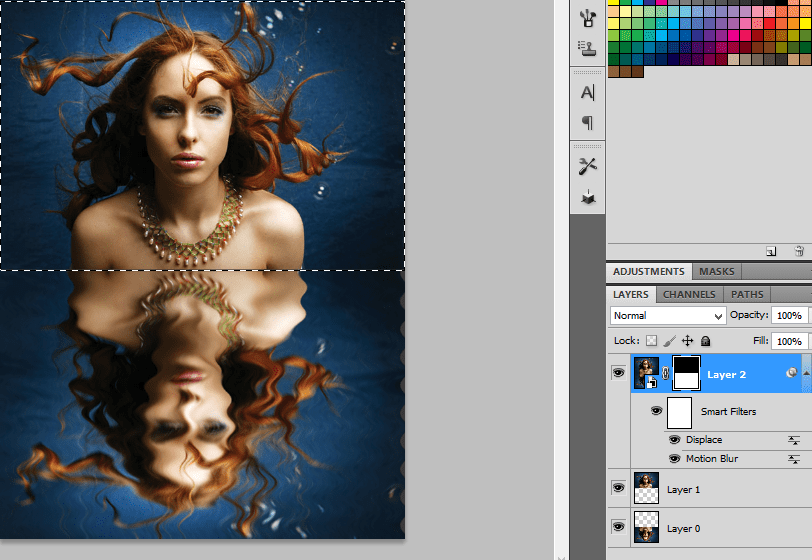
We need to flip the copy of our image on Layer 1 so it sits upside down below the original photo, creating a mirror effect.
Step:4
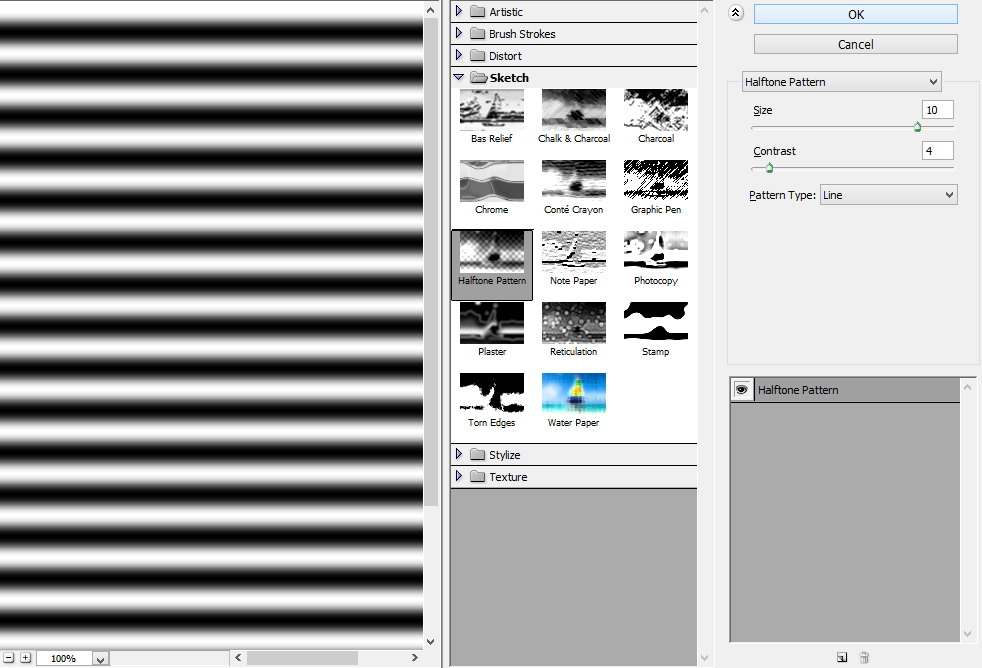
Merge this two layers in to a new layer by clicking Shift+Ctrl+Alt+E.Next step is add a blank layer above it and fill with white color.Then go to filter->sketch->halftone pattern with size value 10 and contrast 4.
Step:5
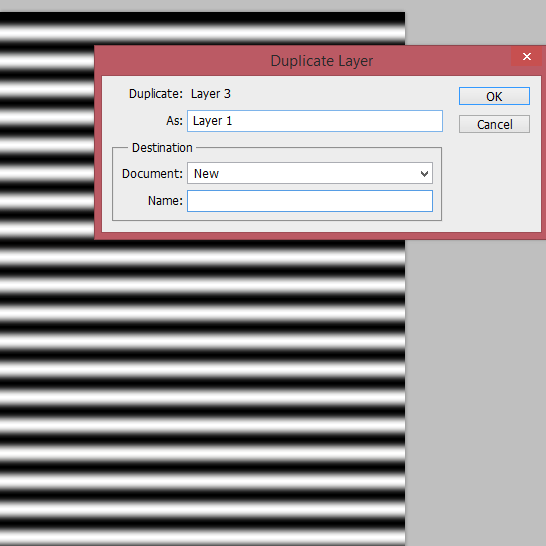
Duplicate the layer and save as a new document and save as halftone pattern.Then delete the halftone pattern layer from the original document.
Step:6
Go to filter ->blur->motion blur.Then Go to Distort -> Displace ->halftone pattern document
Step:7
Then add a layer mask in this layer.Delete the original portion of the picture from this layer pressing ctrl in the original image and deleting from layermask layer.
step:8
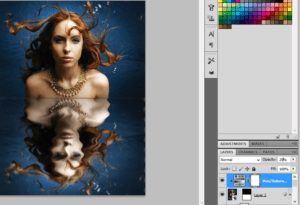
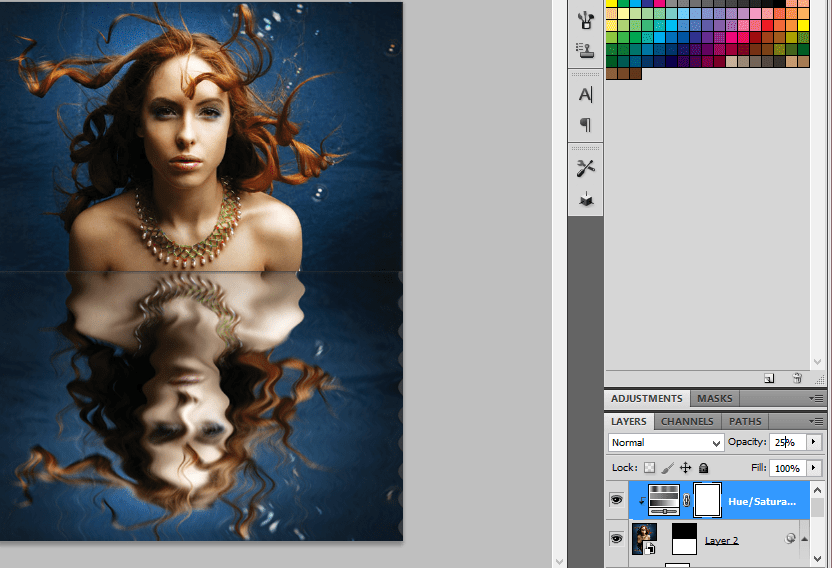
Next step is to add a hue/saturation layer above it and add a clipping mask over it.Then reduce the opacity to 25%. Now you will get a mirror image effect.
Turning photo sketch-pencil sketching photoshop
Step:1
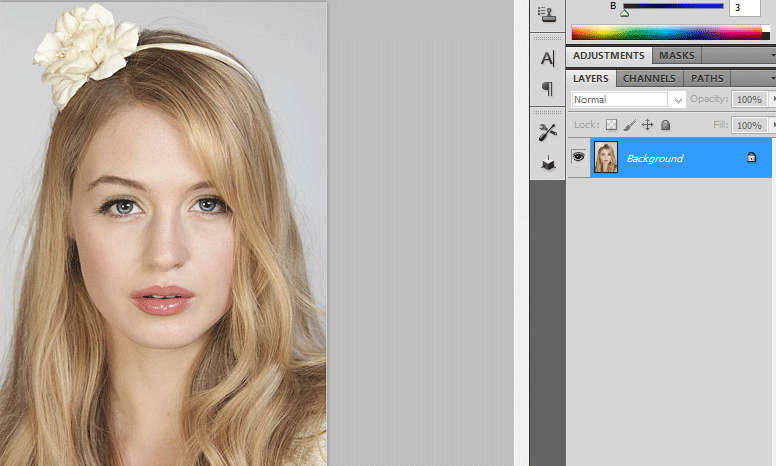
Open a Photo in Photoshop.Duplicate the photo by pressing Ctrl+j.
Step:2
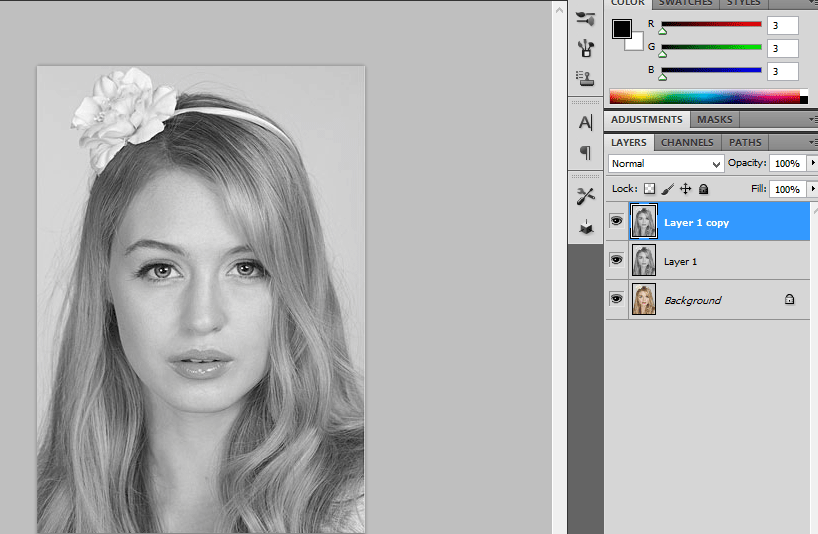
Now we want to desaturate the image.Go to image ->adjustments -> desaturate.Duplicate the desaturated image by pressing Ctrl+j.
Step:3
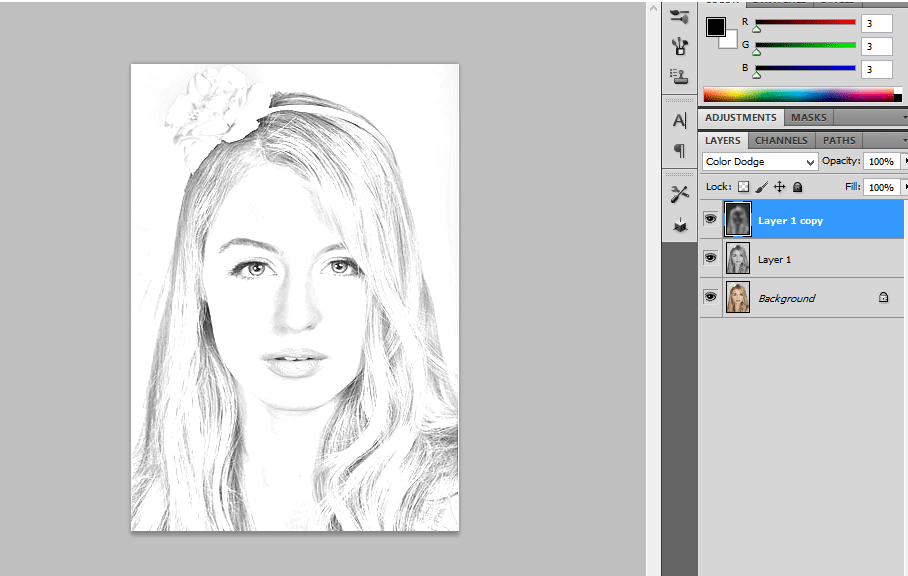
Then invert the image.Go to image -> adjustment-> invert.Change the Blending mode from normal to Color dodge.
Step:4
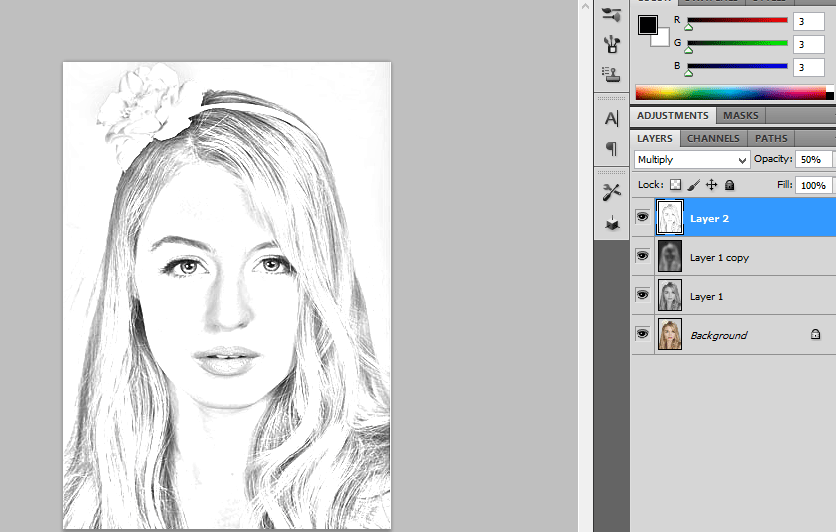
Then merge all layers in to a new layer by holding Alt + Merge visible. Layer-> merge visible.Change the blending mode from normal to multiply and reduce the opacity to 50%
Stylish Text Effect
Step 1 : Open a new Photoshop document
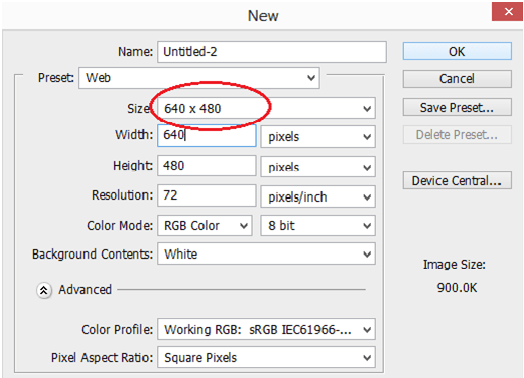
In the first step, open a new document with preferred size.
We can use the keyboard shortcut ctrl+N to open a new document.
Step 2 : Fill the document with Balck
Set the foreground color as Black. Use the keyboard shortcut Alt+Backspace to fill the document with foreground color.
Step 3 : Add your text to the Document
Grab the type tool from the tools palette otherwise press T to work with keyboard shortcut.
Go to the option bar set font color, font size and font style.
Press letter X to swap foreground and background color so that we get white as a foreground color.
Type the text plastic and resizing the text size by pressing ctrl+T.
Step 4 : Choose a color for your text using the color overlay layer style
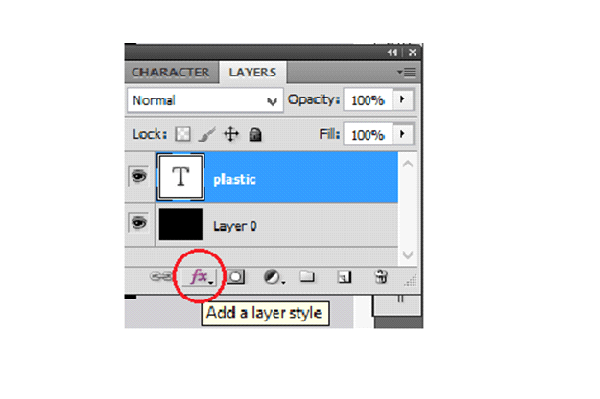
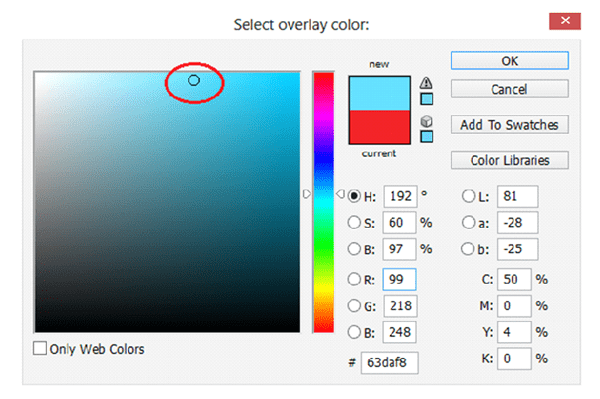
To create plastic effect first we have to choose color overlay from layer styles which is in bottom of layer palette.
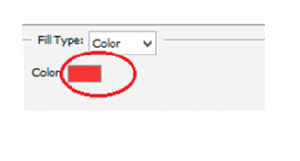
It brings up a color overlay dialog box. Click on color swatch and pick a lighter shade of the color.
Now the text color will appear like this
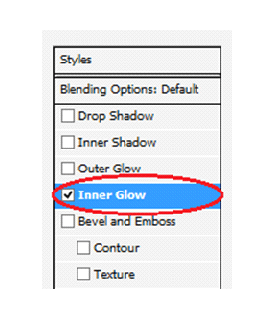
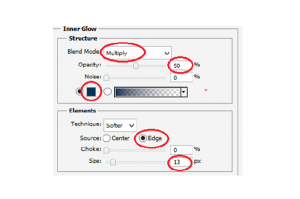
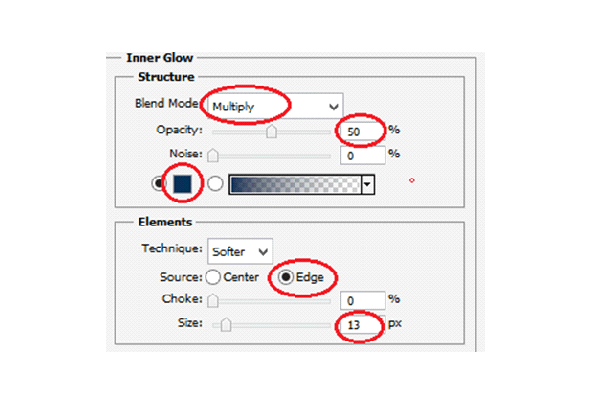
Step 5: Add An Inner Shadow To The Text Using The “Inner Glow” Layer Style
Now we are going to give a three dimensional look for our text by choosing Inner glow style.
Change the blend mode to multiply and change an opacity also to 50%.
Click on color swatch and pick a matching color, source will be an edge and the shadow size will be 13 pixels.
Now the text will look something like this
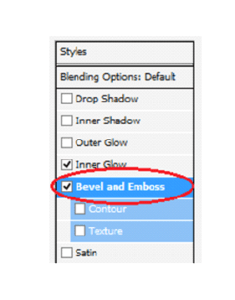
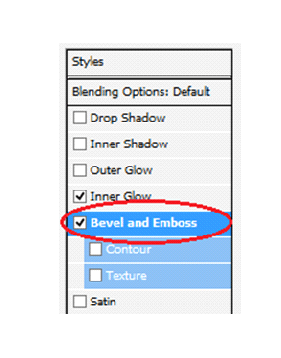
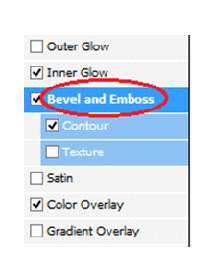
Step 6: Apply The “Bevel and Emboss” Layer Style
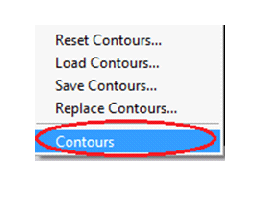
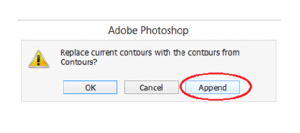
We have to add Bevel and Emboss effect to our text. For doing this we want to load new contours and append that.
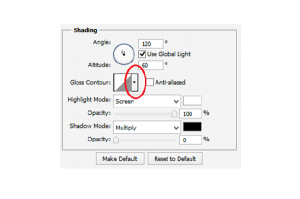
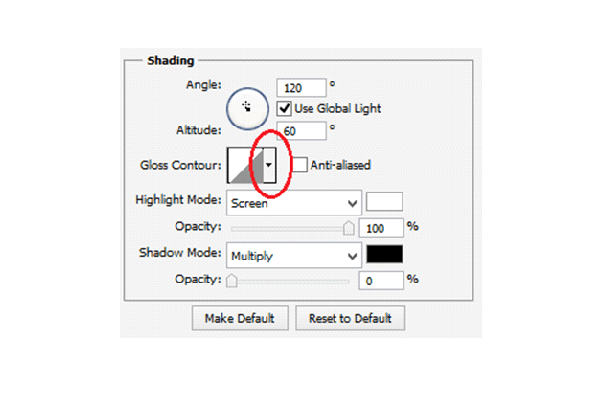
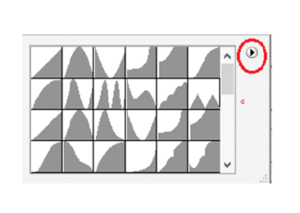
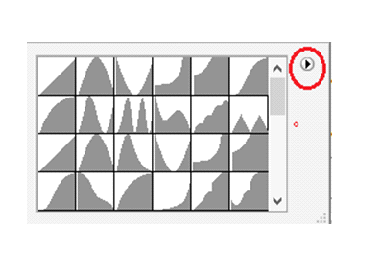
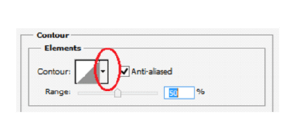
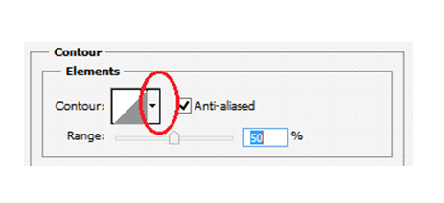
To load new contours click on the down pointing arrow to the right side of the contour preview thumbnail.
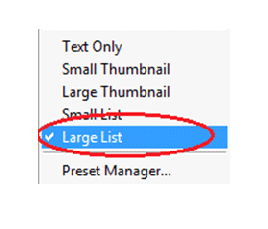
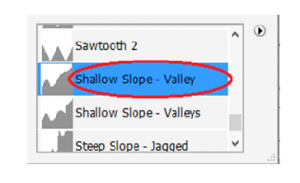
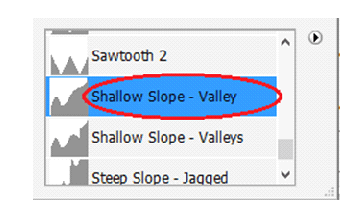
Select Large list from the options so that we can see both thumbnail preview and name of the contour .
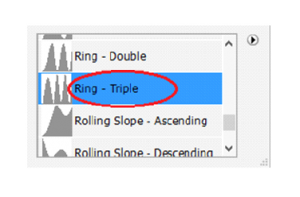
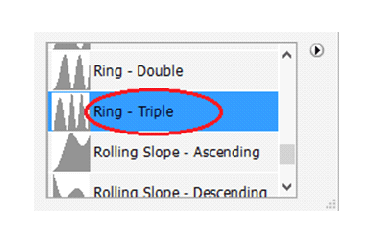
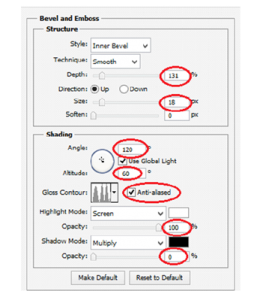
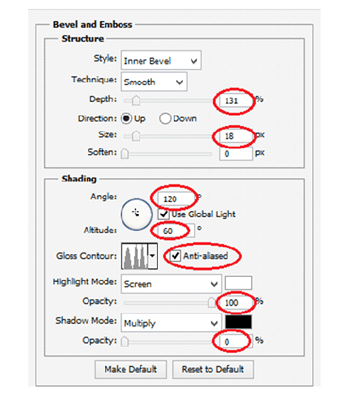
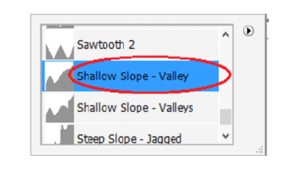
Select the Ring-Triple and change the rest of Bevel and Emboss options.
Now the text looks like this
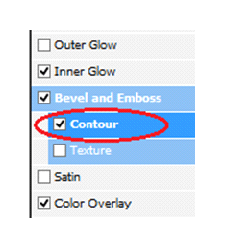
Step 7: Apply The “Contour” Layer Style
Add the contour layer style from the layer style palette.
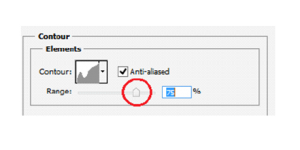
Change the contour style and range to create plastic effect on our text
After adding contour style the text will appear like this
Step 8: Duplicate The Text Layer
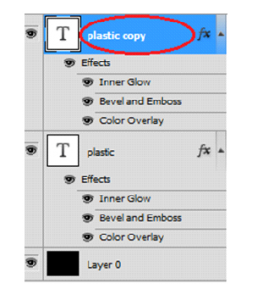
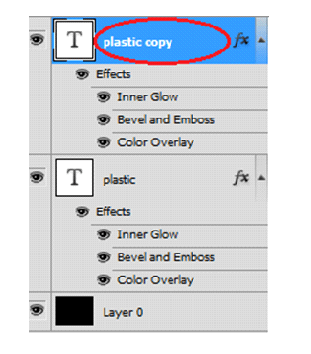
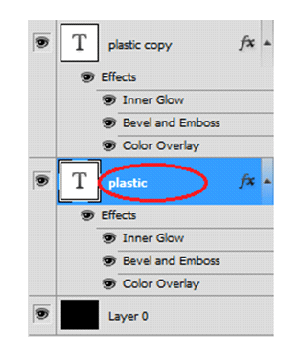
Duplicate the text layer so now there are two text layers in the layers palette.
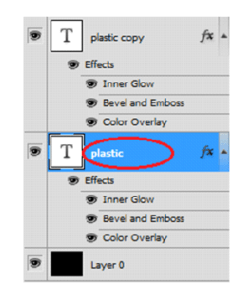
Click on the original text layer, once again doing some changes in the original text.
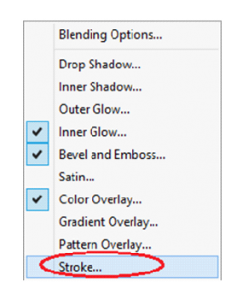
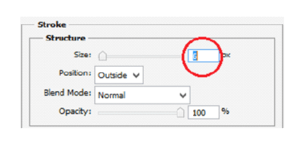
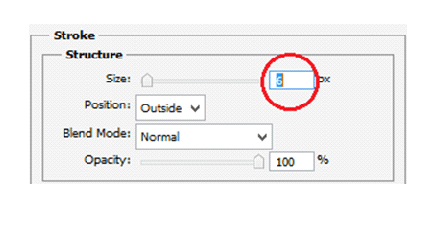
Step 9: Add a Stroke To The Text
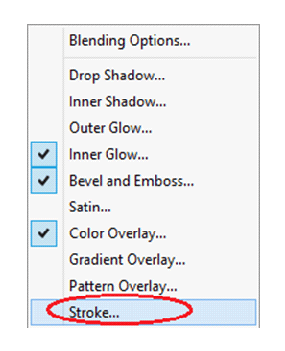
Click on layer style to create stroke effect on the text.
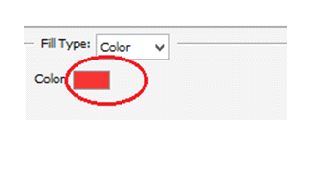
Change the Range and color
Move the mouse over the text we will see our mouse cursor will change into eyedropper icon.
Then click near the edge of one letter to sample shade of the color.
Then choose color midway between lighter and darkest colors in the text.
Step 10: Apply The “Bevel and Emboss” Style To The Stroke
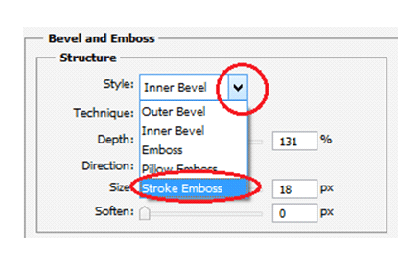
Once again wsitch to Bevel and Emboss style to stroke itself.
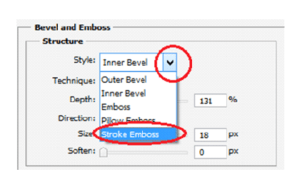
Click on the down pointing arrow to change to stroke emboss.
Then change contour style and range
Finally we get the text with plastic effect
How to speck an image within 2 Minutes.-Simple concept for beginners.
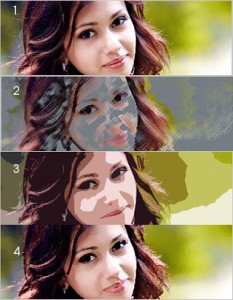
Select any image, from web. So, I’m taking the followed image as my original image.
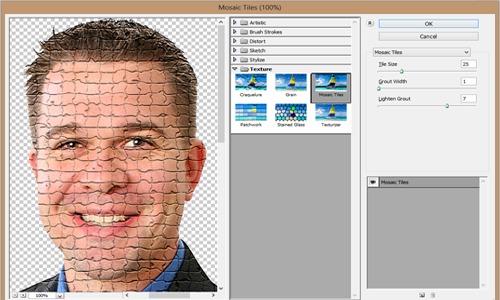
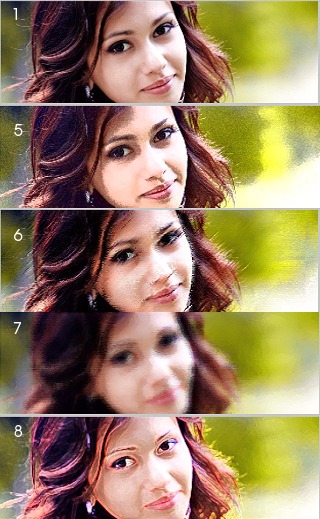
Convert your original image into tile style by making filter option. To make tile style follow the steps which is shown in the screenshot.
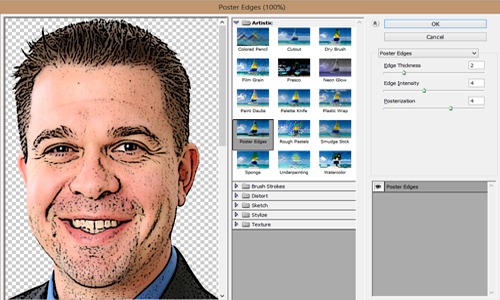
Convert your original image into Poster style by making filter option.
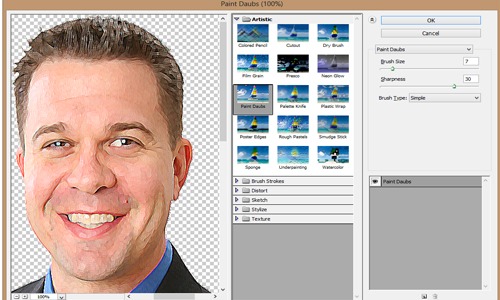
Convert your original image into paint technique by making filter option.
How to construct an image into many style using filter menu in PS Cs5.
Create a new psd file of your own size. Select an image from folder or from web.
1.Original Image:
2.Pencil Drawing format:
Look on Filter — > Fliter Gallery— >Artistic — > select Colored pencil — >ok
3.Cutout Image: Select cutout option from the artistic option which is present in filter gallery and then give ok. As same cutout we are going to create some image .
4.Dry Brush Image:
Look on Filter — > Fliter Gallery— >Artistic — > select Dry brush — >ok
5.Film Grain:
Look on Filter — > Fliter Gallery— >Artistic — > select FilmGrain — >ok
6. Rough Pastels:
Look on Filter — > Fliter Gallery— >Artistic — > select Rough pastels — >ok
7. Underpainting:
Look on Filter — > Fliter Gallery— >Artistic — > select Underpainting — >ok
8. Accented Edges:
Look on Filter — > Fliter Gallery— >Brush Strokes — > select Accented Edges — >ok
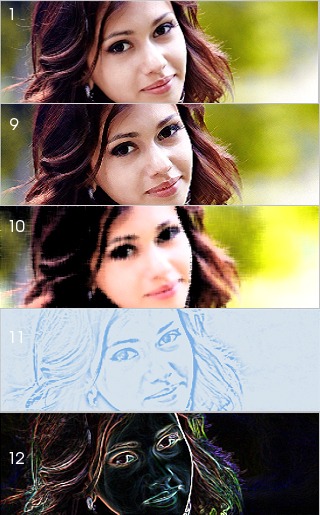
9. Cross hatch:
Look on Filter — > Fliter Gallery— >Brush Strokes — > select Crosshatch — >ok
10. Water Paper:
Look on Filter — > Fliter Gallery— >Sketch — > select Waterpaper — >ok
11. Photography:
Look on Filter — > Fliter Gallery— >Sketch — > select Photography — >ok
12. Glowing Edges:
Look on Filter — > Fliter Gallery— >Stylish — > select Glowing Edges — >ok
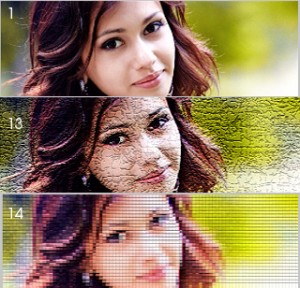
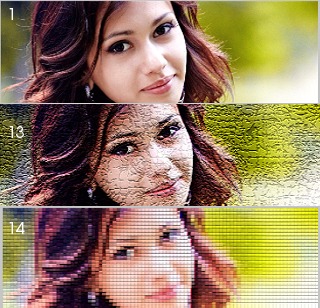
13. Craquelure:
Look on Filter — > Fliter Gallery— >Texture — > select Craquelure — >ok
14. Patchwork design:
Look on Filter — > Fliter Gallery— >Texture — > select Patch Work — >ok
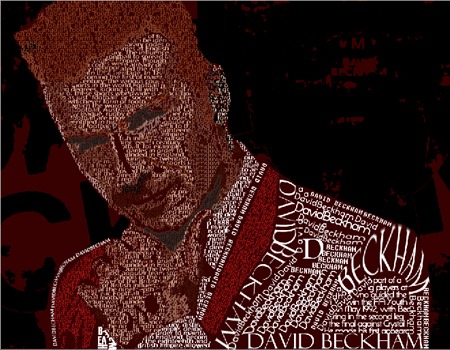
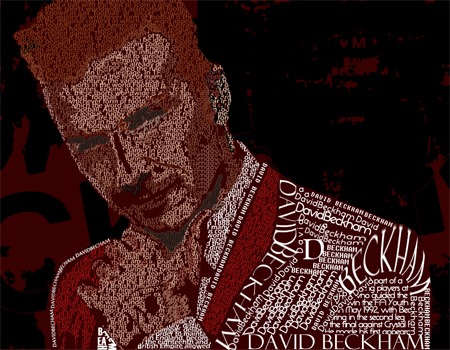
Easy Typographic Portrait In Photoshop for Beginners.
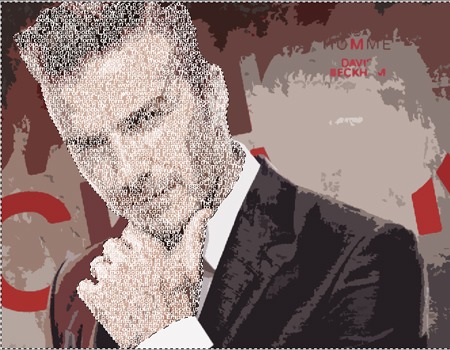
STEP-1: choose a portrait image for your typography design.
STEP-2: Creating Image Effect
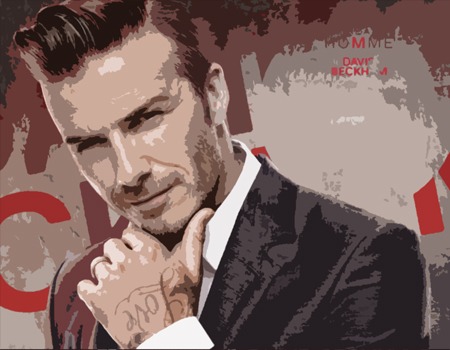
Convert the image into posterize effect by selecting Image > Adjustments > posterize. Set the Levels to 7.
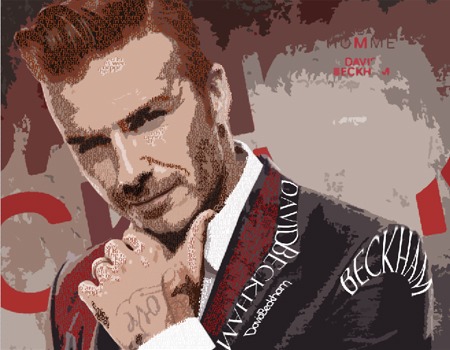
STEP-3: Add Background Text – Important Step
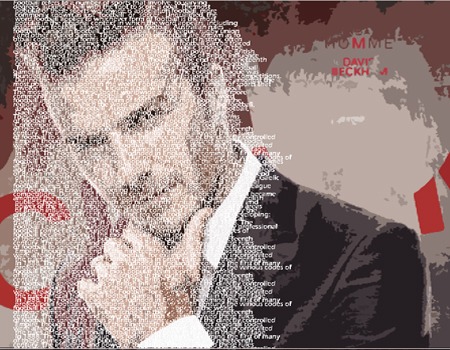
Lower your text opacity to around 20%. Create a new group (Layer – New – Group) and name it Text. Use only the different fonts and sizes. Avoid large spaces between words. Fonts I used:
- Arial
- Cambria
- Die hund
- Impact
- Tahoma
- Times New Roman
- Verdana
- And little bit more default fonts
Merge the text into layer and then, crop the layer by selecting the face region.
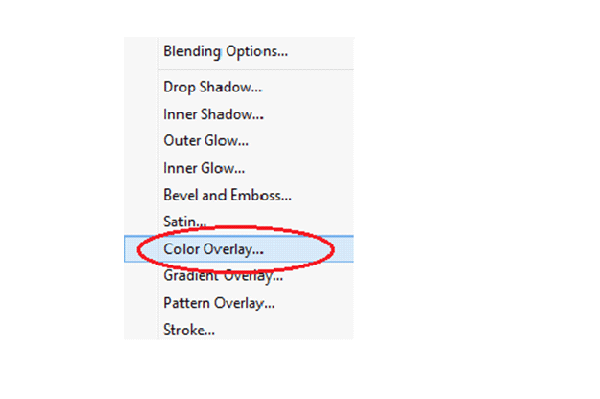
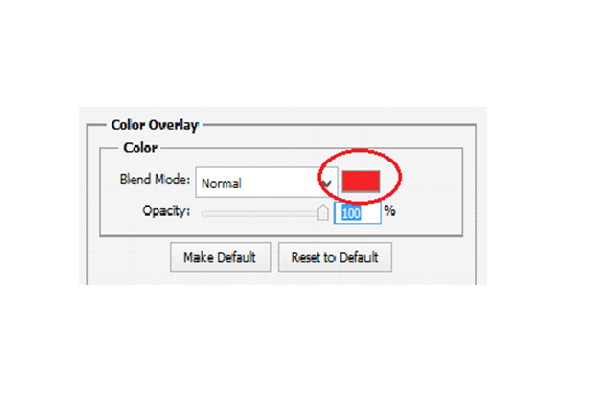
Change the merged layer color by choosing Blending options > Color overlay.
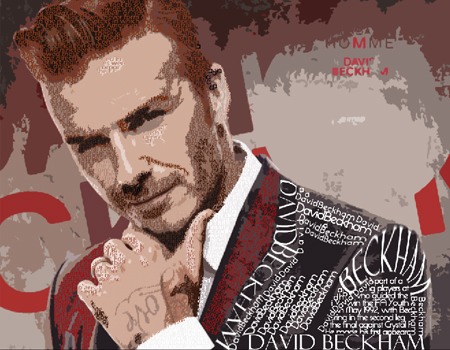
Step-5: Creating effect
When you’re done duplicate your TEXT group (Layer – Duplicate Group) and merge it (Ctrl+E). Make your unmerged TEXT group invisible and select the face region by using Magic Wand Tool.
Step 6 – Create Background Text Effect
Make merged text layer visible again and apply following layer style.
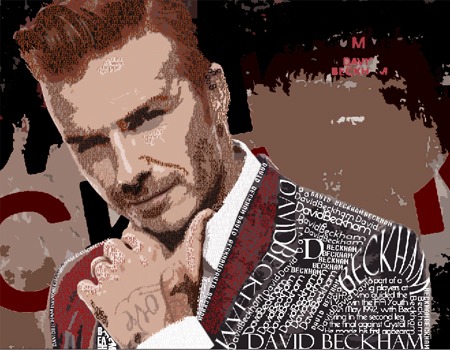
Step 7 – Final touches
Create new layer, go to Image then Apply Image, then go to Filter choose Render, select Lightning Effects and apply following settings. Here is the final result of portrait typography design.


