web design tips
Smoky Trailer in Flash Action script
Final Preview:
Step-1 Open a new document in flash. Set the stage color as black.
Step-2 Create four buttons for smoke colors transformation in Layer-1. Give the instance name for each button. Here I gave one_btn, two_btn, three_btn and four_btn.
Step-3 Type the following Action Script in Layer-2.
import flash.display.BitmapData;
var currentBitmap:String = “smoke_yellow_blue.png”;
function doTrail(container:MovieClip, targetX:Number, targetY:Number, type:String):Void
{
//attach bitmap from the library with the linked name “adobe_flash”
var myBmp:BitmapData = BitmapData.loadBitmap(currentBitmap);
//create the “main_holder” movieclip that will hold our bitmap
var _particle = container.createEmptyMovieClip(“main_holder”+container.getNextHighestDepth(), container.getNextHighestDepth());
//create an “internal_holder” movieclip inside “main_holder” that we’ll use to center the bitmap data
var internal_holder:MovieClip = _particle.createEmptyMovieClip(“internal_holder”, _particle.getNextHighestDepth());
//set “internal_holder” x and y position based on bitmap size
internal_holder._x = -myBmp.width/2;
internal_holder._y = -myBmp.height/2;
//finally, attach the bitmapData “myBmp” to the movieclip “internal_holder”
internal_holder.attachBitmap(myBmp, internal_holder.getNextHighestDepth());
//set the particle’s x & y position based on the target x & y. Offset the particle by a few pixels
_particle._x = targetX + random(4)-8;
_particle._y = targetY + random(4)-8;
//randomly rotate the particle 360 degrees
_particle._rotation = random(360);
//give the particle a random scale, between 50% and 100%
var randomScale = random(50)+50;
_particle._xscale = randomScale;
_particle._yscale = randomScale;
//give each particle its own speed
_particle.speed = random(5)+3;
//make it move
_particle.onEnterFrame = function ()
{
this._xscale += this.speed;
this._yscale += this.speed;
this._alpha -= this.speed;
//check if particle is invisible, and remove it
if(this._alpha <= 0)
{
delete this.onEnterFrame;
removeMovieClip(this);
}
}
}
_root.onEnterFrame = function():Void
{
doTrail(_root, _xmouse, _ymouse, currentBitmap);
}
//*** Control Buttons***//
one_btn.onRelease = function(){
currentBitmap = “clear.png”;
}
two_btn.onRelease = function(){
currentBitmap = “smoke_clear.png”;
}
three_btn.onRelease = function(){
currentBitmap = “smoke_yellow_blue.png”;
}
four_btn.onRelease = function(){
currentBitmap = “smoke_yellow_orange.png”;
}
Step-4 Import smoke effect images to library. Images name should be same as in library and script. Go to library panel and right click on each image. Choose Properties à Linkage. Check the “Export for Action script” option.
Run the program.
Solution for HTML5 Accessibility in IE
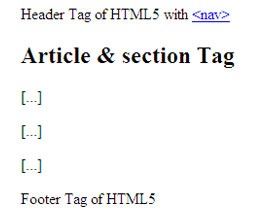
OUTPUT (in IE) AFTER FIXING THE SOLUTION:
OUTPUT (in IE) BEFORE FIXING THE SOLUTION:
HTML5 CODE:
<!DOCTYPE html>
<html xmlns="http://www.w3.org/1999/HTML" lang="en" xml:lang="en">
<head>
<meta charset="utf-8" />
<title>My first HTML5 website</title>
</head>
<body style="padding-left: 35px;">
<header> Header Tag of HTML5 with
<nav><a href="#"><nav></a> </nav>
</header>
<article>
<section>
<h2>Article & section Tag</h2>
<p>[…]</p>
<p>[…]</p>
<p>[…]</p>
</section>
</article>
<footer>Footer Tag of HTML5 </footer>
</body>
</html>
CSS CODE:
header {
background: #9e9e9e;
width: 600px;
height: 25px;
color:#FFF;
font-size:20px;
display: block;
text-align:center;
}
header a {
color: #FFF;
}
header a:hover {
color: #ebebeb;
}
article{
color: #CCC;
font-family:Arial, Helvetica, sans-serif;
font-size:14px;
}
footer {
background: #9e9e9e;
width: 600px;
height: 25px;
color:#FFF;
font-size:20px;
display: block;
text-align:center;
}
The main script should be added to the
section. It only can access the HTML5 in IE. Without the below script you will not get the required output.That’s it…
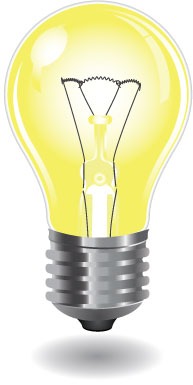
Light Bulb Vector Using Illustrator
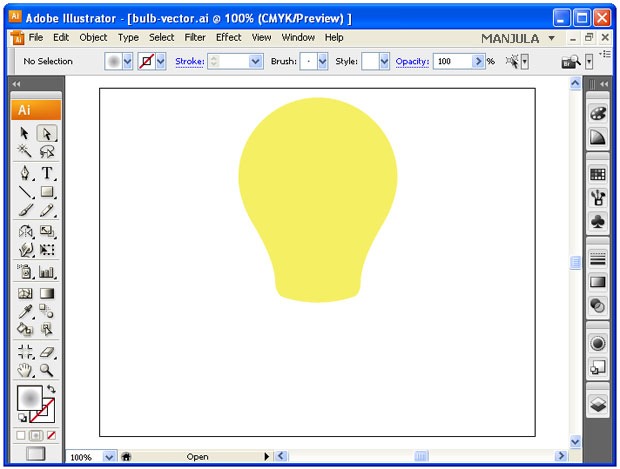
Step-1 Draw a bulb shape and fill with yellow color.
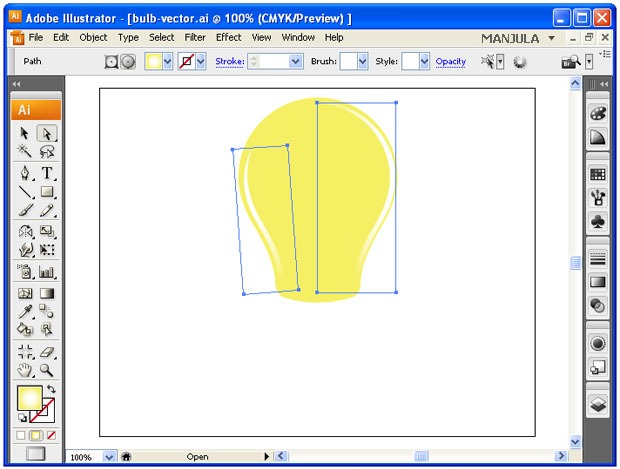
Step-2 Draw a below like arc at the two edges of the bulb sides and fill it with white and yellow gradient (radial).
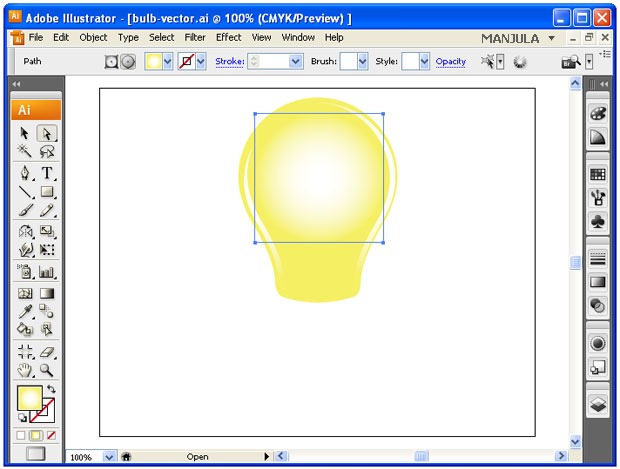
Step-3 Create a circle fills it with white and yellow radial gradient.
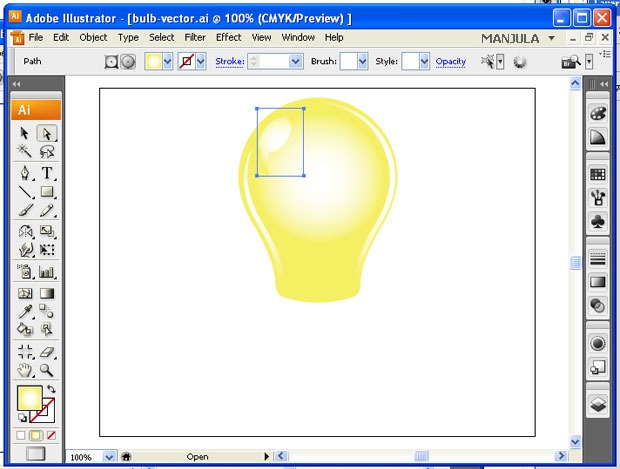
Step-4 To give a realistic effect like reflection of the light, draw below shape and fill it with white and yellow gradient.
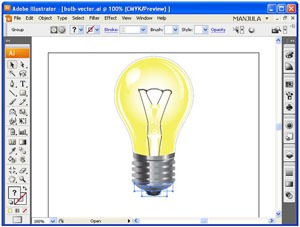
Step-5 Create the inner components of bulb by using gradient fill.
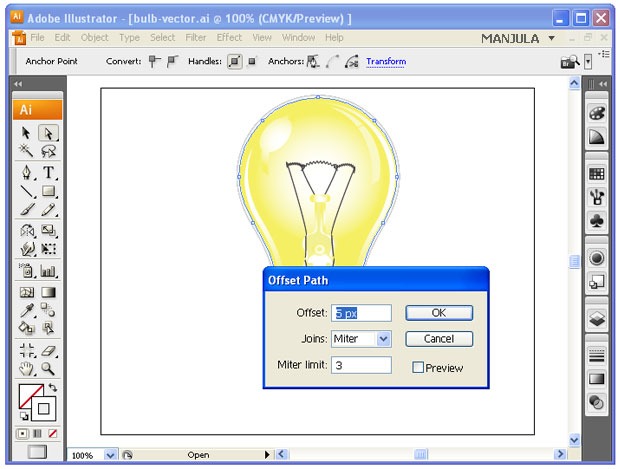
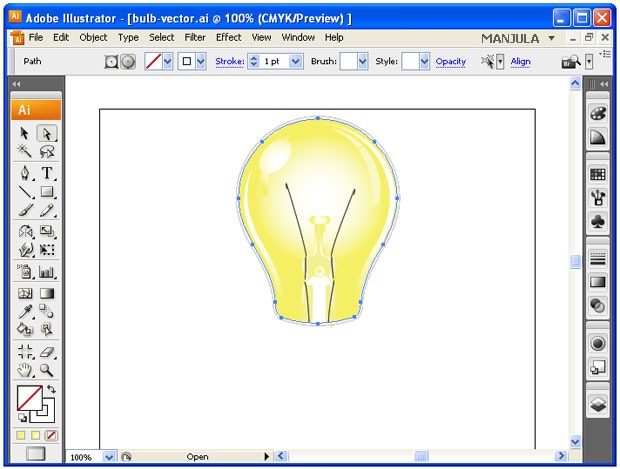
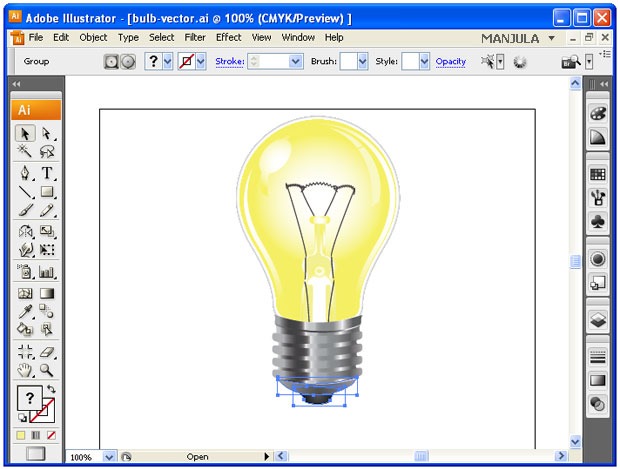
Step-6 Give the outline for the bulb using pen tool. First draw the stroke and go to OBJECT -> PATH -> OFFSET. Set the values as per your requirements.
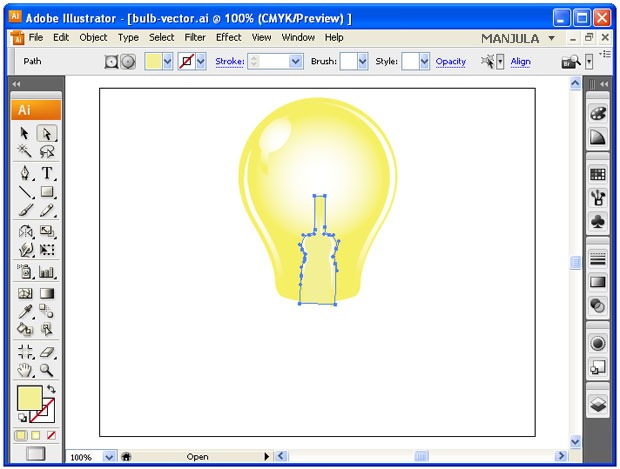
Step-7 Create the tungsten path using pen tool.
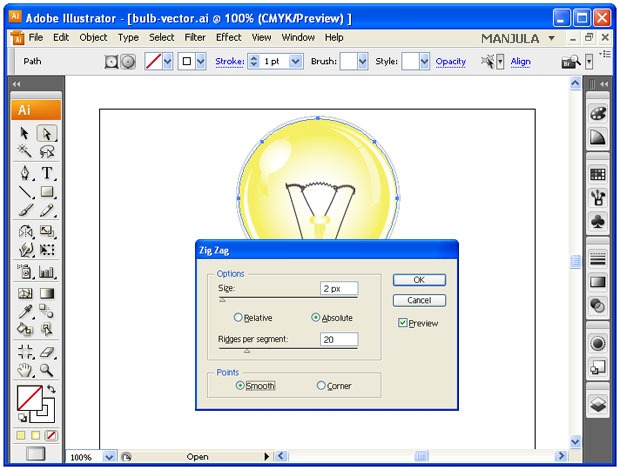
Step-8 For the top part of the tungsten draw three arcs continuously and go to EFFECT -> DISTORT & TRANSFORM -> ZIG ZAG.
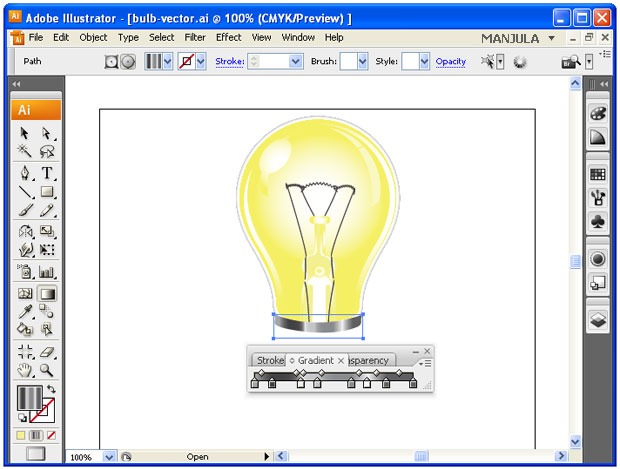
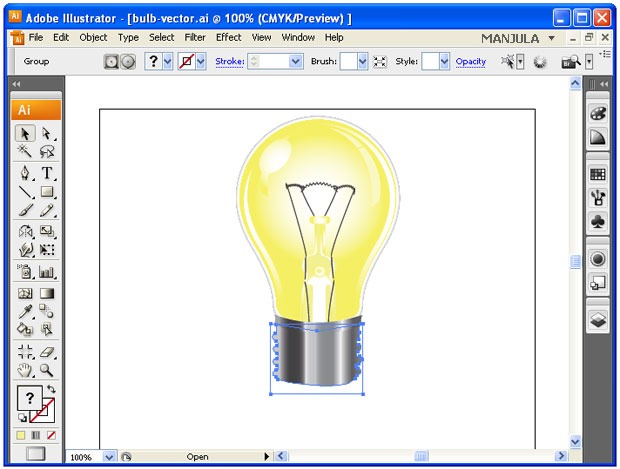
Step-9 Now comes to the bottom part of the light. Apply gradients as like below.
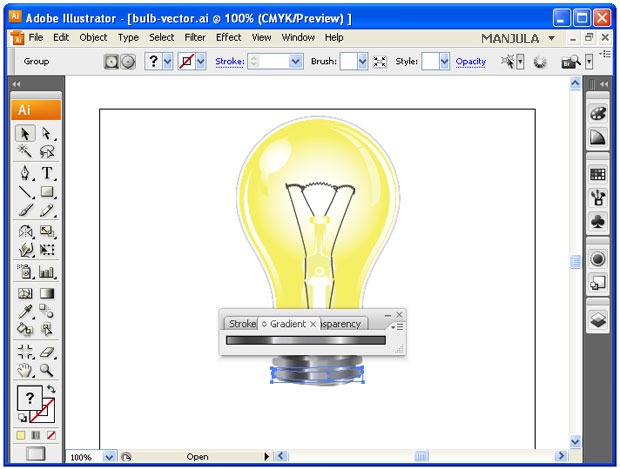
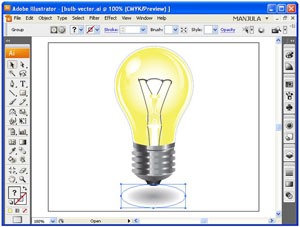
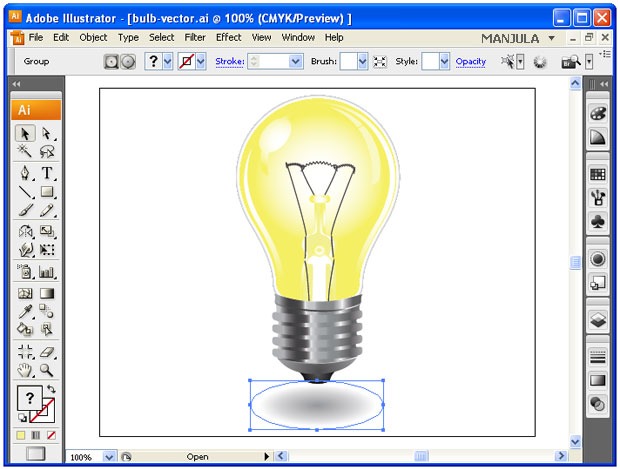
Step-10 For the shadow effect, draw an ellipse and apply white and gray radial gradient.
Enjoy 🙂
Photo Sliding Gallery using HTML
Final Preview:
Step:1 Open a new HTML Document in dreamweaver.
Step:2 Paste the following code in the HTML Document.
<ul id="sliding">
<li><a href="#nogo">
<img src="pic1.jpg"/></a></li>
<li><a href="#nogo">
<img src="pic2.jpg"/></a></li>
<li><a href="#nogo">
<img src="pic3.jpg"/></a></li>
<li><a href="#nogo">
<img src="pic4.jpg"/></a></li>
<li><a href="#nogo">
<img src="pic5.jpg"/></a></li>
<li><a href="#nogo">
<img src="pic6.jpg"/></a></li>
<li><a href="#nogo">
<img src="pic7.jpg"/></a></li>
</ul>
Step:3 Create embedded <style> style below <head> tag. Add the following CSS Code:
<style>
#sliding {
padding:0;
margin:20px 0 0 20px;
list-style-type:none;
overflow:hidden;
width:495px;
height:240px;
background:#fff url(back.jpg);
}
#sliding li {
float:left;
}
#sliding li a {
display:block;
height:240px;
width:28px;
float:left;
text-decoration:none;
border-right:1px solid #fff;
cursor:default;
}
#sliding li a img {
width:28px;
height:240px;
border:0;
}
#sliding li a:hover {
background:#eee;
width:320px;
}
#sliding li a:hover img {
width:320px;
}
</style>
Step:4 Place required images inside your HTML file folder.
Now run the Program.
CSS Navigation Menu using background positioning
Step-1 Open an html document. Write the following html code inside the body tag:
<li><a href=”#” id=”home”>Home Page</a></li>
<li><a href=”#” id=”about”>About Us</a></li>
<li><a href=”#” id=”webdesign”>Web Design</a></li>
<li><a href=”#” id=”graphicdesign”>Graphic Designs</a></li>
<li><a href=”#” id=”seo”>Search Engine Optimization SEO</a></li>
<li><a href=”#” id=”contact” >Contact Us</a></li>
</ul>
Step-2 Create a new CSS document and write the following CSS syntax and save it as MAIN.CSS.Here background position defined to draw the different position of the button into visible.
#navigation:hover li a#webdesign { background-position: -280px; }
#navigation:hover li a#home { background-position: -206px; }
#navigation:hover li a#graphicdesign { background-position: -340px; }
#navigation:hover li a#contact { background-position: -232px; }
#navigation:hover li a#about { background-position: -242px; }
#navigation:hover li a#seo { background-position: -540px; }
#navigation li { float: left; }
#navigation li a { text-indent: -999999px; overflow: hidden; display: block; height: 72px; }
#home { background: url(home.gif); width: 103px; }
#home:hover { background: url(home.gif) 0 0 !important; }
#about { background: url(about.gif); width: 121px; }
#about:hover { background: url(about.gif) 0 0 !important; }
#webdesign { background: url(webdesign.gif); width: 140px; }
#webdesign:hover { background: url(webdesign.gif) 0 0 !important; }
#graphicdesign { background: url(graphicdesign.gif); width: 170px; }
#graphicdesign:hover { background: url(graphicdesign.gif) 0 0 !important; }
#seo { background: url(seo.gif); width: 281px; }
#seo:hover { background: url(seo.gif) 0 0 !important; }
#contact { background: url(contact.gif); width: 116px; }
#contact:hover { background: url(contact.gif) 0 0 !important; }
Step-3 Paste the following code inside the <head></head> tag in HTML file to link the MAIN.CSS.
Step-4 Your HTML, CSS and below images should be in same folder.
Now run the program.
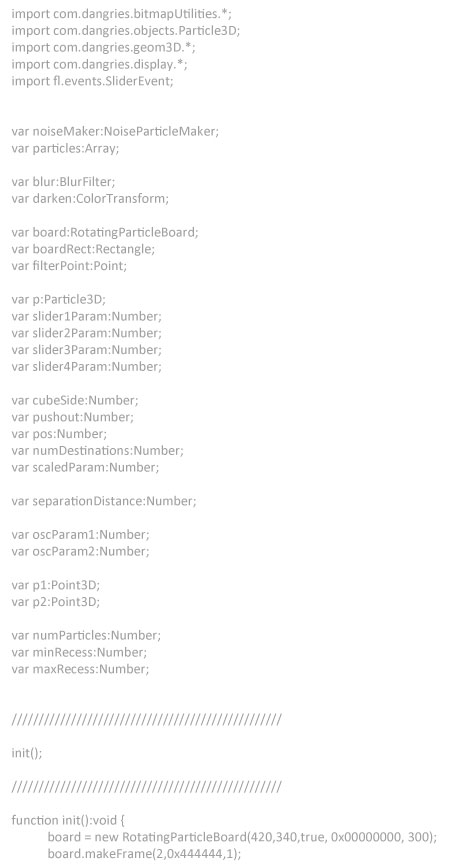
Actionscript Particle Color Seperation
Final Preview:
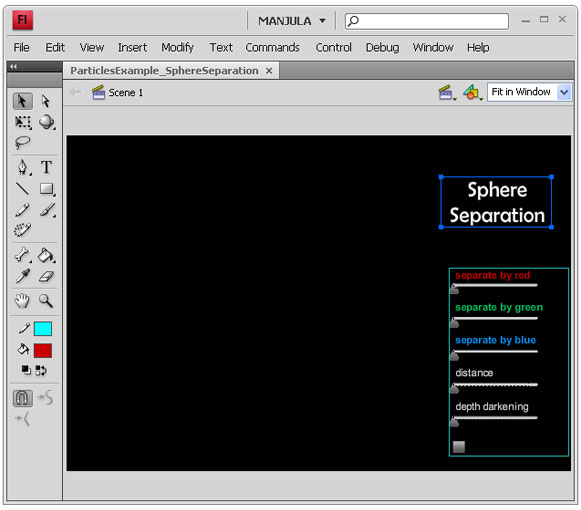
Step-1 Open a new document in Flash. Create the below texts and sliders in Layer-1.
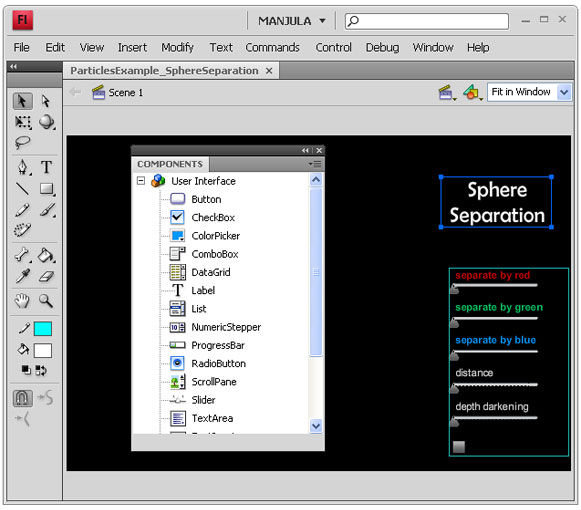
Step-2 Go to Windows –> Components –> Slider to get sliders. Drag the slider into the stage. Here we want 5 sliders and one checkbox.
Step-3 Name those 5 sliders as slider1, slider2, slider3, slider4, sliderDarken respectively. Name that checkbox as checkBox1.
Step-4 In layer-2, keyframe-1 writes the following script.
Step-5 Click here to download the script files and put inside the folder where you kept your .fla file.
Ctrl + Enter to run the program. (Source: dangries.com)
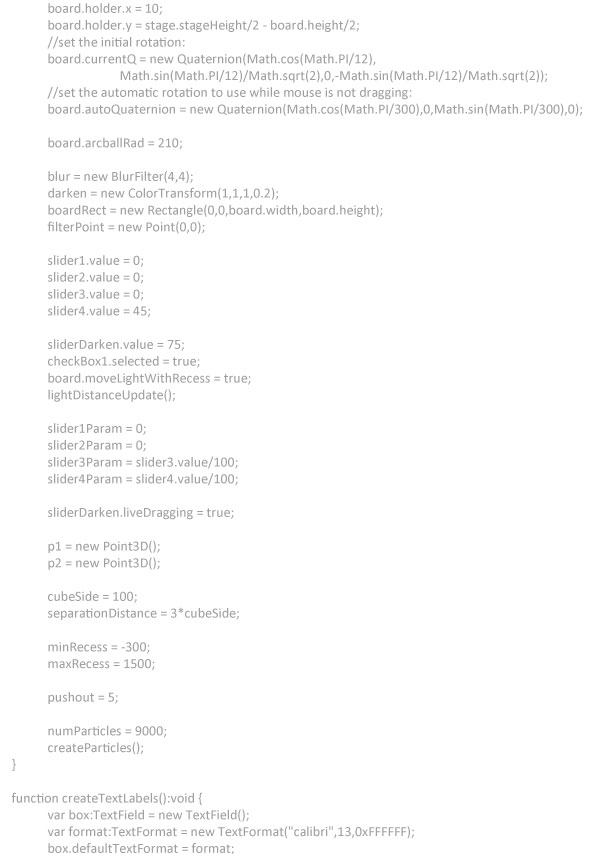
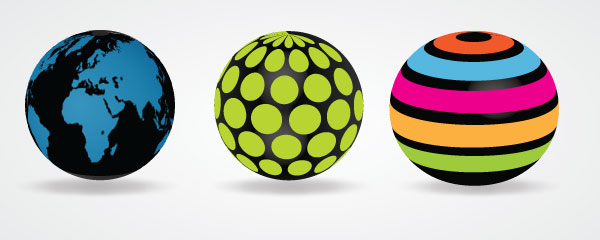
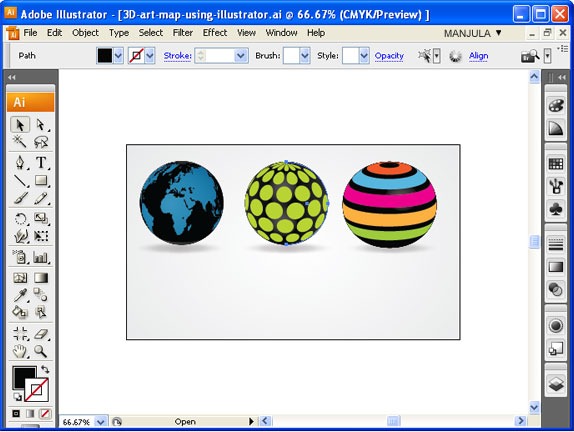
3D Art Map Using Illustrator
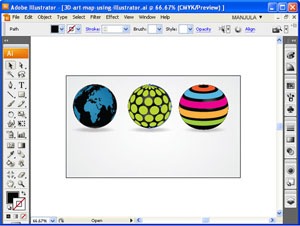
Final Preview:
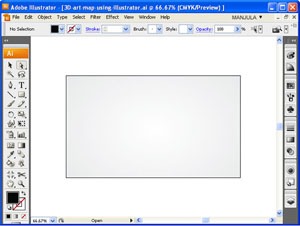
Step-1 Open a new document in Illustrator.
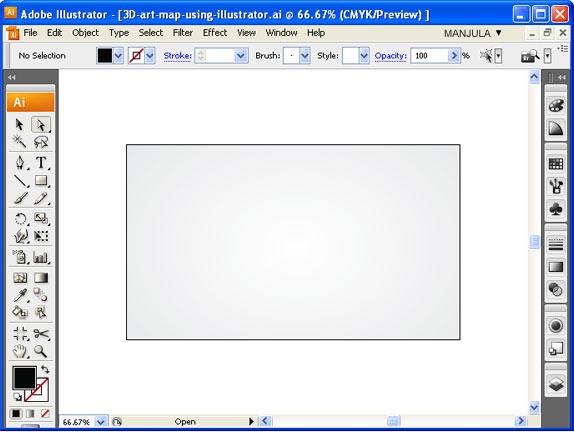
Step-2 Create a RECTANGLE BOX and fill gradient in the combination of Gray and White.
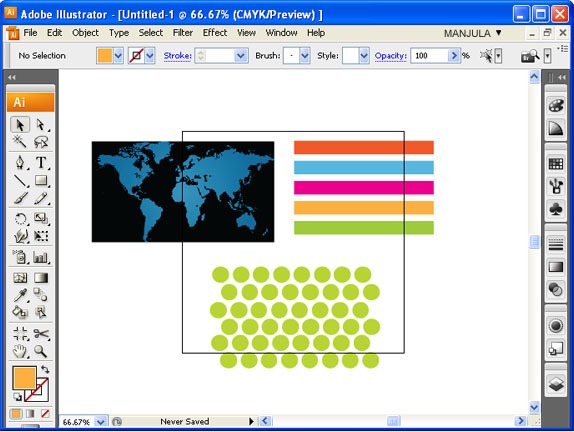
Step-3 Then imports designs which you required to wrap around the 3d globe.
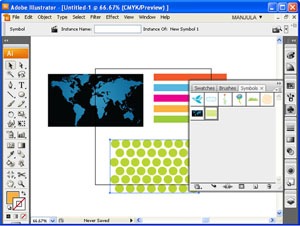
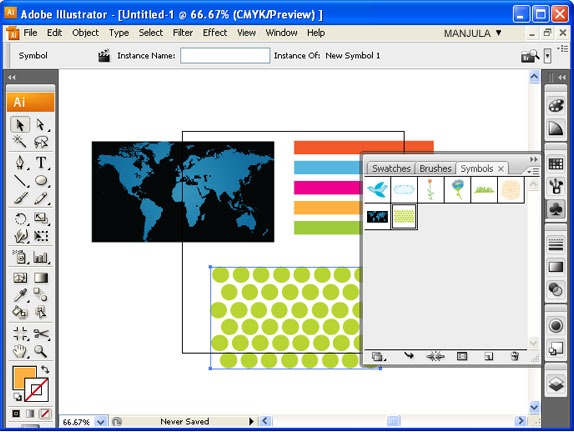
Step-4 Go to WINDOW –> SYMBOLS. Symbol panel will appear. Drag those designs into SYMBOL PANEL.
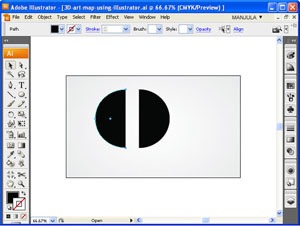
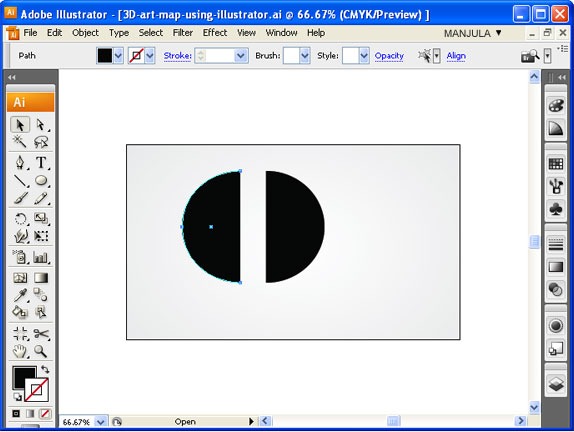
Step-5 Draw a CIRCLE and fill with black color. Cut that circle as semicircle using SCISSOR TOOL at the anchor point.
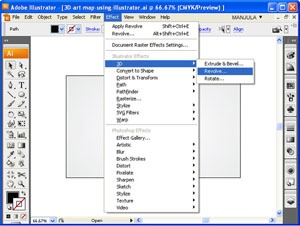
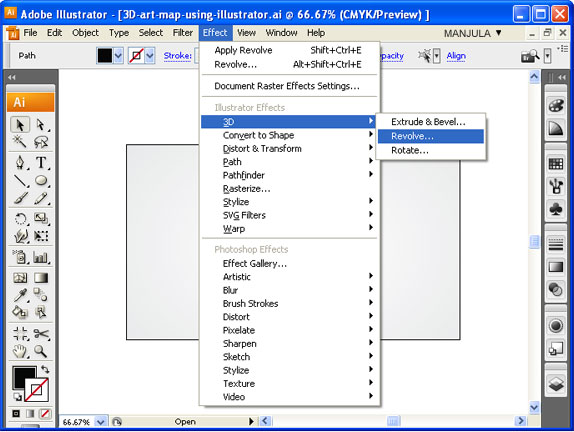
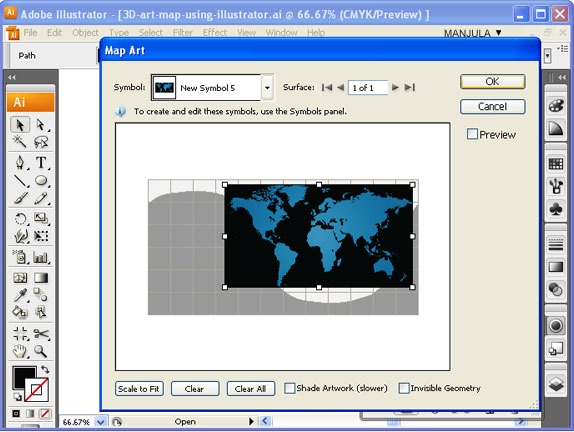
Step-6 Go to EFFECT –> 3D –> REVOLVE. Click MAP ART Option; select the symbol which you dragged into SYMBOL PANEL. Your design will wrap the 3d Sphere.
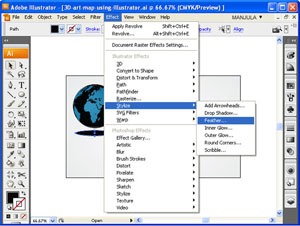
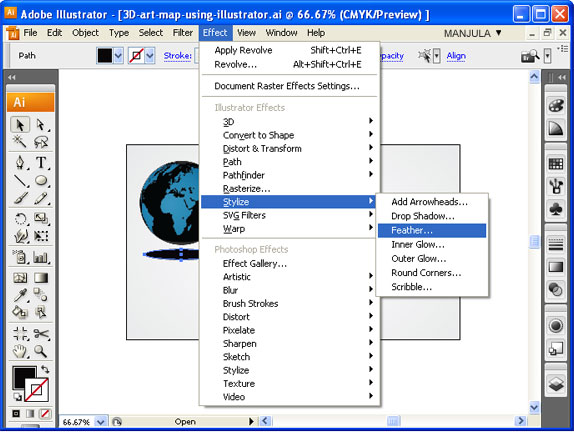
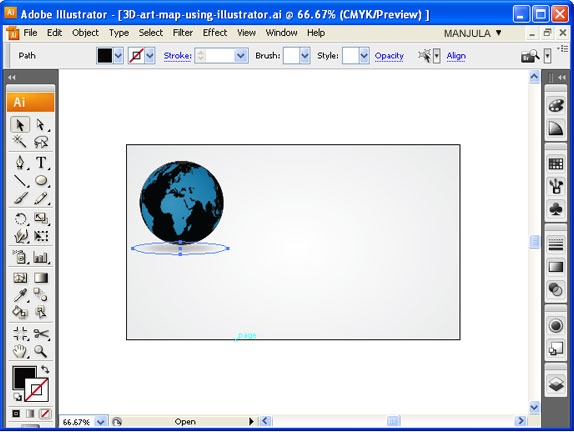
Step-7 Draw an ellipse and go to EFFECT–> STYLIZE –> FEATHER. Give feather radius as 35px.
Step-8 As like above create remaining spheres.
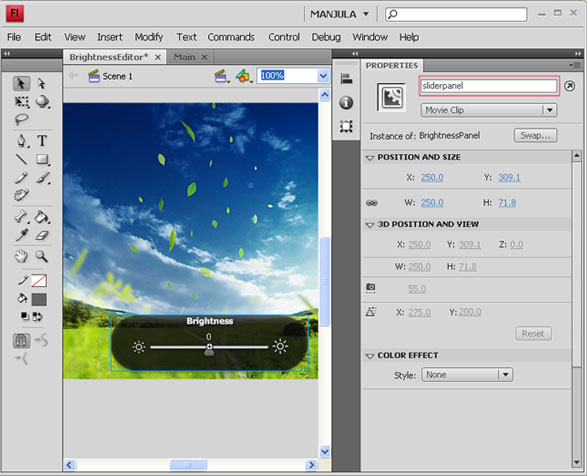
Create Brightness or contrast Using Flash AS3
Step-1 Open a new document and import an image then convert it into movieclip and name it as “image”.
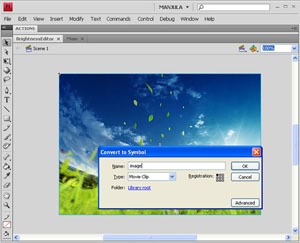
Step-2 Draw a rounded rectangle for slider panel.
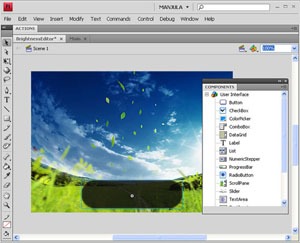
Step-3 Inside the rectangle, draw brightness and contrast symbols.
Step-4 Drag and drop a “Slider” from “Windows –> Components –> Slider” and name it as “slider”.
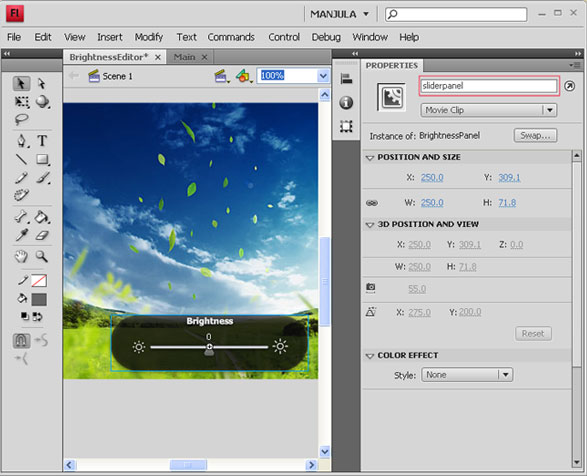
Step-5 Select the whole slider panel then, convert it into “movieclip” and name it as “sliderpanel”.
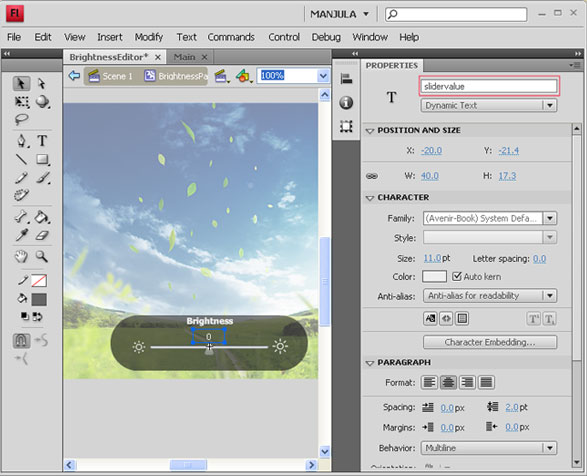
Step-6 Create “Dynamic Text” inside the “slider Panel” movieclip and name it as “slidervalue”. Type zero in the text box. Save this file as “Brightness-contrast”.
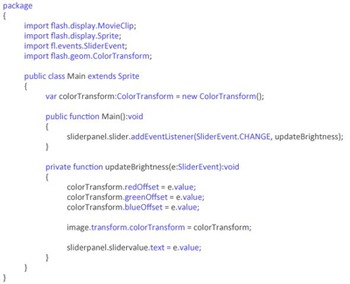
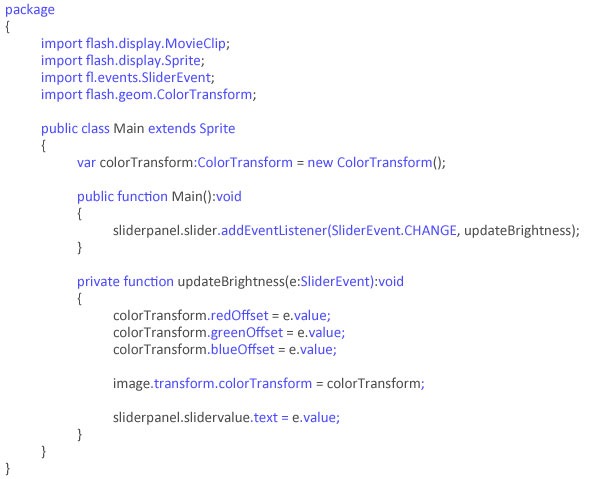
Step-7 Open a new Flash AS3 document and writes the following code. At last save it as “Main”. Set the target as “Brightness-contrast”.
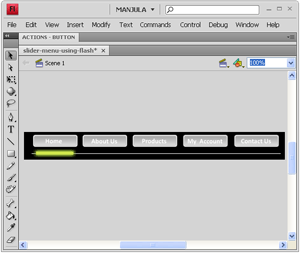
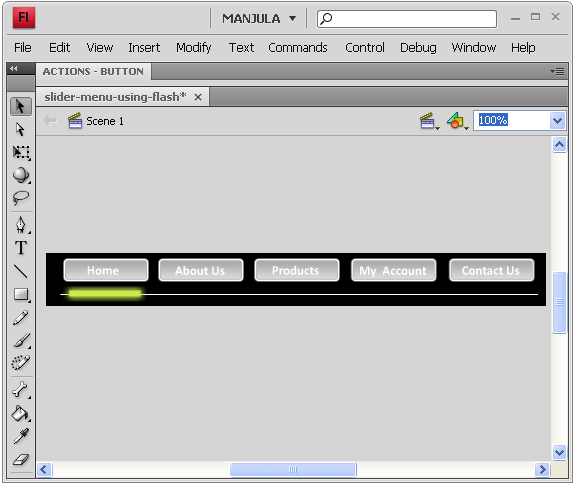
Slider Menu bar Using Flash Action script 1.0
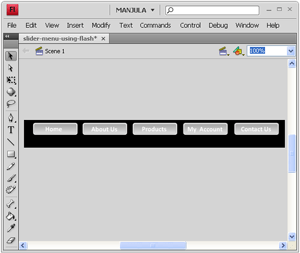
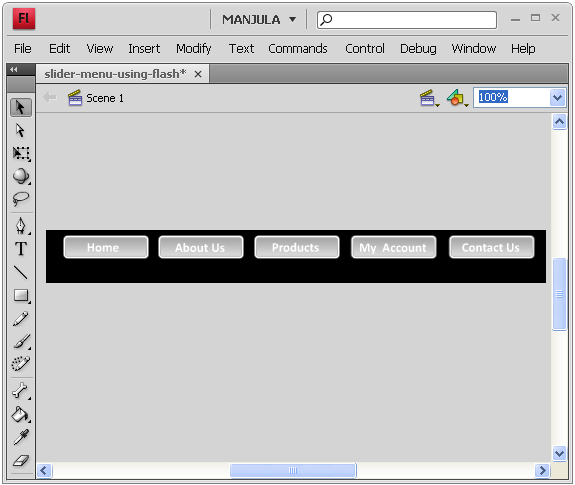
Final Preview:
Step-1 Open a new document in the dimension of 500X53.
Step-2 creates a Menu buttons (I have created 5 buttons)in layer-1, change it into “button” and give instance name it as button1, button2, button3, button4 and button5 respectively.
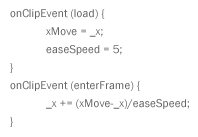
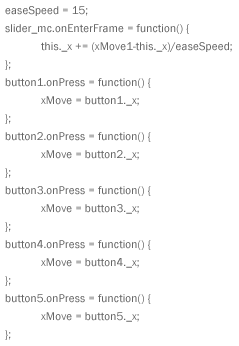
Step-3 Select “button1” and write the following code on the “action script Panel” (F9).
Step-4 Repeat the step-3 for remaining buttons. Only change the button names in the script.
Step-5 In layer-2, draw a line and slider. Convert the slider into “movieclip” and give the instance name as “Slider”. Also write the following script in “action script panel”.
Step-6 Create a new layer and place the below code:
Sprite Control Using Keyboard in Flash Actionscript
Final Preview:
Use Keyboard Arrow Keys to move up, bottom, left, right.
Step-1 Open a new document in Flash.
Step-2 Create a boy head or whichever you like.
Step-3 Convert it into “movie clip” and name it as “sprite”.
Step-4 Write the following action script in a new layer, Key frame-1.
spriteDirection = 0;
setInterval(function () {
if (Key.isDown(Key.RIGHT)) {
setDirection(0);
_root.sprite._x += 3;
}
if (Key.isDown(Key.LEFT)) {
setDirection(1);
_root.sprite._x -= 3;
}
if (Key.isDown(Key.DOWN)) {
_root.sprite._y += 3;
}
if (Key.isDown(Key.UP)) {
_root.sprite._y -= 3;
}
updateAfterEvent(); }, 10);


