Photoshop tips
Digital Pixel Effect using Photoshop
Step:1
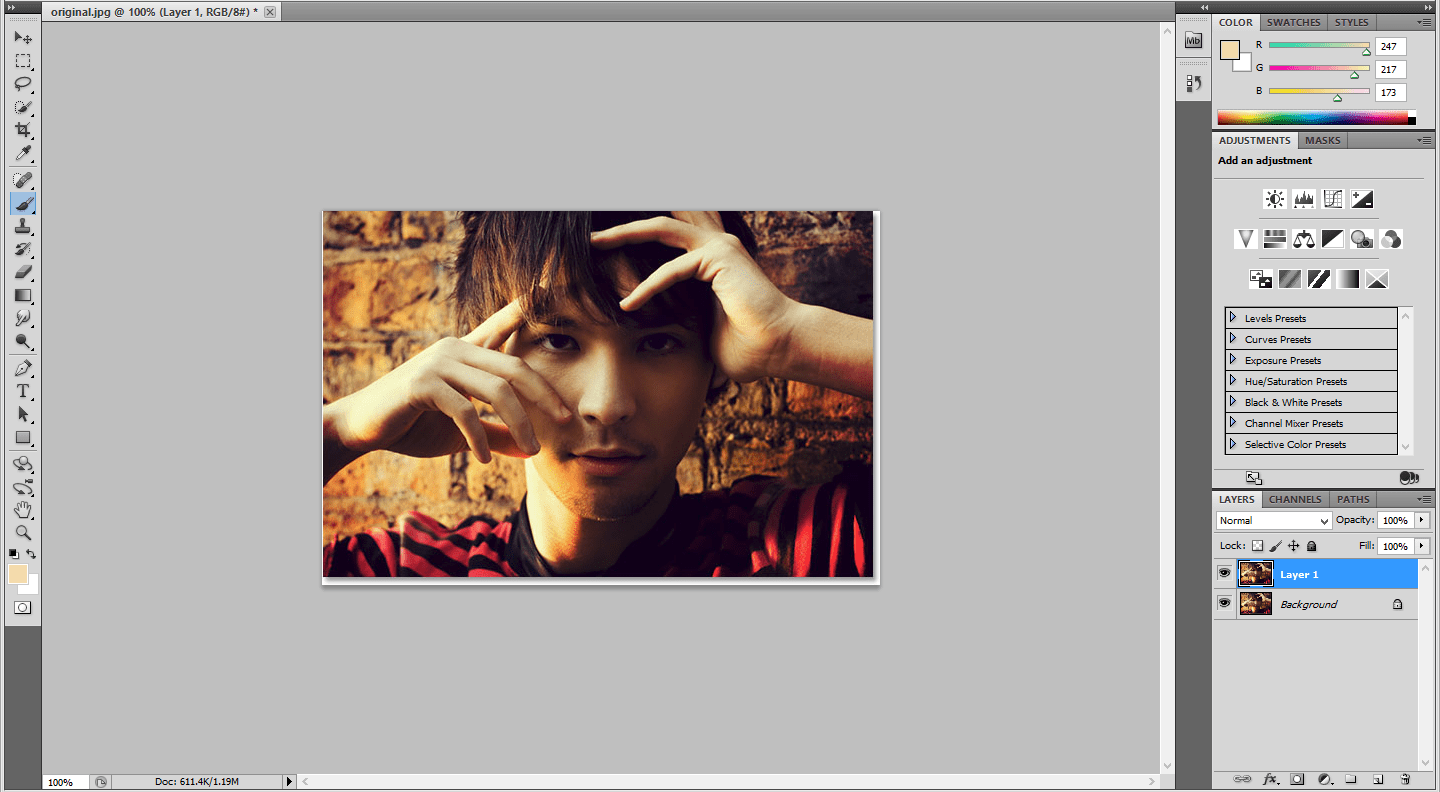
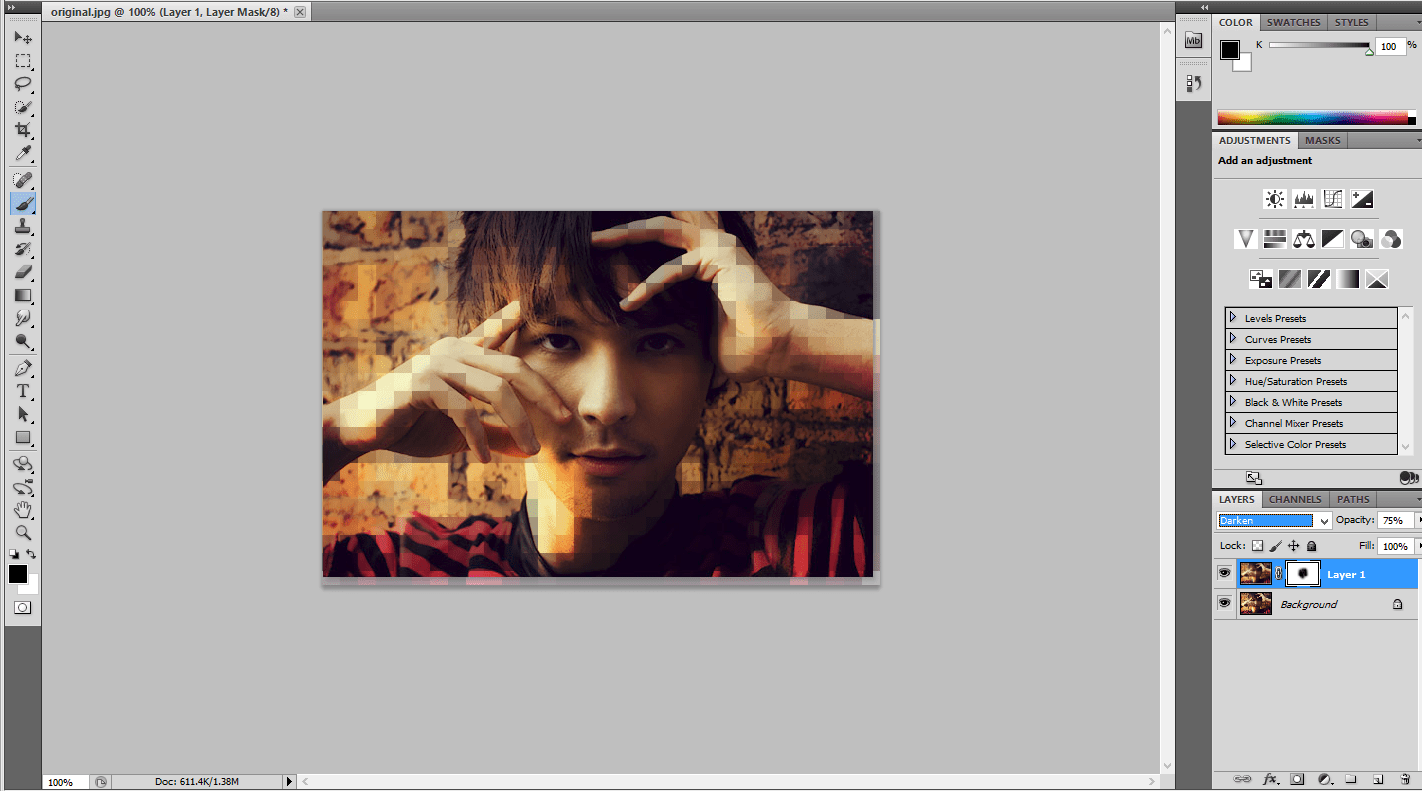
Open the Photo document in Photoshop.Make a duplicate layer by Pressing ctrl+j
Step:2
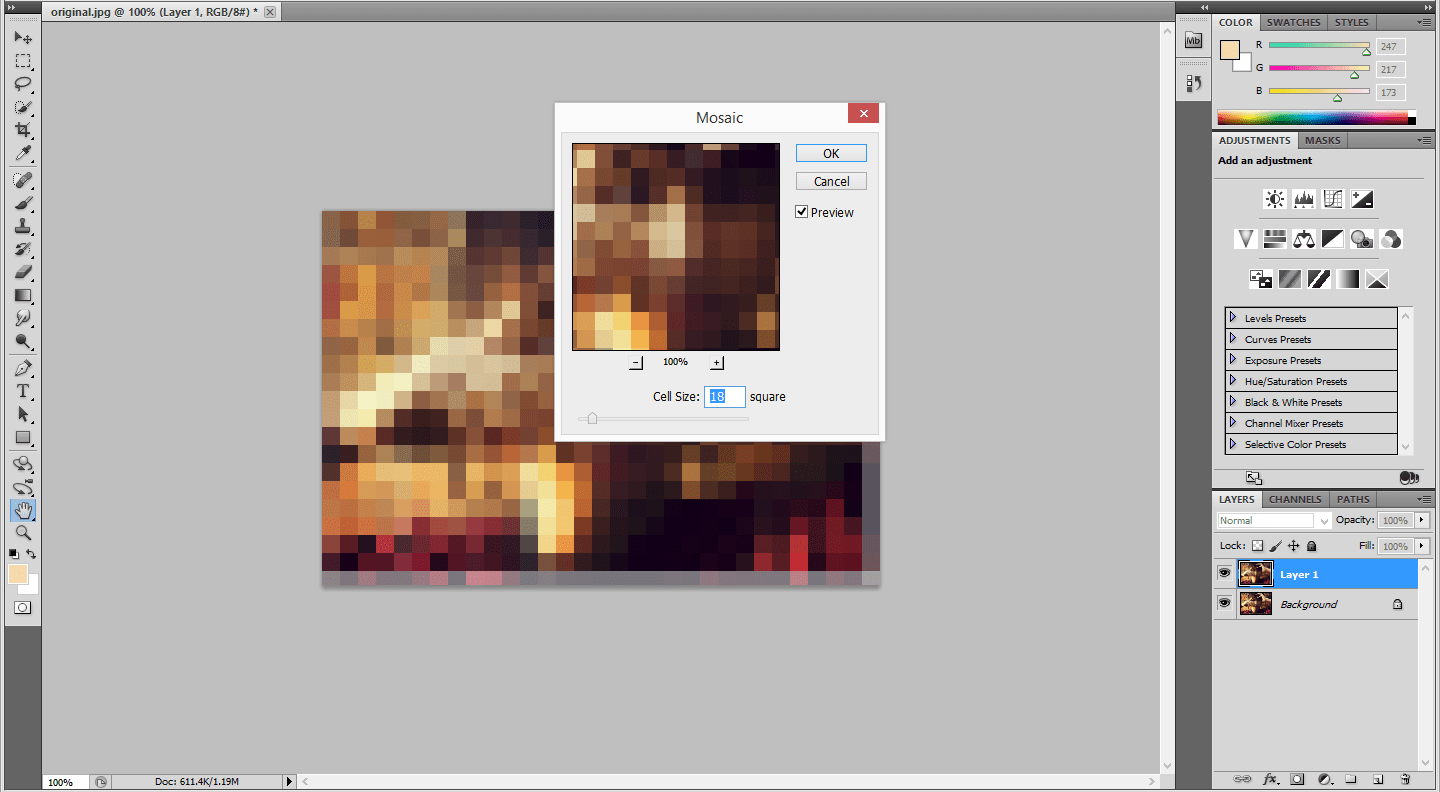
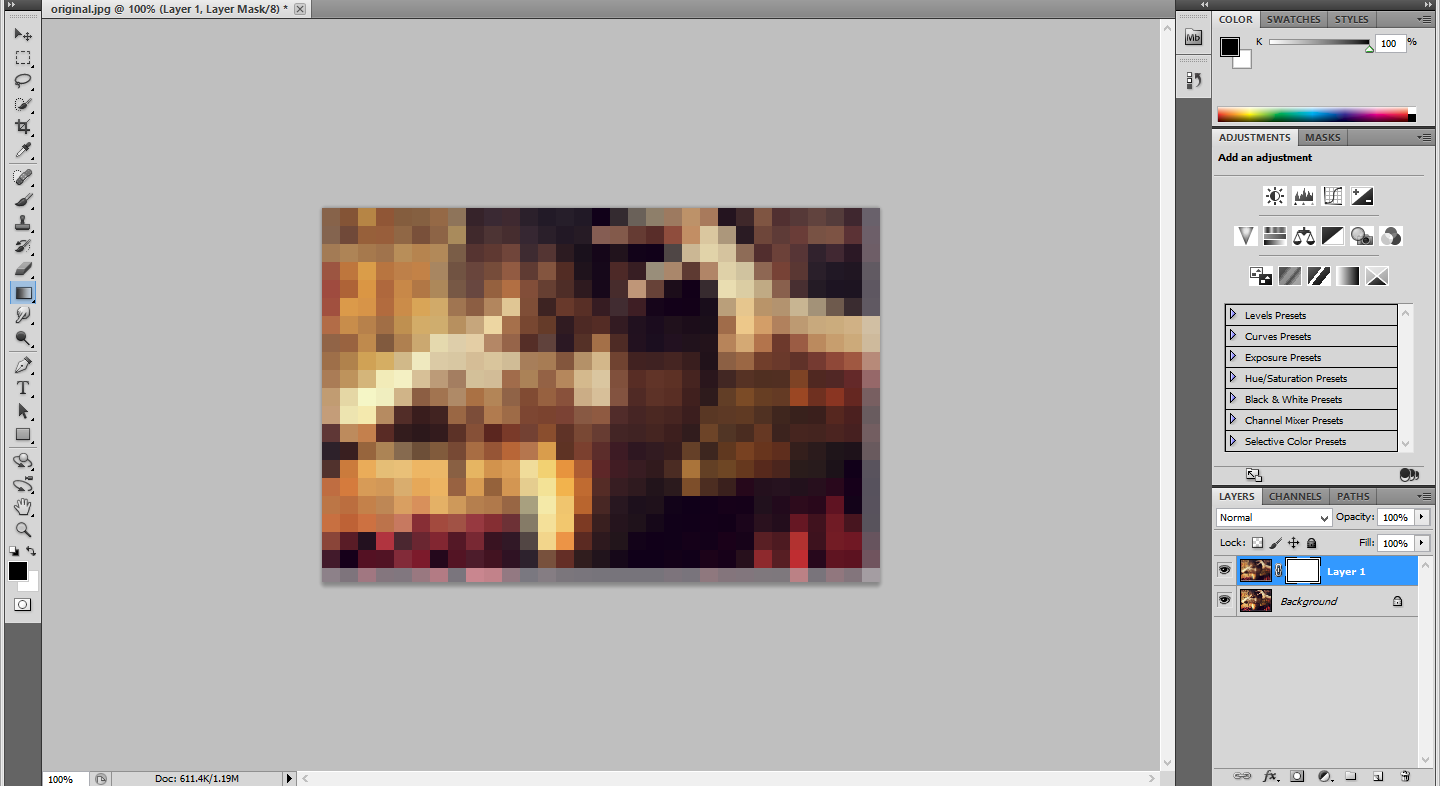
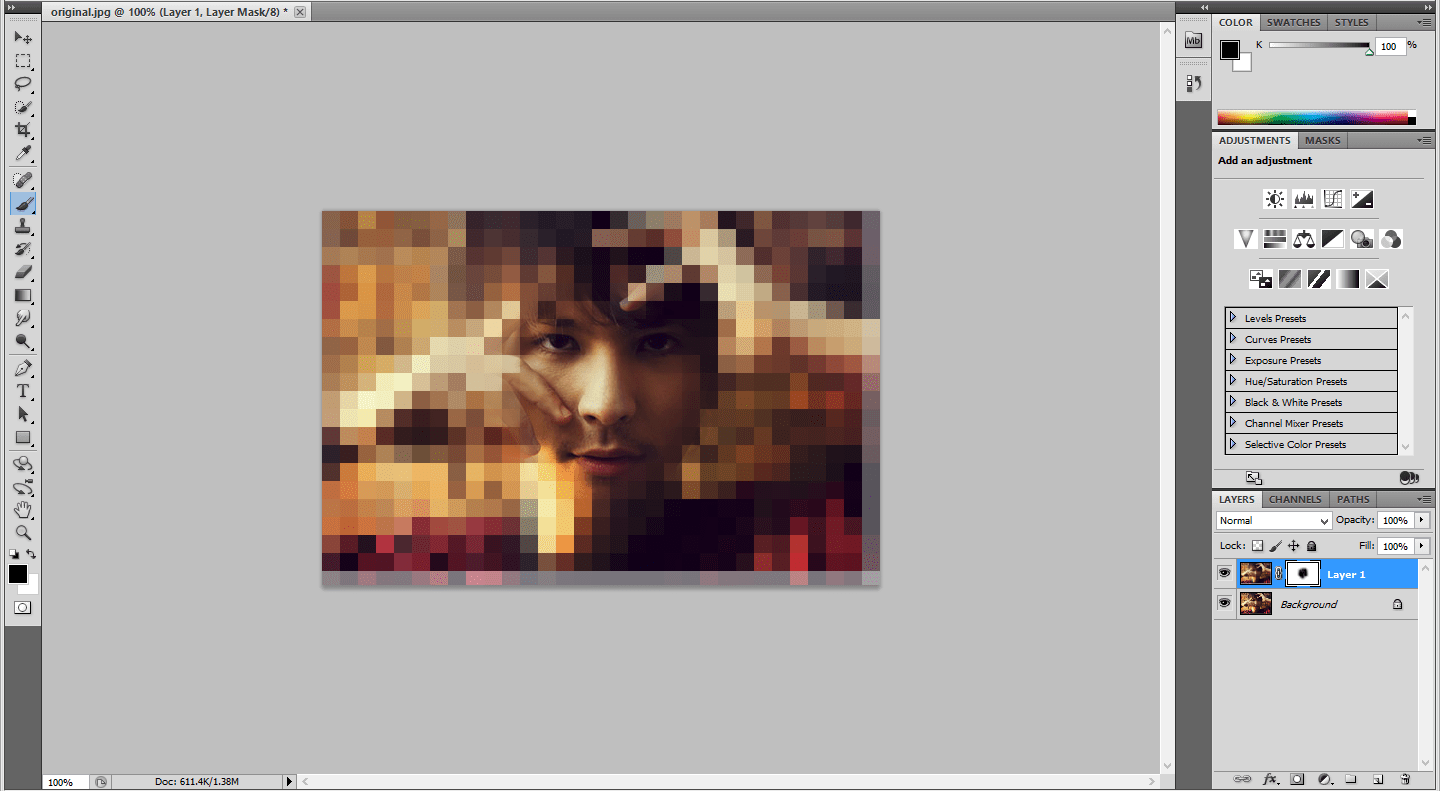
In the duplicate layer go to Filter -> Pixelate -> Mosaic and change the cell size to 18. Cell size can be varied depend upon our needs.
Step:3
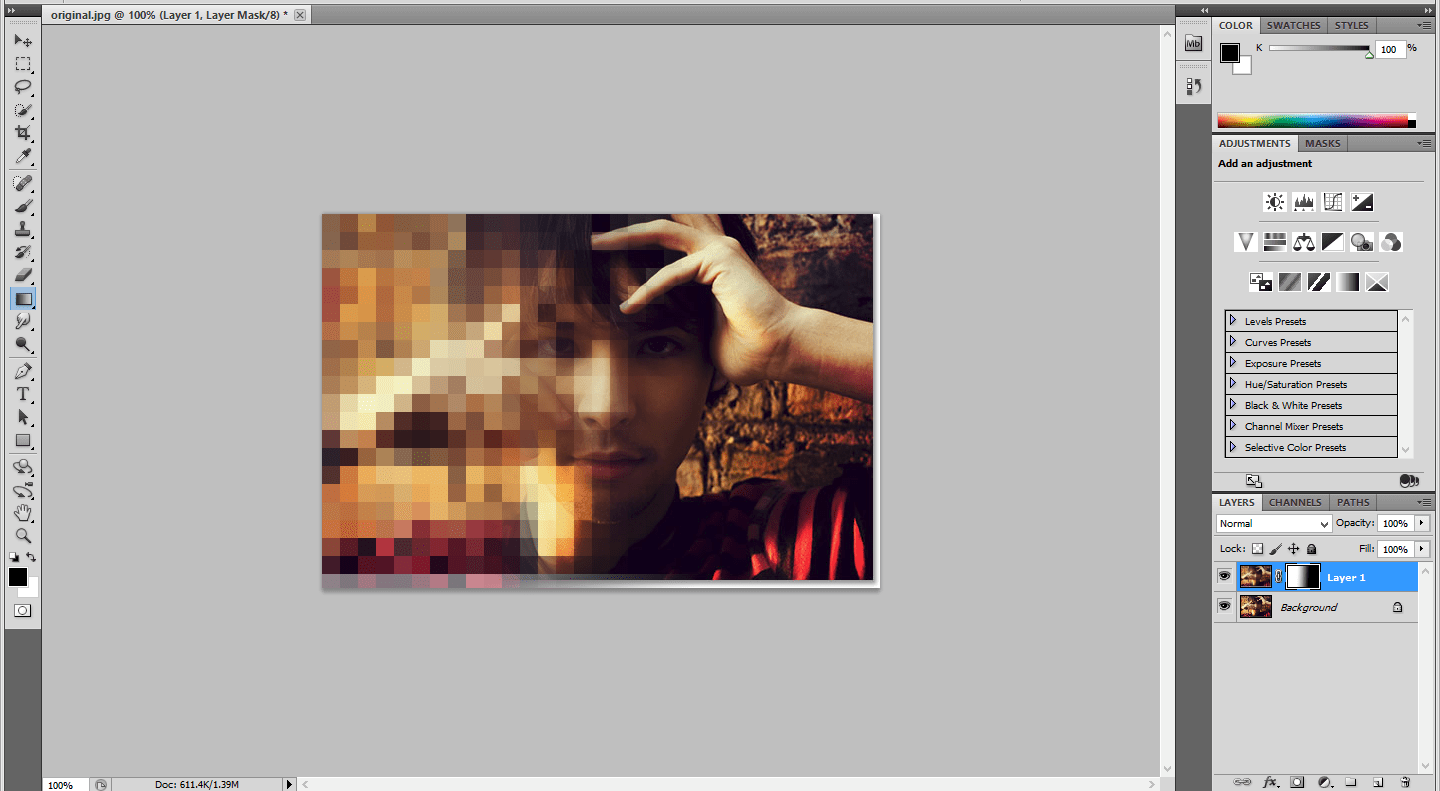
Add a later mask in the duplicate layer.Then apply the gradient mask from left to right using black as foreground color and white as background layer.
Step:4
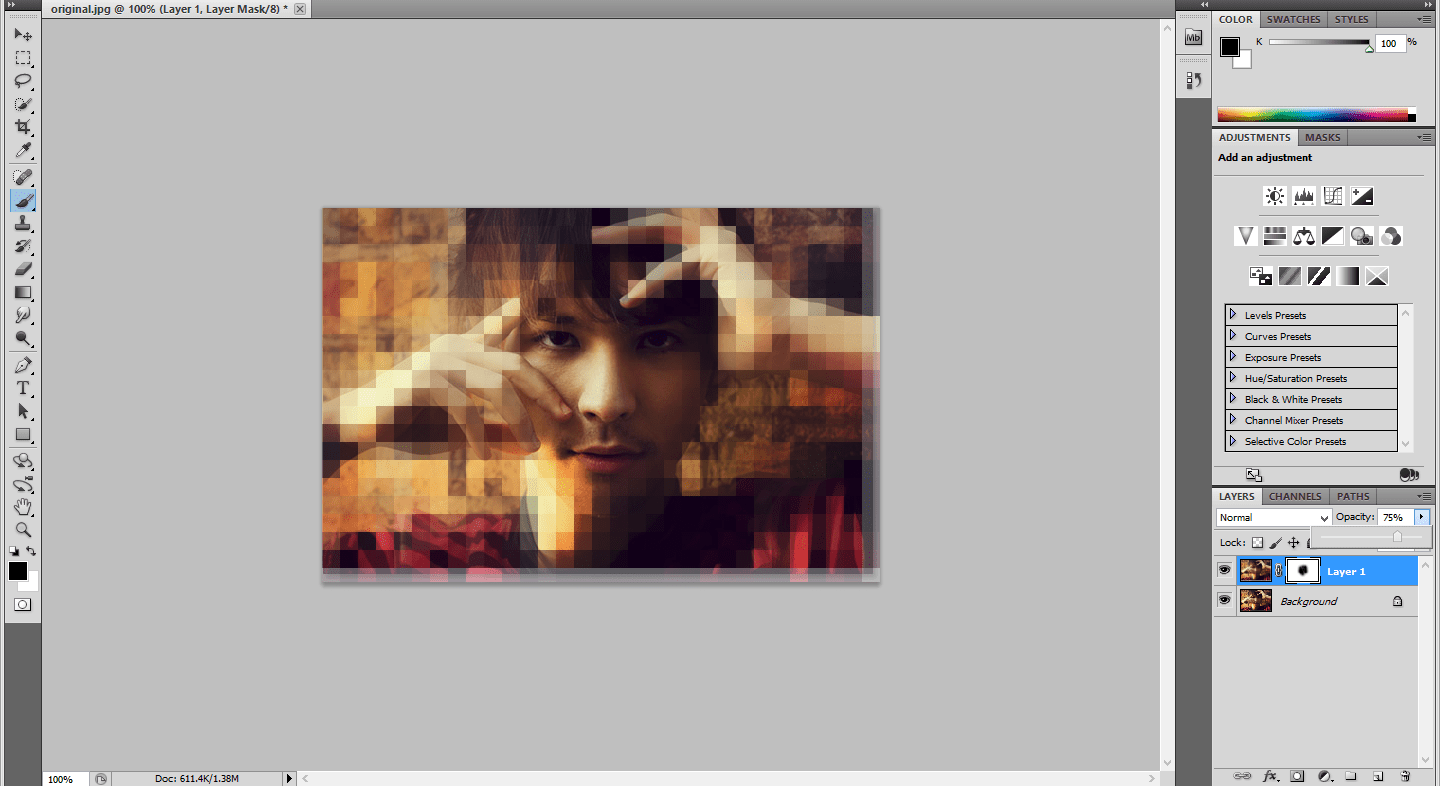
Apply white color on Layer mask. Using brush remove some of the Face parts like eyes, nose, head.Make black as foreground color.
Step:5
Reduce the Opacity to 75%. Change the Blending modes from normal to darken. You can change the blending modes according to your needs.
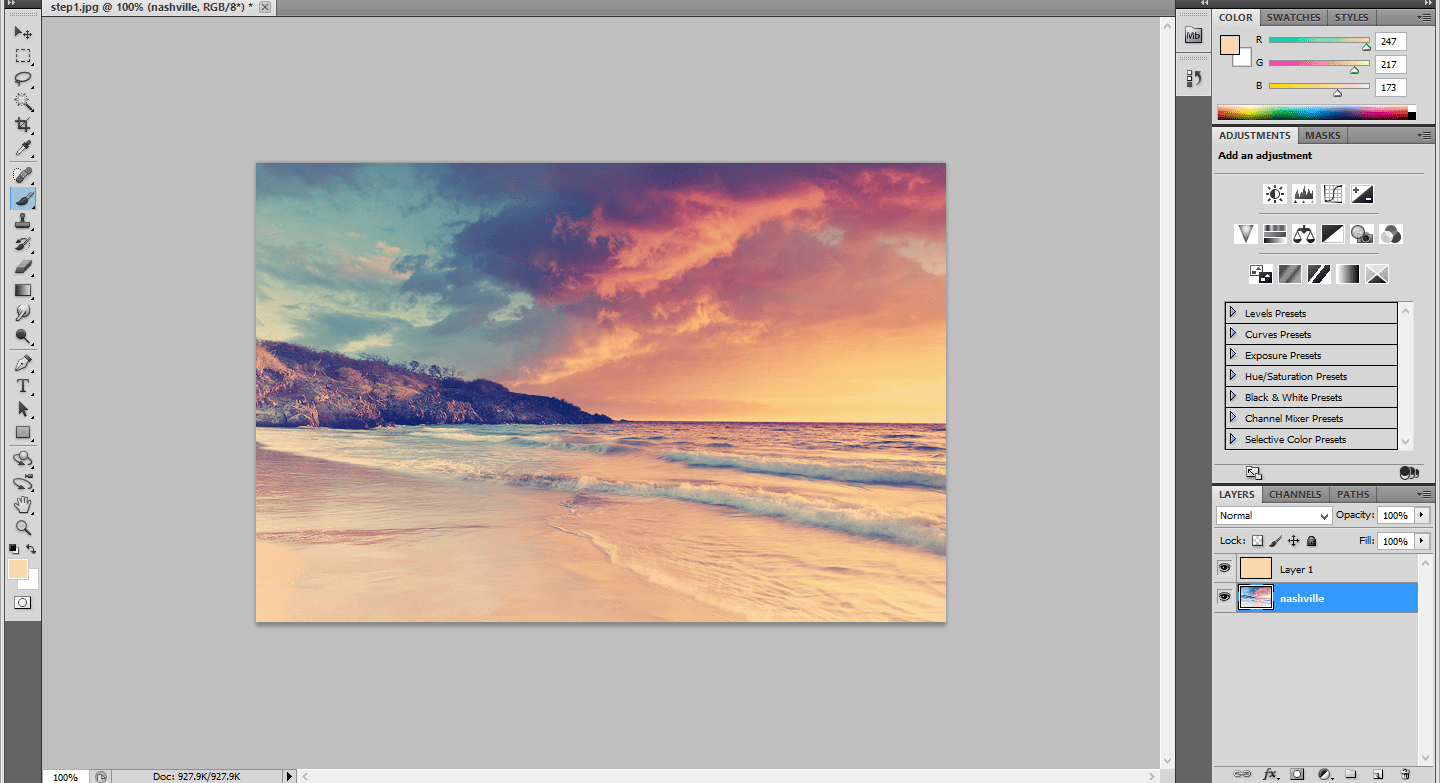
How to create a Nashville filter from Instagram using Photoshop
Step1:
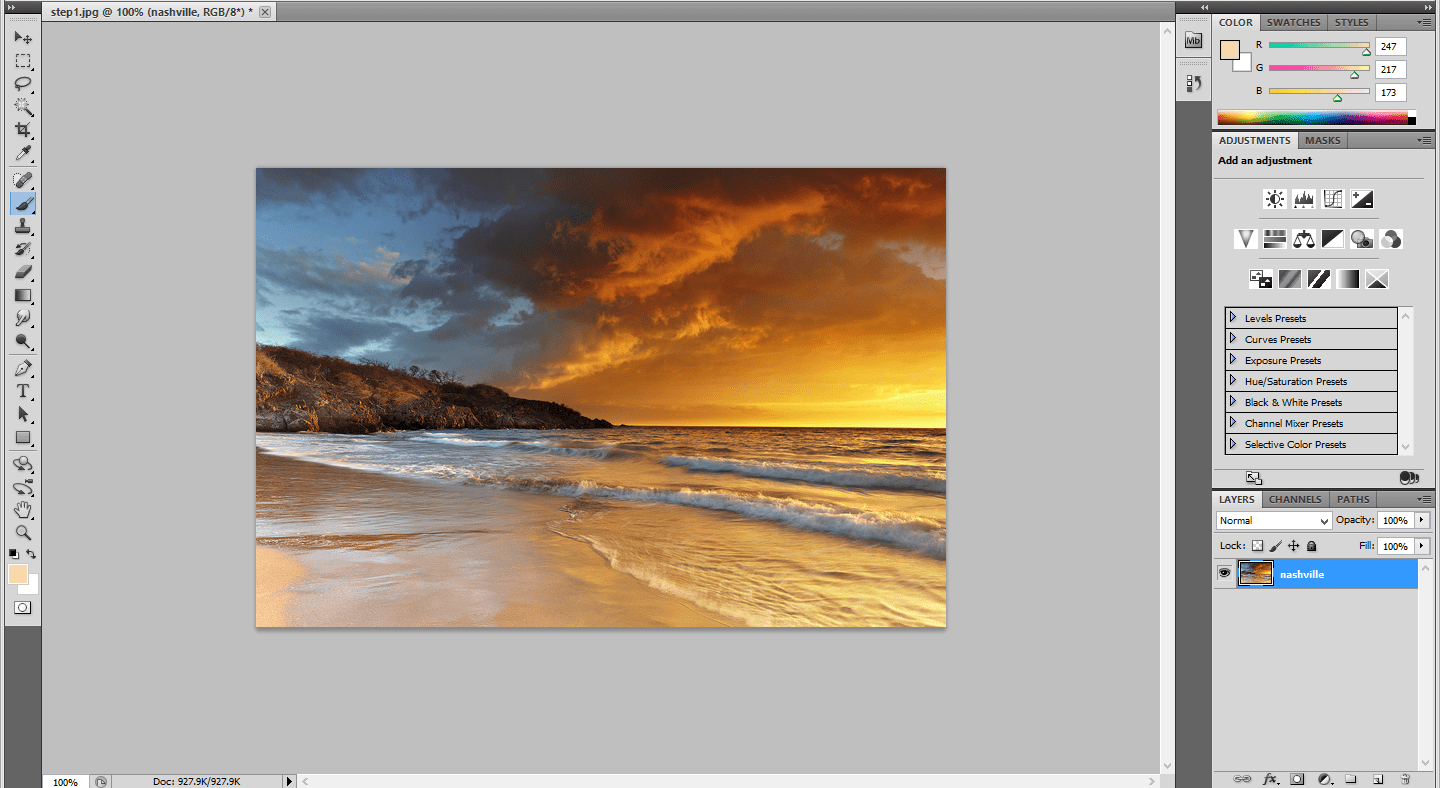
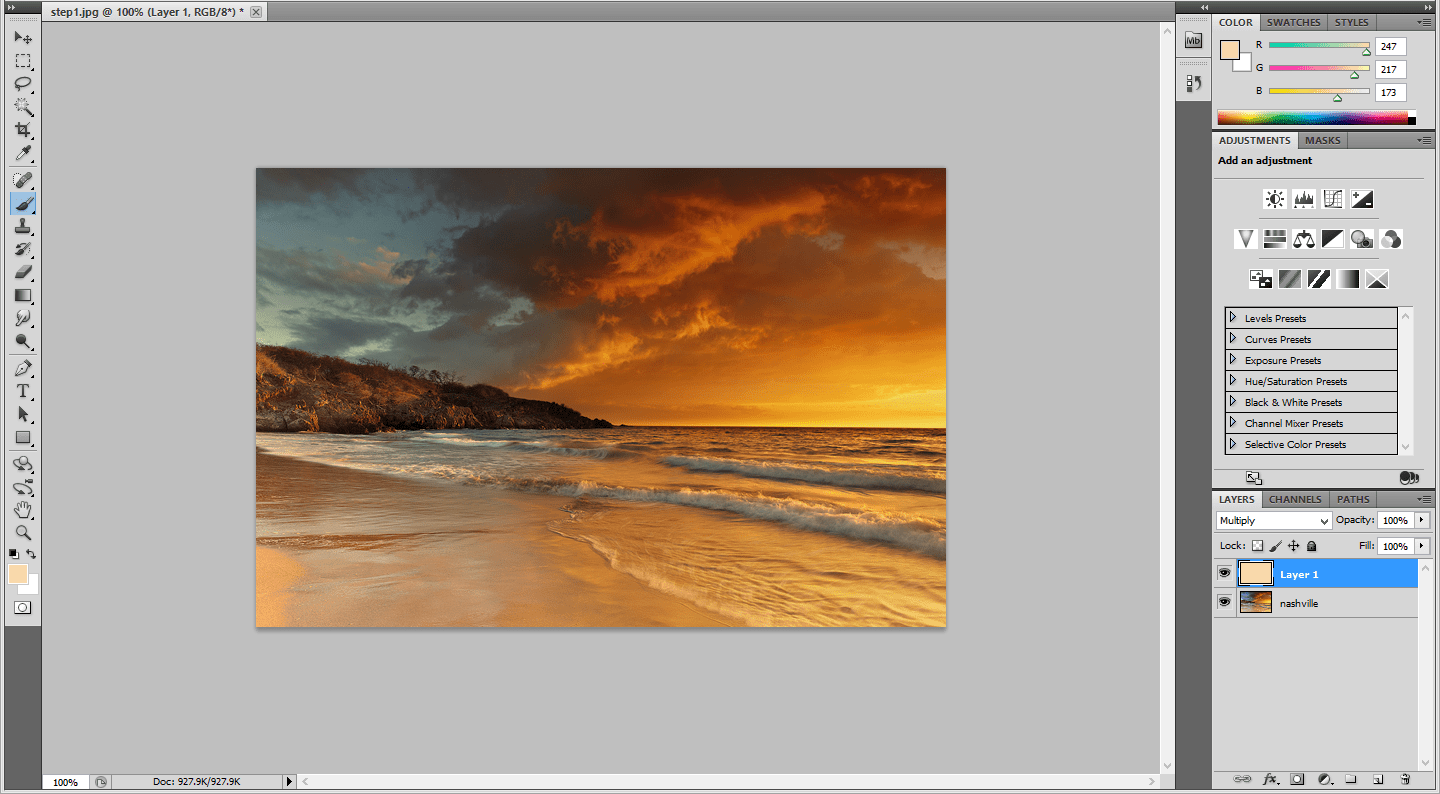
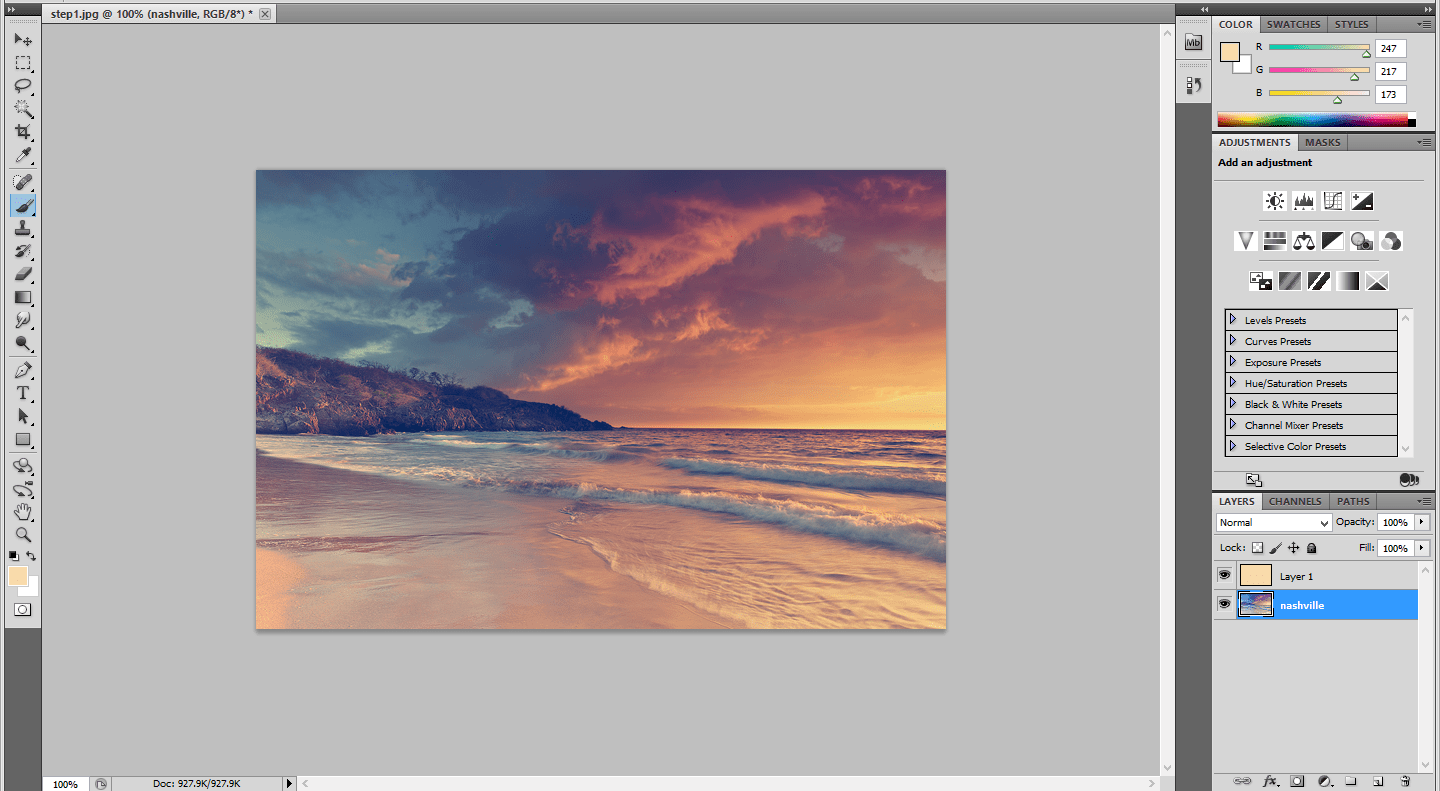
Open the Photo document in Photoshop and Edit the layer name as Nashville. Create a New layer above this layer.
Step:2
Fill the Color in the new layer. The color should be as follows: Red-247, Green- 217, Blue- 173.Change the blending modes from normal to multiply.
Step:3
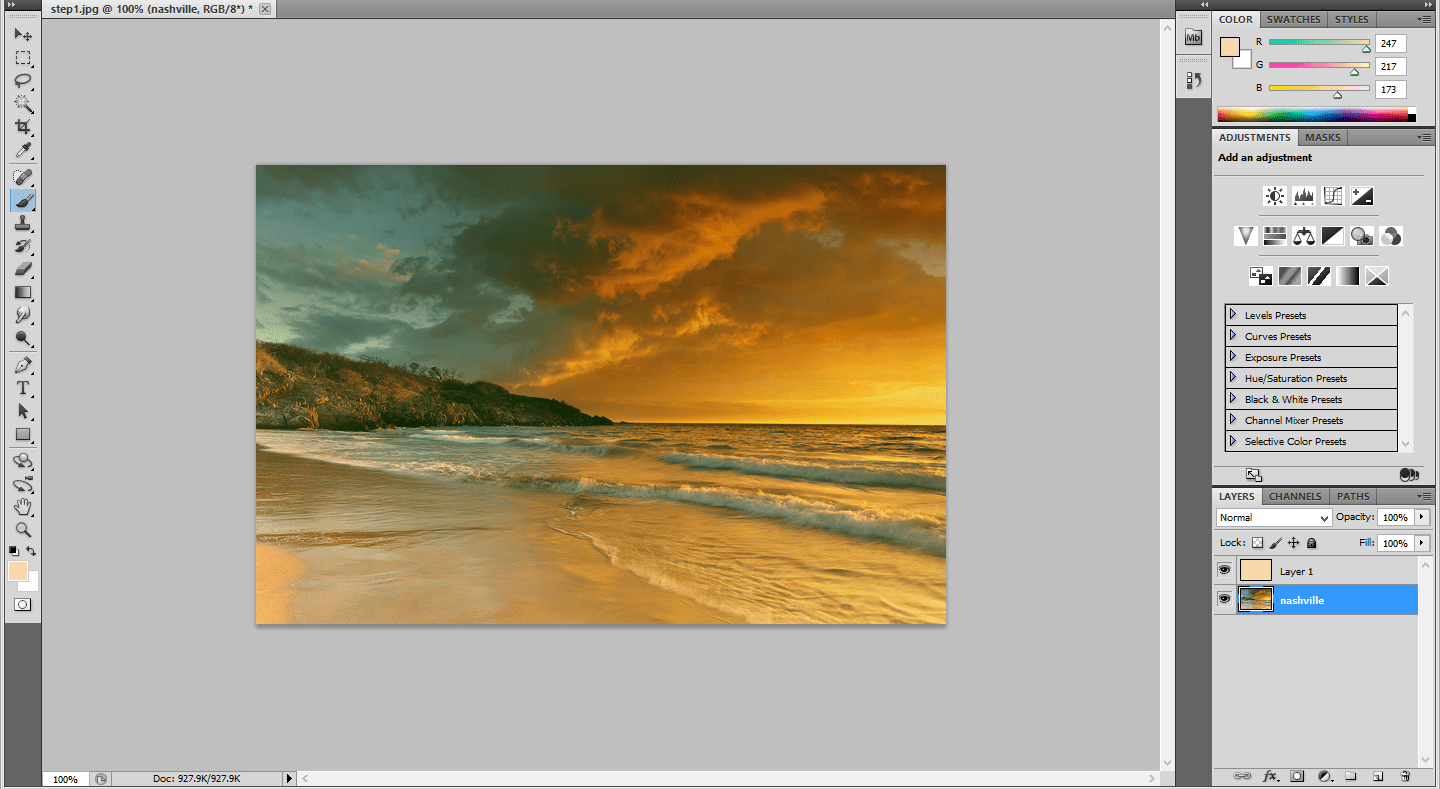
Click on the Nashville Layer and go to image-> adjustments-> Curves.Change the Values as follows. Change the green channel output to 37 and blue channel output to 133.
Step:4
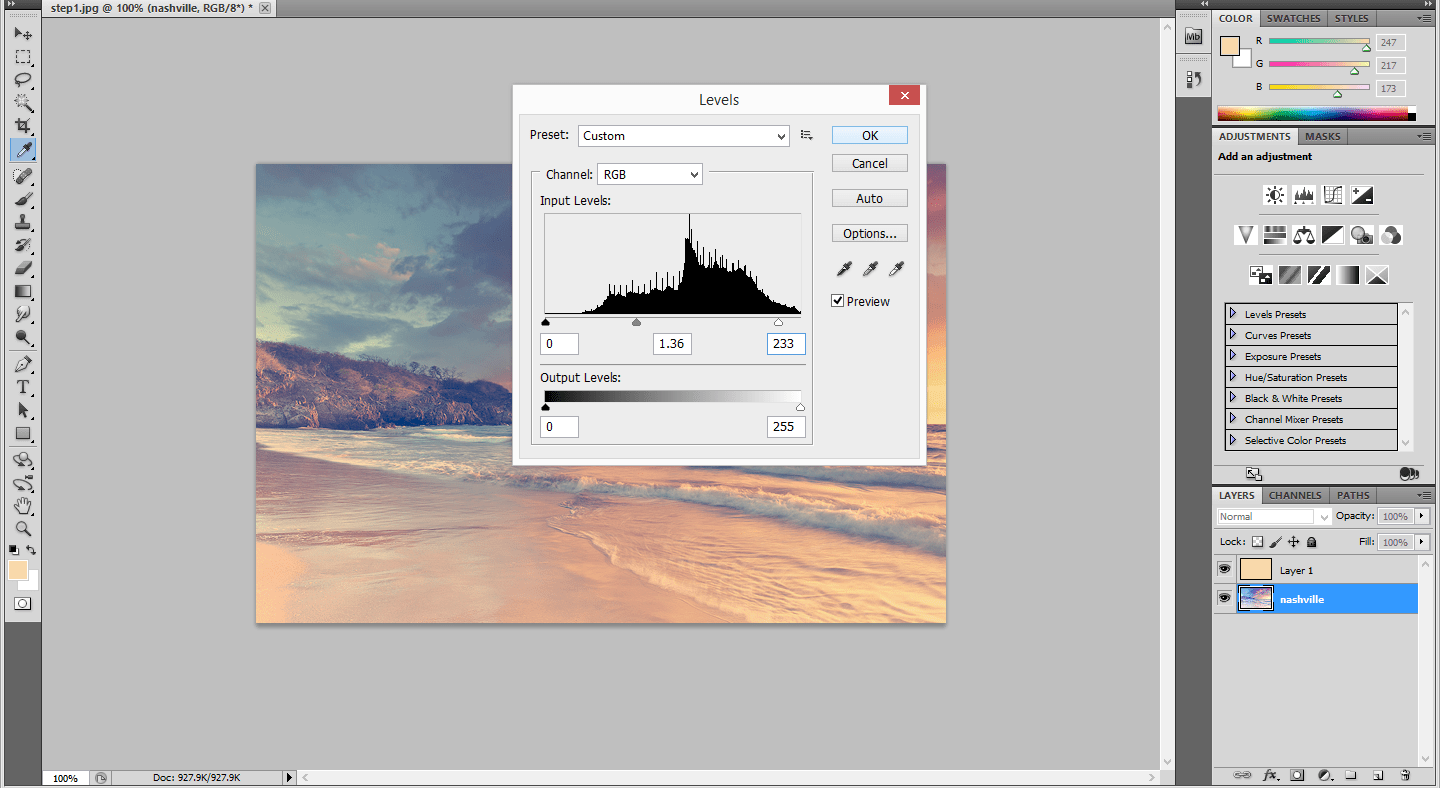
Again go to Image -> Adjustments -> Levels.Change the Middle value to 1.36 and input to 236.
Step:5
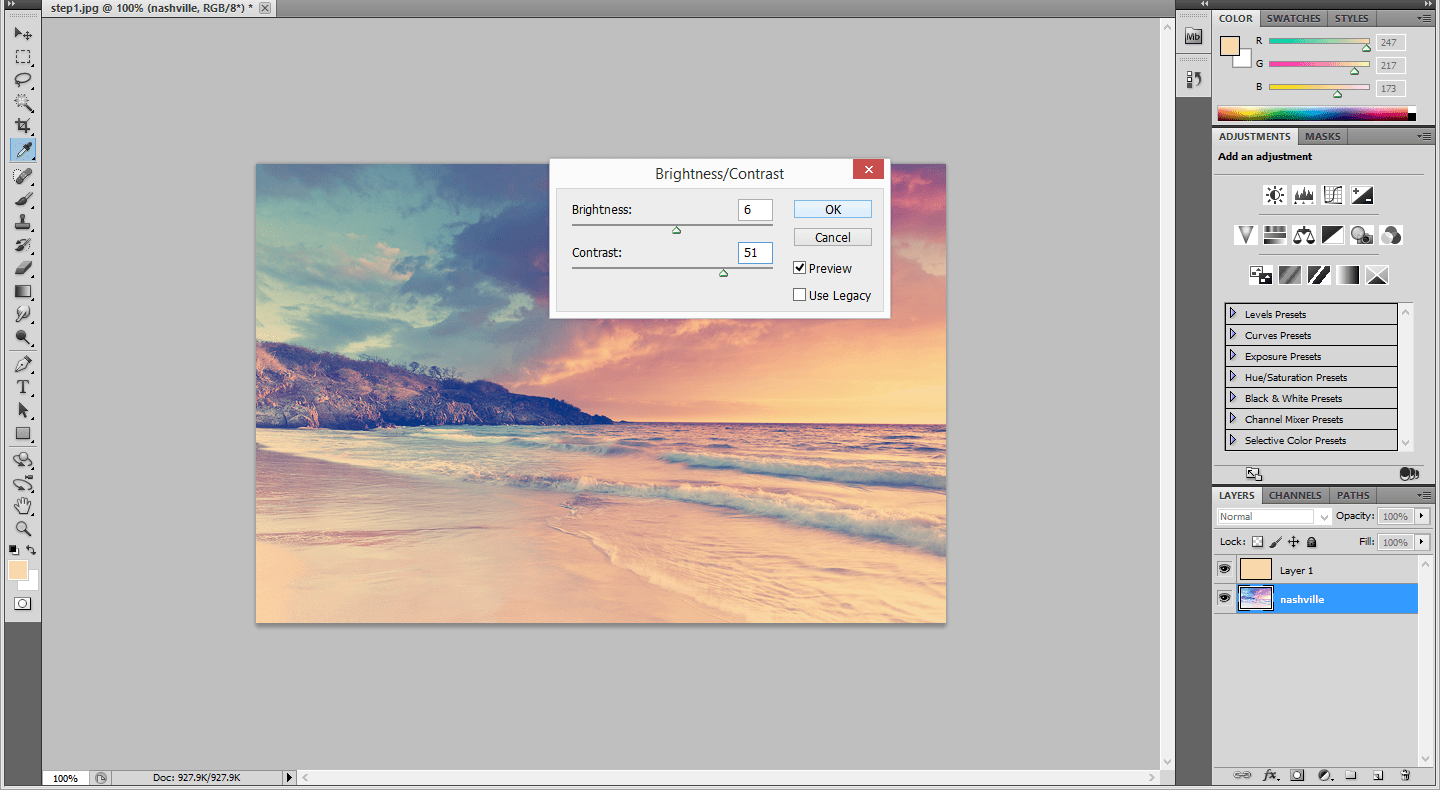
Go to Image-> adjustments-> Brightness/Contrast and change the brightness value as 6 and contrast value to 51.
Step:6
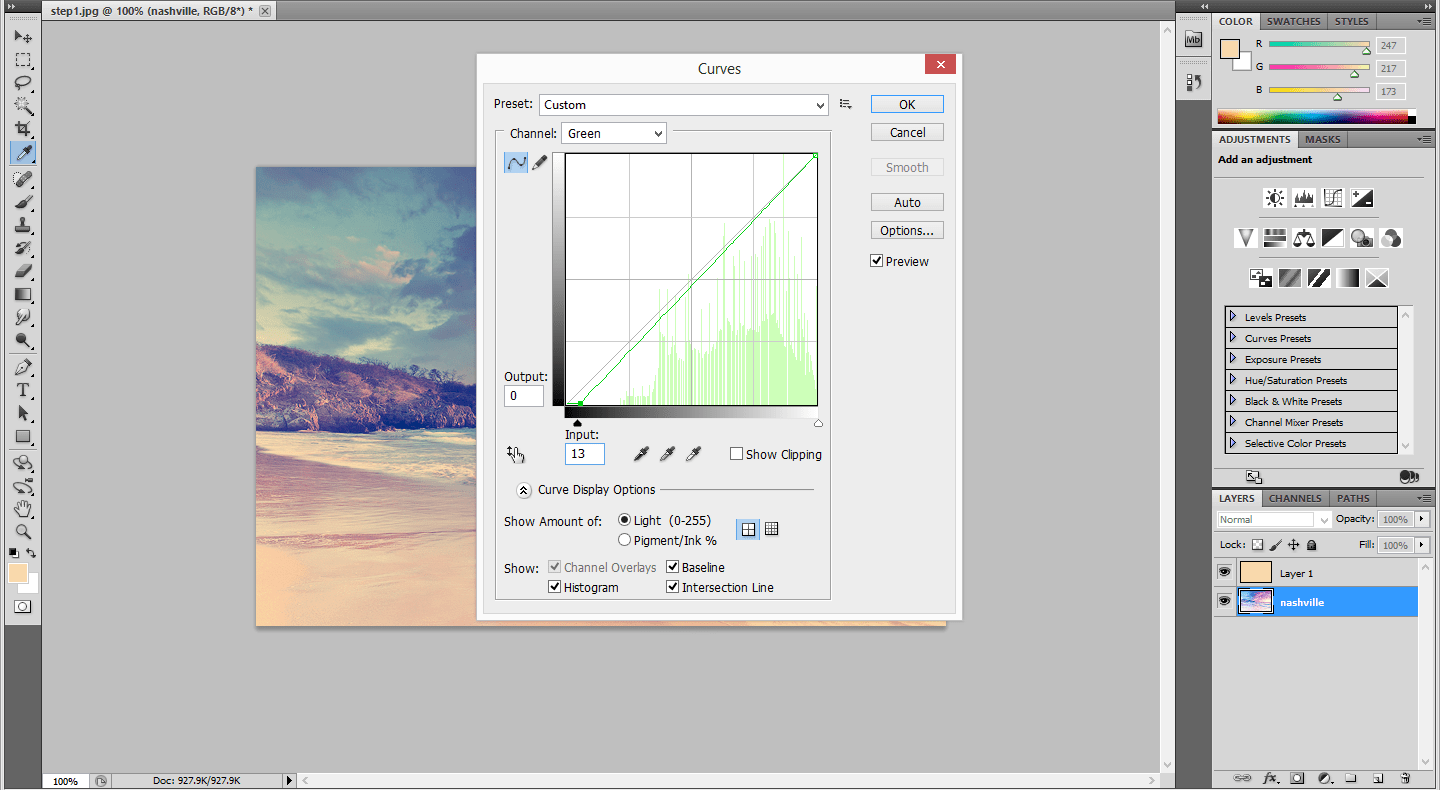
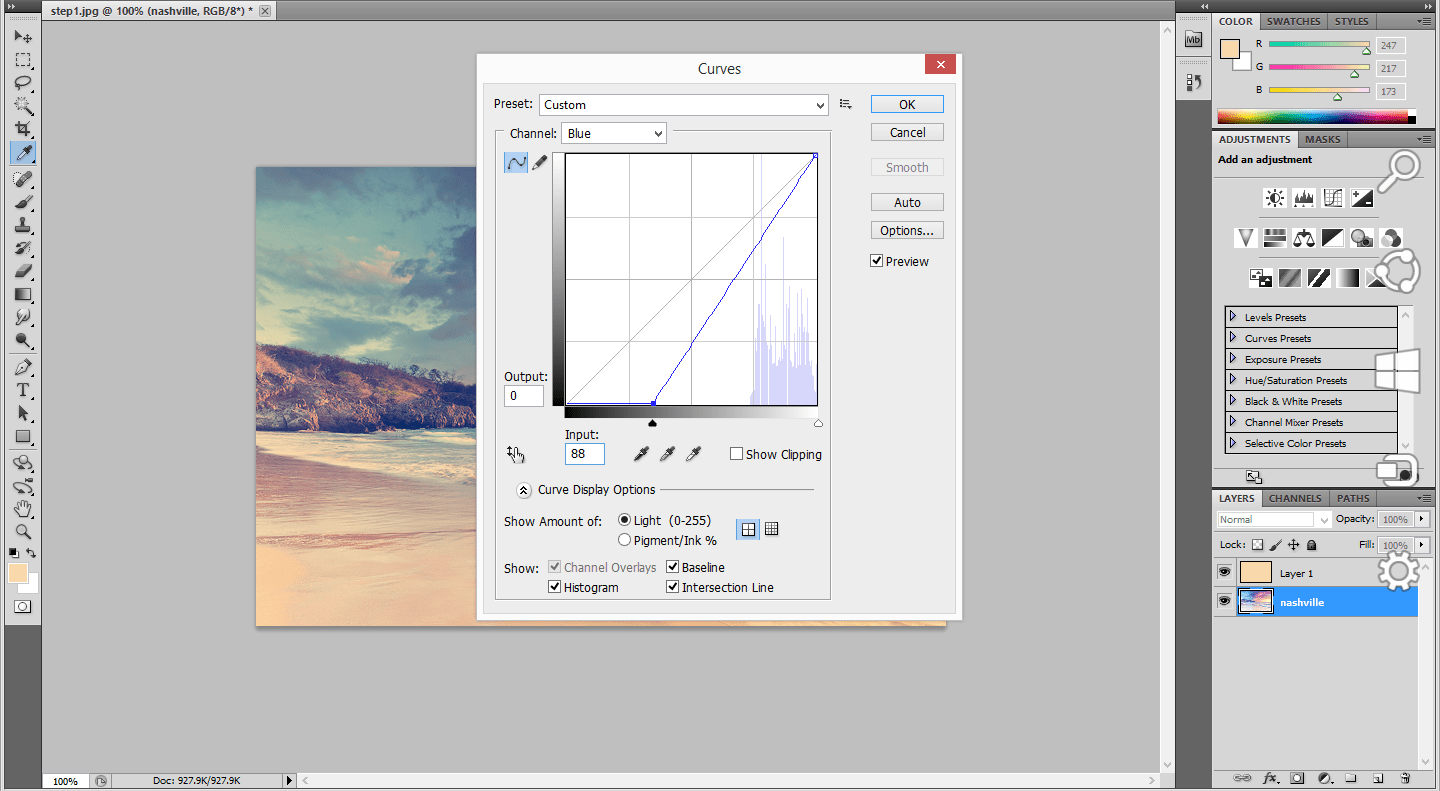
Again go to image-> adjustments-> Curves. Change the green channel input to 13 and blue channel input to 88.
Step:7
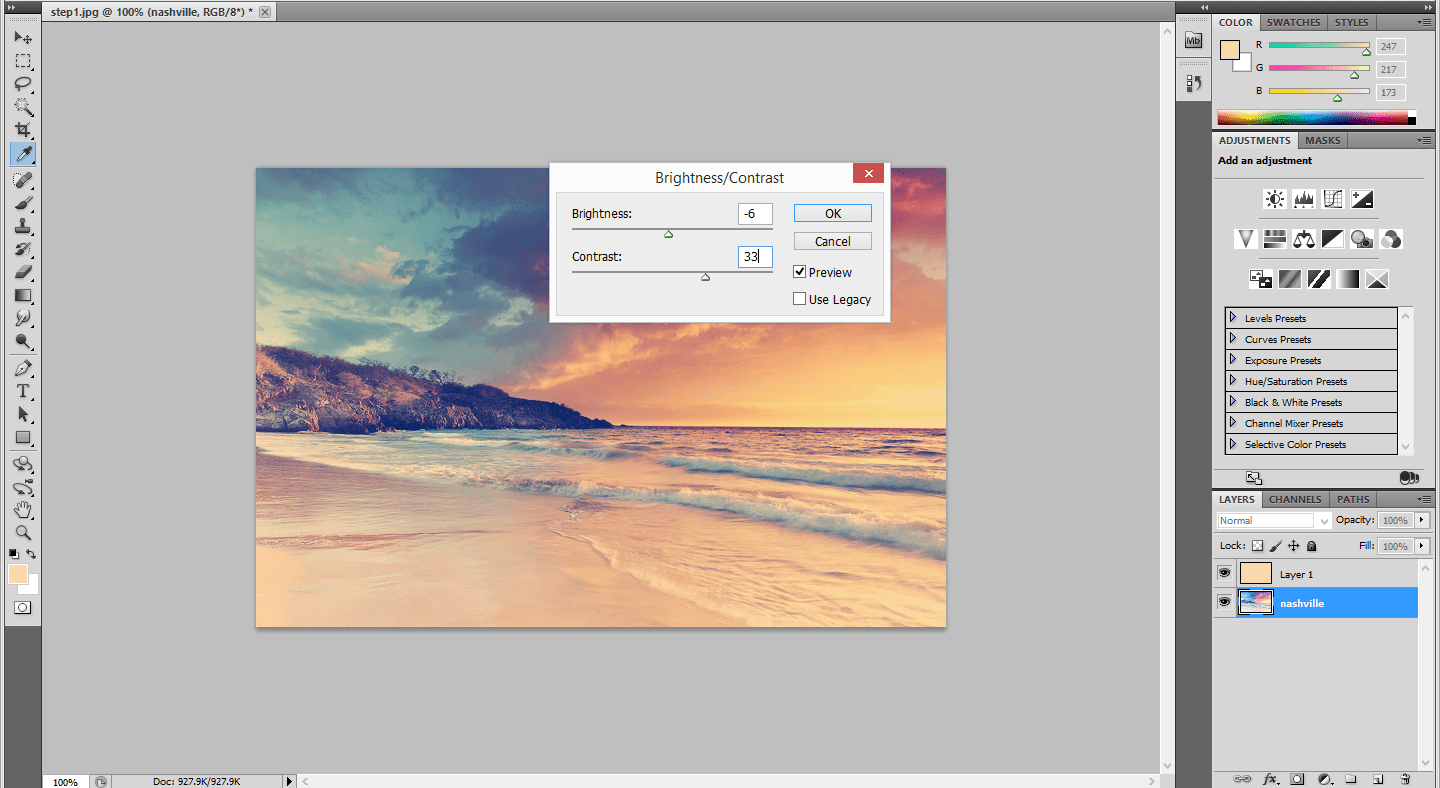
To give a more depth go to image ->adjustments-> Brightness/Contrast.Change the brightness value as -6 and Contrast value as 33.
Step:8
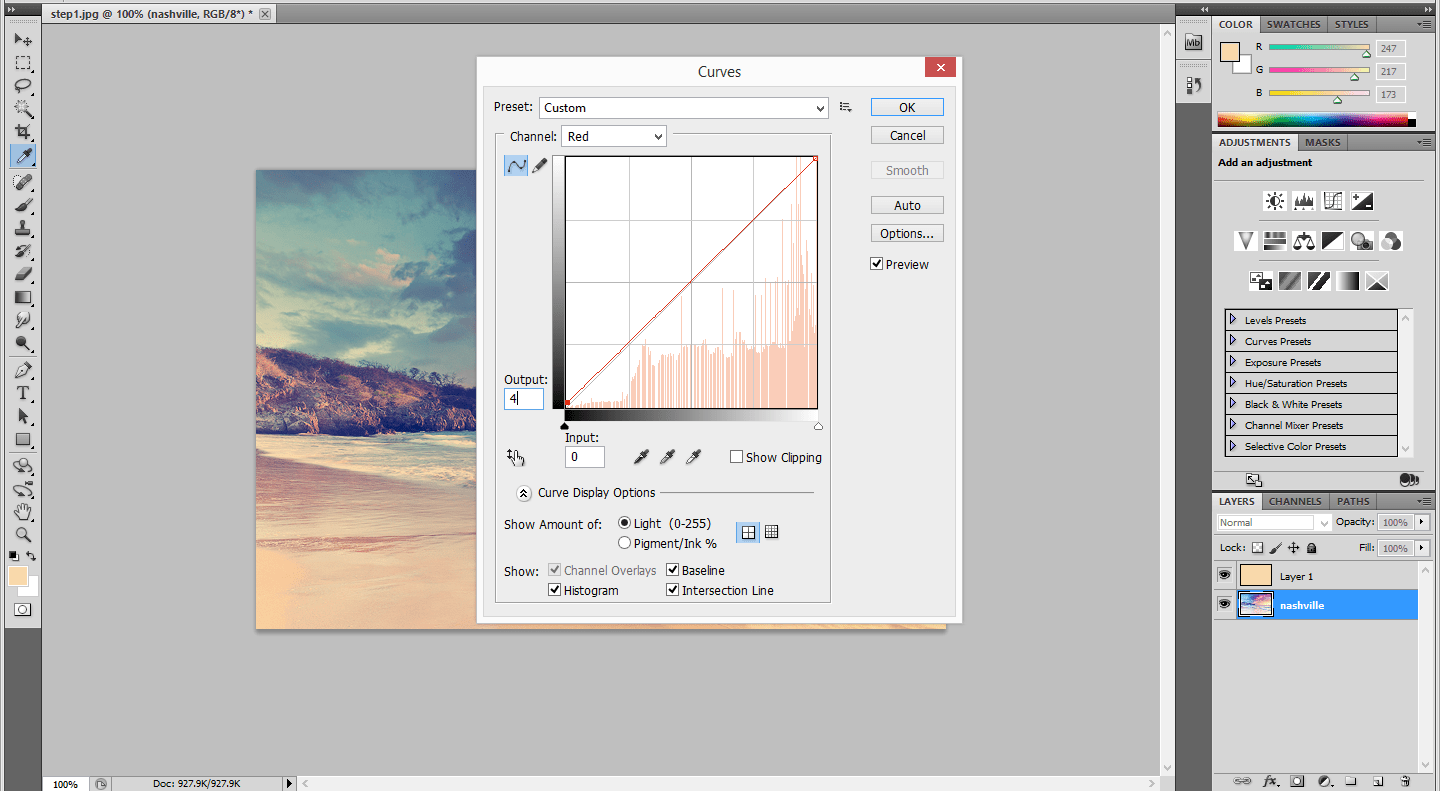
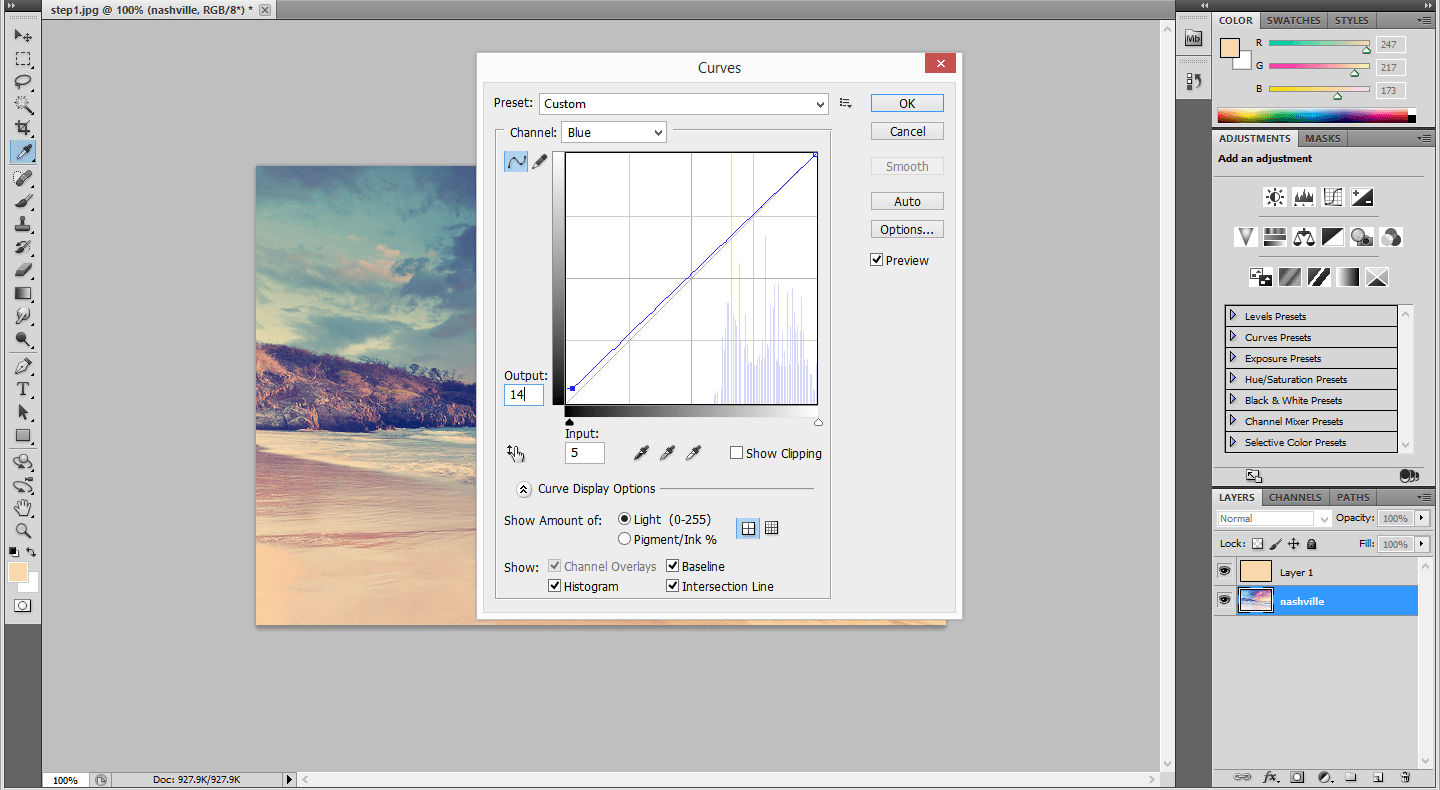
Then again go to Image->adjustments-> Curves. Change the red channel output to 4 and blue channel output to 14.
Step:9
Now the normal image turns in to Nashville filter effect.
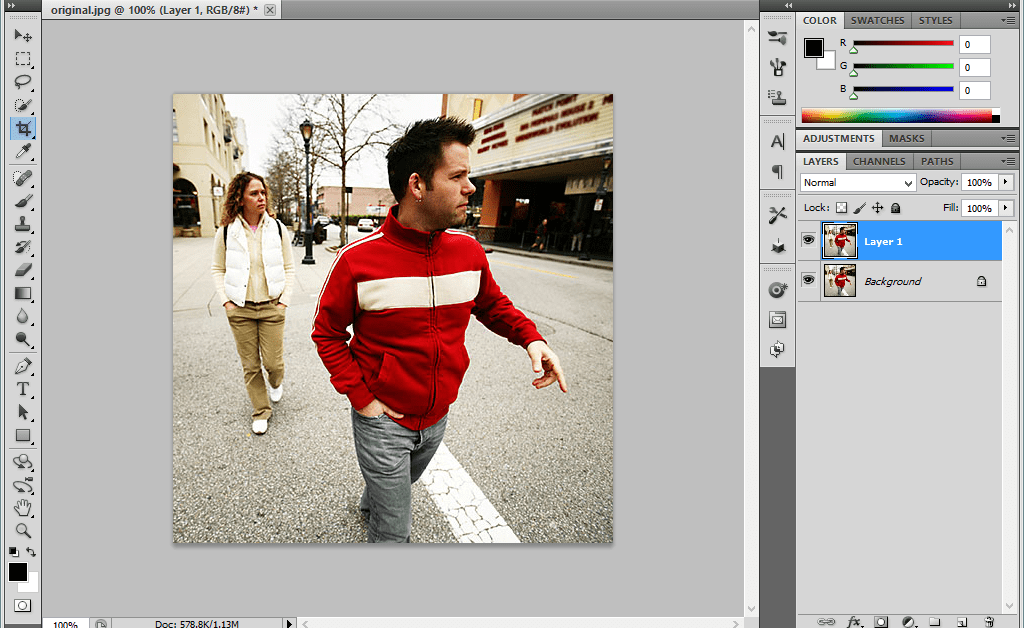
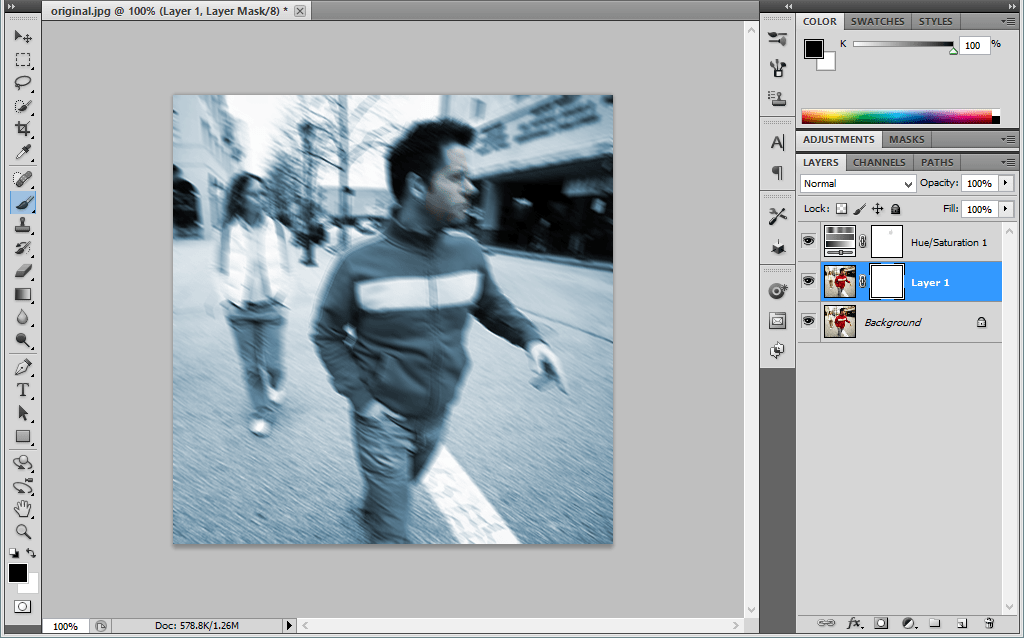
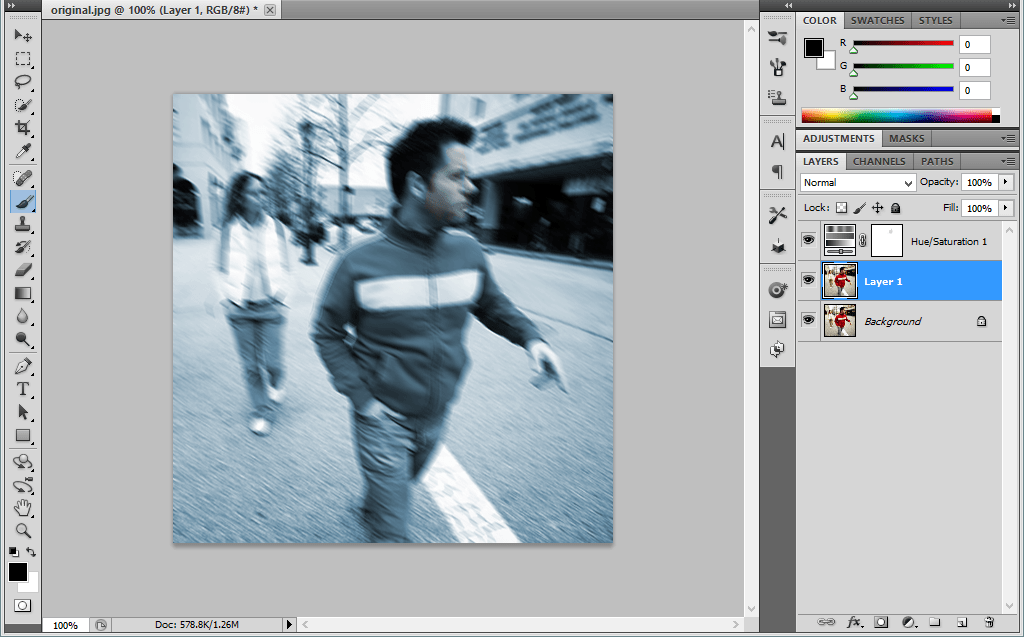
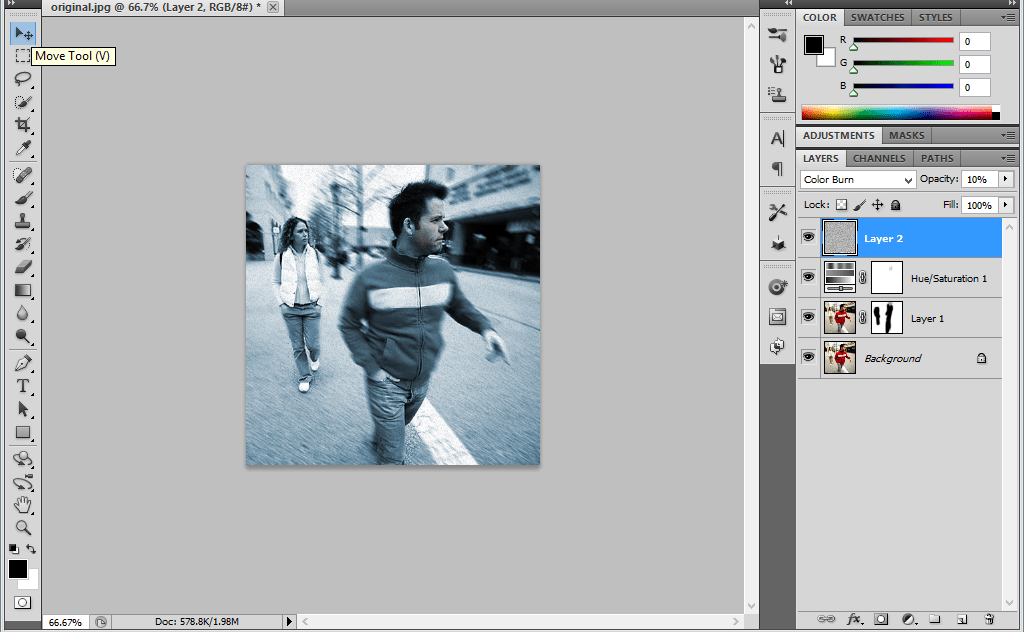
Motion Blur Effect and Bourne Ultimatum Color – Photoshop
Step1:
Open a Photo Document in Photoshop.Make a copy of that background layer.Choose the Foreground color as black.
Step2:
Add a hue/saturation above it.Make the hue value as 199 and saturation value as 25.Then choose the brush size and color the face of the man to make as a Original Face.
Step:3
Then go to Layer1 image.Make a Motion blur of that image.Go to blur -> Motion blur.
Step:4
Add a Layer Mask above it.Using the brush paint over the Mask. Add a New Layer above it.
Step:5
Add a Noise filter to it.Go to Filter-> Noise -> Add noise.Then Change the Blending Mode From normal to Color burn and reduces the Opacity to 10%.
Wedding Couples in Wine Glass-Photoshop
Step!:
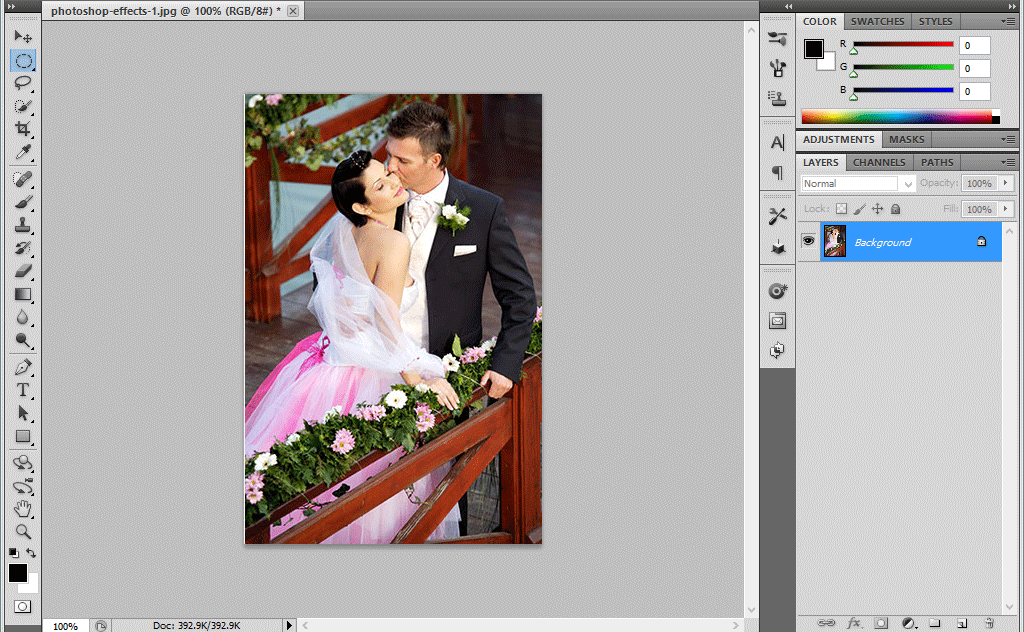
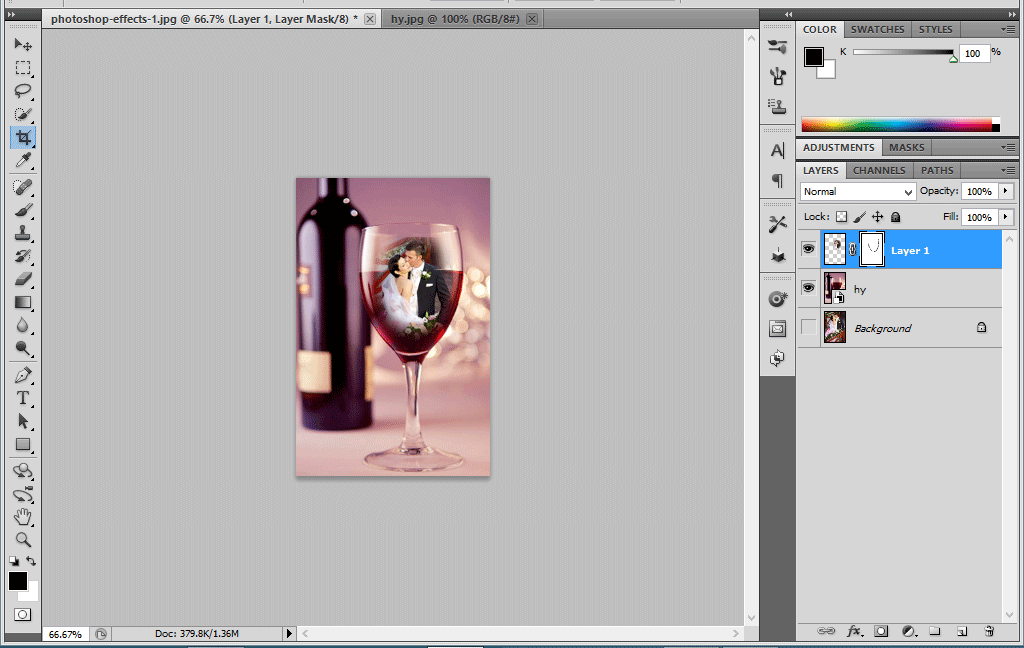
Open the Photo Document in Photoshop.Using the Elliptical tool Select a Portion Of that Couple.Go to Select-> Modify -> Feather->20 and copy that Particular Portion.
Step:2
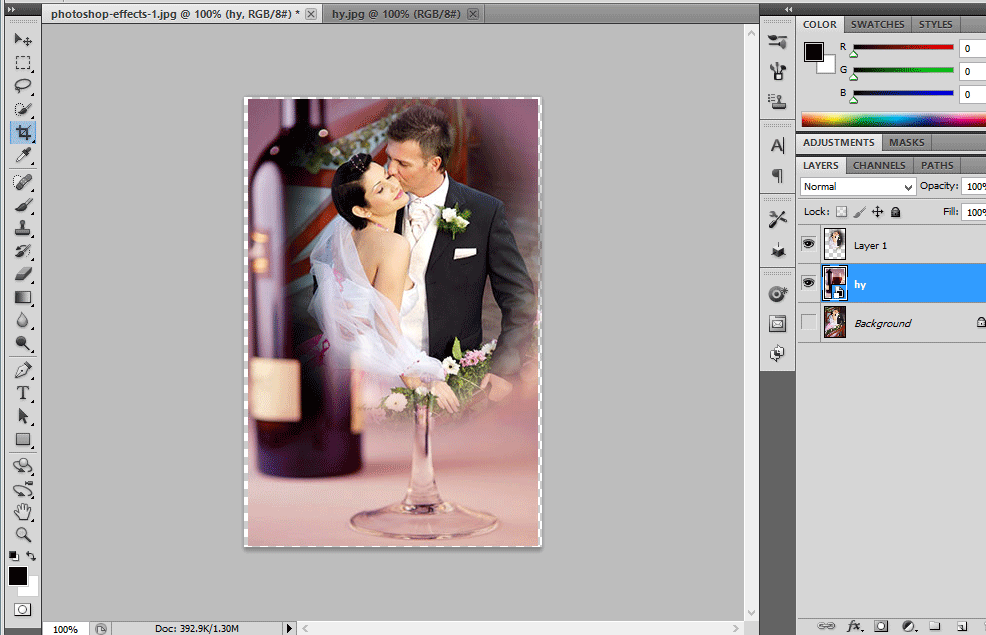
Then hide the Background layer and now place the wine bottle image.Place the couple image in the wine glass.
Step:3
Then adjust the image to be placed in the wine bottle.Then apply the Layer mask in the Couple image.Use the Foreground color as black.Using the brush just Paint over the Layer mask
Step:4
Then go to Blending Options and change the underlying layer as 177/235. Now the image will be blended with the wine glass.
Best Useful Css Tips (For beginners)
Use Shorthand Css
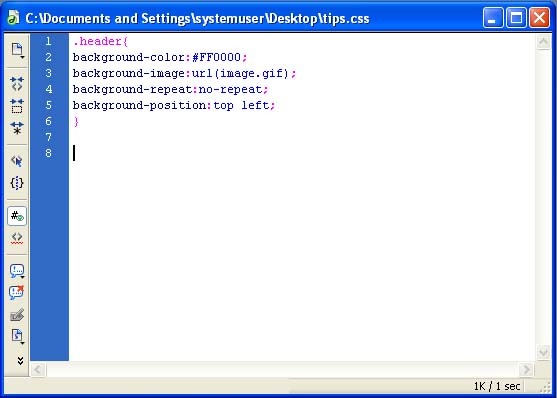
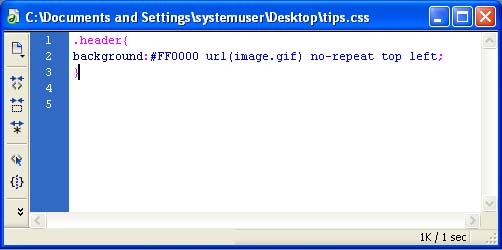
Shorthand CSS gives you a shorter way of writing your CSS codes, and most important of all – it makes the code easier to understand.
Instead of creating CSS like this
It can be short-handed into the following:
Understanding Class And ID
These two selectors repeatedly confuse beginners. In CSS, class is represented by a dot “.” while id is a hash ‘#“. In a nutshell id is used on style that is distinctive and don’t repeat itself, class on the other side, can be re-use.
Forget <Table>, Try <Div>
One of the greatest advantages of CSS is the use of <div> to attain total flexibility in terms of styling. <div> are unlike <table>, where substances are ‘locked’ within a <td>‘s cell. It’s safe to say most <table> layouts are attainable with the use of <div> and proper styling, well maybe except considerable tabular contents.
CSS Padding
Padding is the space between the border of an HTML element and the content within it.
Padding of an element in a single property as follows:
padding: 10px 10px 10px 10px;
If you declare all four values as above, the order is as follows:
Top, right, bottom, left
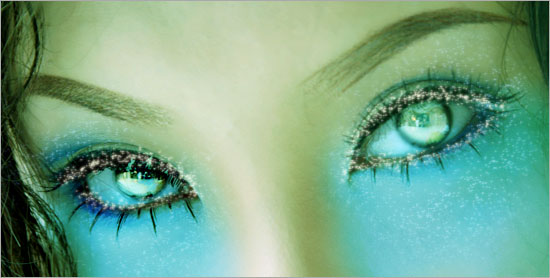
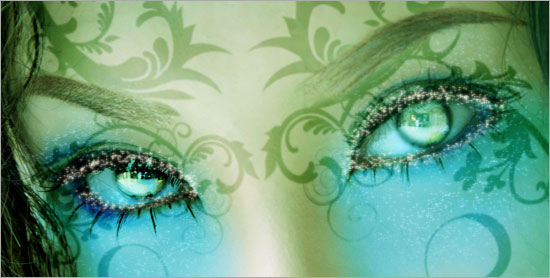
Beautiful Fantasy Eyes
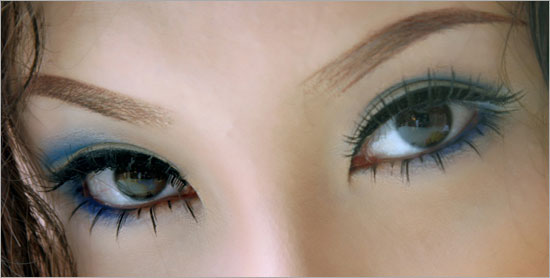
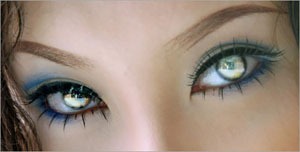
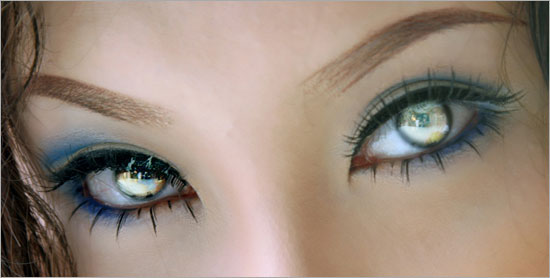
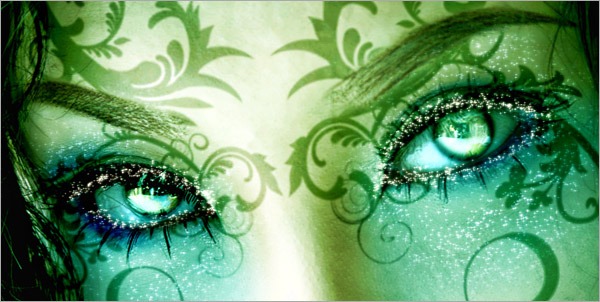
Today we shall explore the basics on how we can create Fantasy Eyes effects in Photo shop.
Now Download the image and open up in Photo shop.
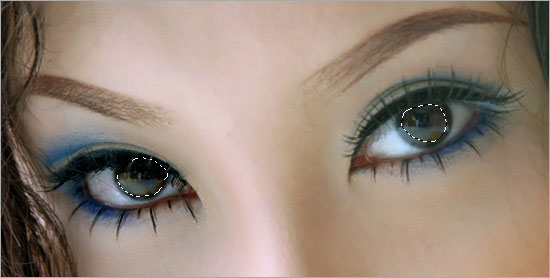
Let us start off with glowing the eyes. Make selections around the 2 black eyes with the Elliptical Marquee tool. Go to Select > Modify > Feather. Set the Radius to 20px.
Press Ctrl+C (to copy) and Ctrl+V (to paste). You will get a new layer with just the selected area. Rename this new layer as “Eyes Glow”. Set the Blend Mode of this layer to Screen. Then duplicate the “Eyes Glow” layer for another 3 times and you will get something similar to mine below.
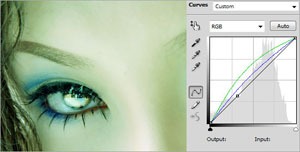
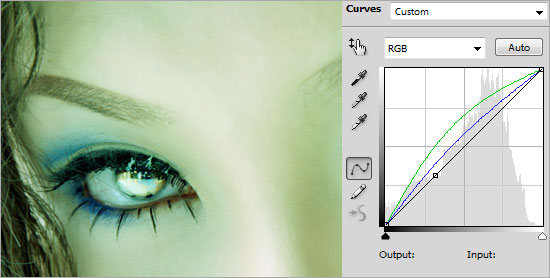
Create a Curves Adjustment Layer. Go to the Green and Blue channels and set the curves to the ones below.
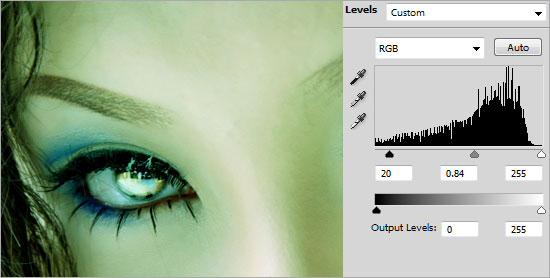
Create a Levels Adjustment Layer and set the values to 20, 0.84, 255.
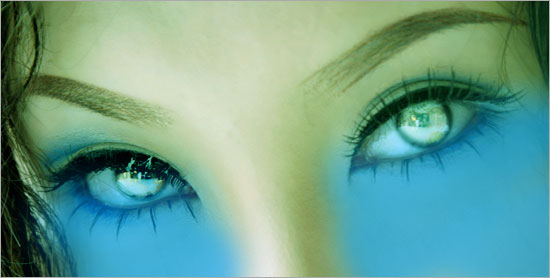
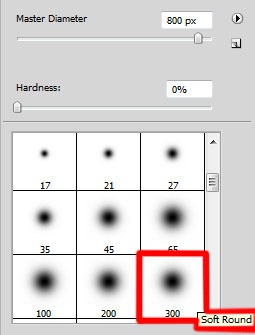
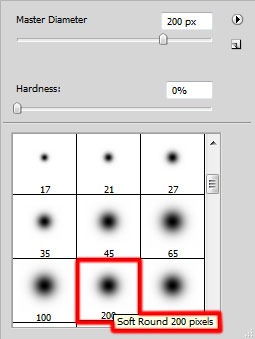
Create a new layer and name it as “Face Color”. Set the foreground color to #45ADCA. Using the Soft Rounded Brush with size 200px, paint the face below both eyes. Set the Blend Mode of this layer to Soft Light when you are done.
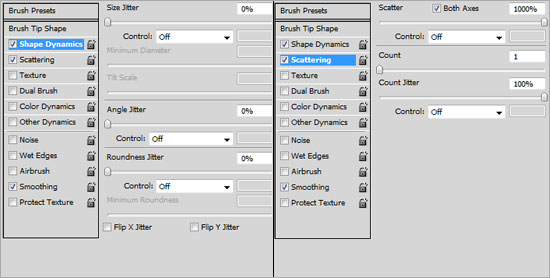
Open up the Brush panel and key in the settings as shown below.
Create a new layer and name it as “Glitter”. Using the Brush tool with size 3px and color #FFFFFF, brush around the bluish area to add the glittering effect. Right-click on the “Glitter” layer and go to Blending Options. Choose Outer Glow with its default settings.
Repeat the earlier step for the border around the big pair of eyes.
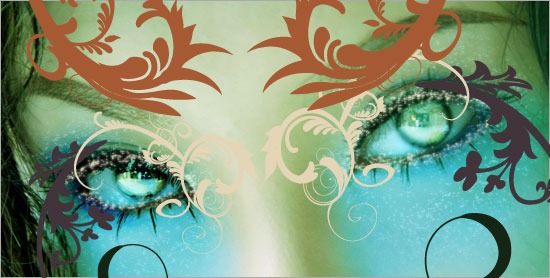
This step is really random. You can start designing how you want to add some patterns to the face. For mine, I downloaded the Swirl Curls from CreateSk8. Place the floral patterns around the eyes area.
Merge all the pattern together in a single area. Go to Image > Adjustment > Hue/Saturation. Make the Lightness to -100. This will turn the pattern in to black. Set the Blend Mode of this layer to Soft Light. Go to Filter > Blur > Gaussian Blur. Set the Radius to 2px.
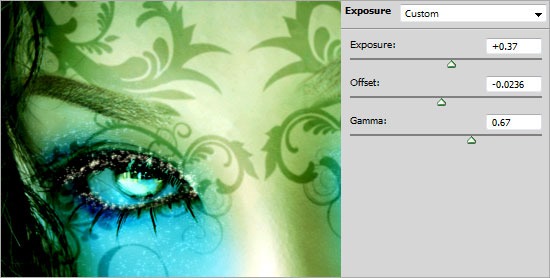
Create an Exposure Adjustment Layer and key in the settings below.
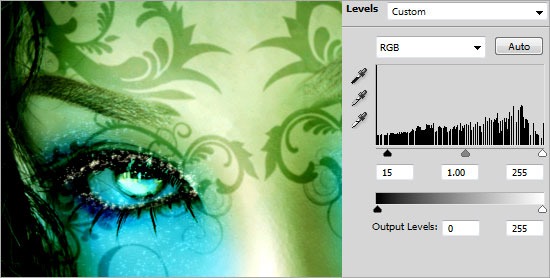
Create a Levels Adjustment Layer and set the values to 15, 1, 255.
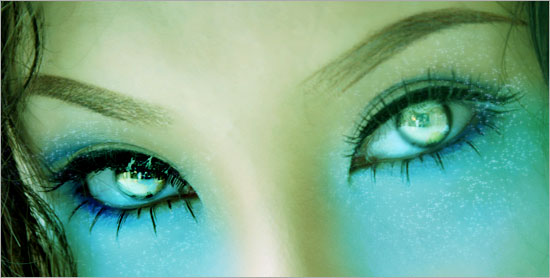
And there you have it! Thanks for reading.
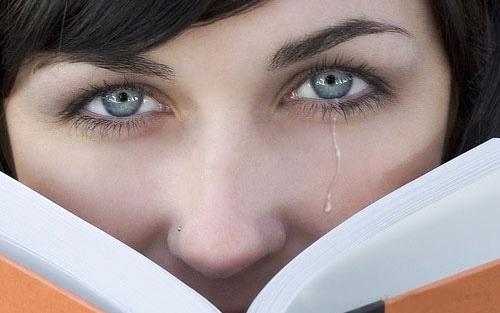
Realistic View Tears on Face
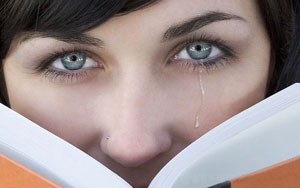
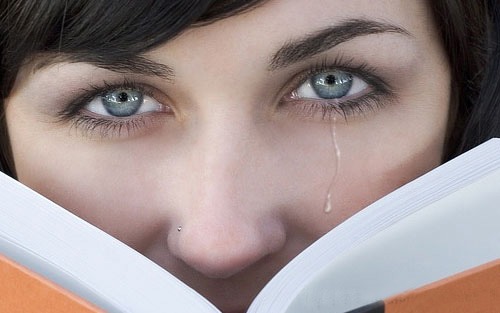
In this Photoshop tutorial I would like to invite your attention to the unique technique how to make realistic view tears effect.
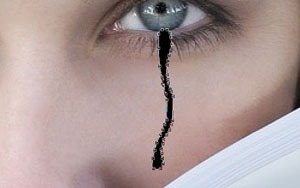
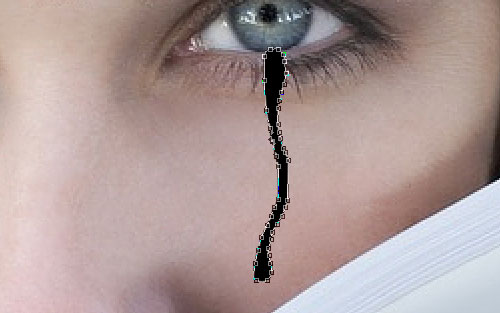
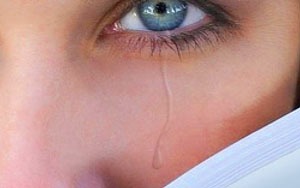
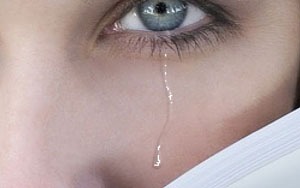
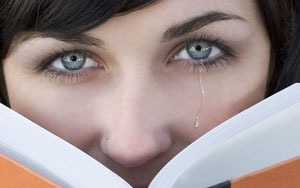
So, in the beginning you should find a good picture to work with. You can try to find it on stock photo web sites or also can use mine. Open up the picture. Then select the Pen Tool and try to make good form of the tear with black color.
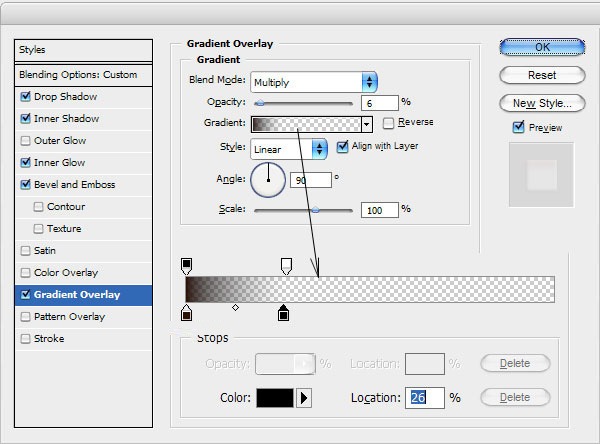
Pay your attention that the form must be how much more uneven to be similar to a real tear. When we are done with form, then change layer mode to Screen for the current layer and apply following Blending Options:
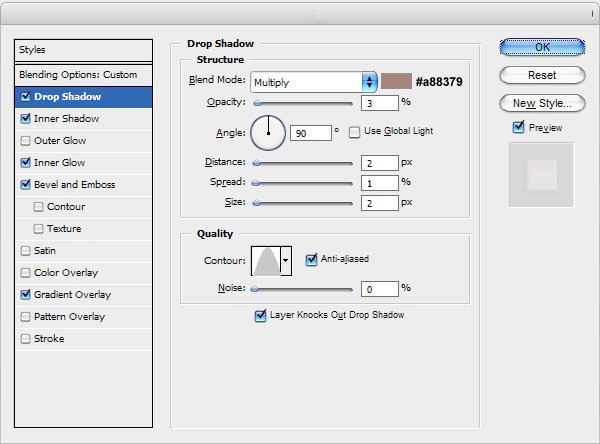
- Drop Shadow
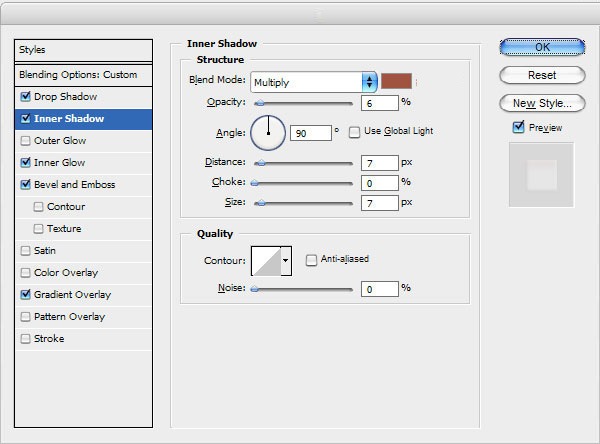
- Inner Shadow
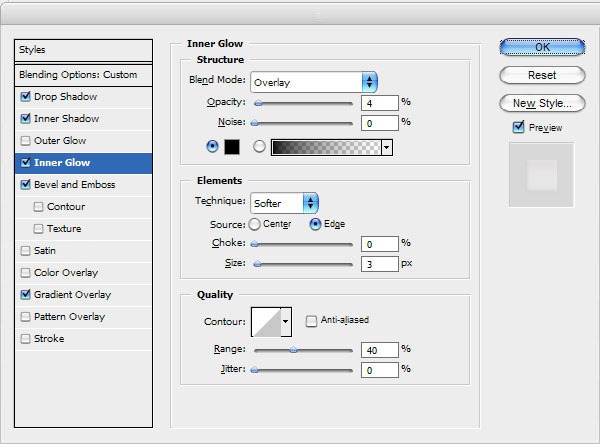
- Inner Glow
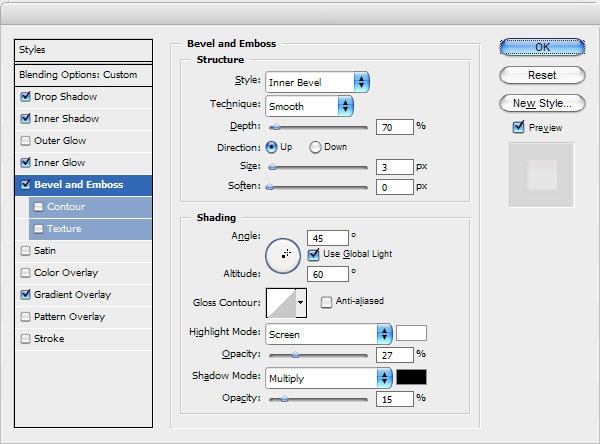
- Bevel and Emboss
- Gradient Overlay
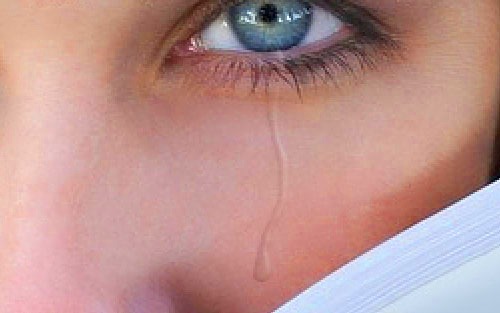
The result should be next:
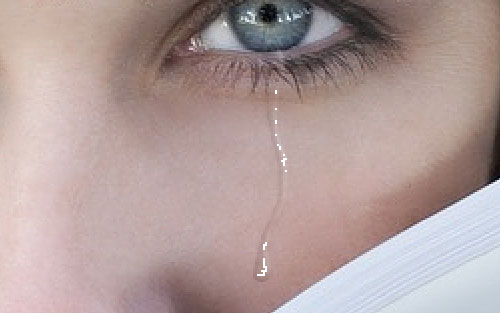
Looks good, but not so realistic for now. I would like to bring some white glare to this form. Select the Pencil Tool and brush about 1 pixel, then make a few dots with white color on the new layer like on my picture below.
After that apply Blur Tool to current layer.
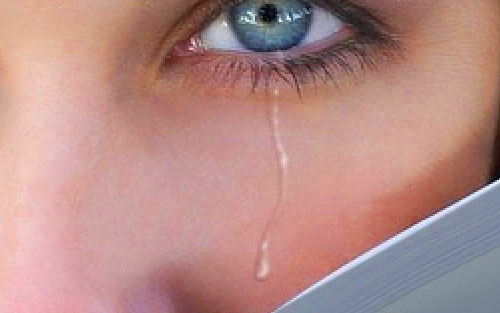
We got a nice realistic view result isn’t it? Don’t be afraid to experiment and you will get your own cool effects!
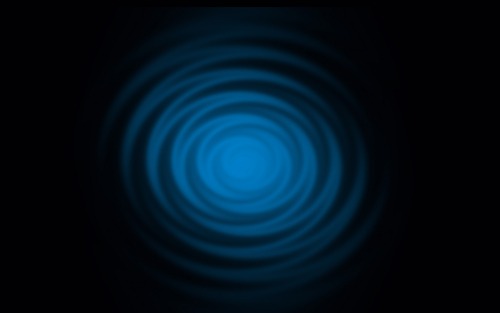
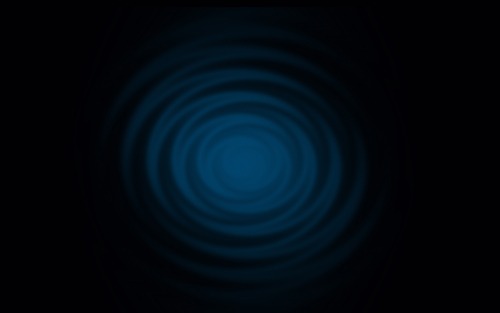
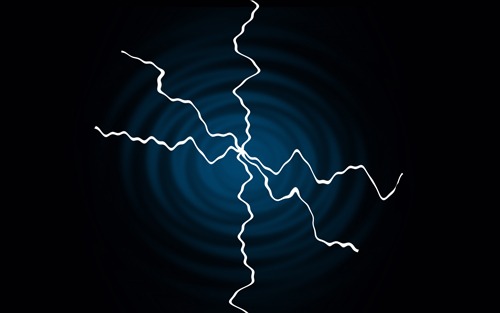
Photoshop circle Twist Effects
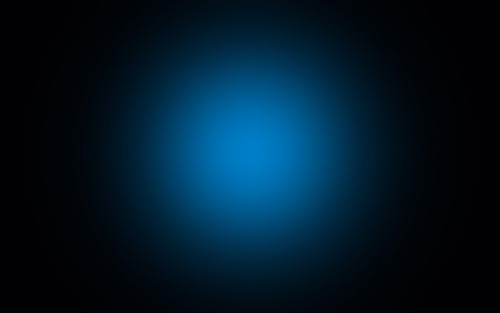
Let’s create a new file (File>New) of 1920×1200px/72 dpi. Using the Paint Bucket Tool (G),give the new background layer black color.
On a new layer (Create new layer) we’ll apply a standard brush to represent a spot on the central part of the picture. The brush’s color is #007EC7
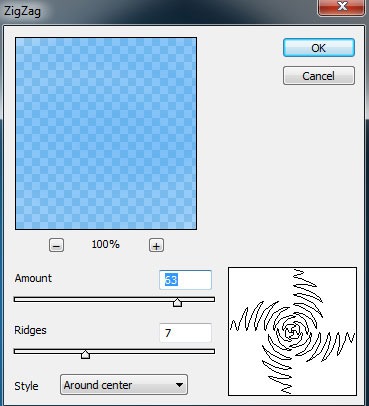
Select the next option for the layer containing the spot:Filter>Distort>ZigZag
The layer’s parameters:Fill 54%
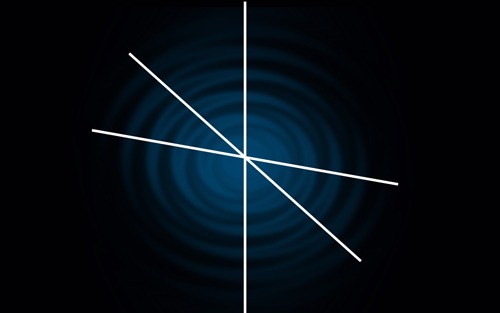
Next we’ll choose the Rectangle Tool (U) to represent three white lines which must be turned over with Free Transform option.
Those three layers with the white lines must be combined in a group (press Ctrl button to mark out the lines’ layers and hold on the left mouse’s button while moving the marked layers on (Create a new group selection).
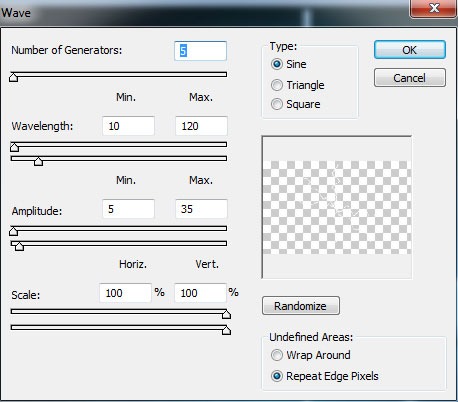
Mark out the group now and then press CTRL+E. On the rasterized layer we’ll apply the next option: Filter>Distort>Wave
On the same layer we need to apply also Filter>Blur>Gaussian blur
Set the next parameters for the layer by clicking on the same layer on the layers’ panel: Blending mode-Overlay : Fill 44%
Blending Options>Drop Shadow
Blending Options>Outer Glow
Make a copy of the recently made layer and chooseFree Transform option to turn over the copy the same way demonstrated on the picture.
Now we need to represent a new layer (Create new layer), applying here a standard brush to paint the new layer in two colors (on the top part we’ll choose the green color,on the bottom – the blue one) (Opacity 10%).


